
DIY SECRET ROOM: BOOKSHELF DOOR
The slanted closet saga continues! If you read my last blog you already know the epic transformation of my DIY Linen Closet. Alas, it was finally time to tackle the back half of the closet that I closed in because I had one goal in mind… A SECRET ROOM - I just couldn’t access it yet! It’s always been my dream to have a secret door in my home, so I knew this was the perfect opportunity to make one and I’m so thrilled with the outcome!
HOW I MADE MY SECRET DOOR!
THE DOOR
To make it easy, I used a pre-made door that you simply insert into wall. This kit comes pre-assembled and was a huge time saver in my project. This kit was a bit pricey… a DIY door can also be created if you’re looking to save on cost.

STEPS TO INTALL THE DOOR
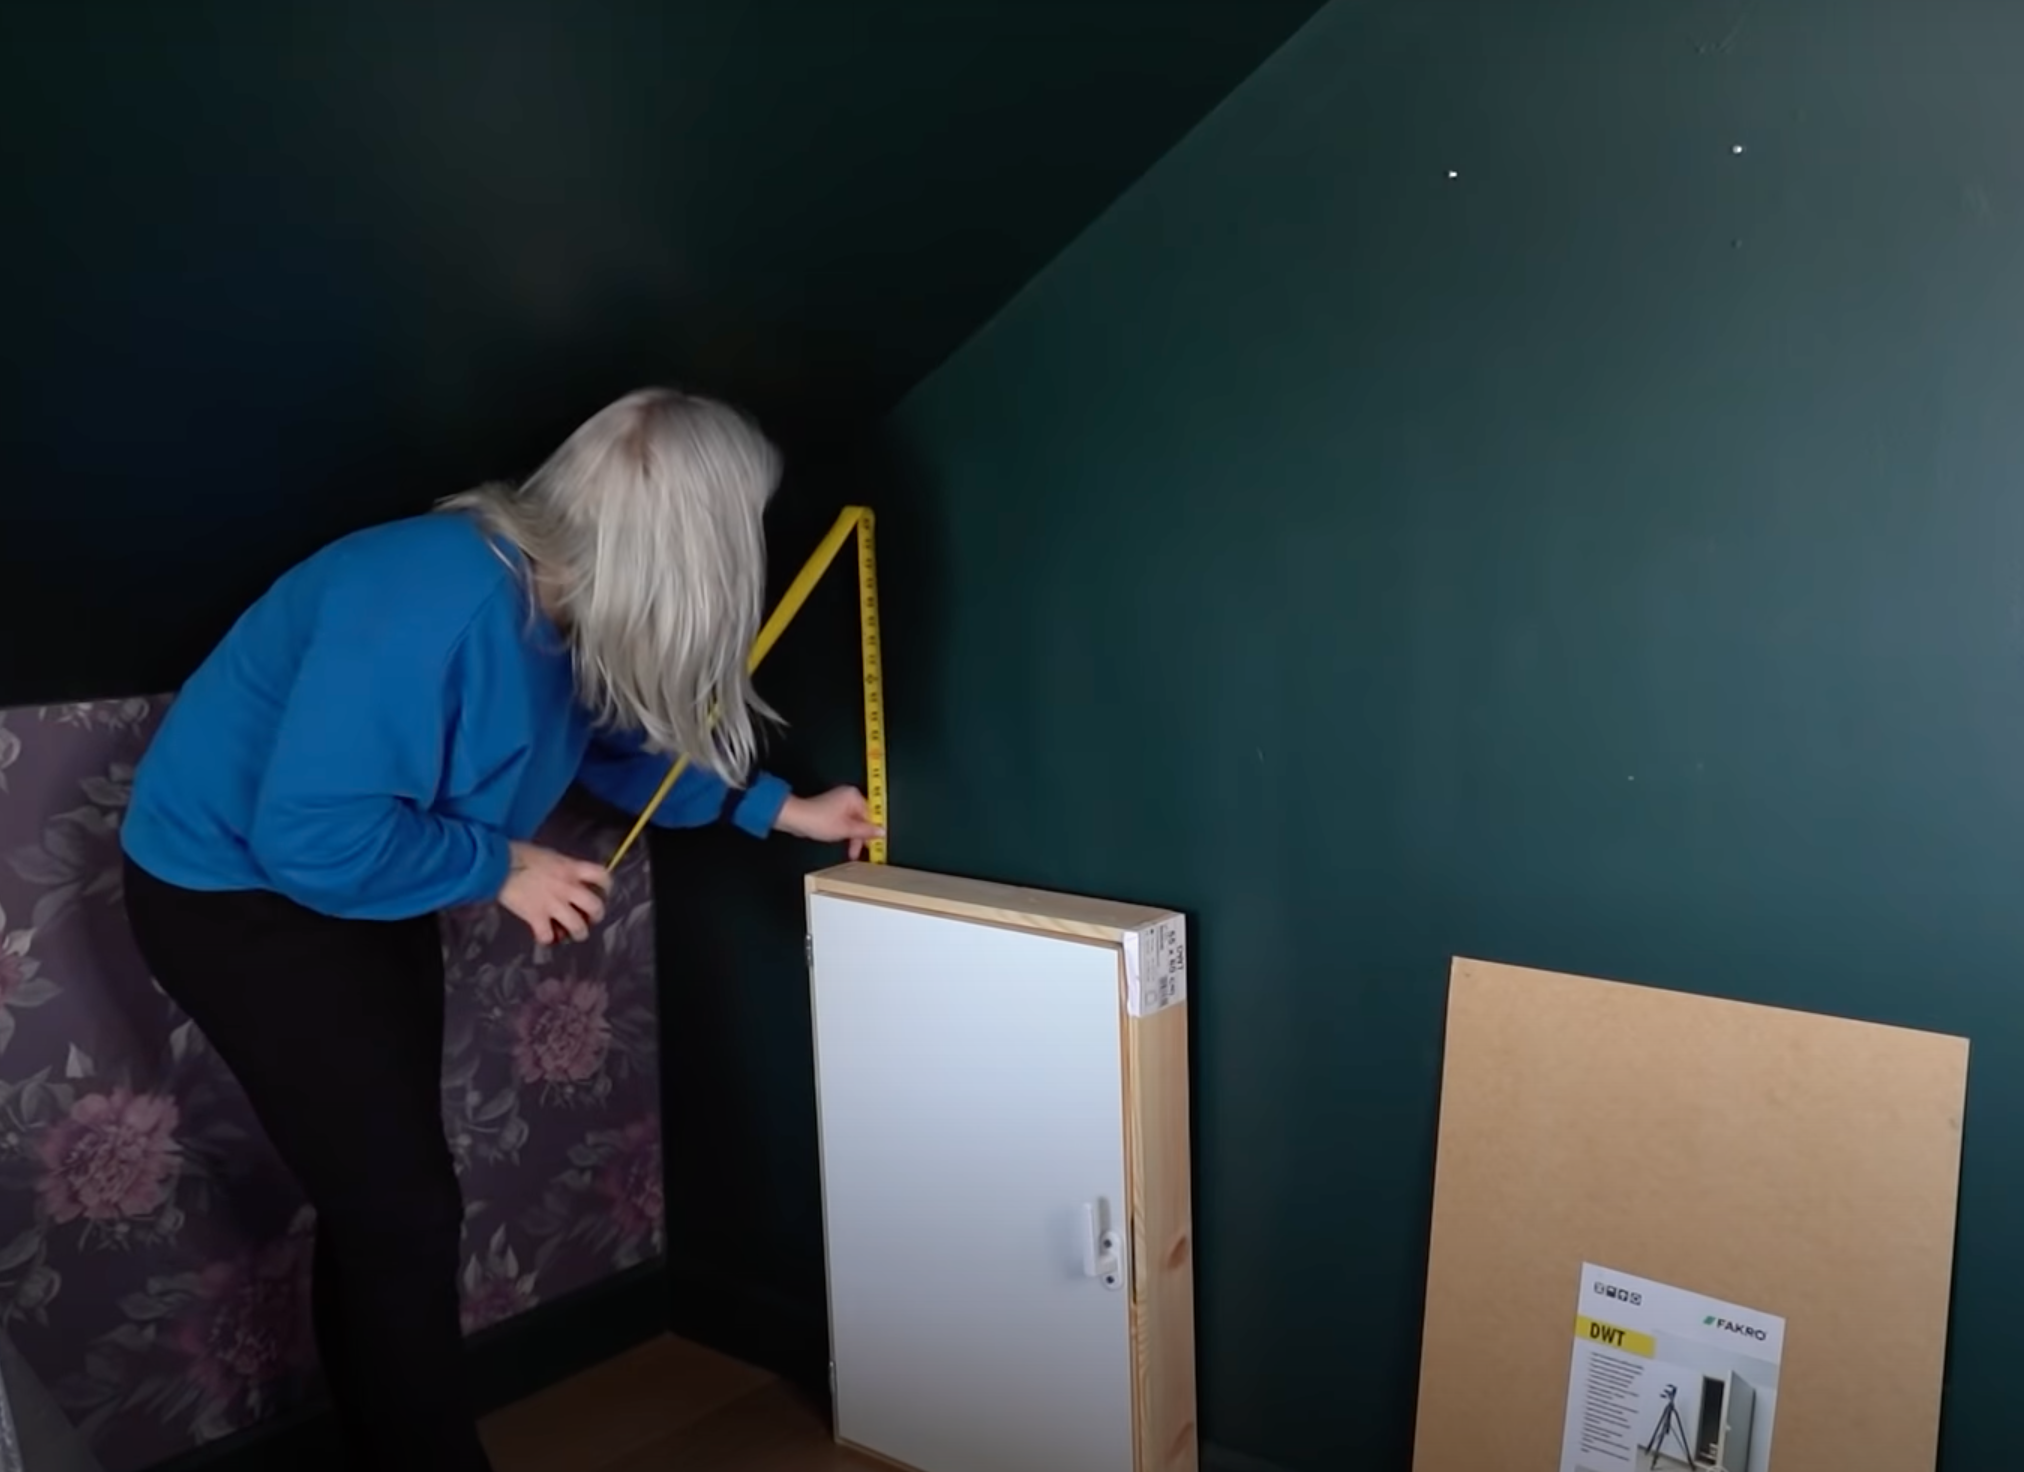
Step 1: Use the door to determine best placement on the wall. Most doors will be installed flush with the floor, however mine was going to sit off the ground by 6”.
Step 2: Using the door insert that came with the packaging, I traced the door size onto the wall.
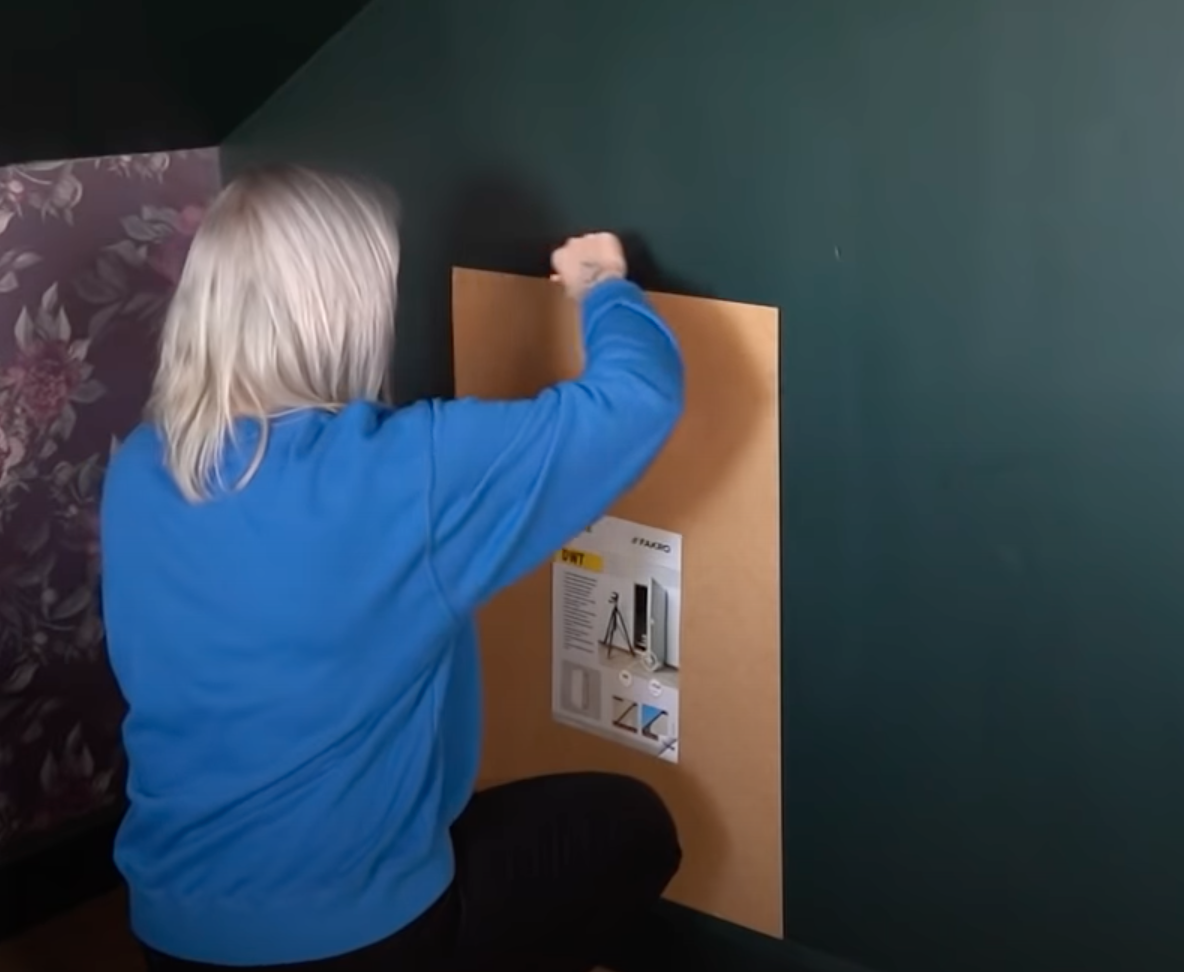
Step 3: I removed the trim on the wall to avoid damage.
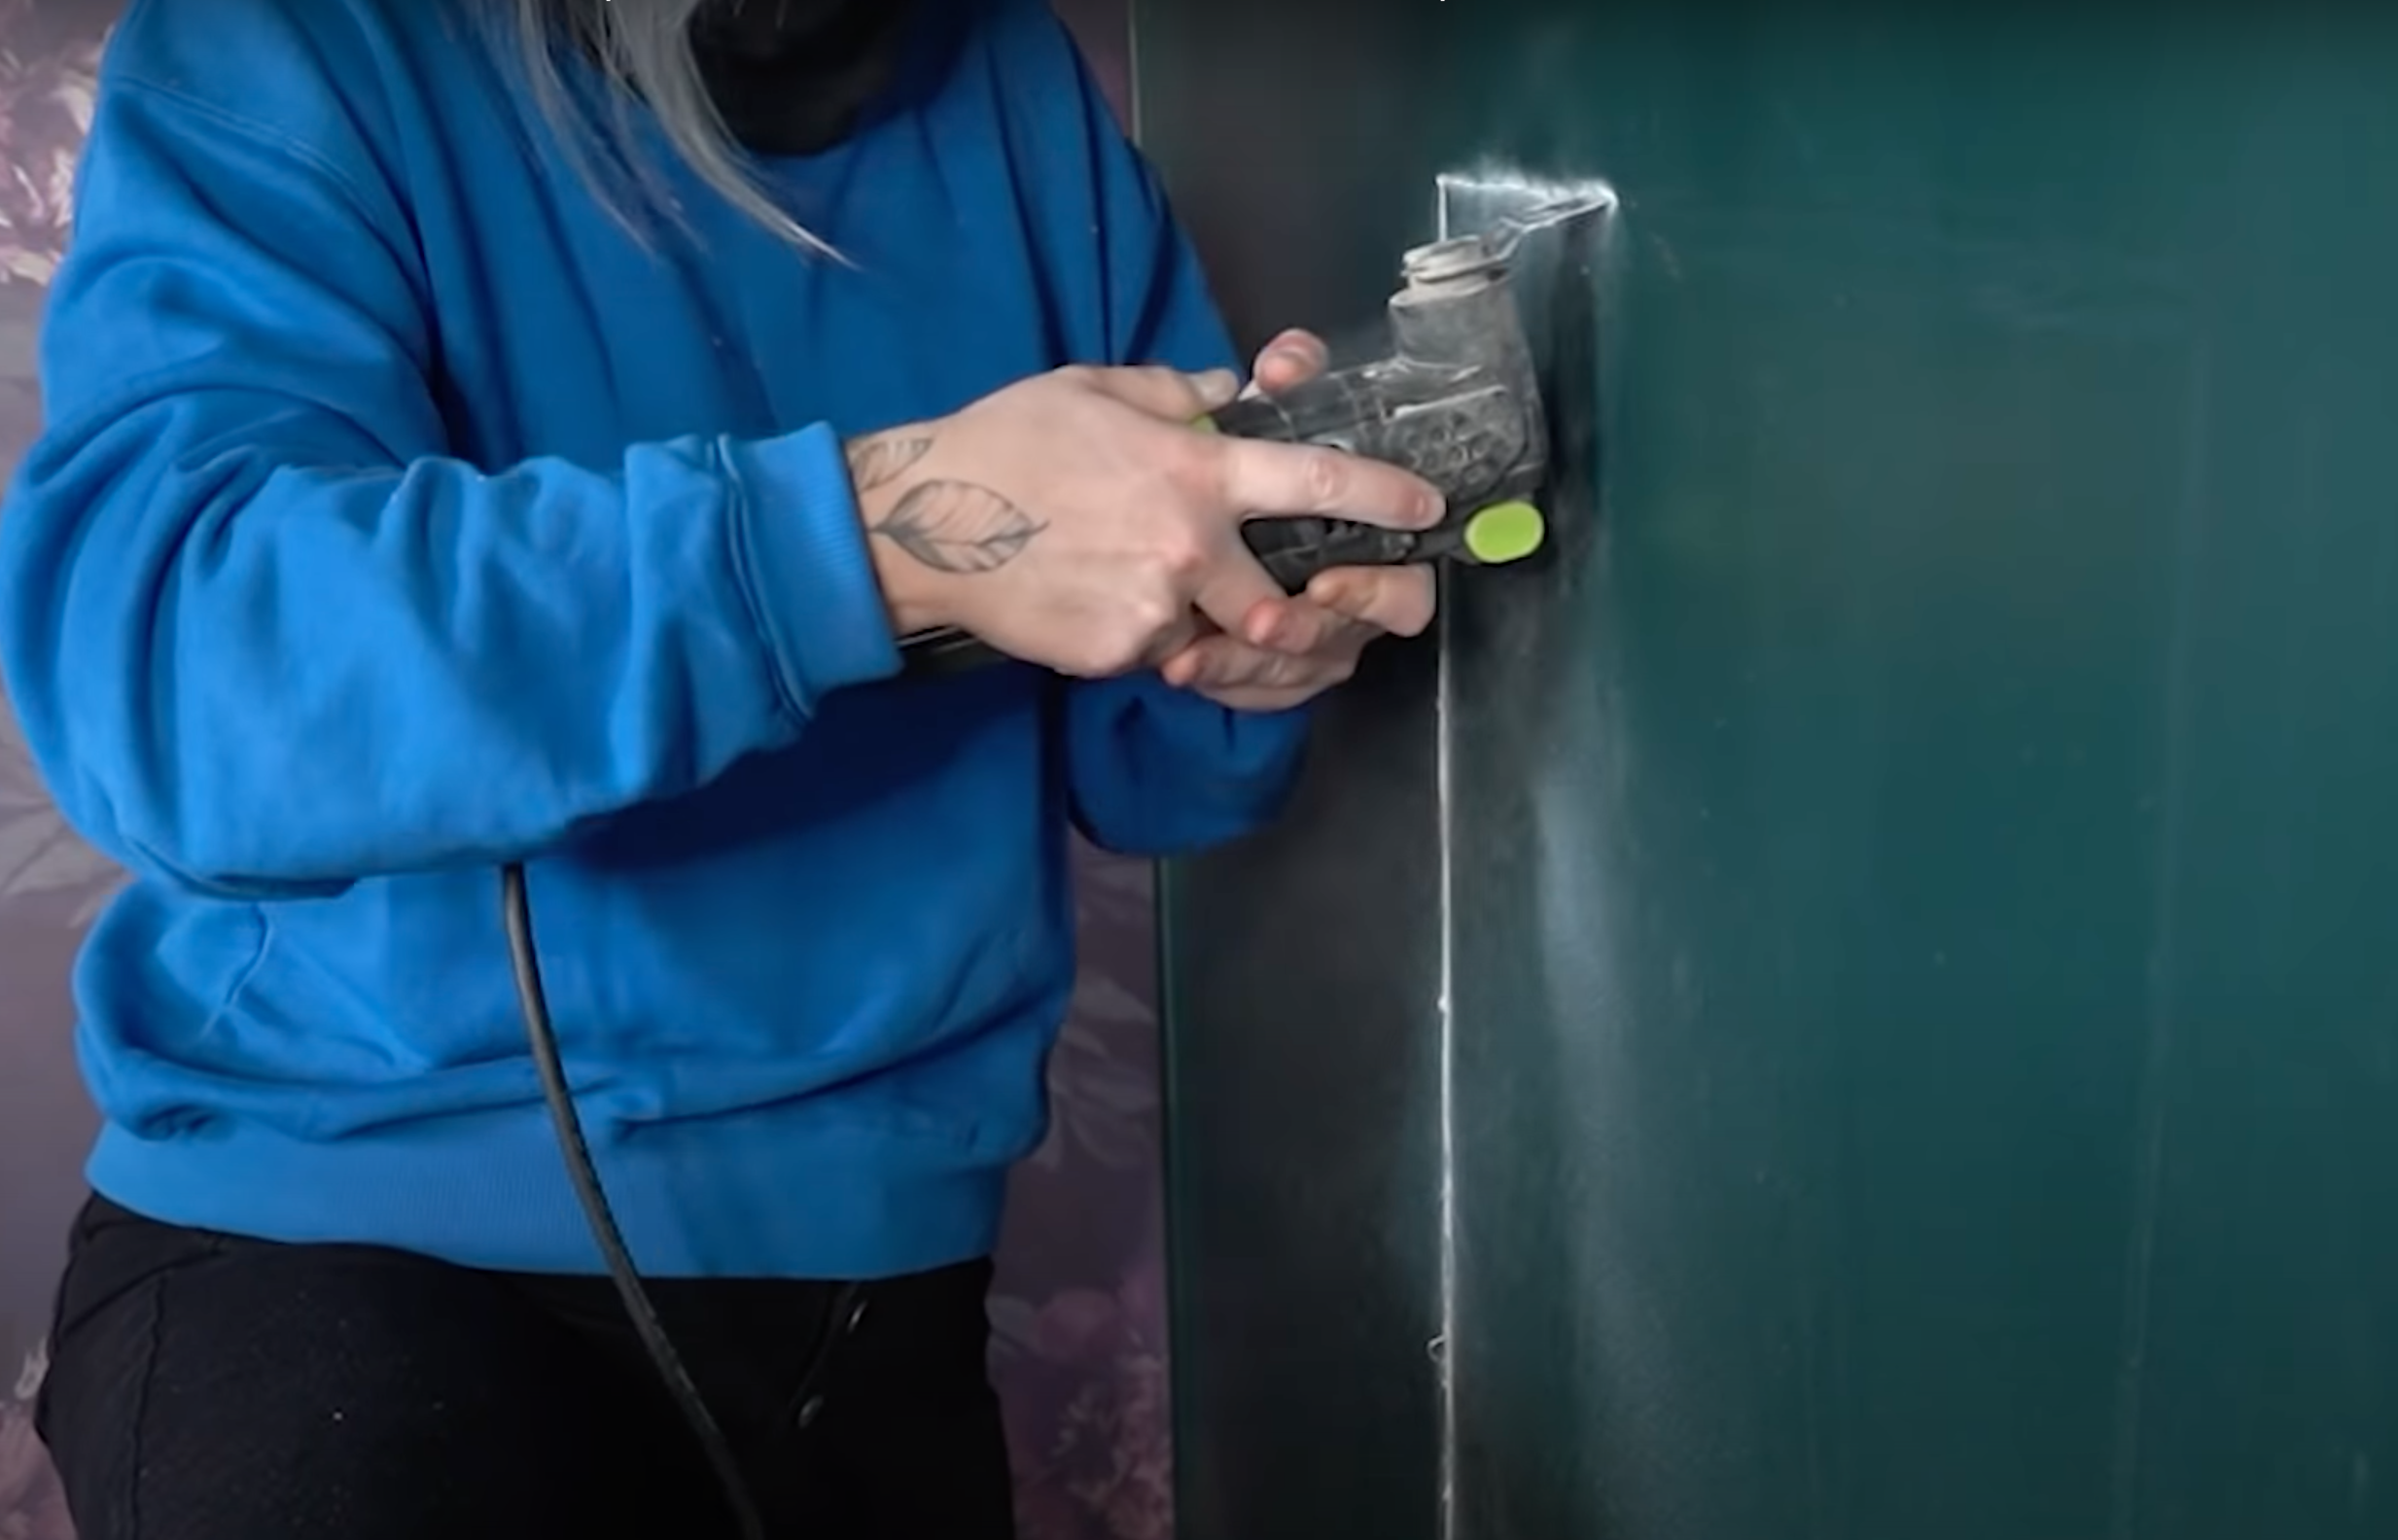
Step 4: Using a multi-tool, I followed my traced line on the wall and cut through the first layer of drywall. Don’t cut too deep until you know where wires and studs are.
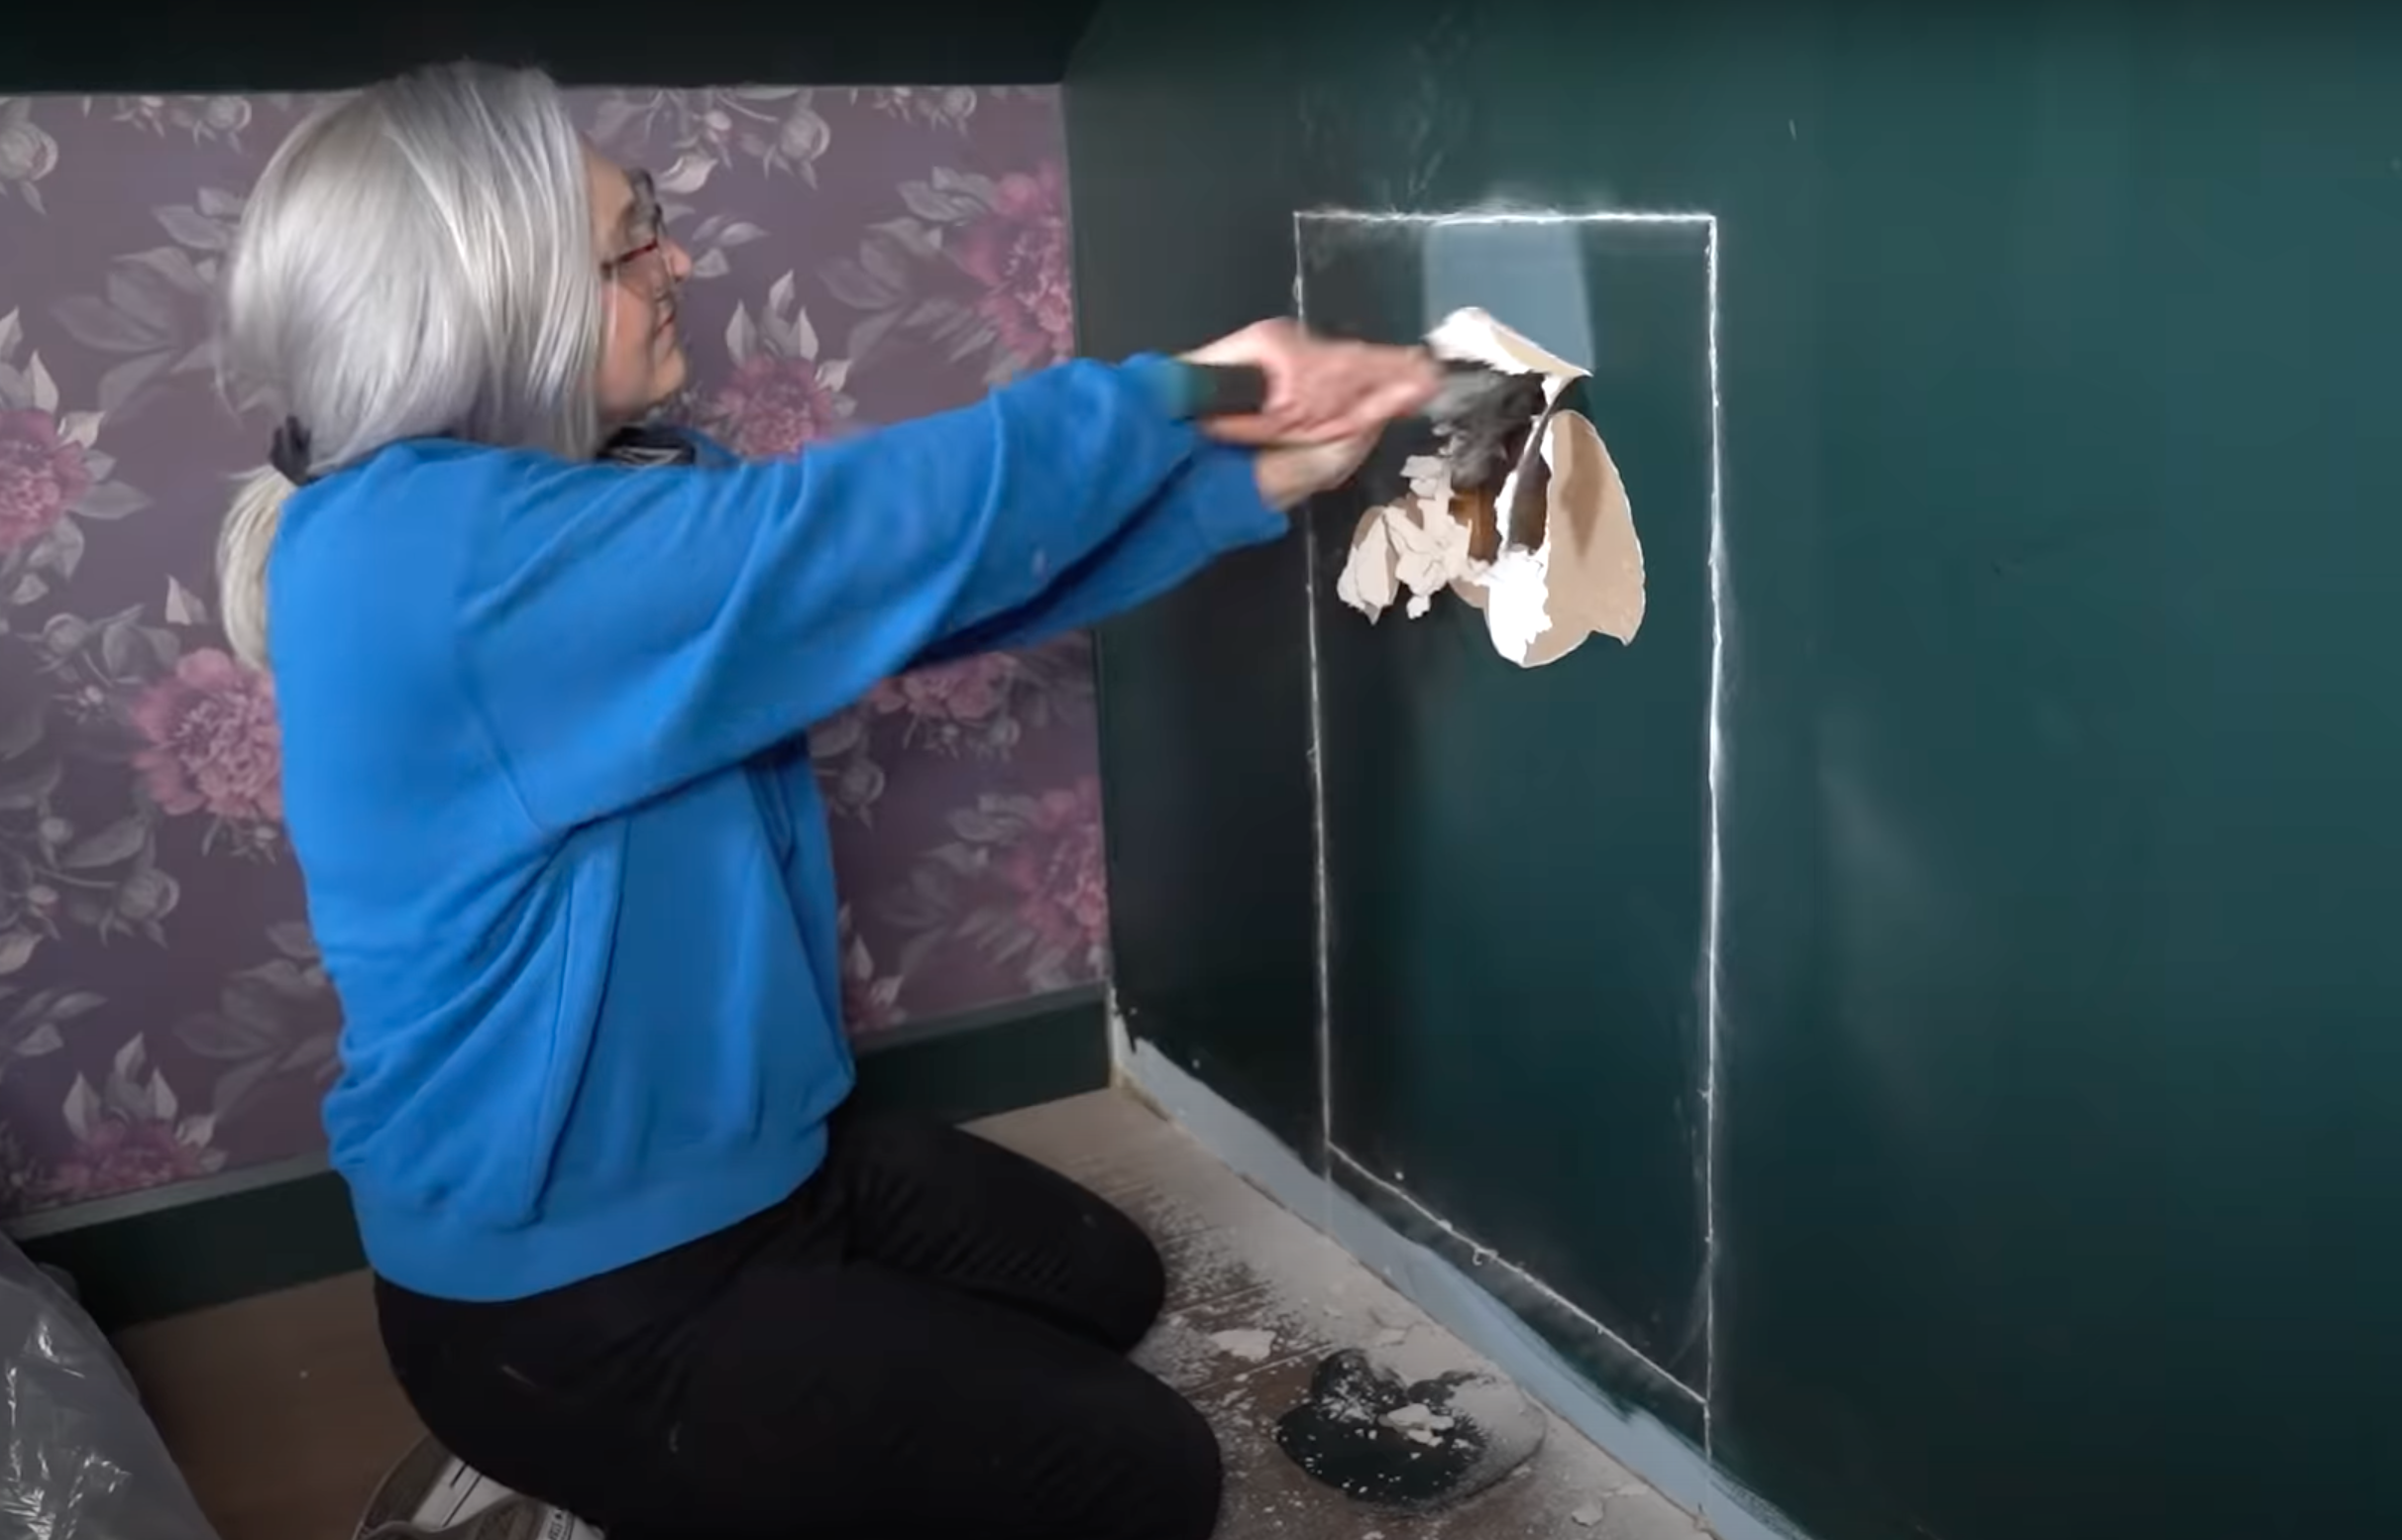
Step 5: Remove the drywall inside the cut line. I decided to cut the drywall all the way to the floor. I knew this would result in adding the drywall back in but it was much easier to access the studs and wire this way.
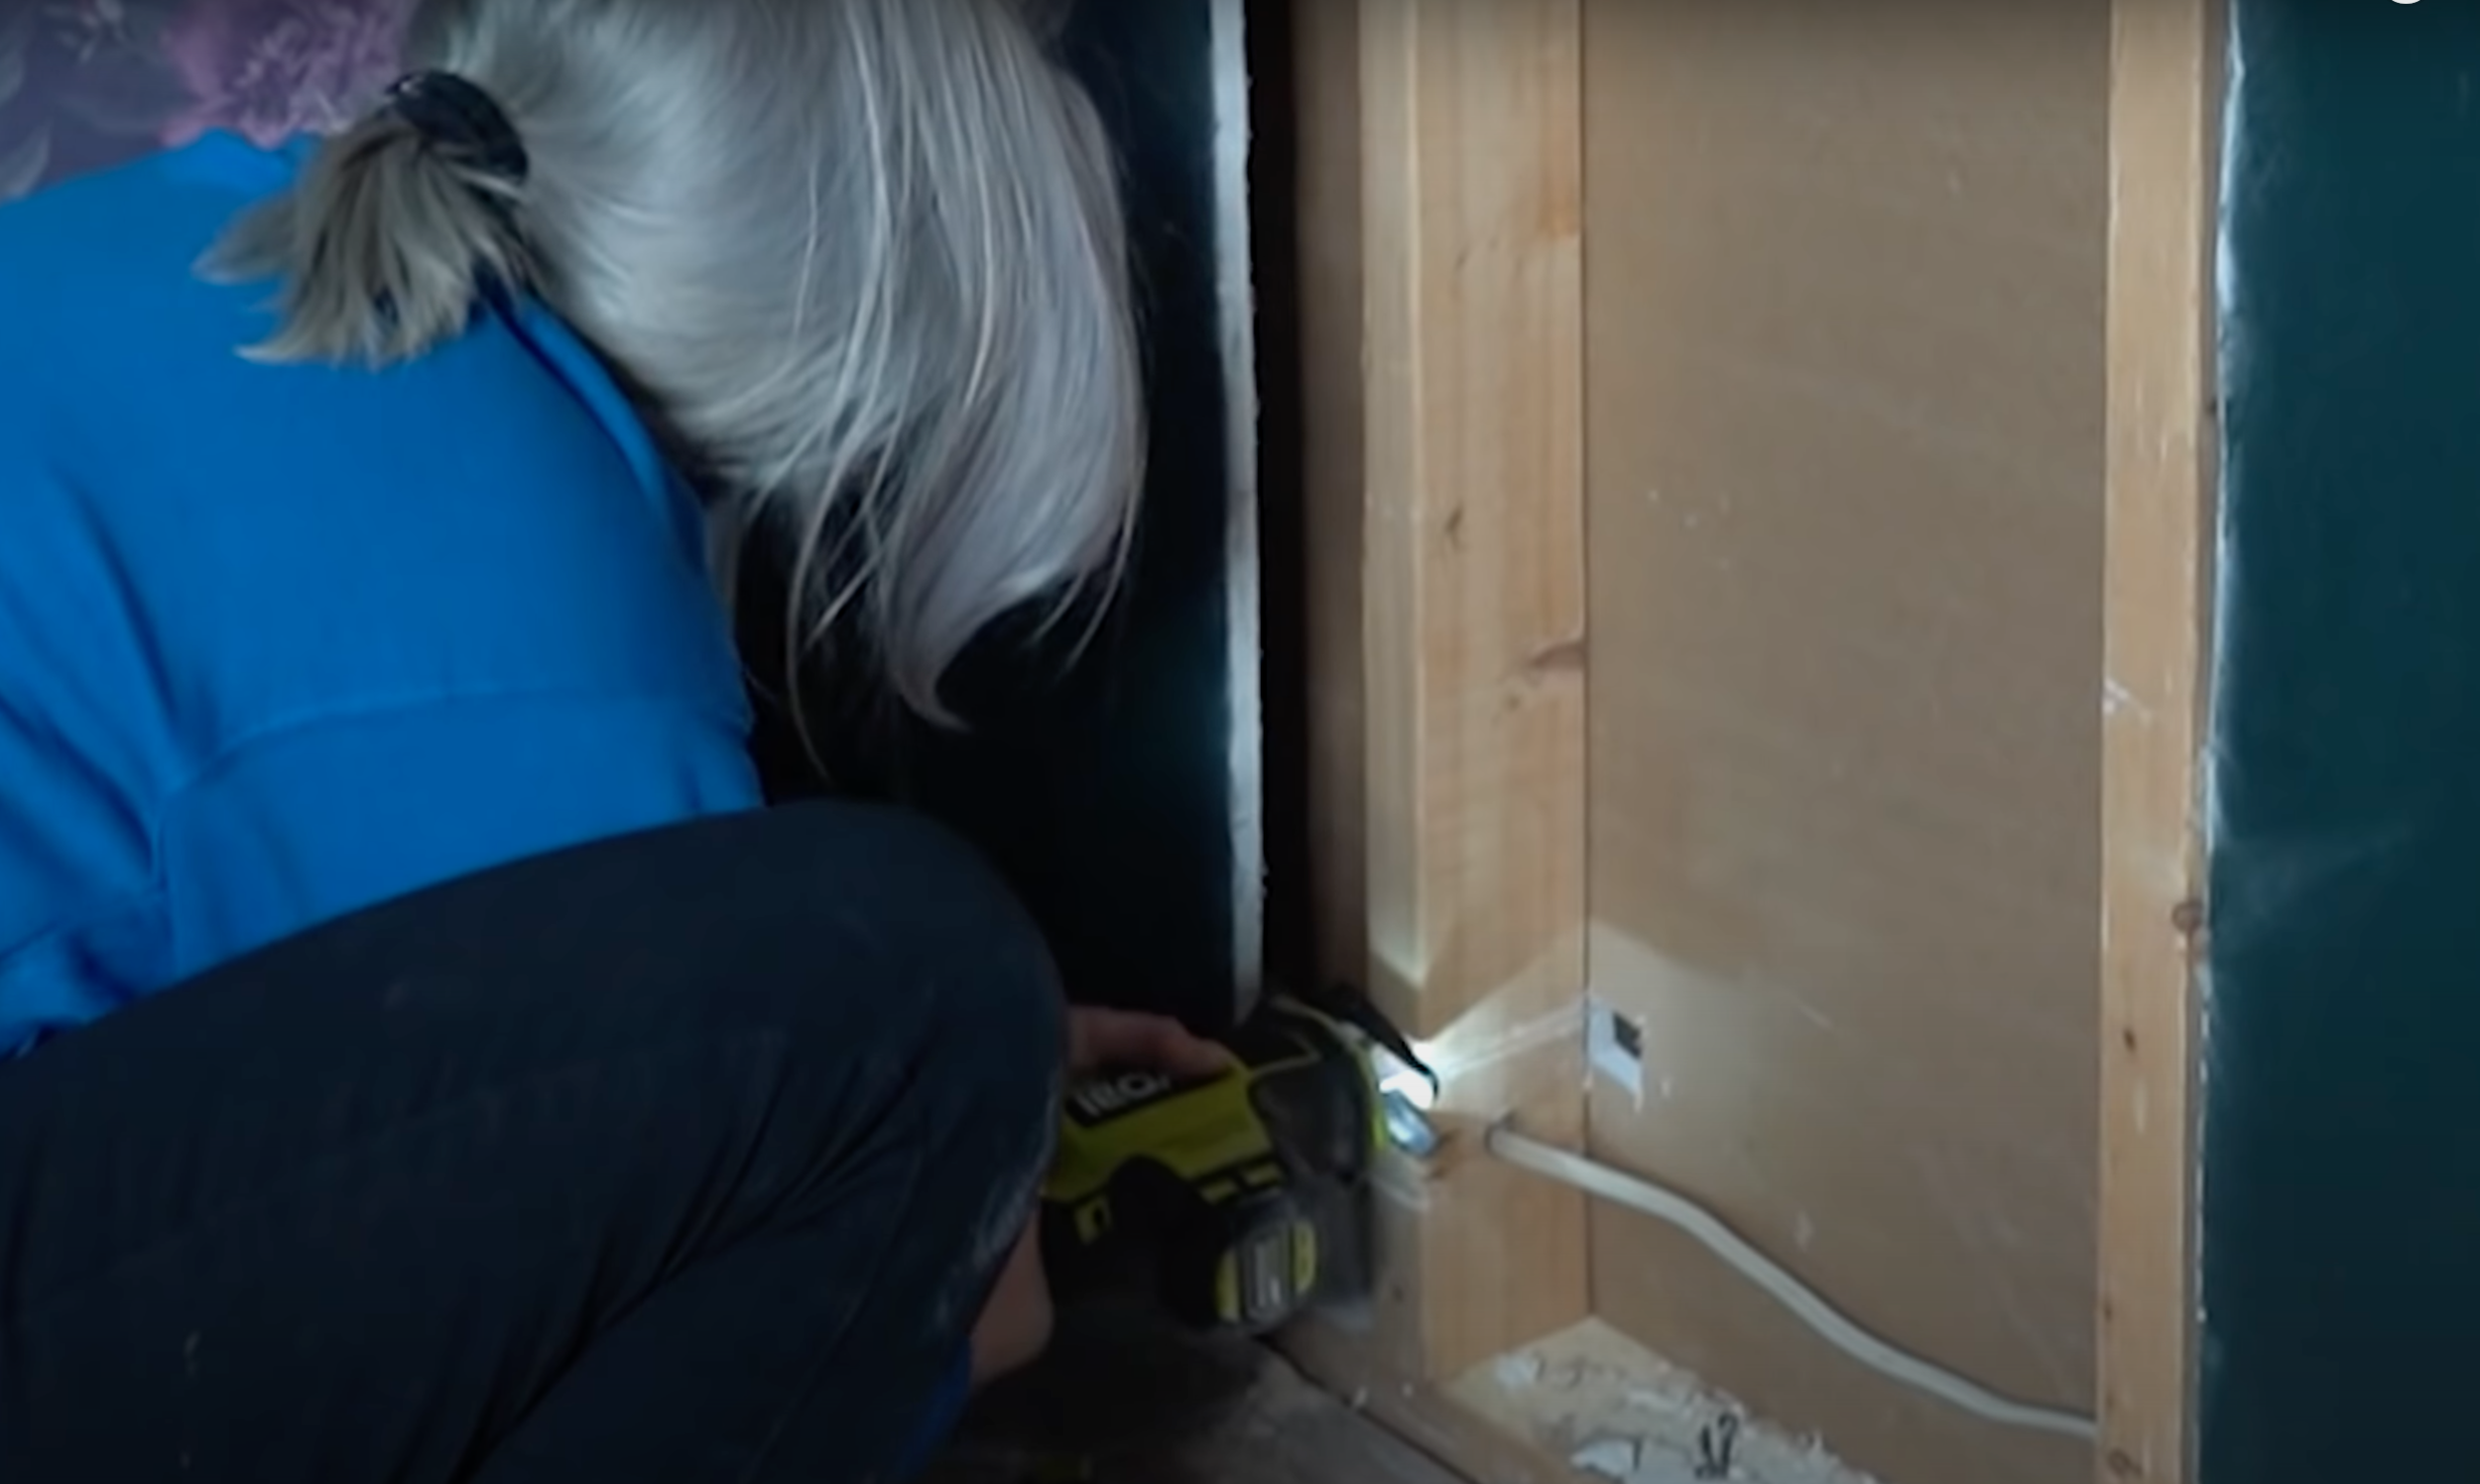
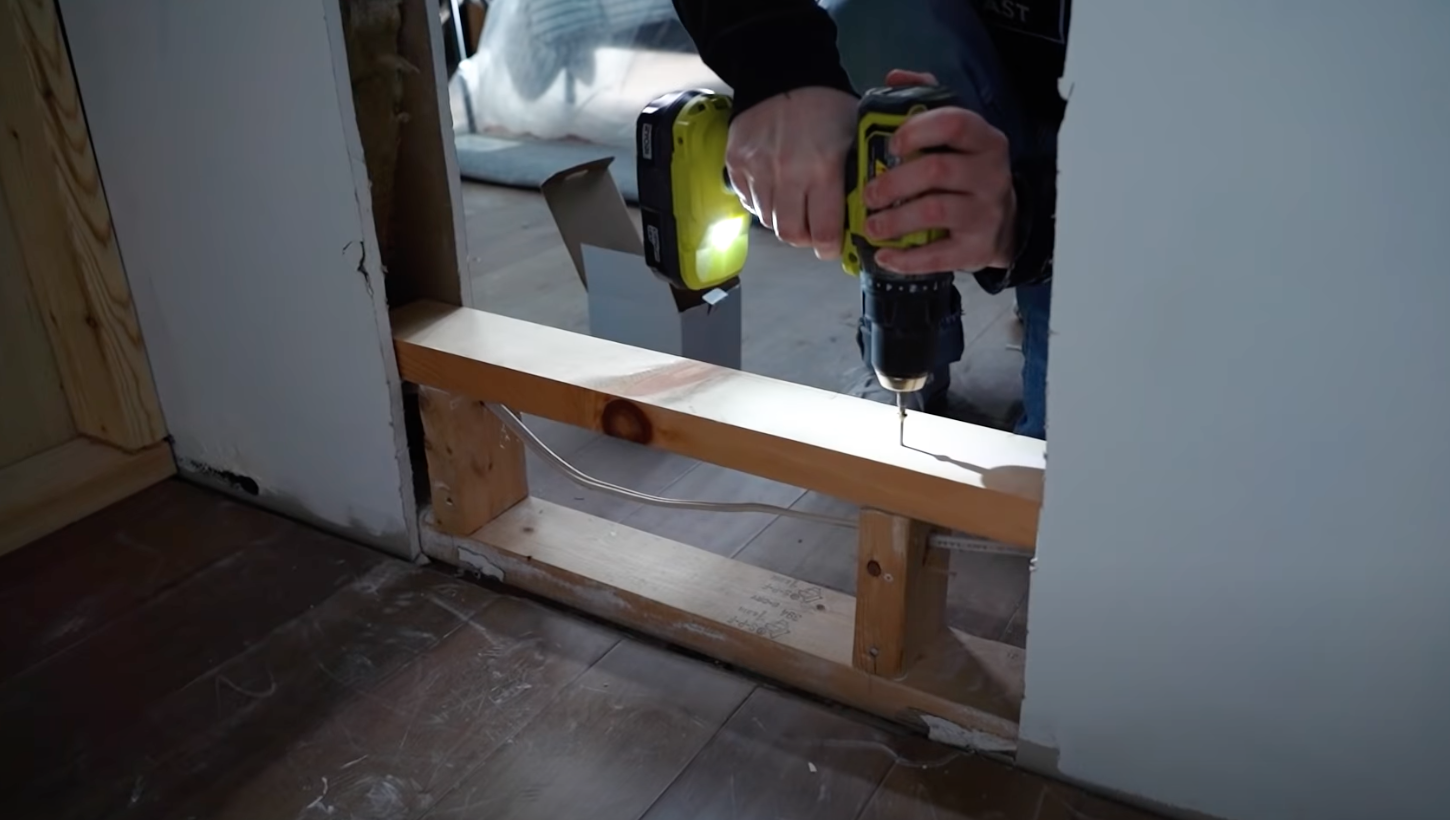
Step 6: Using a reciprocating saw, cut through the 2x4 beams, being careful not to hit any wires that may run inside the wall. Once removed, use the multi-tool to cut the second side of the drywall.
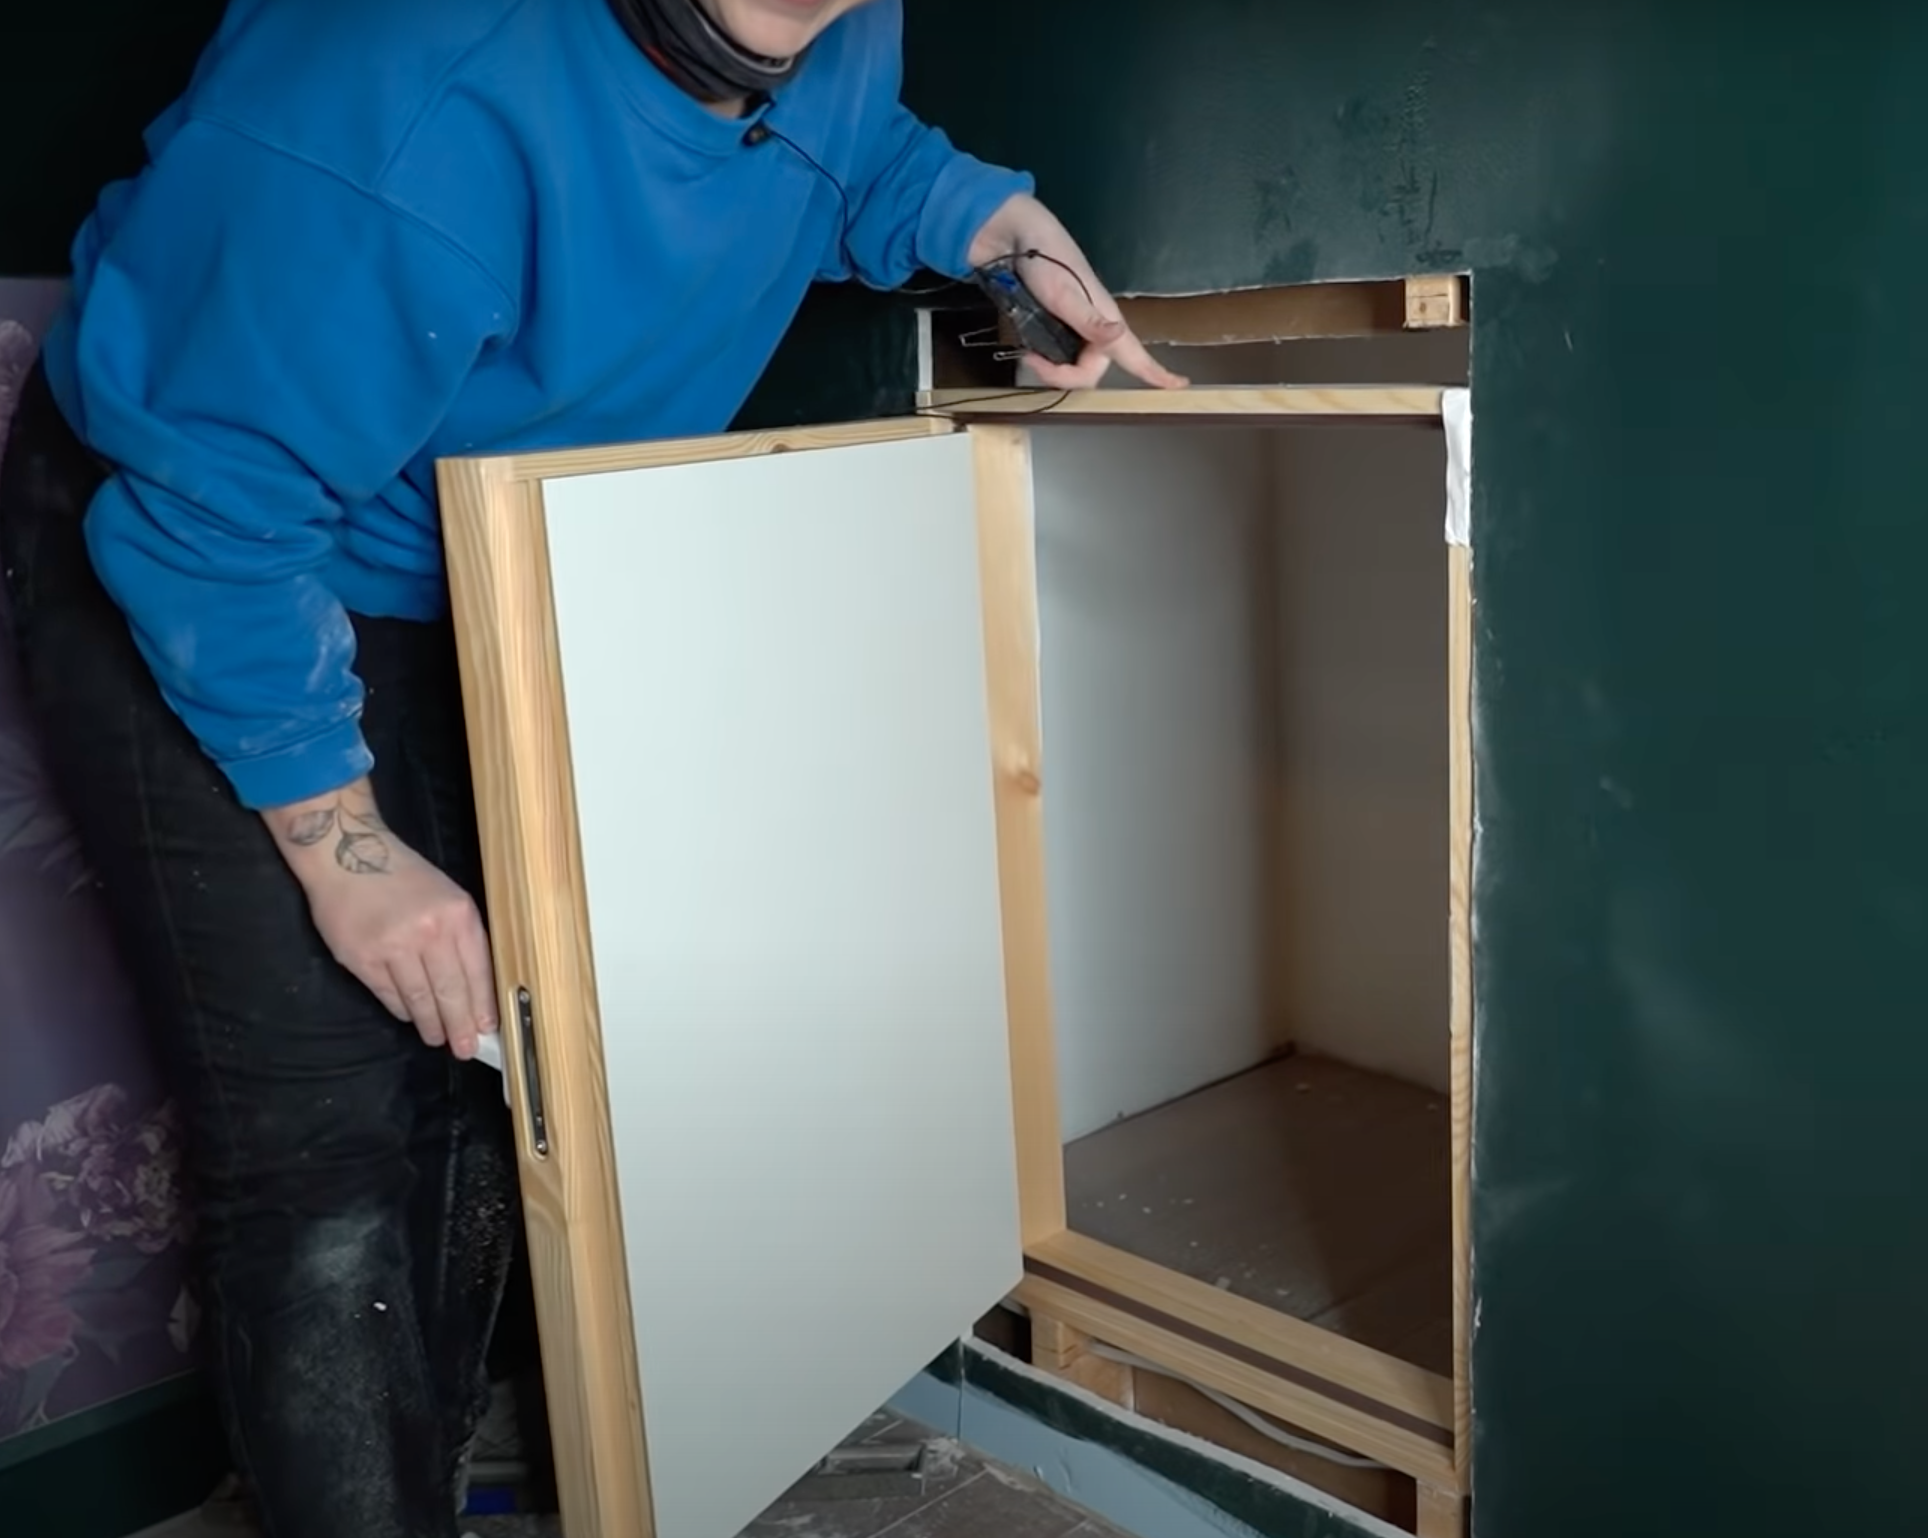
Step 7: Dry fit your door to make sure it fits before you proceed. In this photo, the door looks too small for the opening but I planned to add a 2x4 on the top and bottom of the frame.
Step 8: Add the 2x4 lumber to the top and bottom.
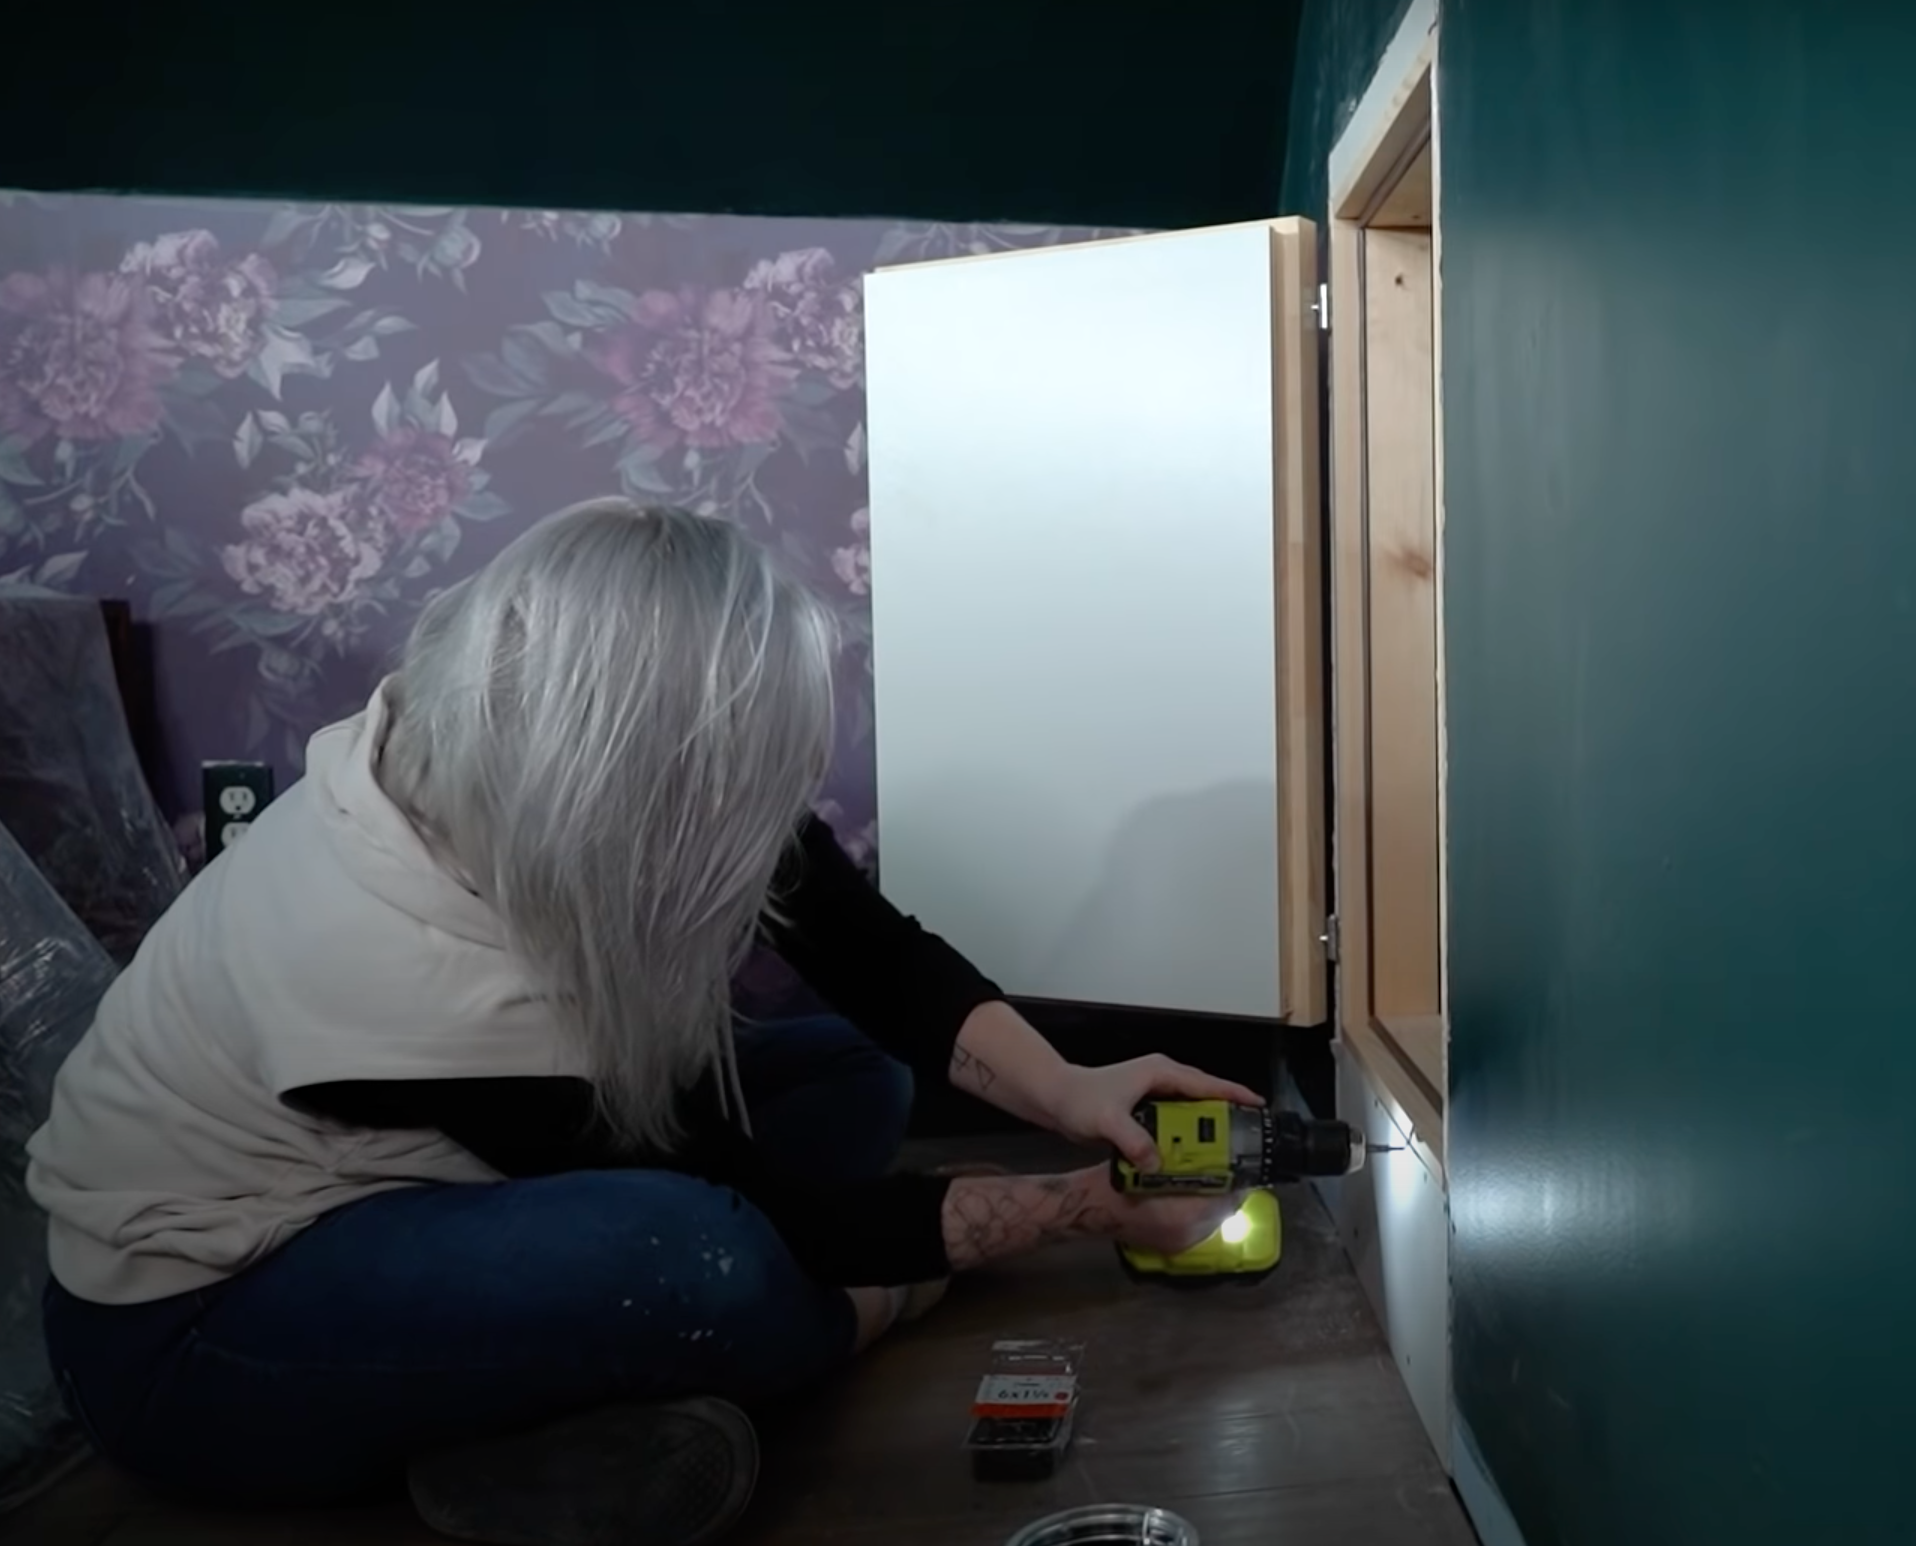
Step 9: Secure door in place and add drywall to any open wall area that needs to be covered.
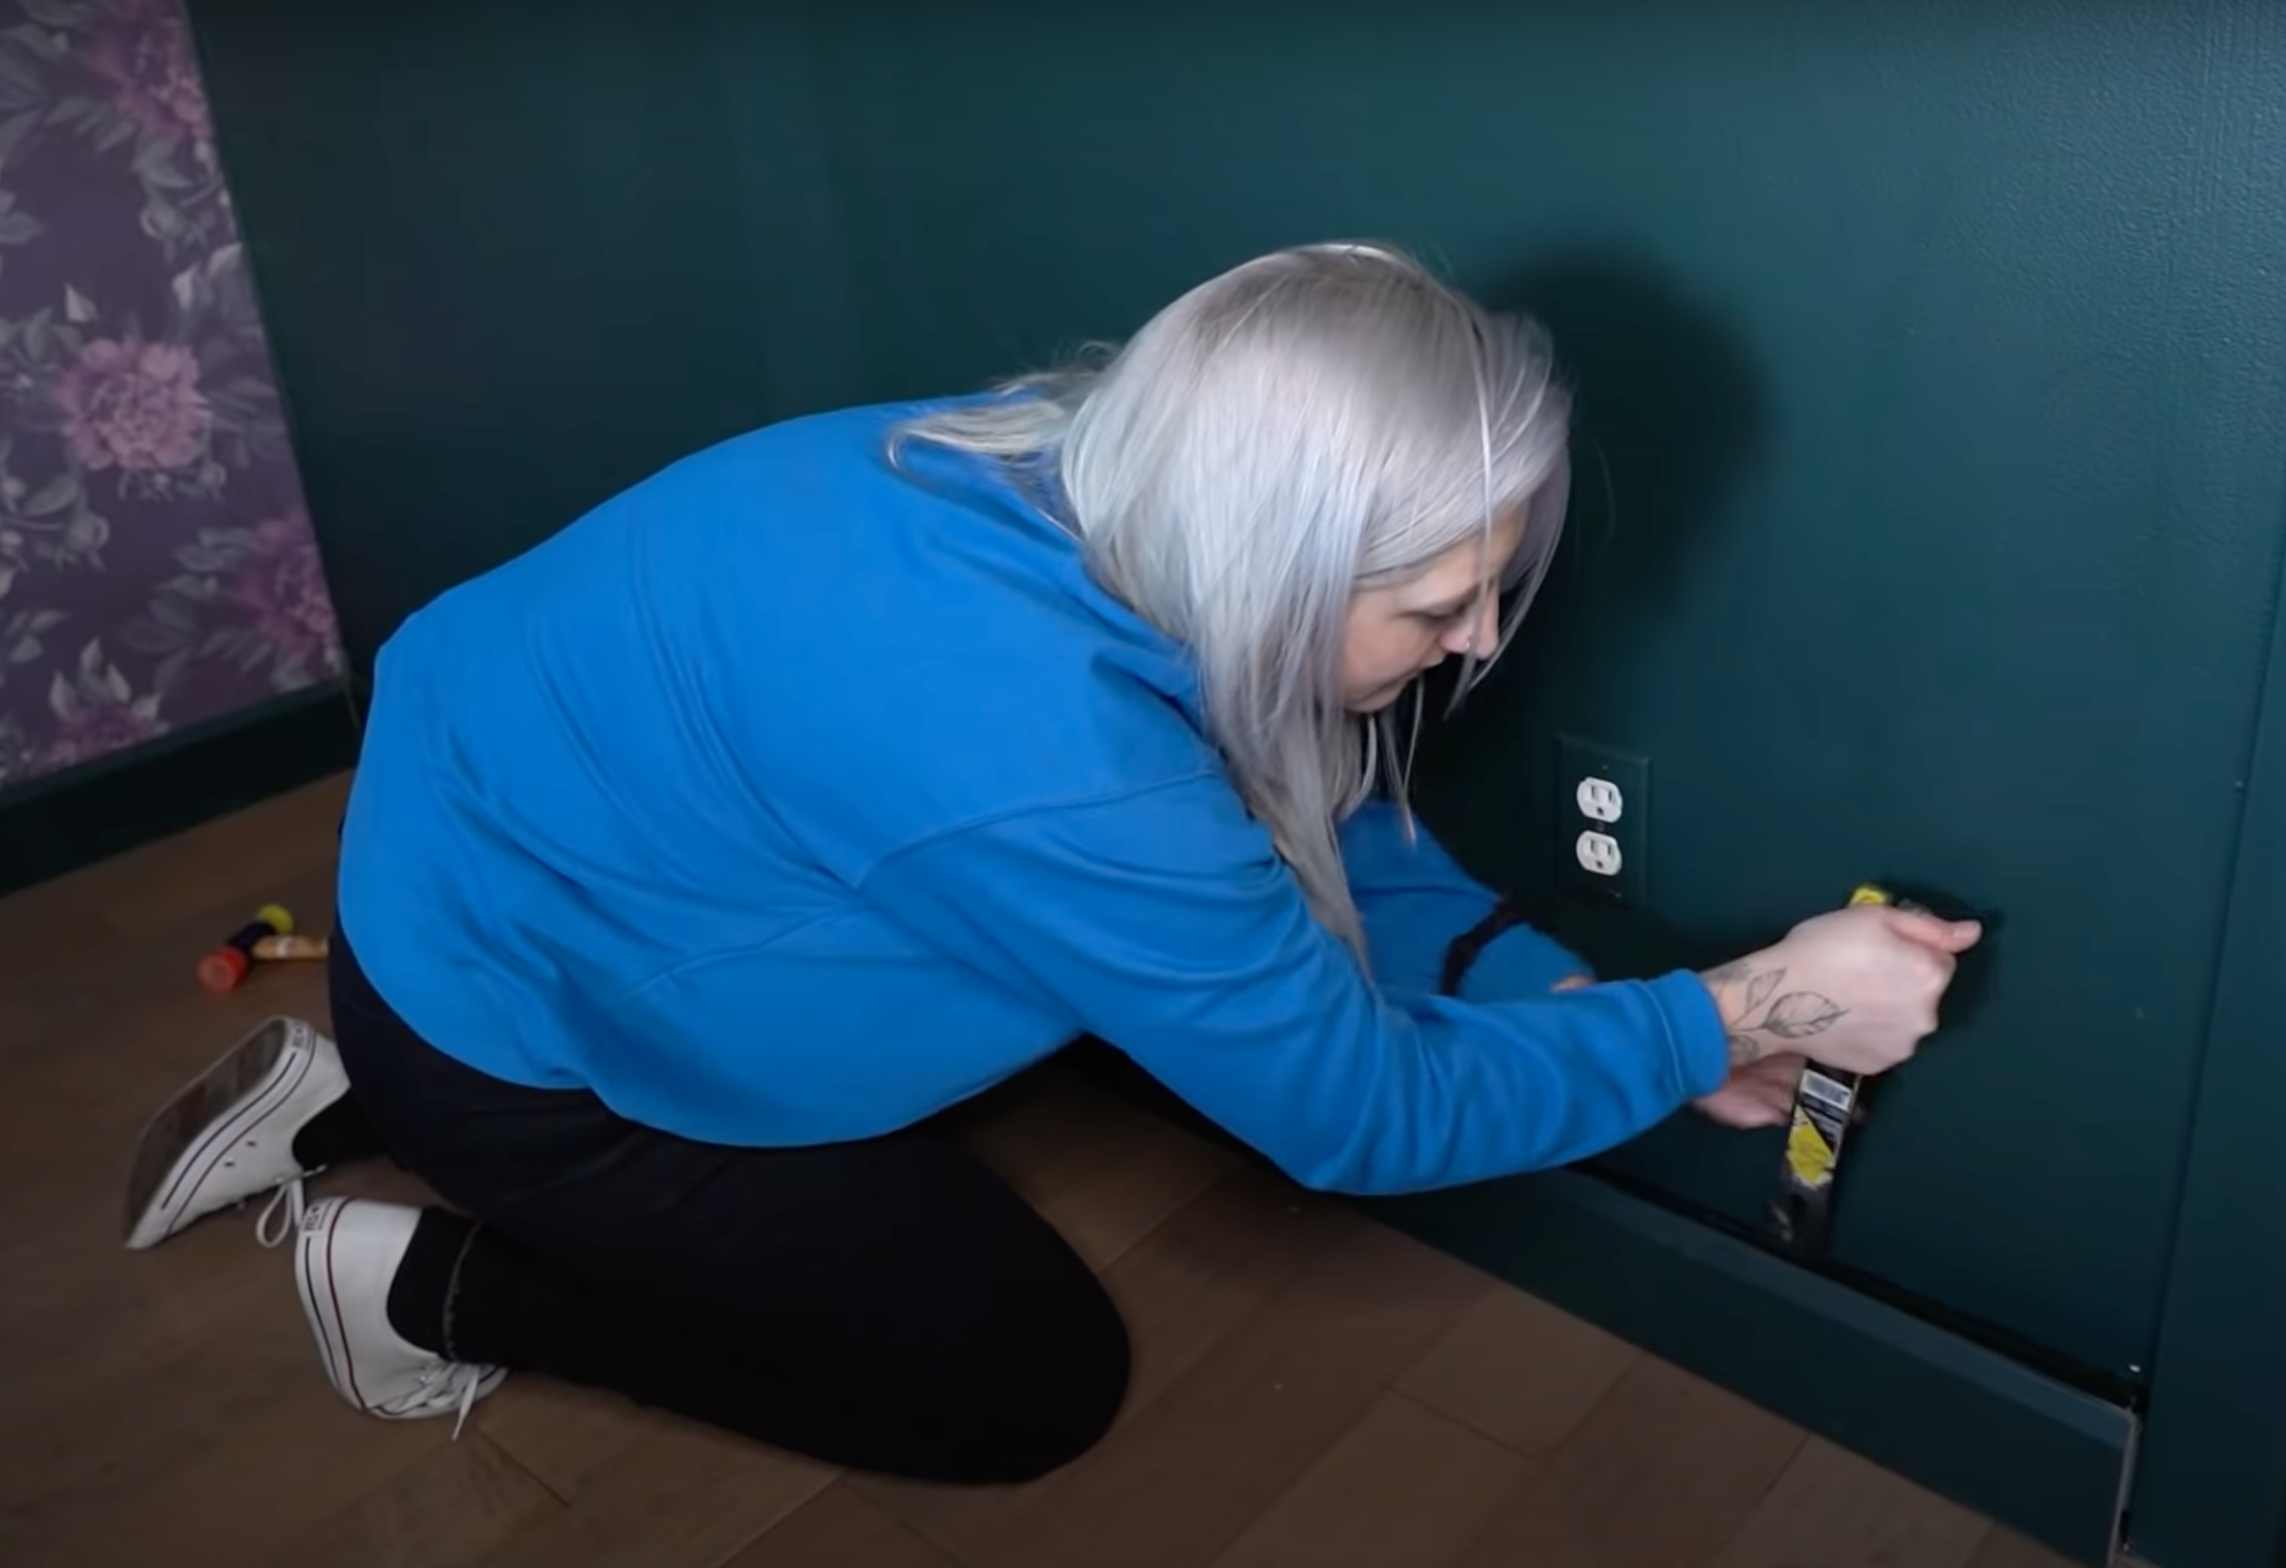
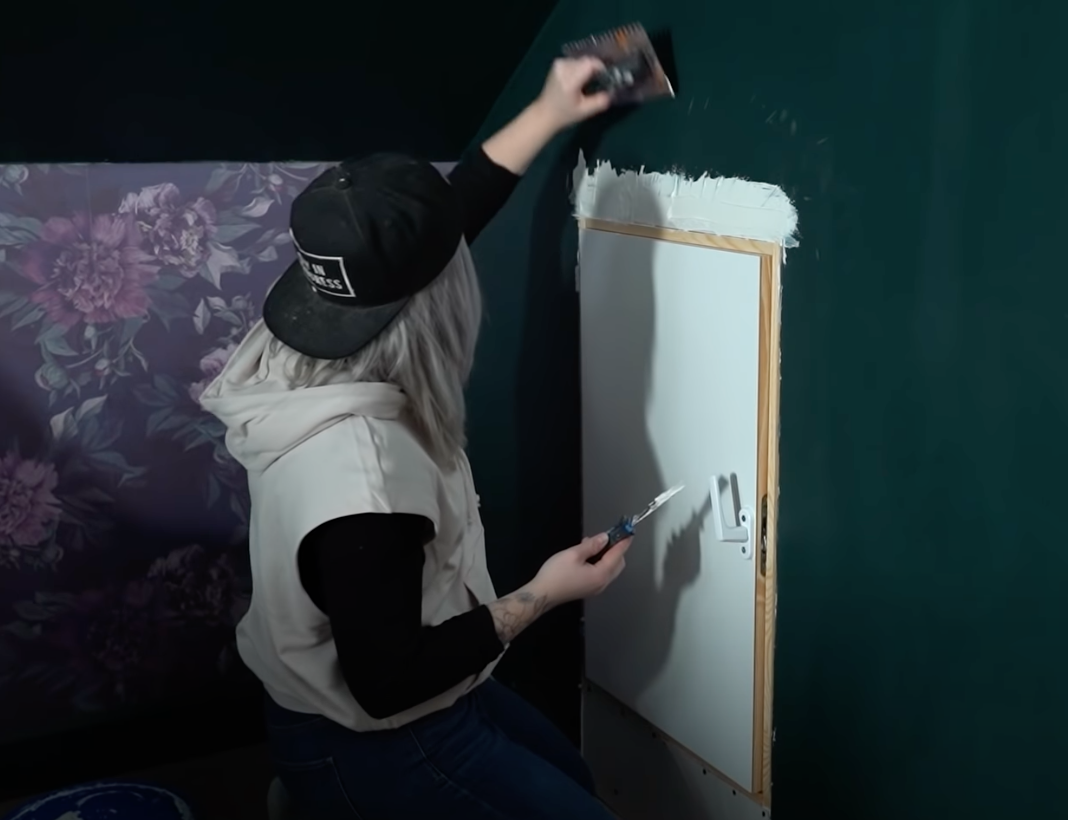
Step 10: Mud the new drywall. This may require two layers but make sure to lightly sand between each coat. Once sanded flat, paint wall to your desired colour!
THE BOOKSHELF
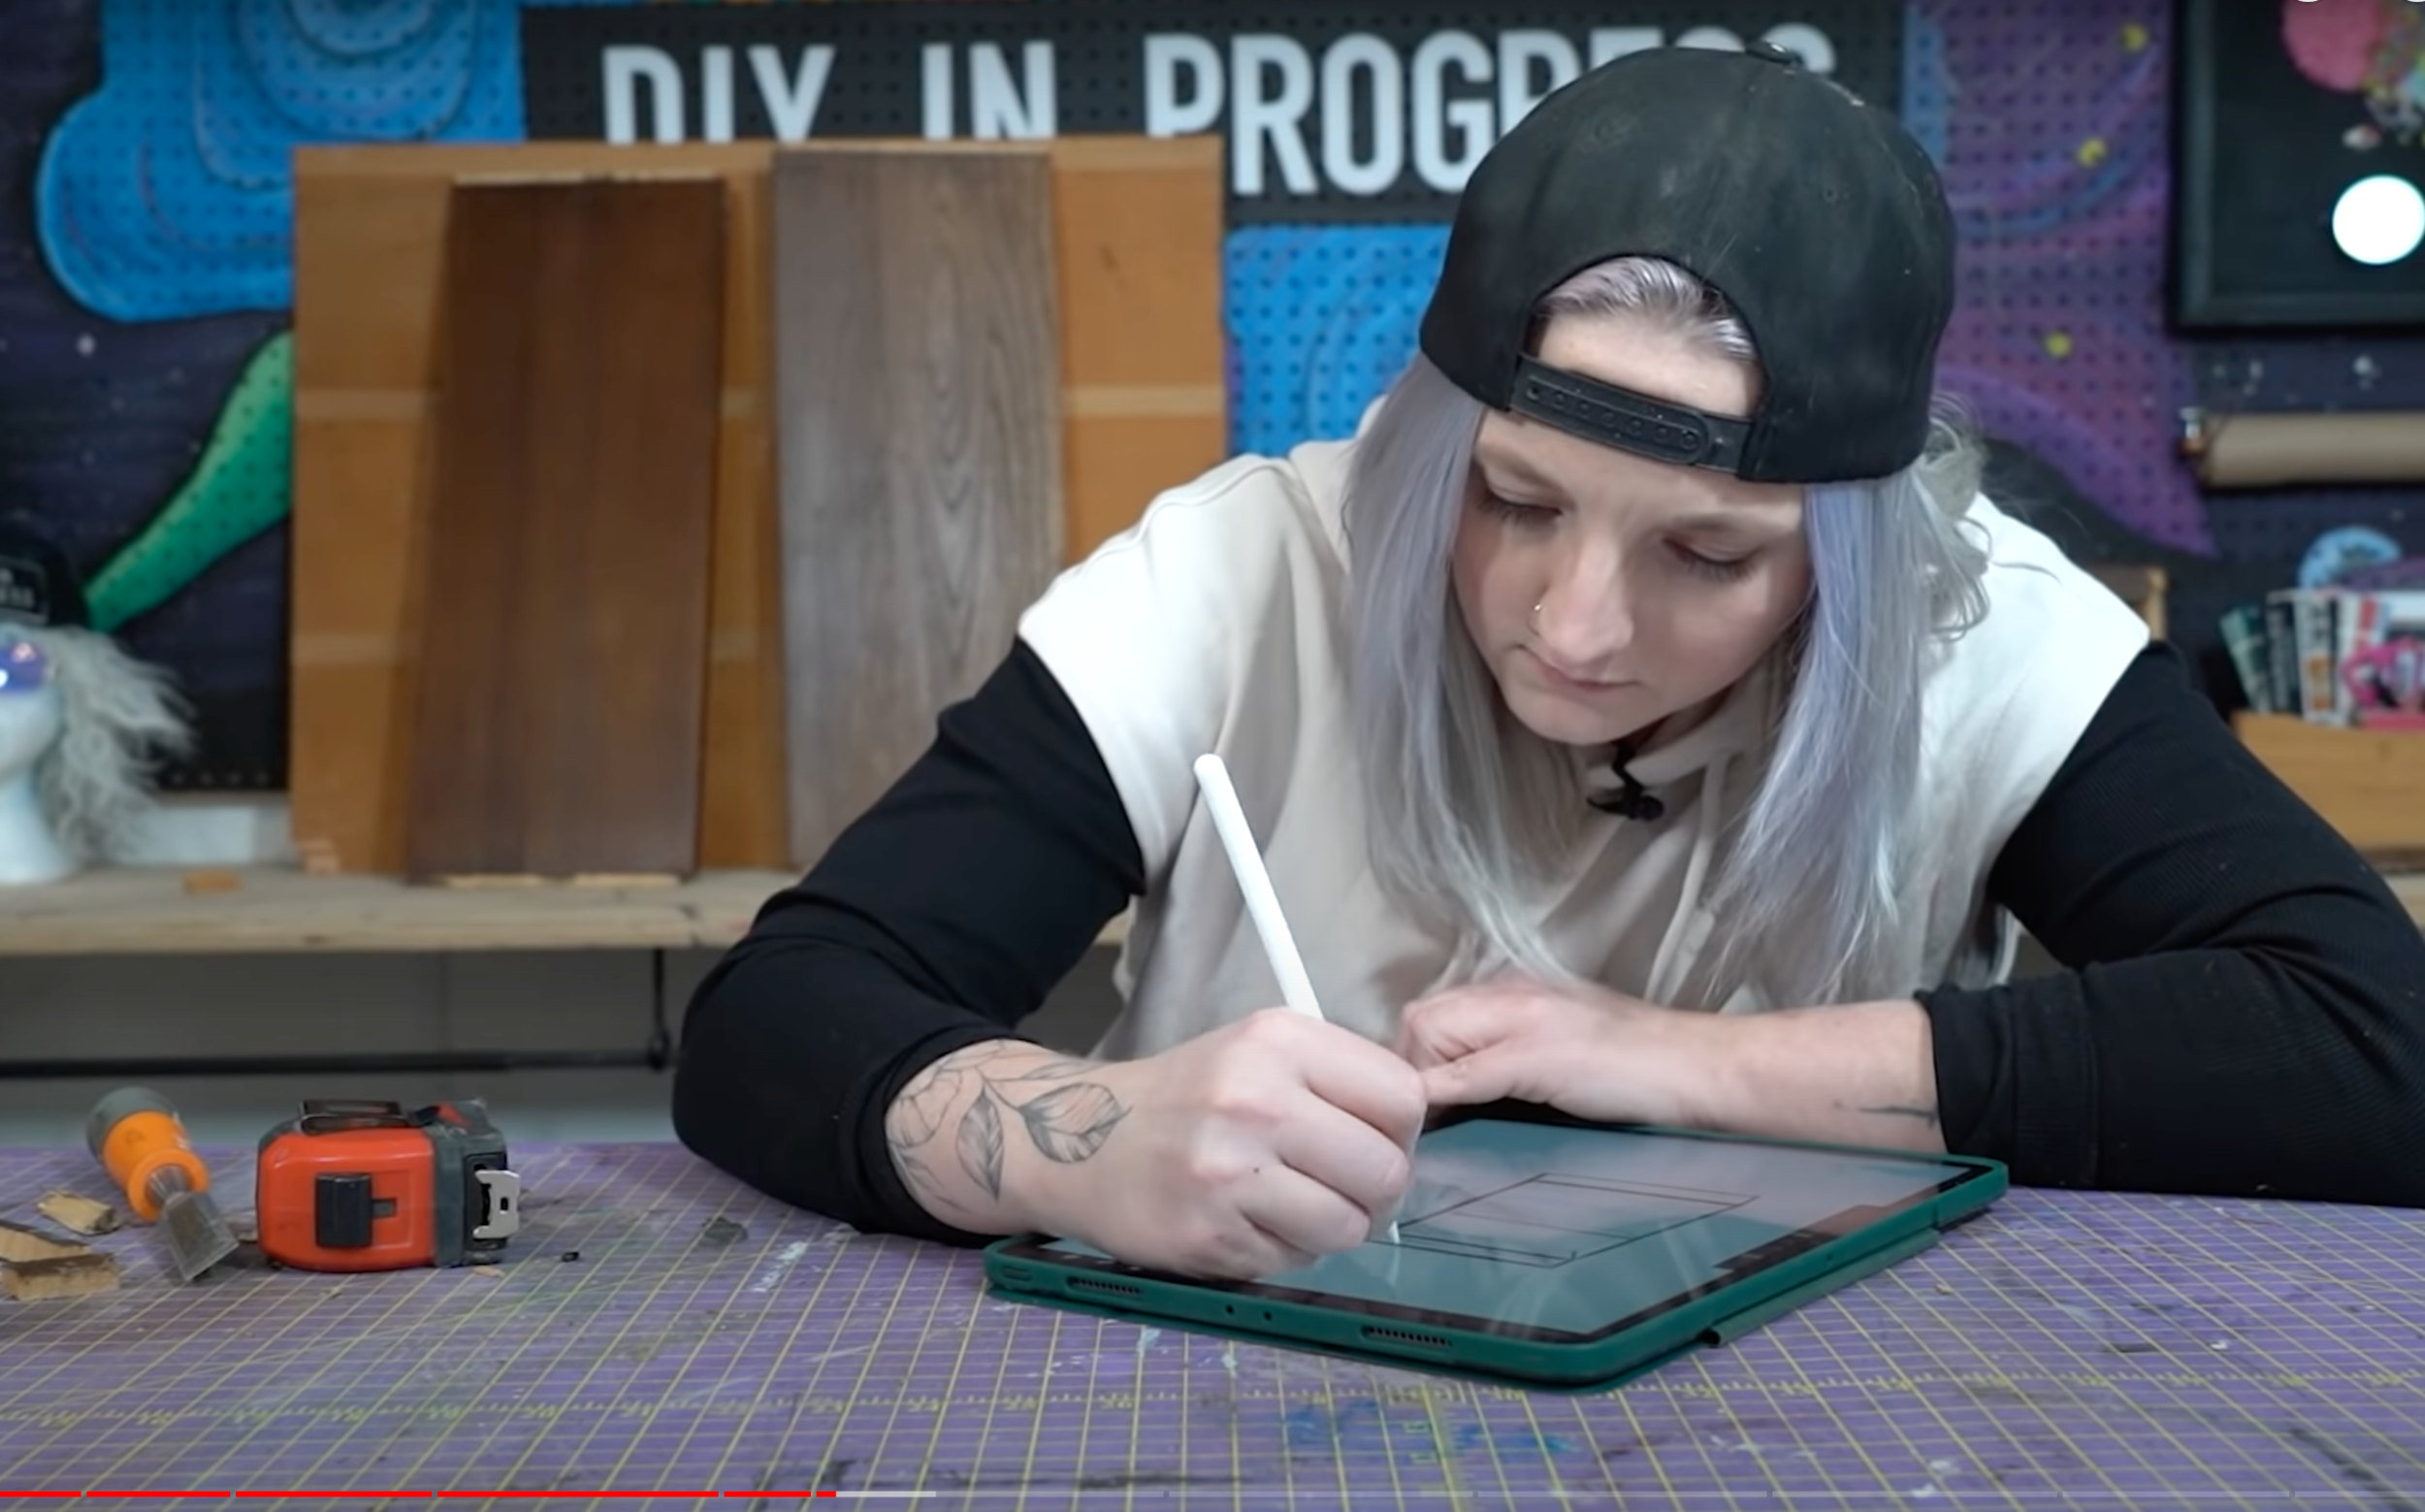
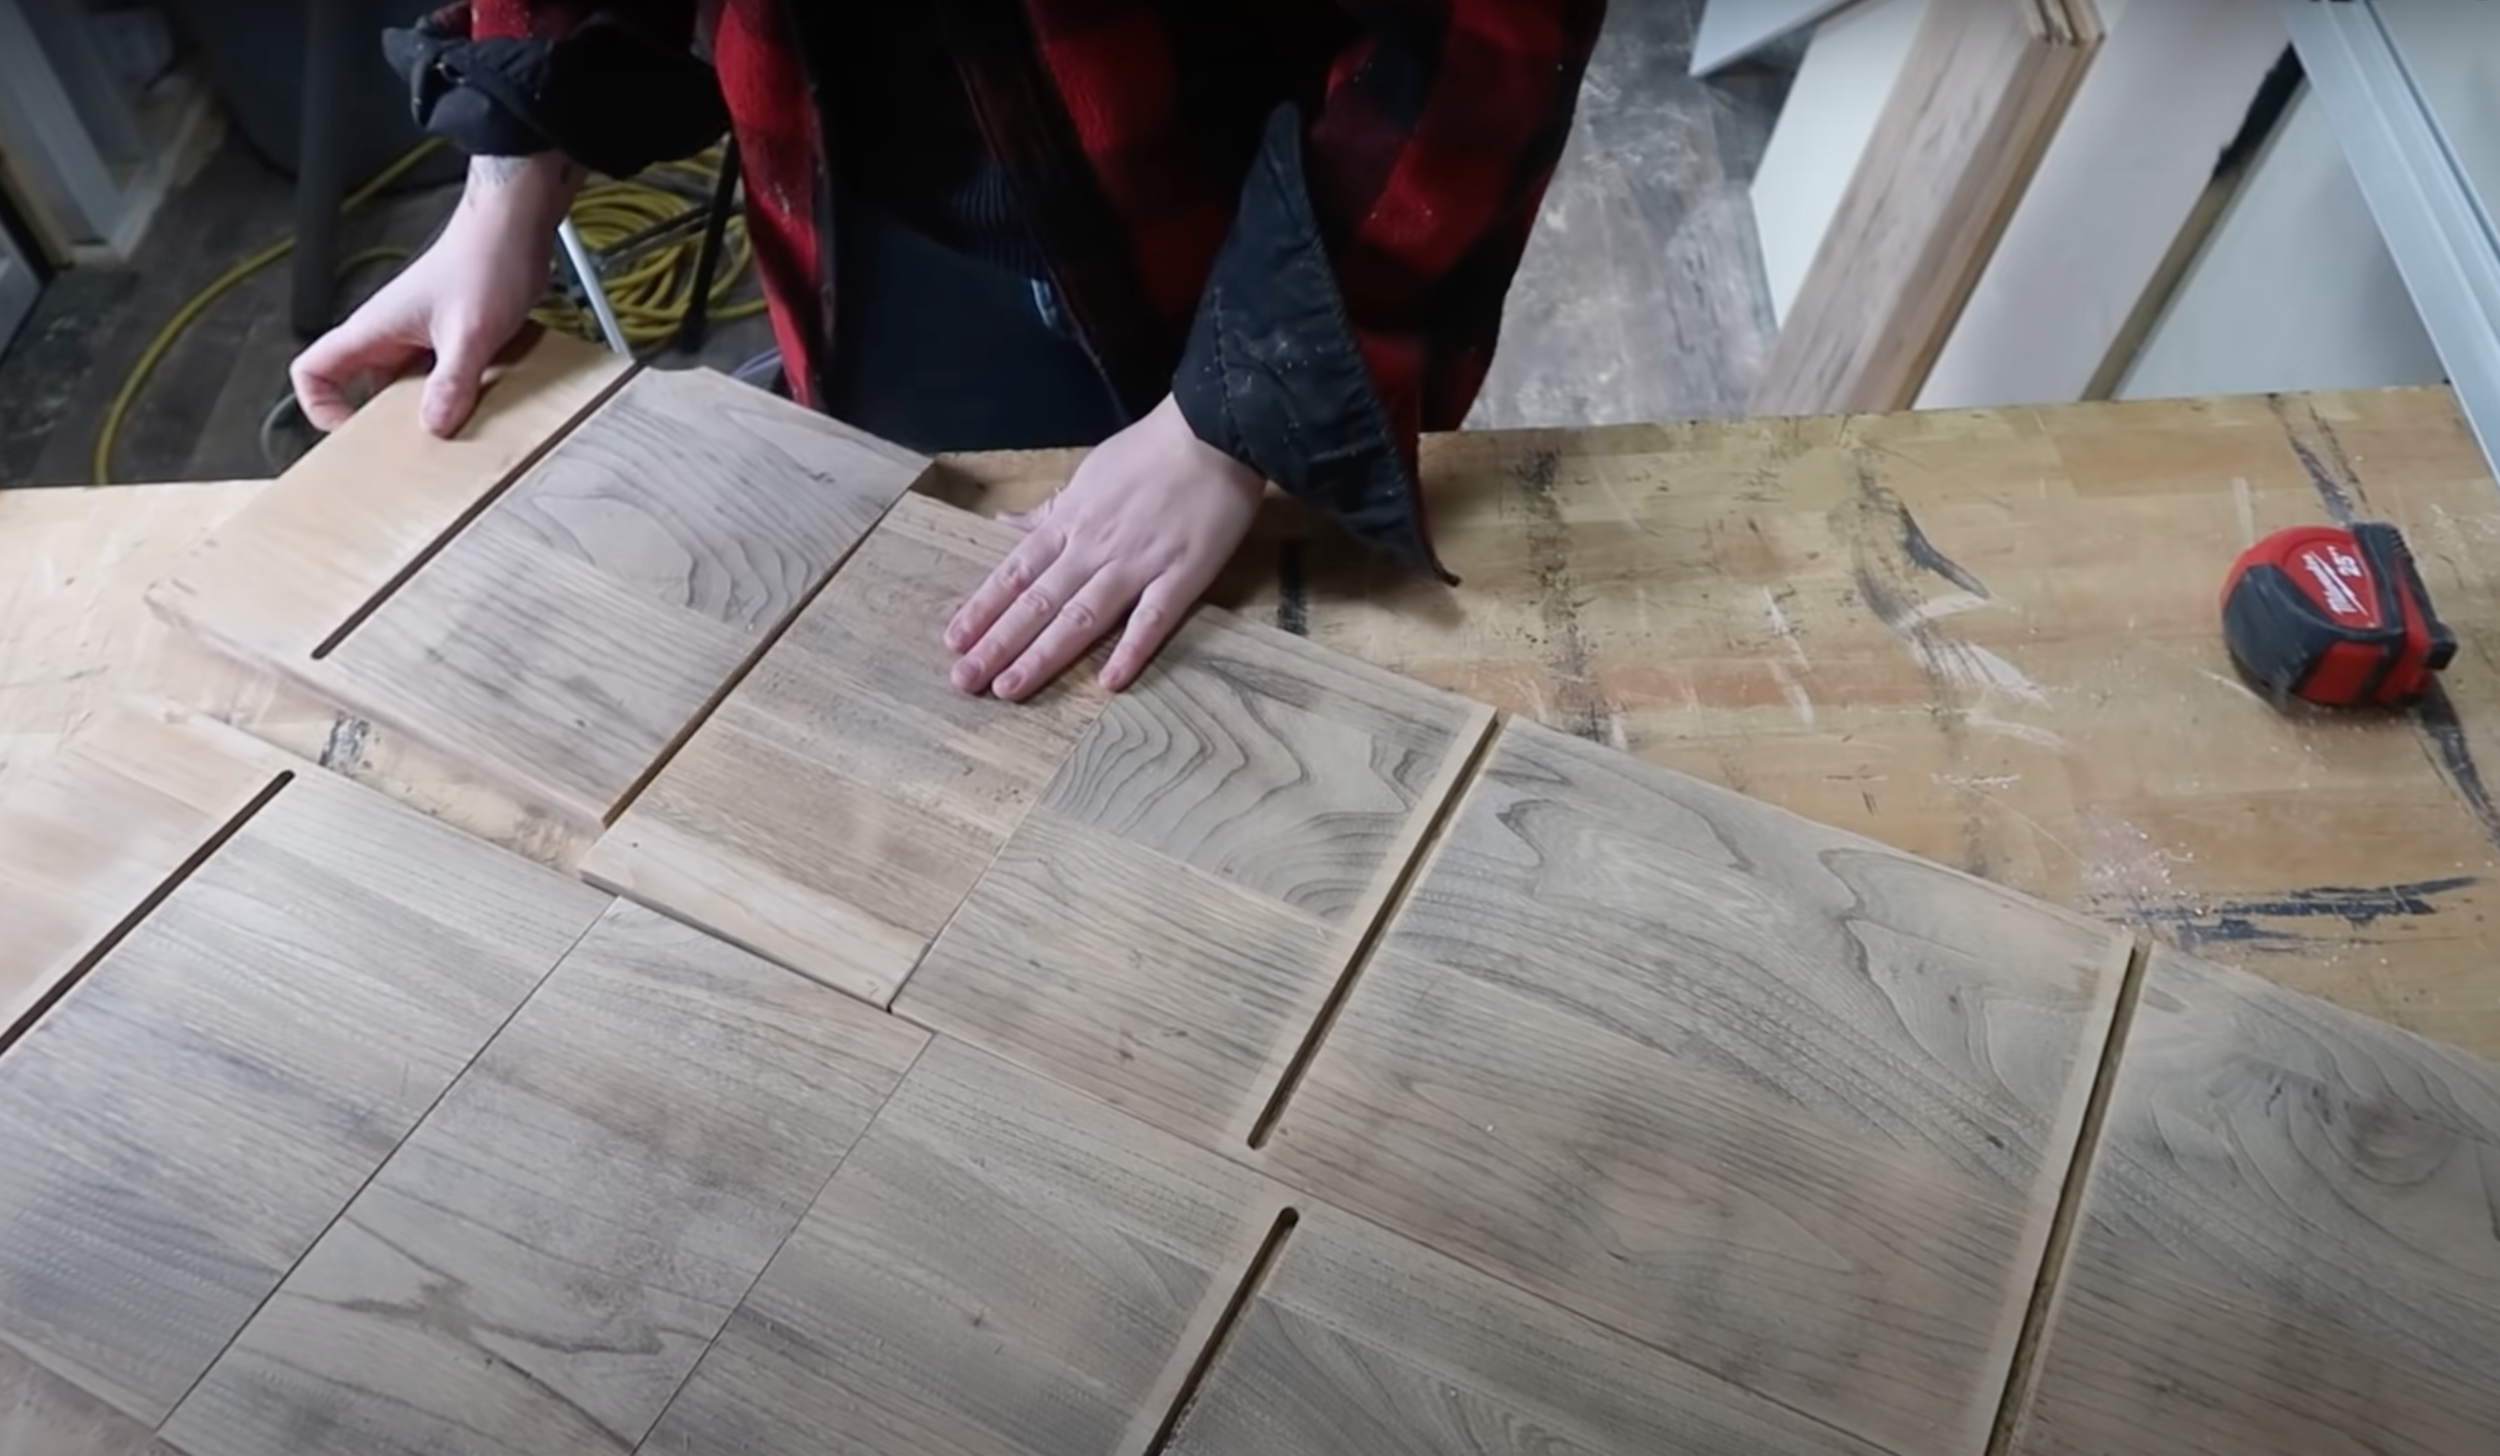
With the price of lumber astronomically high right now, I decided to thrift flip a bookshelf vs make one. The shelf I found was made of solid wood but was unfortunately too short for the door frame I installed. To make this bookshelf work for my purchased door, I disassembled the pieces and cooked up a new design plan.
Thrifting a bookshelf vs making one was great for the environment and wallet but it did present a few challenges in my design plan as the shelves all featured rabbit joints which meant they couldn’t be easily moved. To account for this, I decided to intersect a piece of lumber into the shelf to not only give the shelf height BUT also allow the second shelf to sit at the right height for my secret door lock.
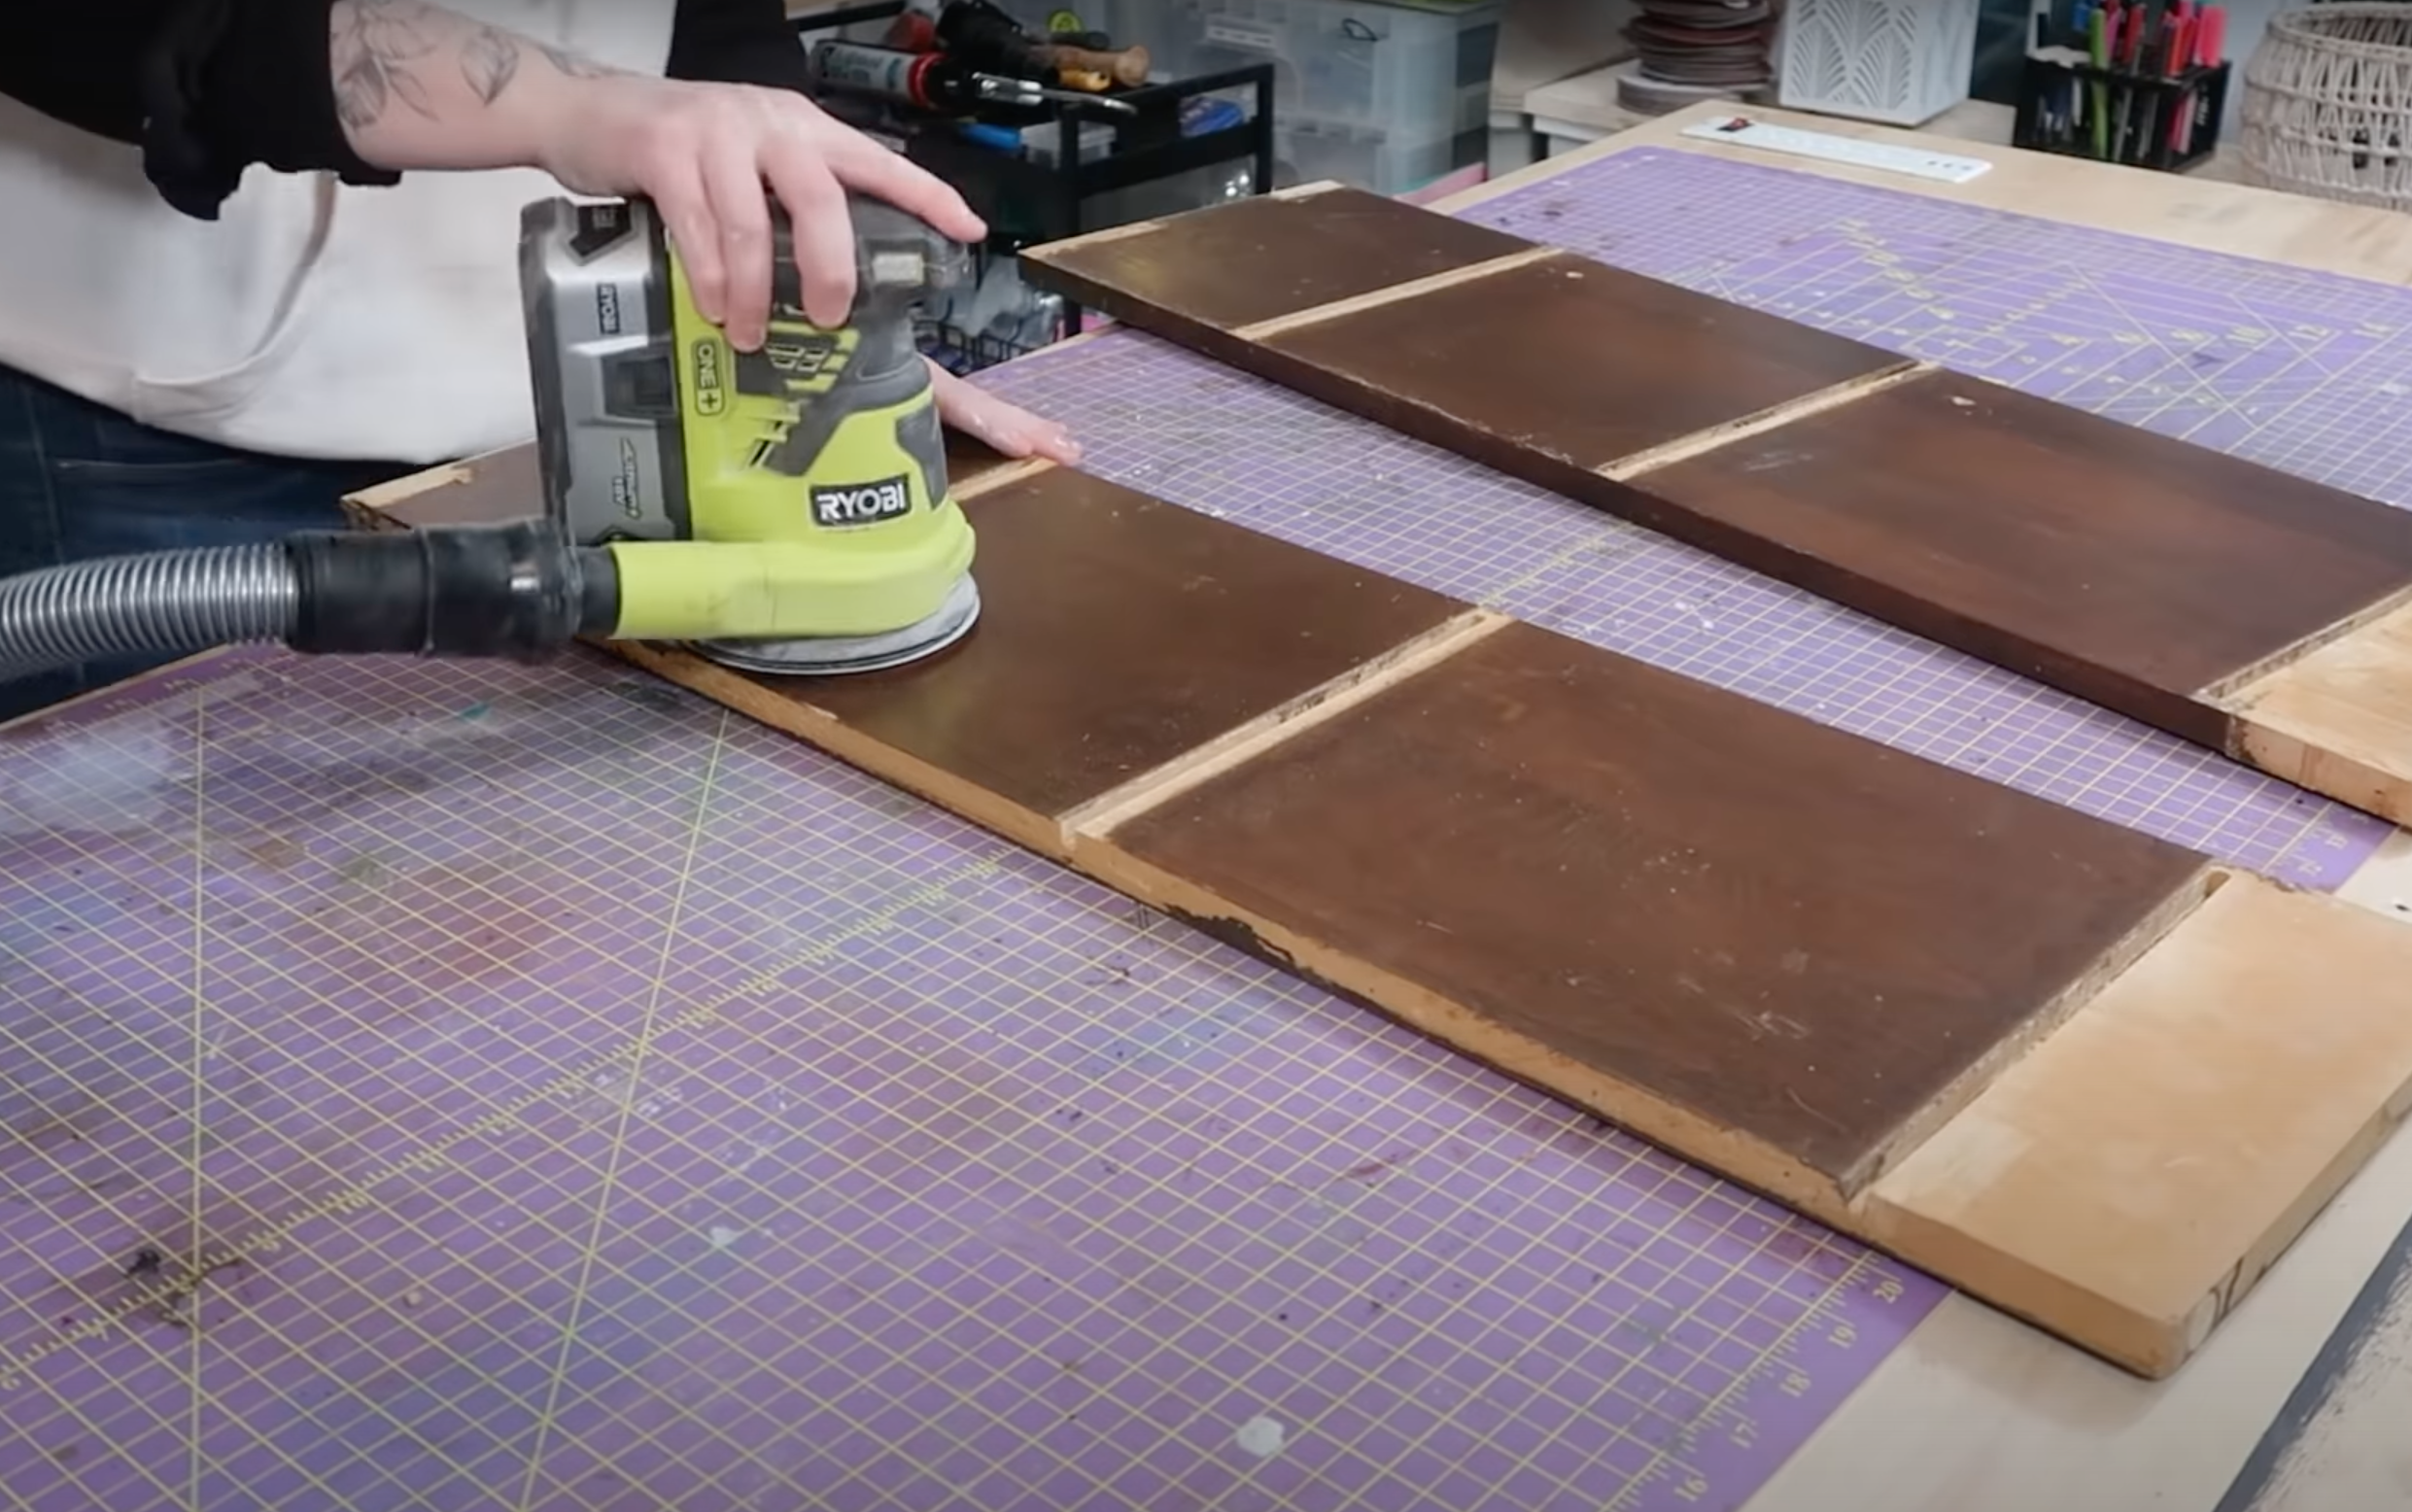
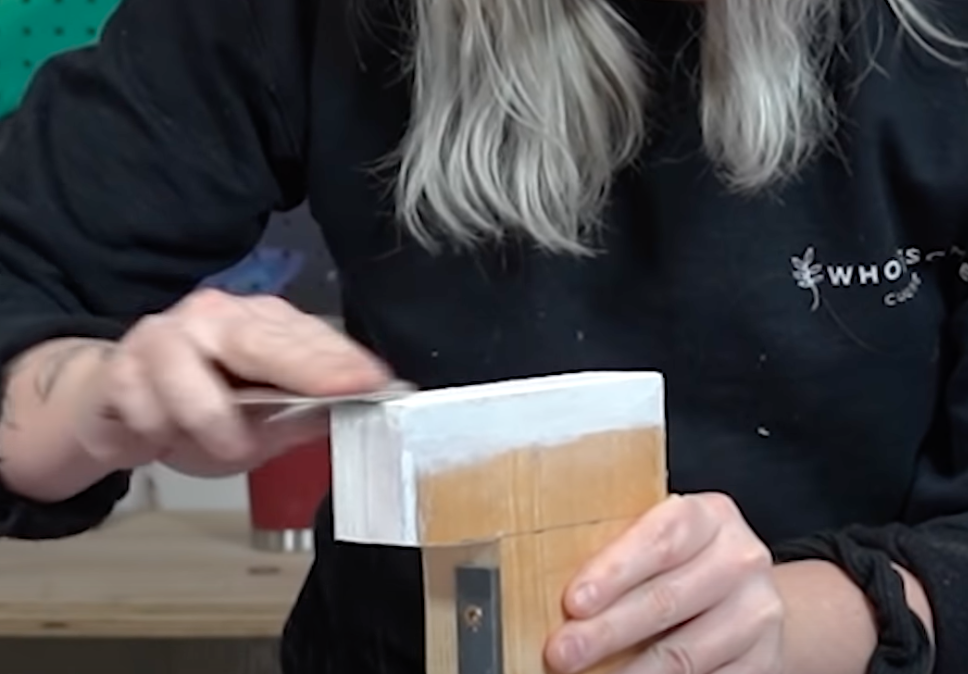
I sanded the shelves down using a 220 grit sandpaper.
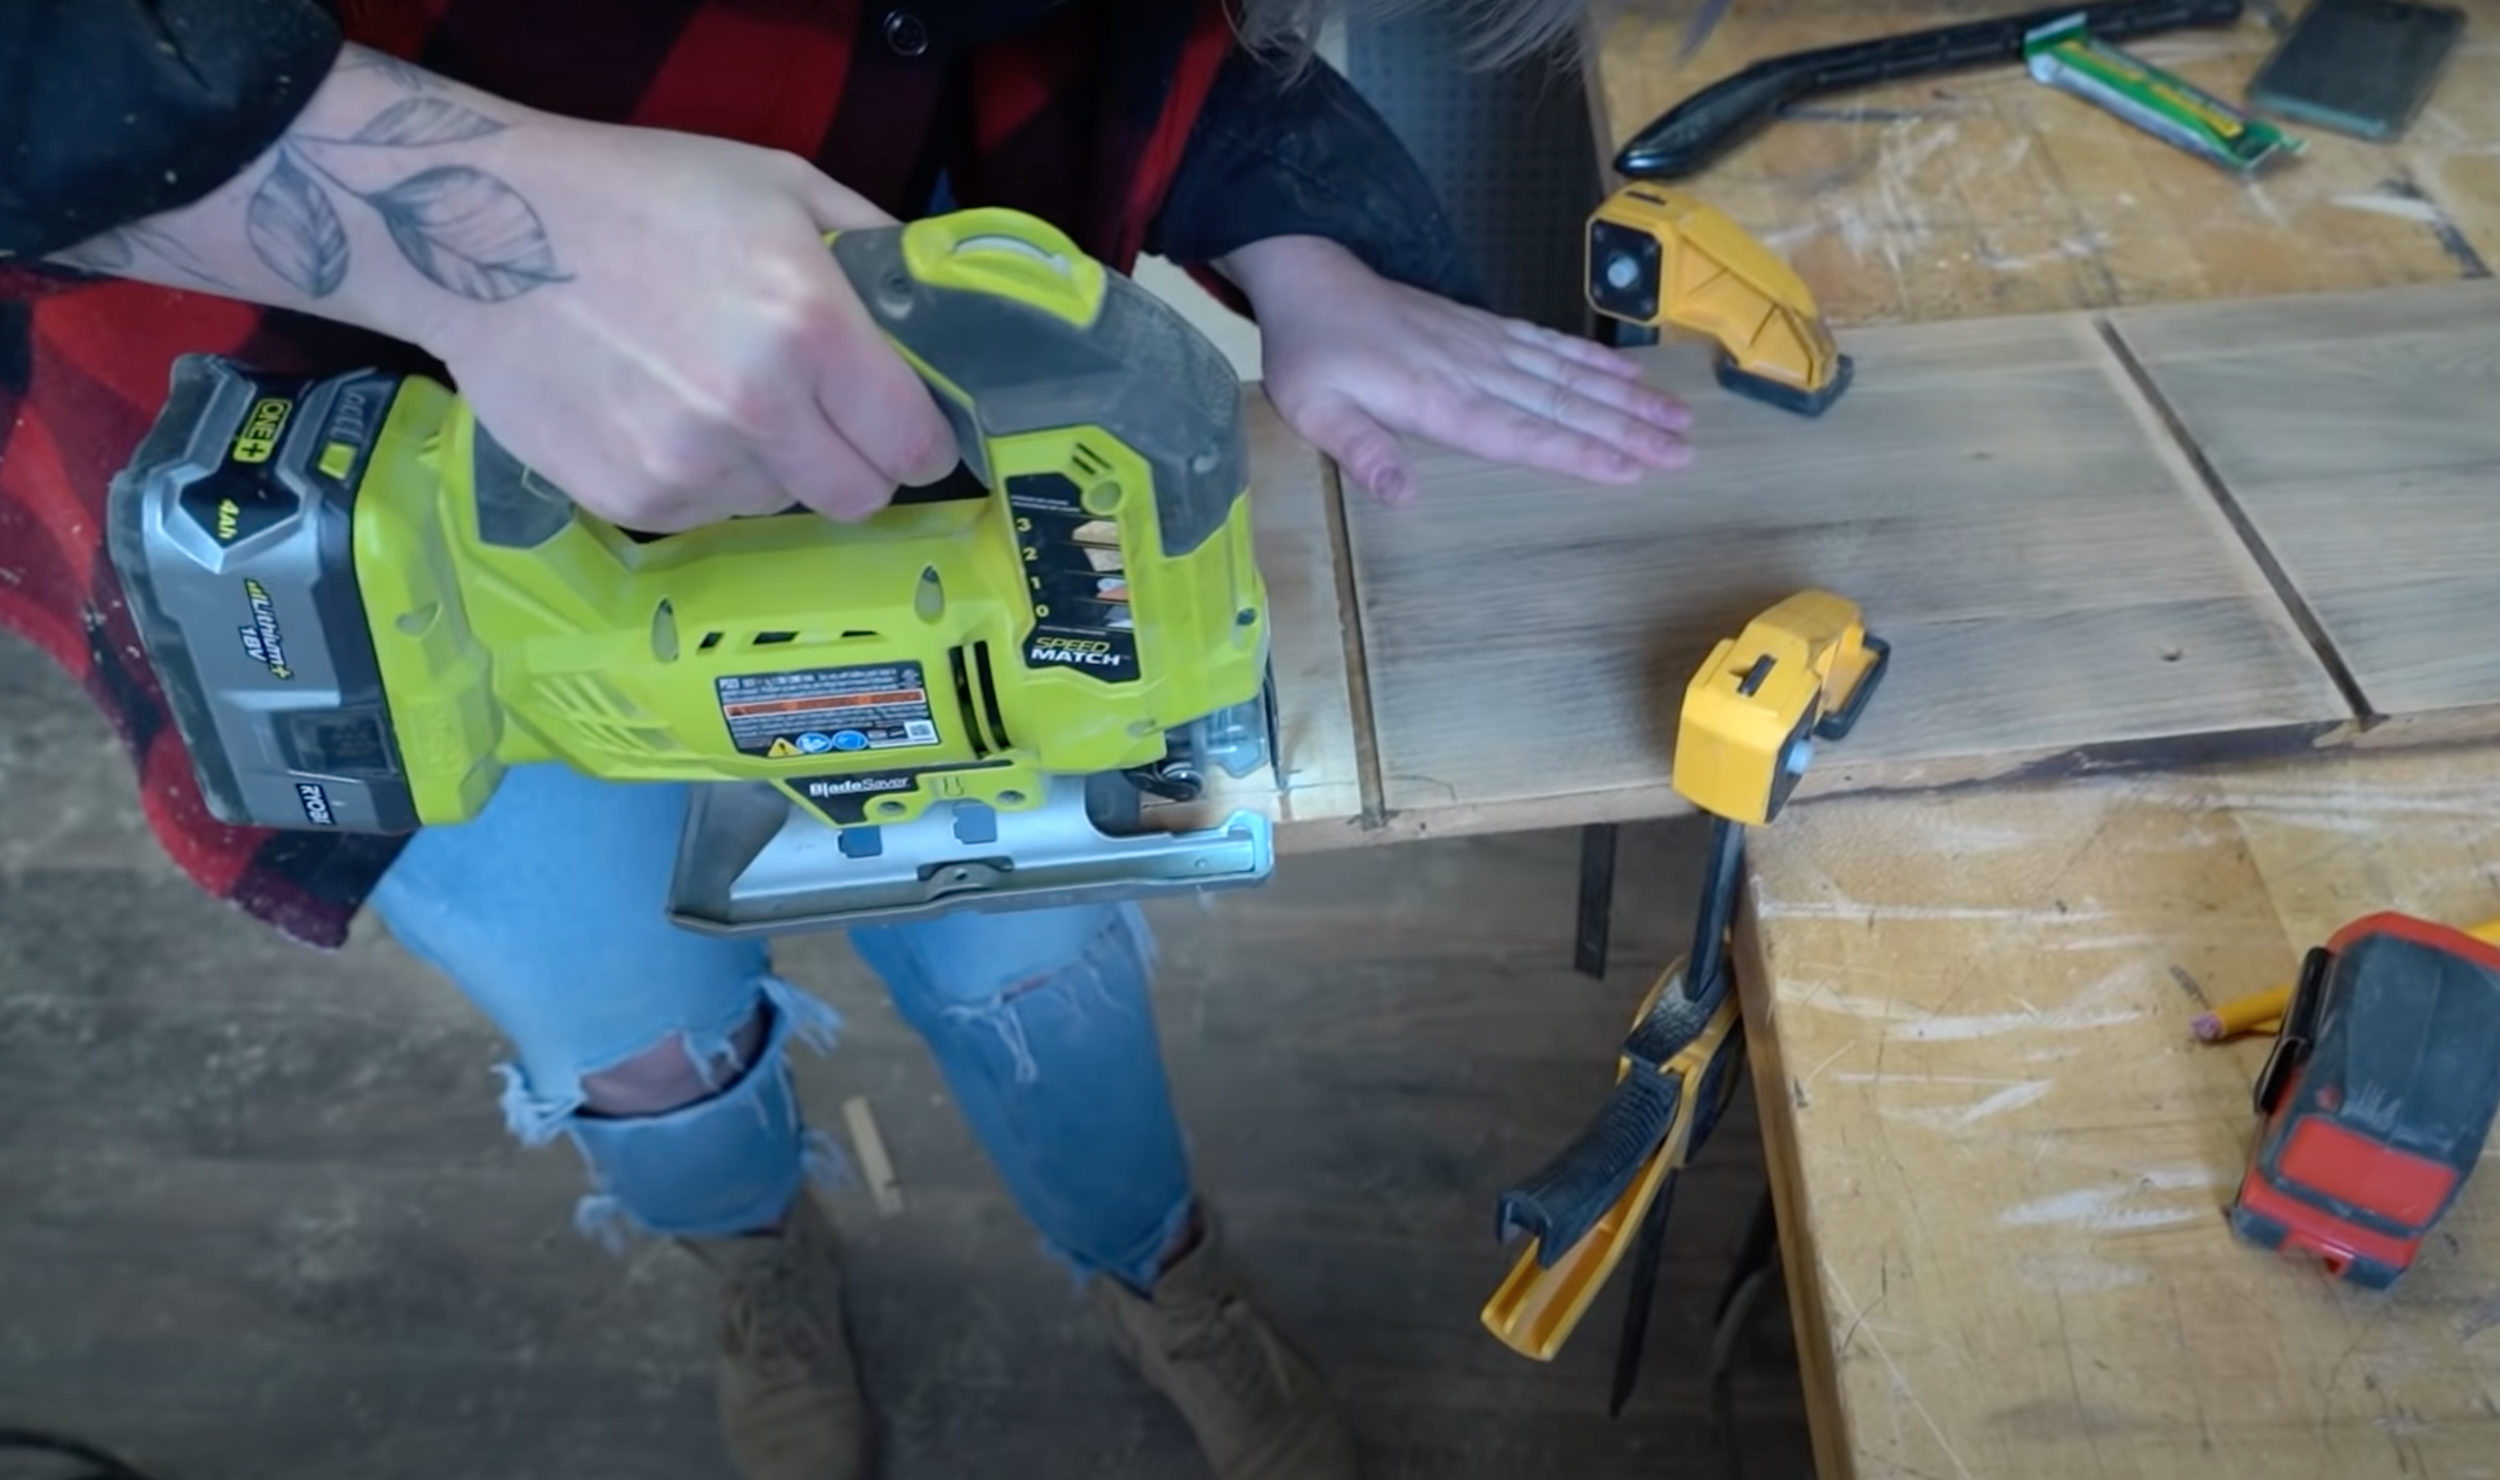
Using a jigsaw, I cut a small area into the back of each shelf to account for my baseboard. This would allow the shelf to sit flush to the wall.
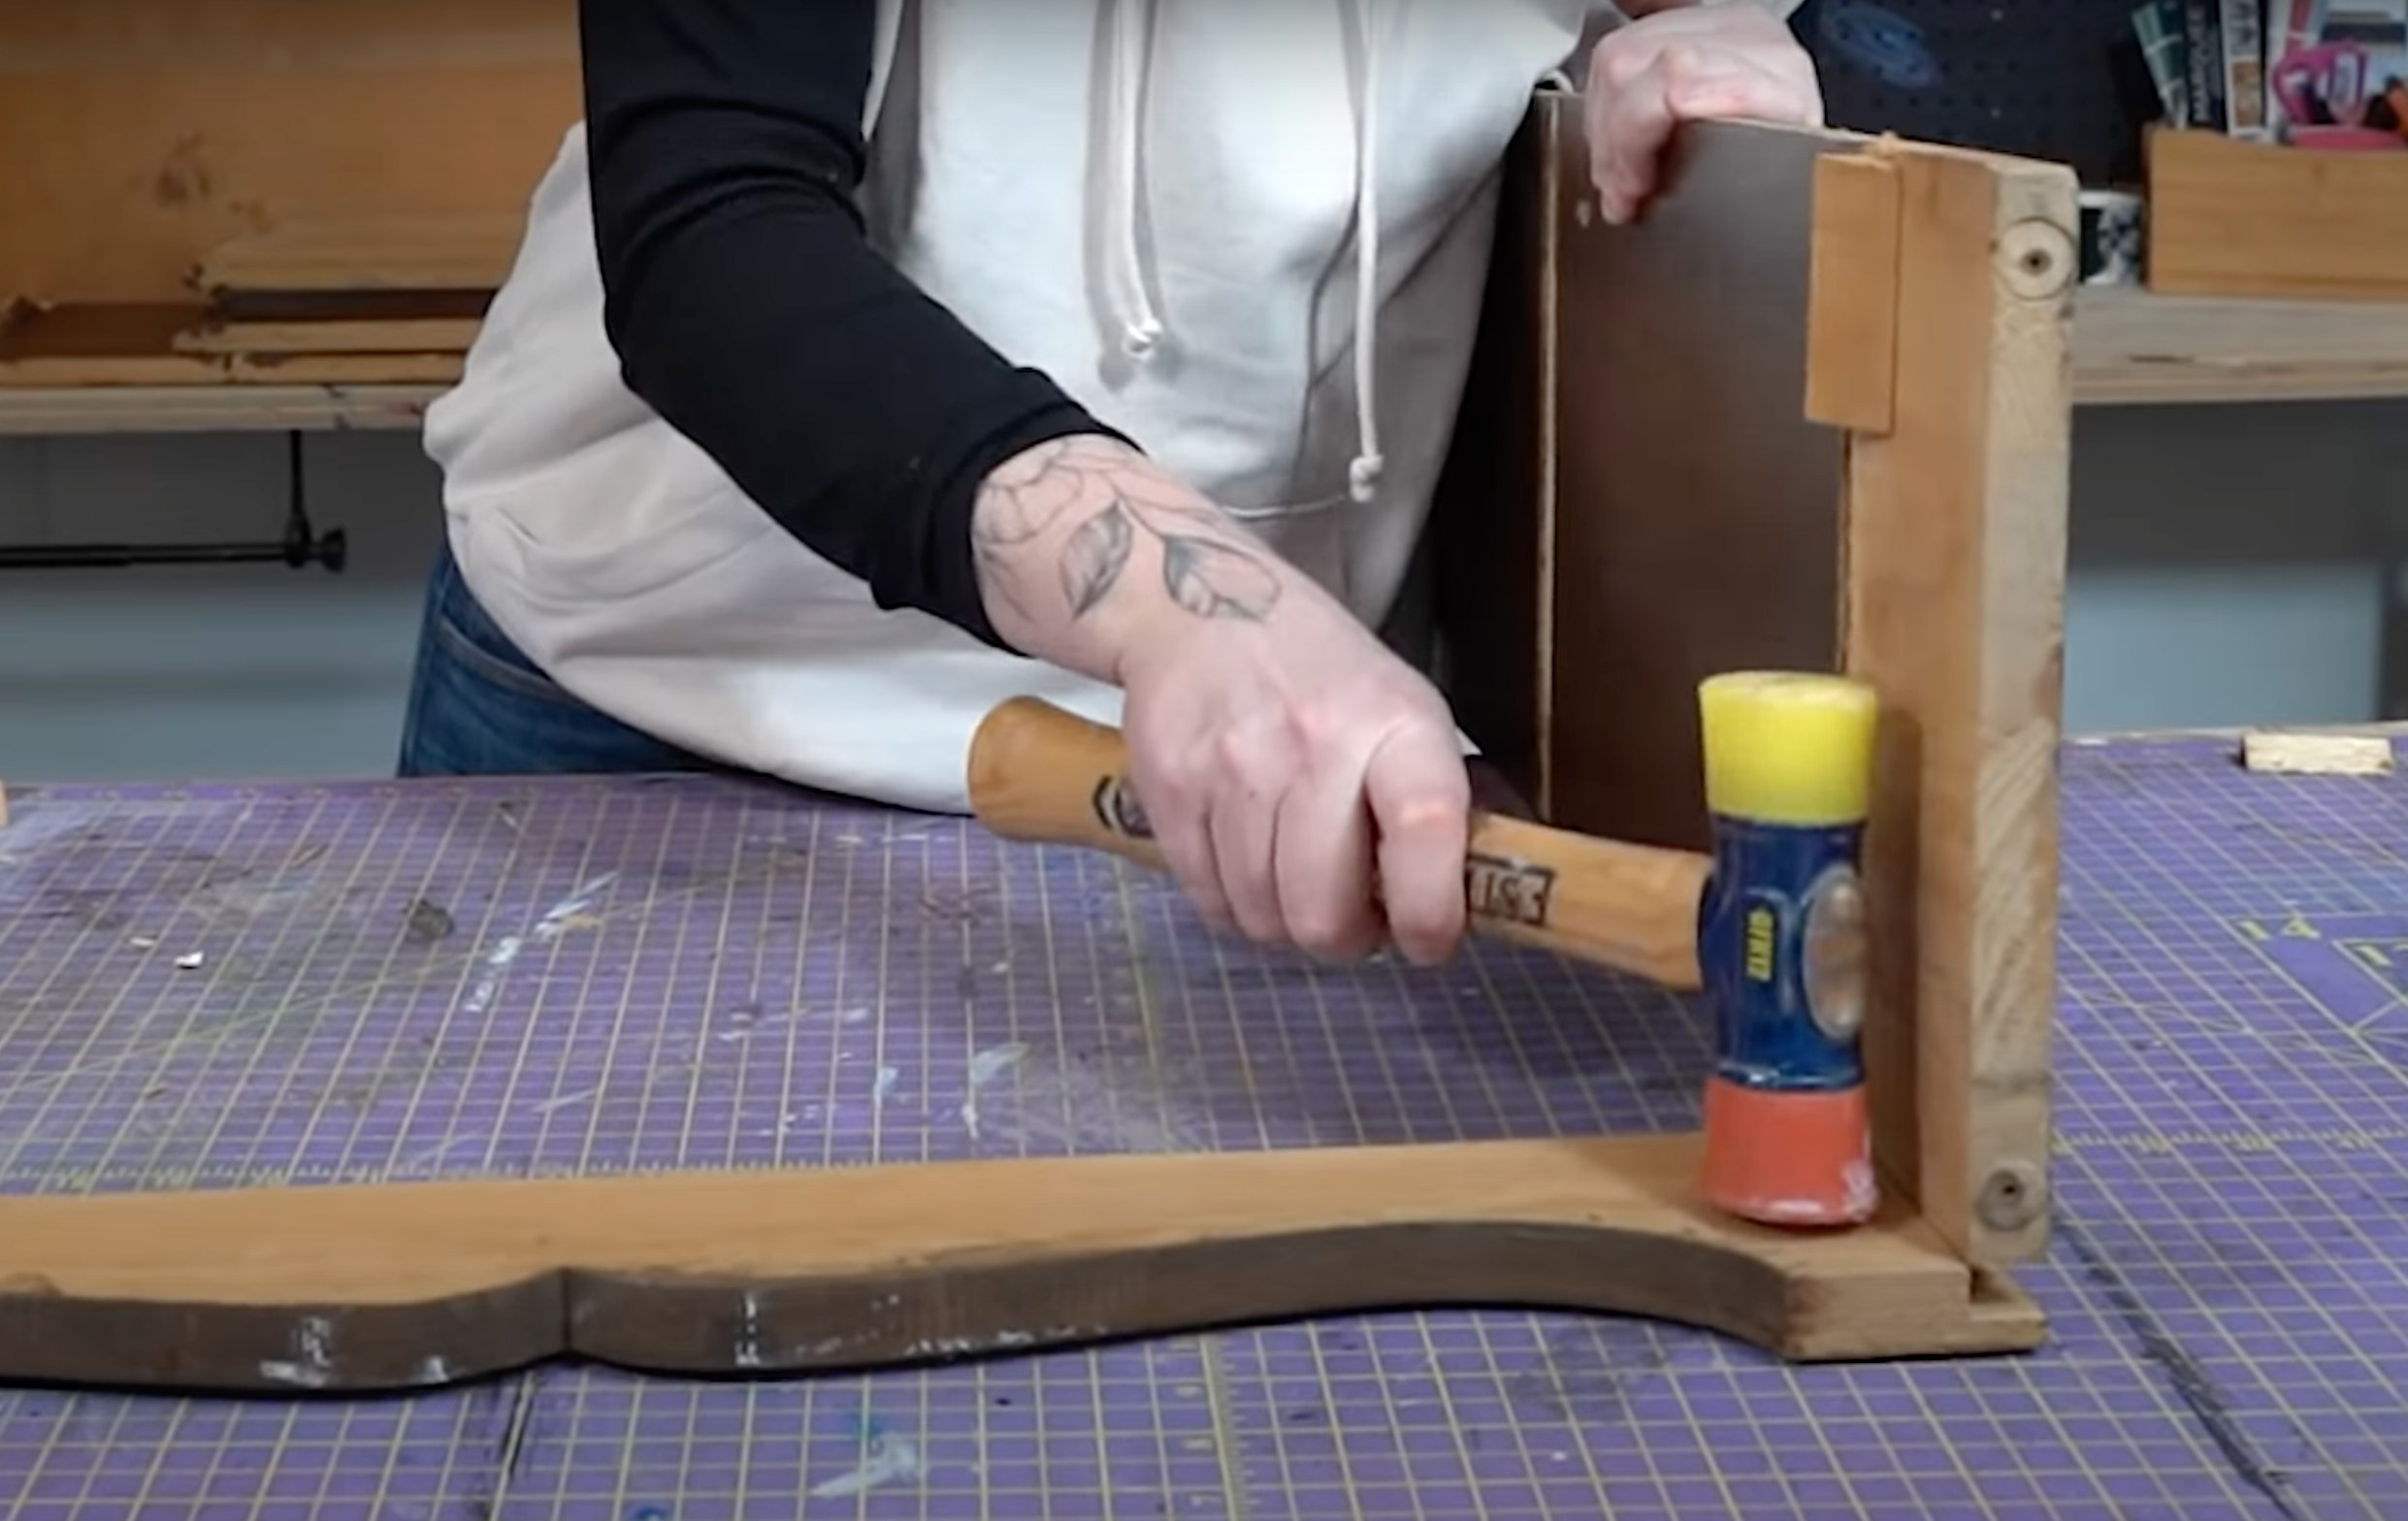
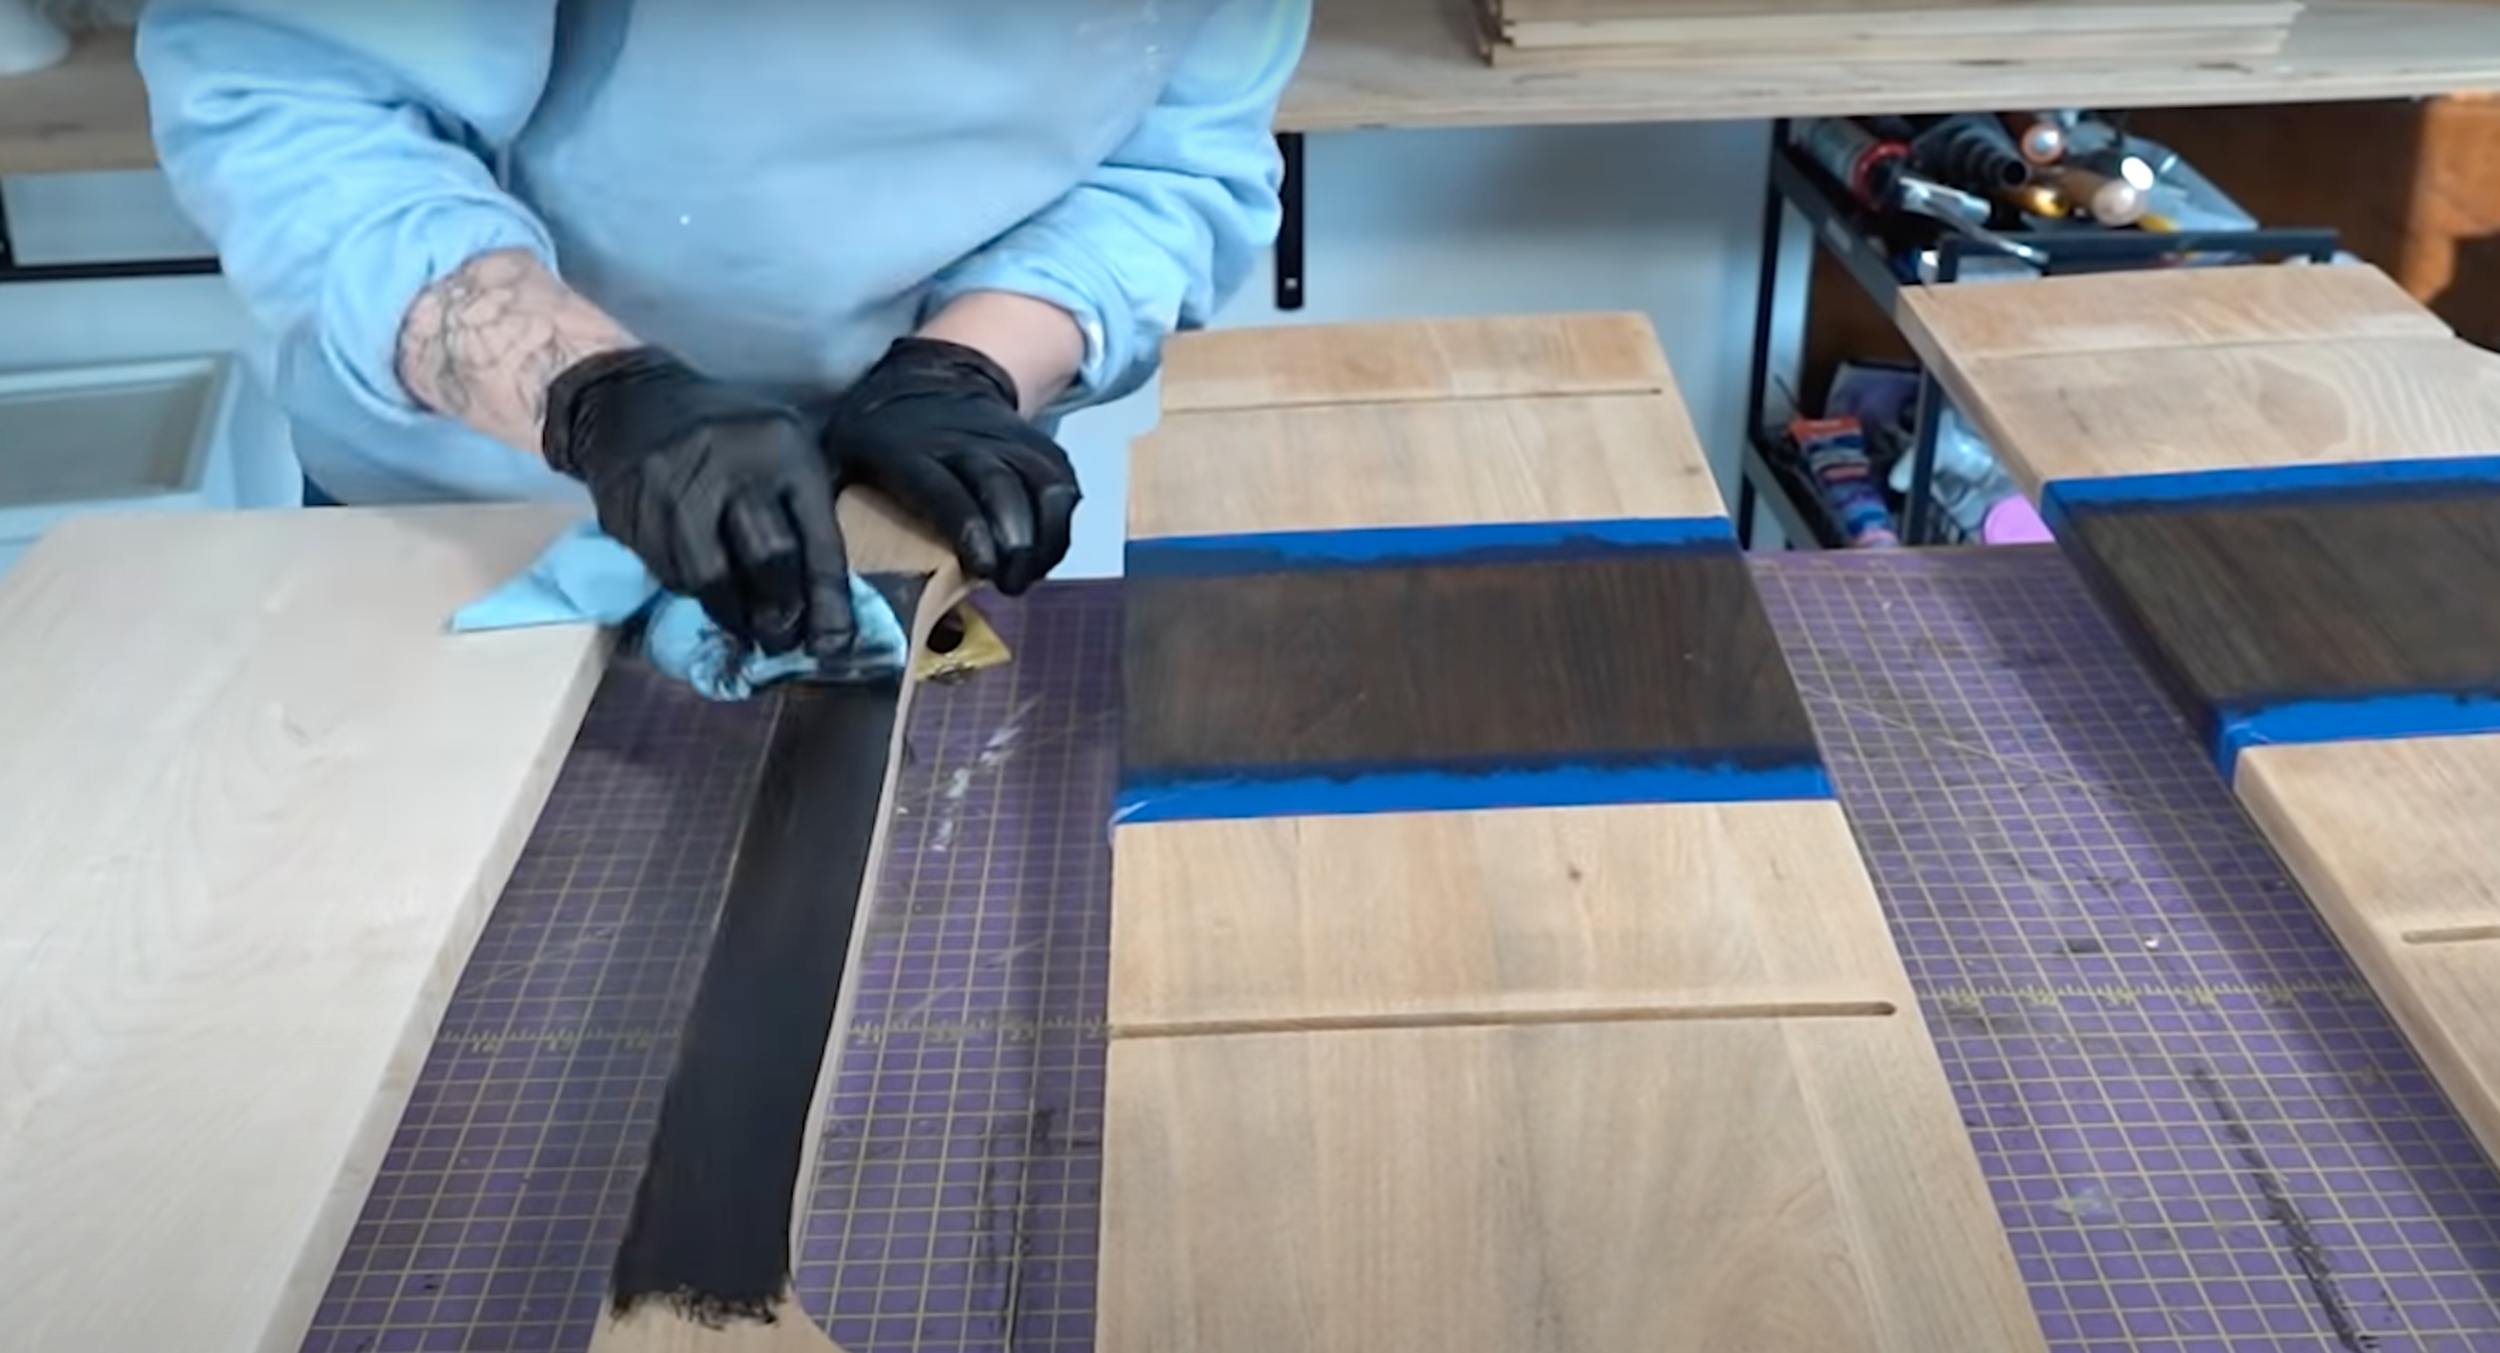
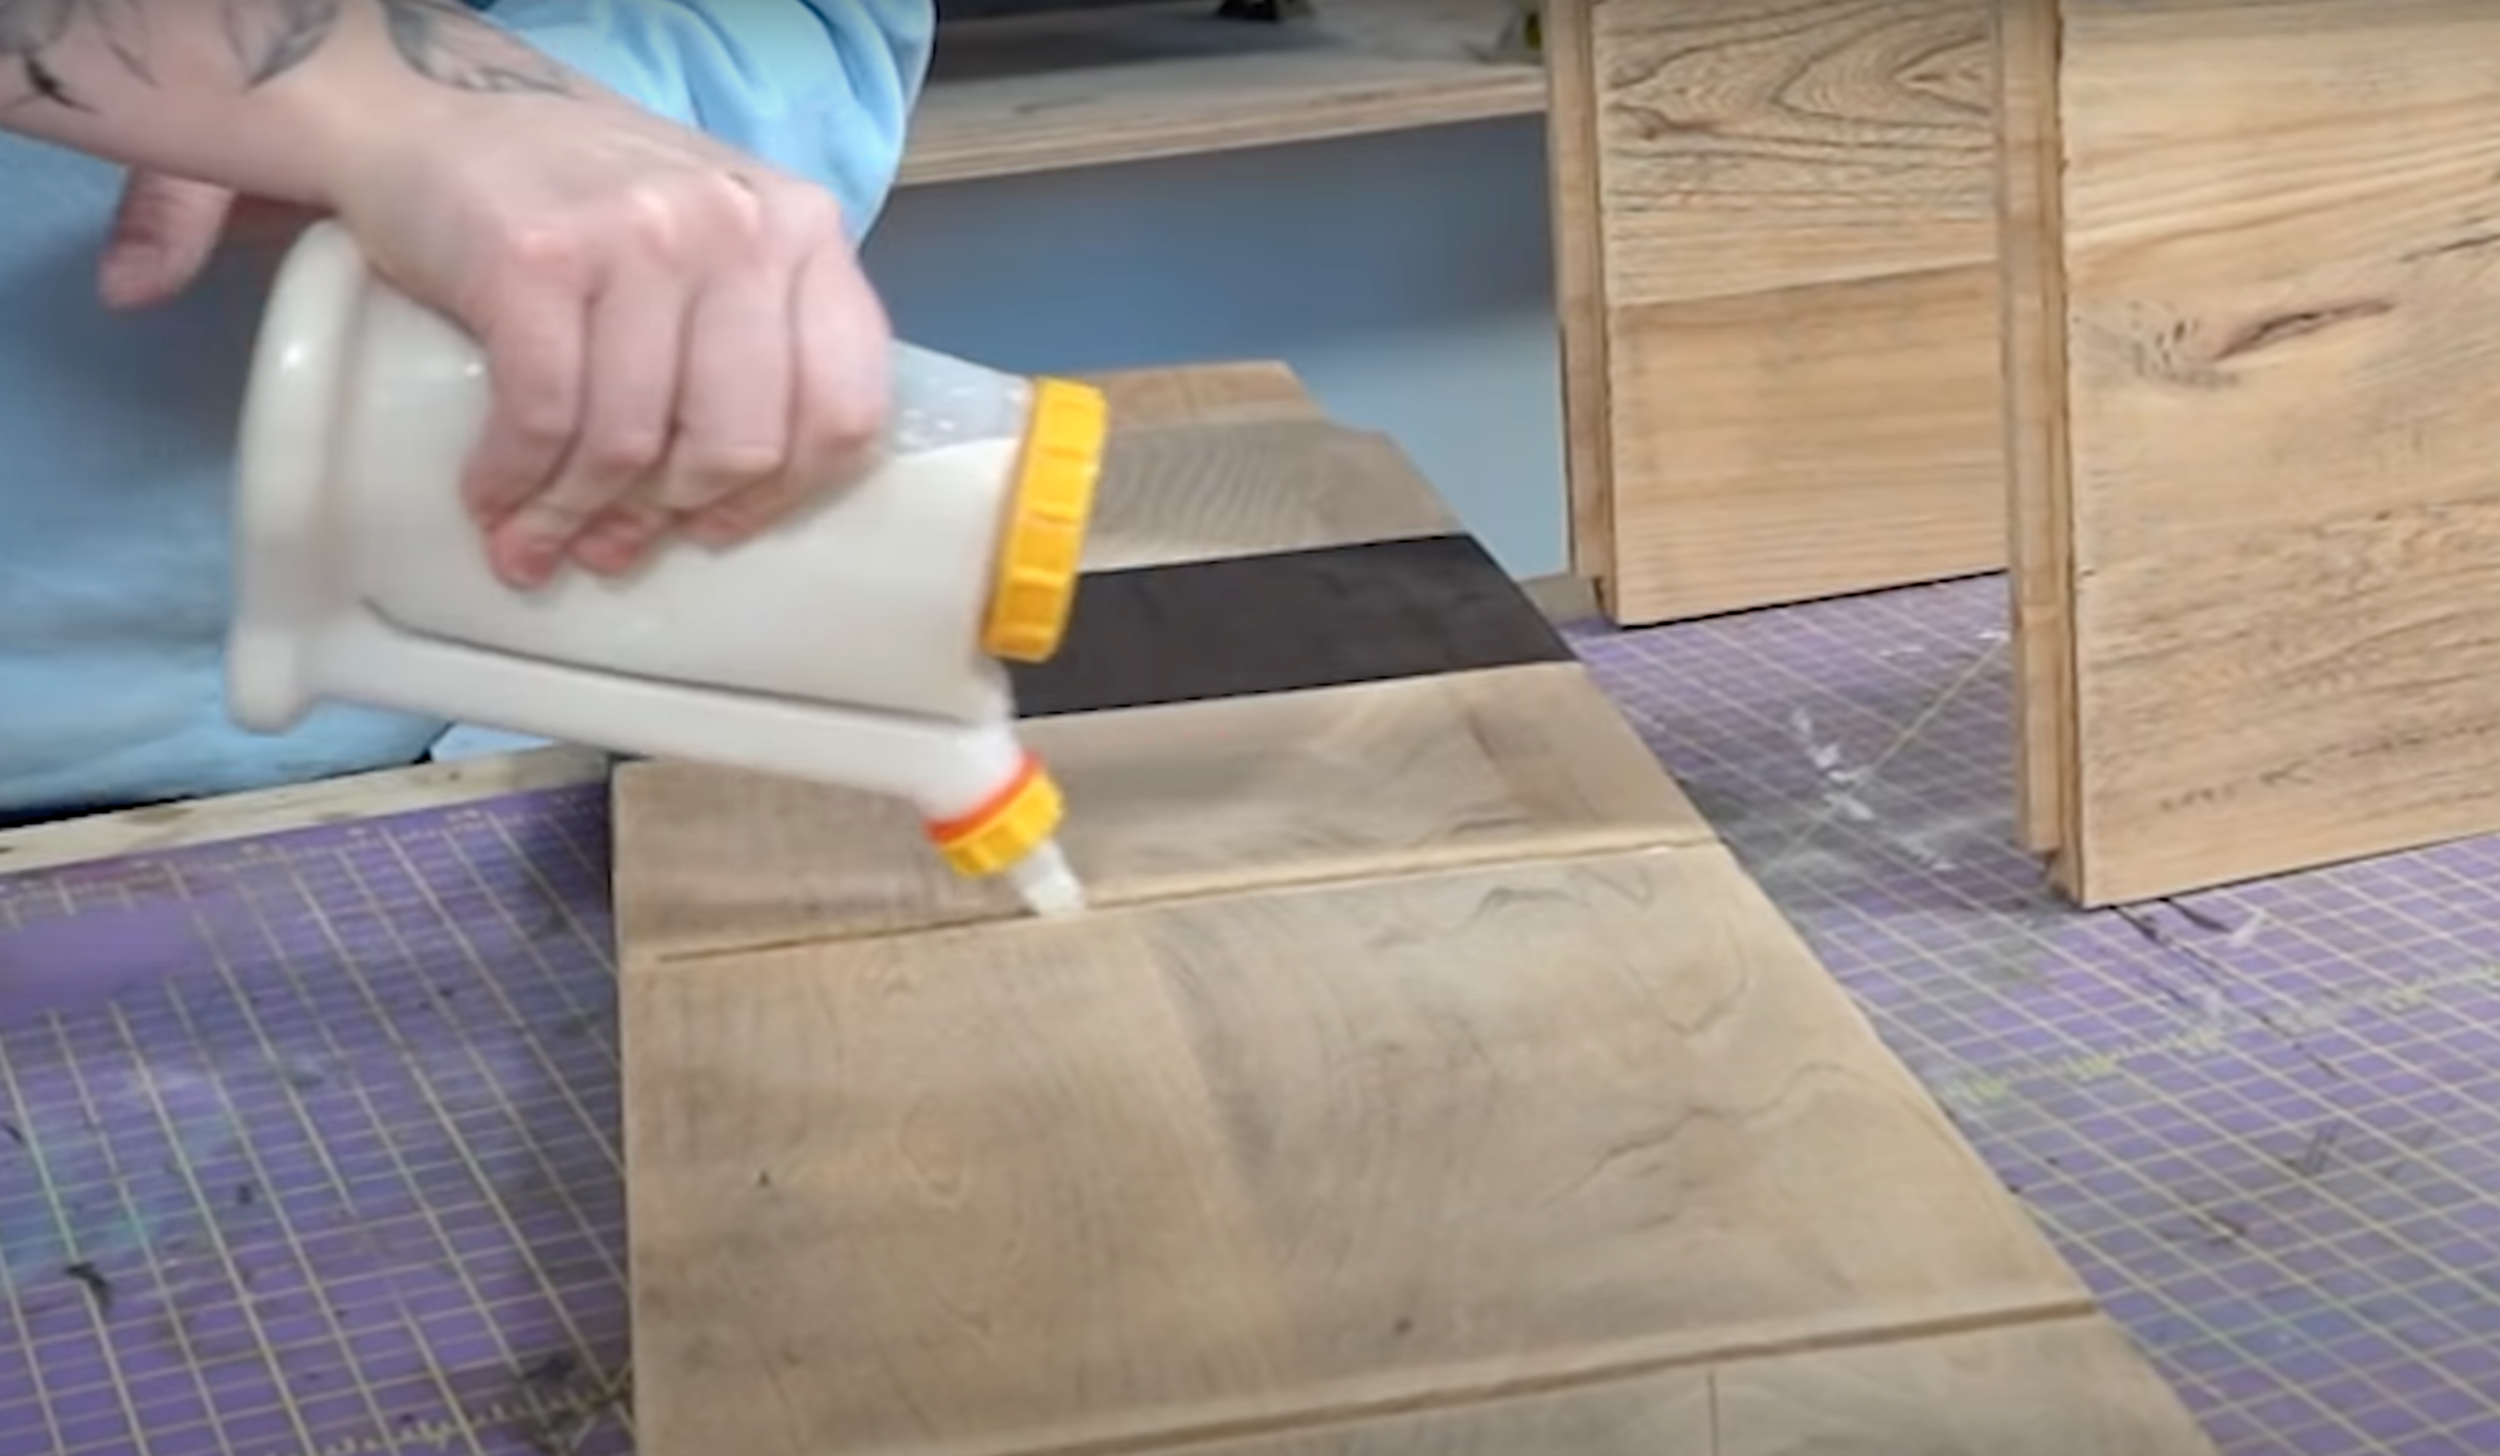
I decided to create a new top for my bookshelf. This allowed me to use the original top to create the pieces I would use to splice into my shelf to add height. To secure the new spliced pieces into the shelf, I dowelled both sides and glued them together
PUT HUMPTY DUMPTY BACK TOGETHER AGAIN
Because I had to splice a piece of wood into each shelf side, the colours weren’t a perfect match. I decided to embrace this by staining the spliced wood in a black satin wood stain. I also added the same stain to my new bookshelf top. Once dry I was ready to reassemble my bookshelf.
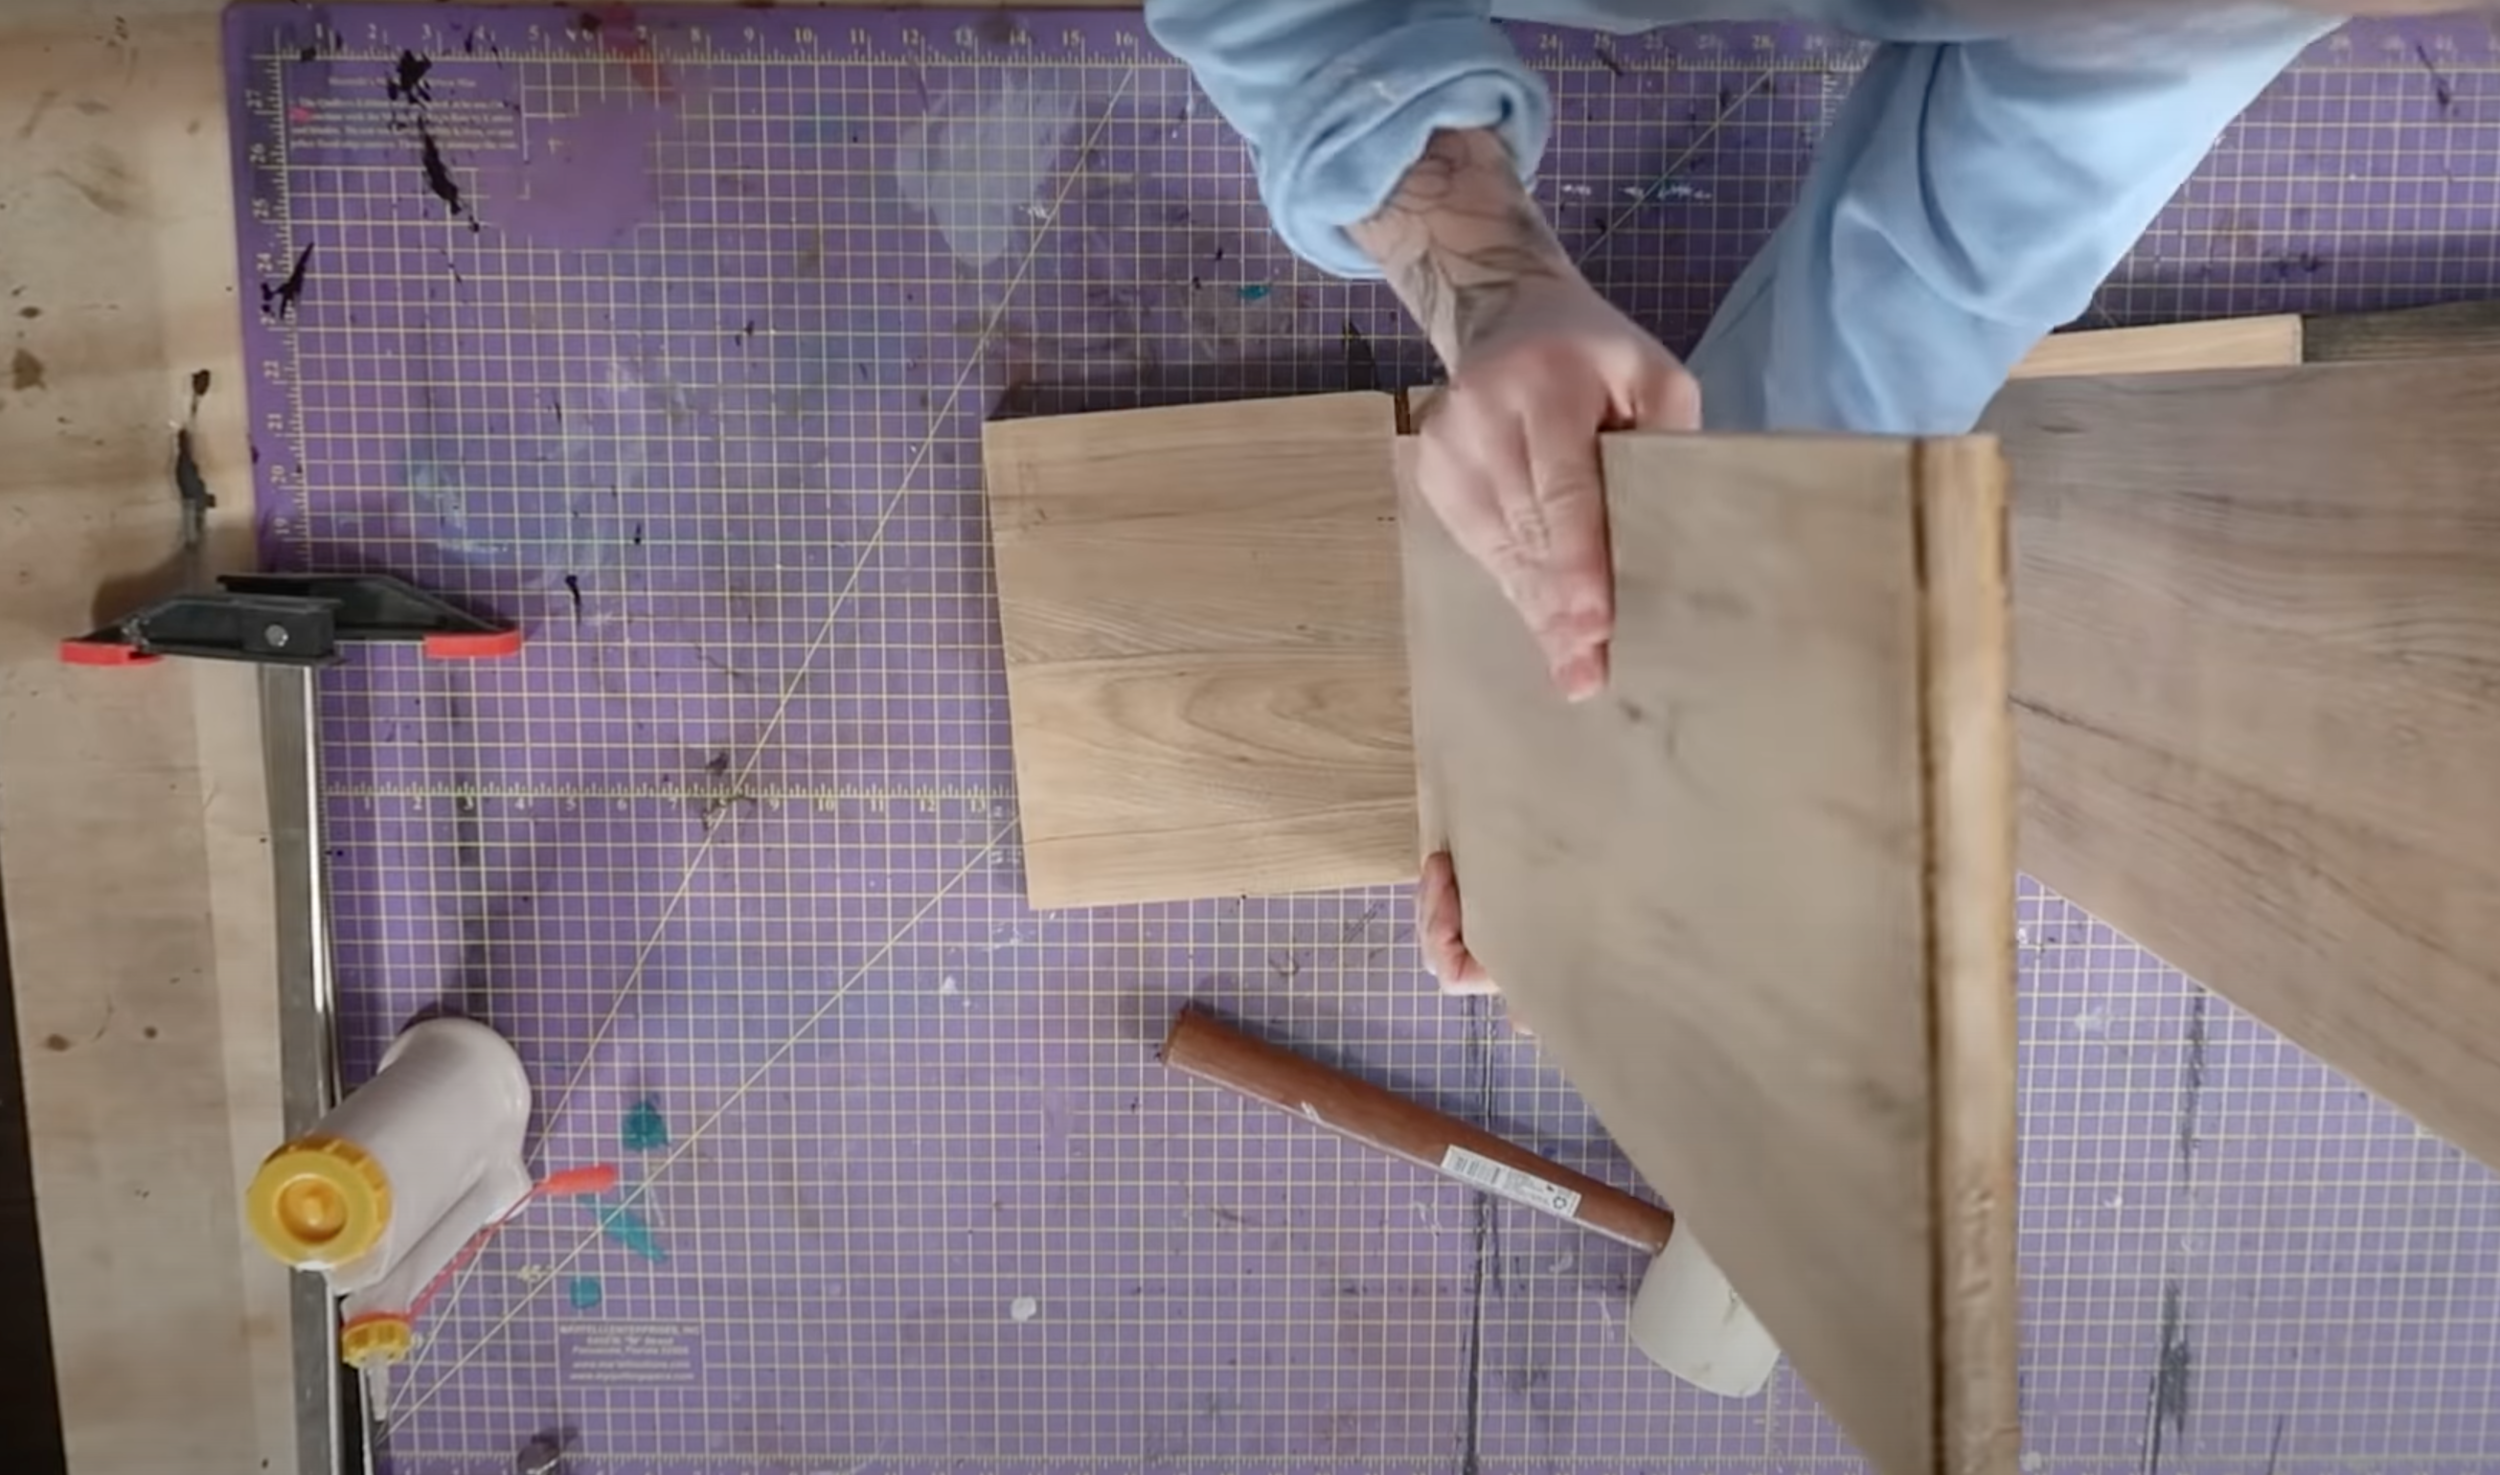

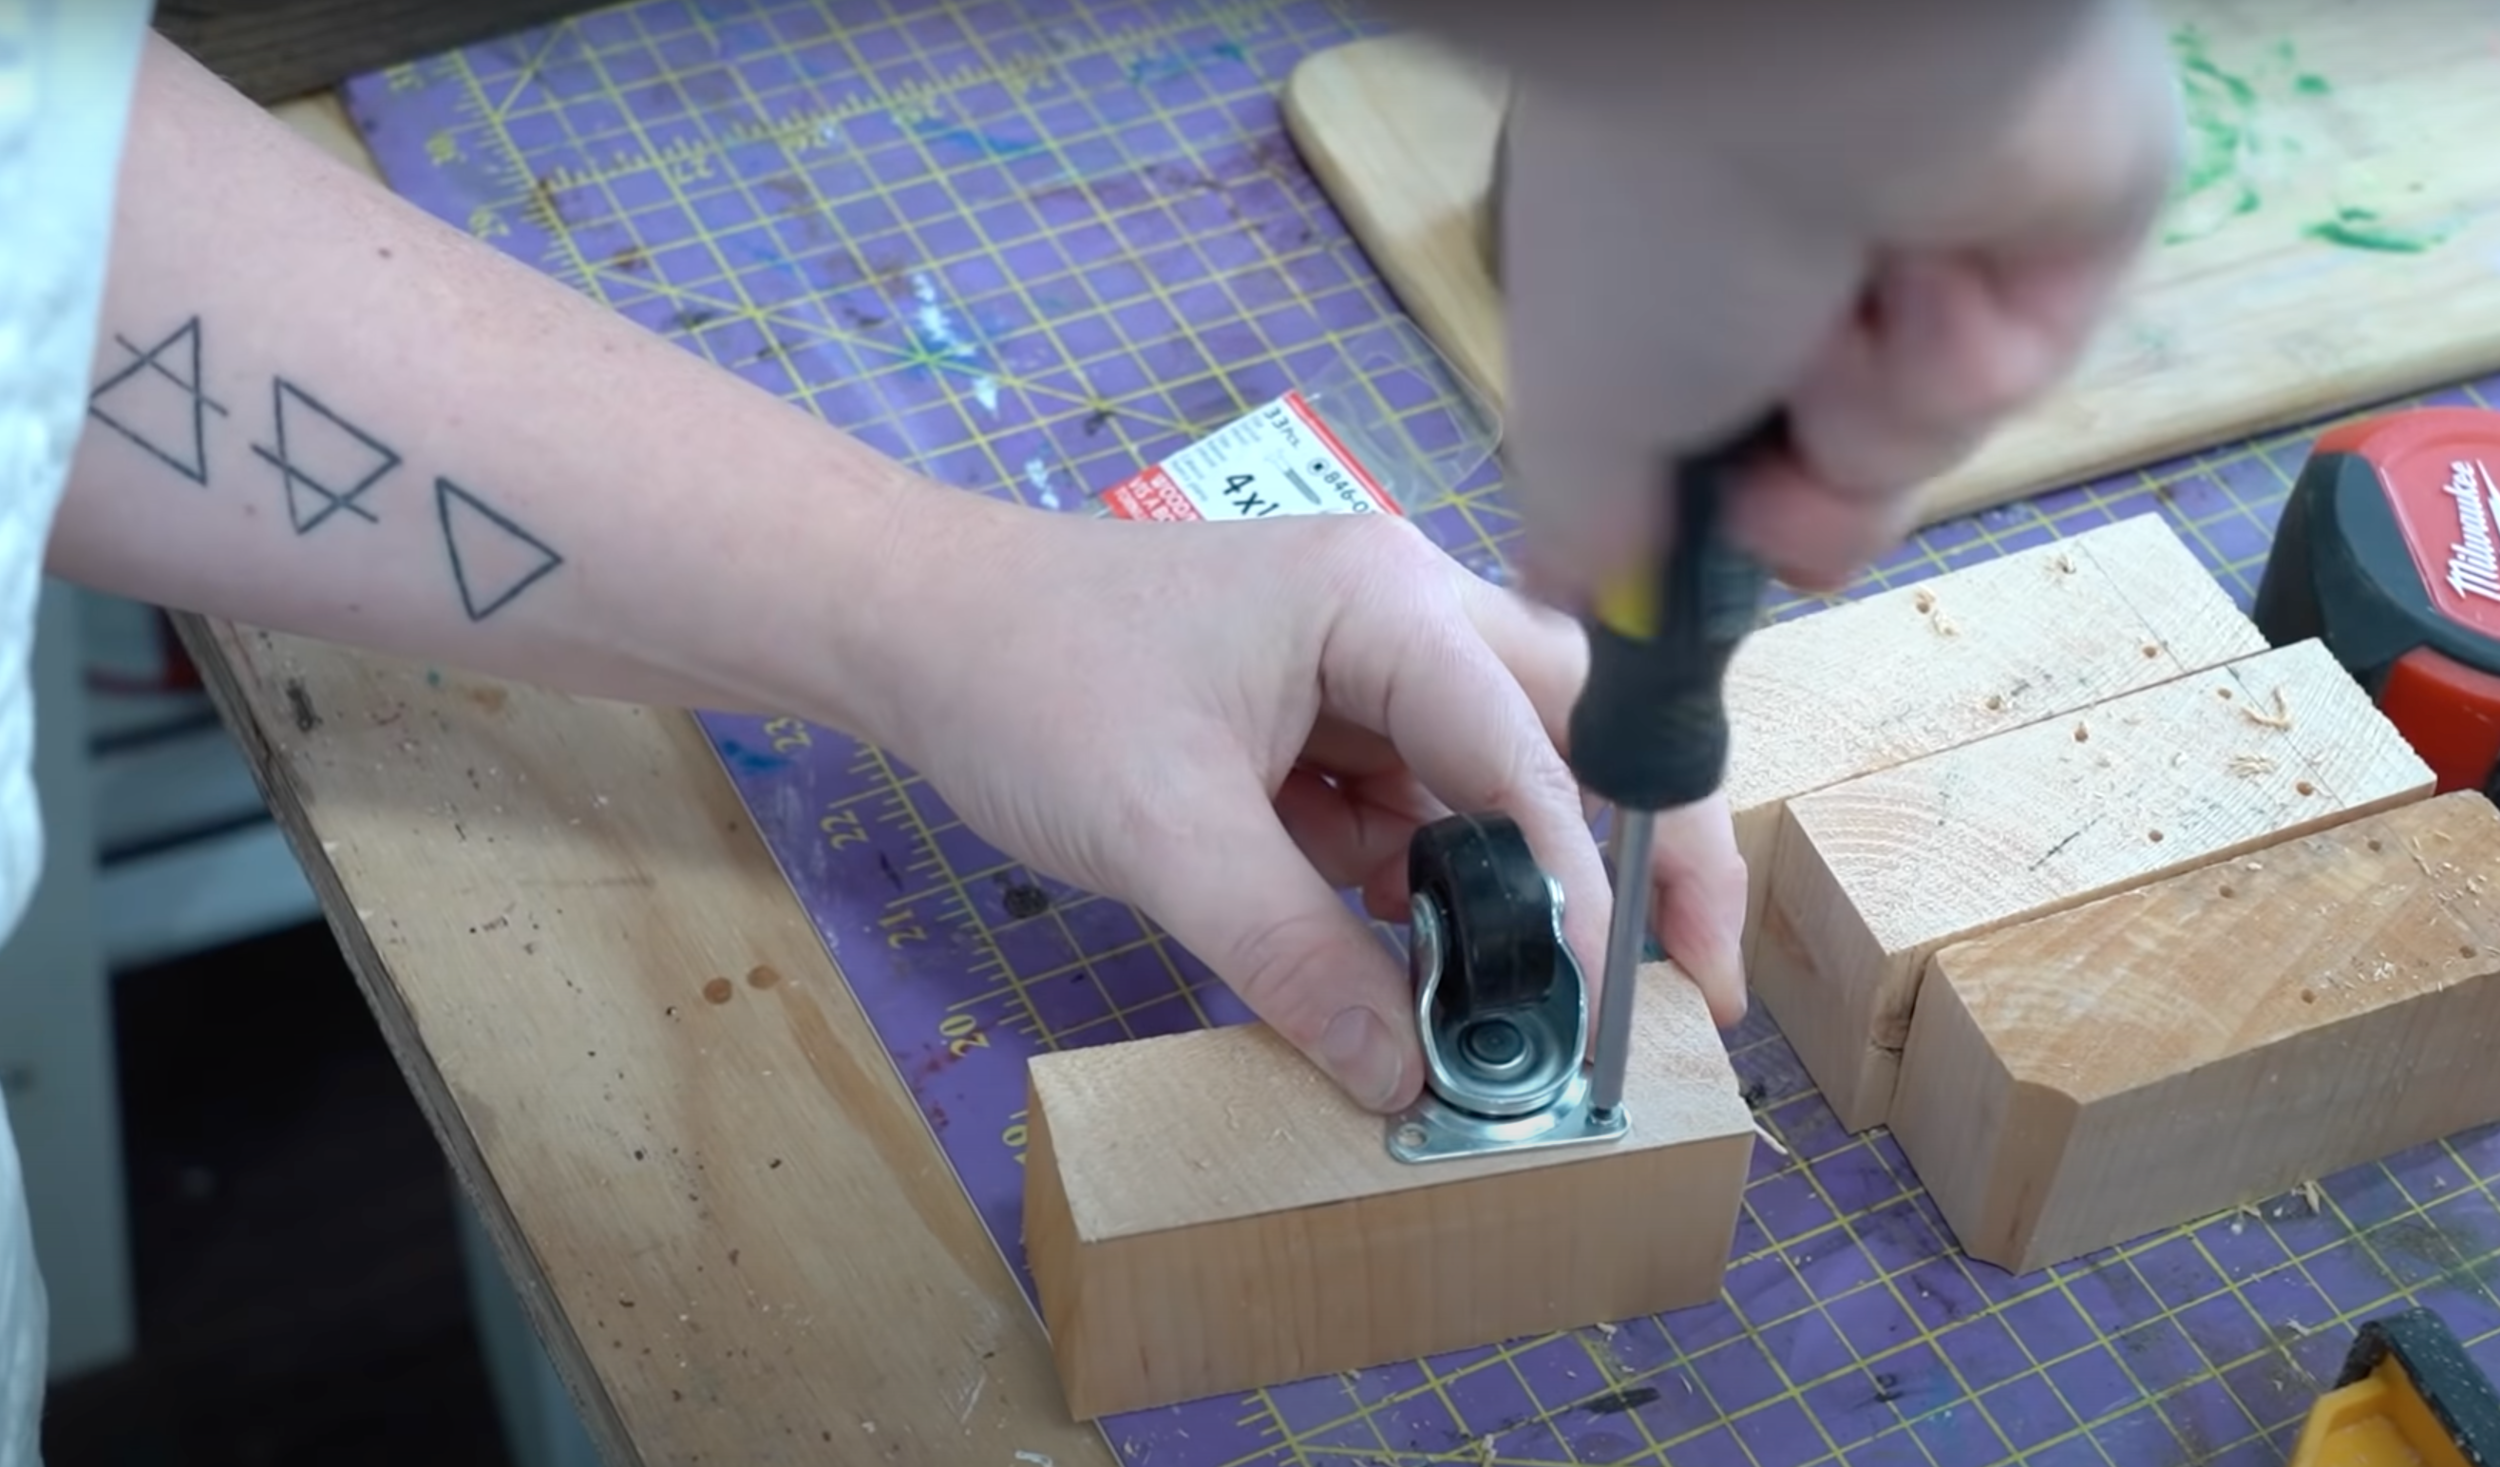
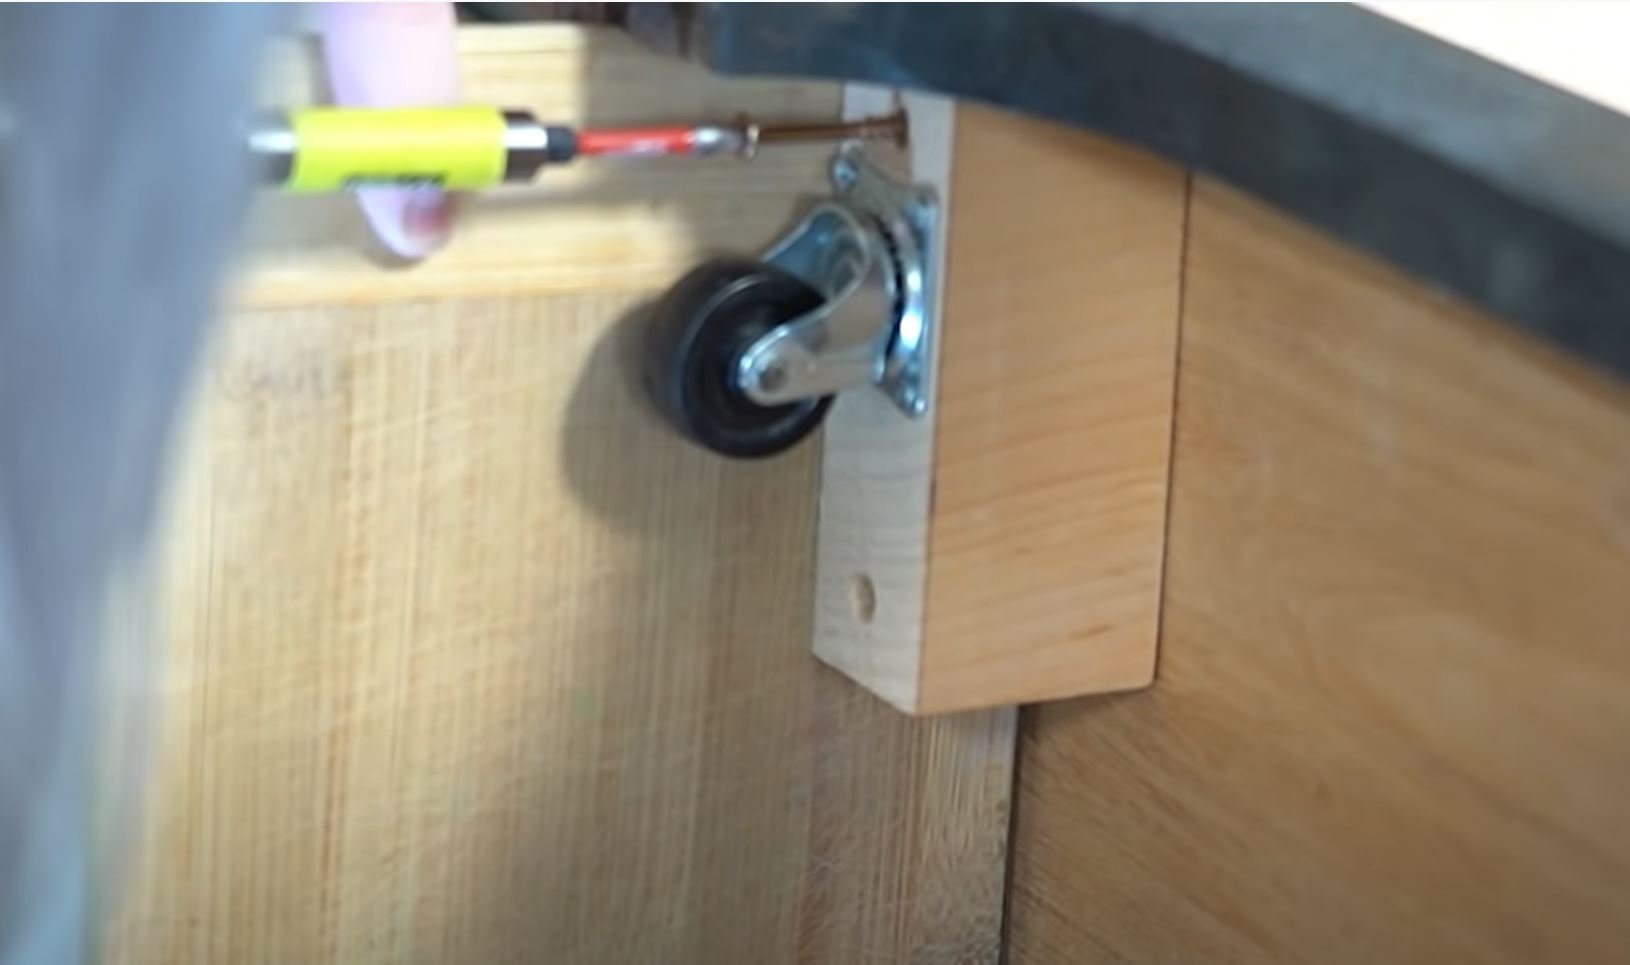
To help the shelf open like a door, I decided to add wheels. Using two small castors and a 1.5” piece of lumber, I secured this into the bottom of my shelf.
The last step was to add the new backing to the shelf. For this I used a new piece of 1/4” plywood cut to size and stained it black.
THE SECRET BOOK HANDLE


To create a working book handle, first the handle needed to be constructed! Most handles turn using a hex bolt system like this one -

Next, I needed a book. I picked an old vintage book I had in my home because it was the perfect width and look for my shelf.
They wood key I made was the same width and height so it could fit inside the book cover with ease.
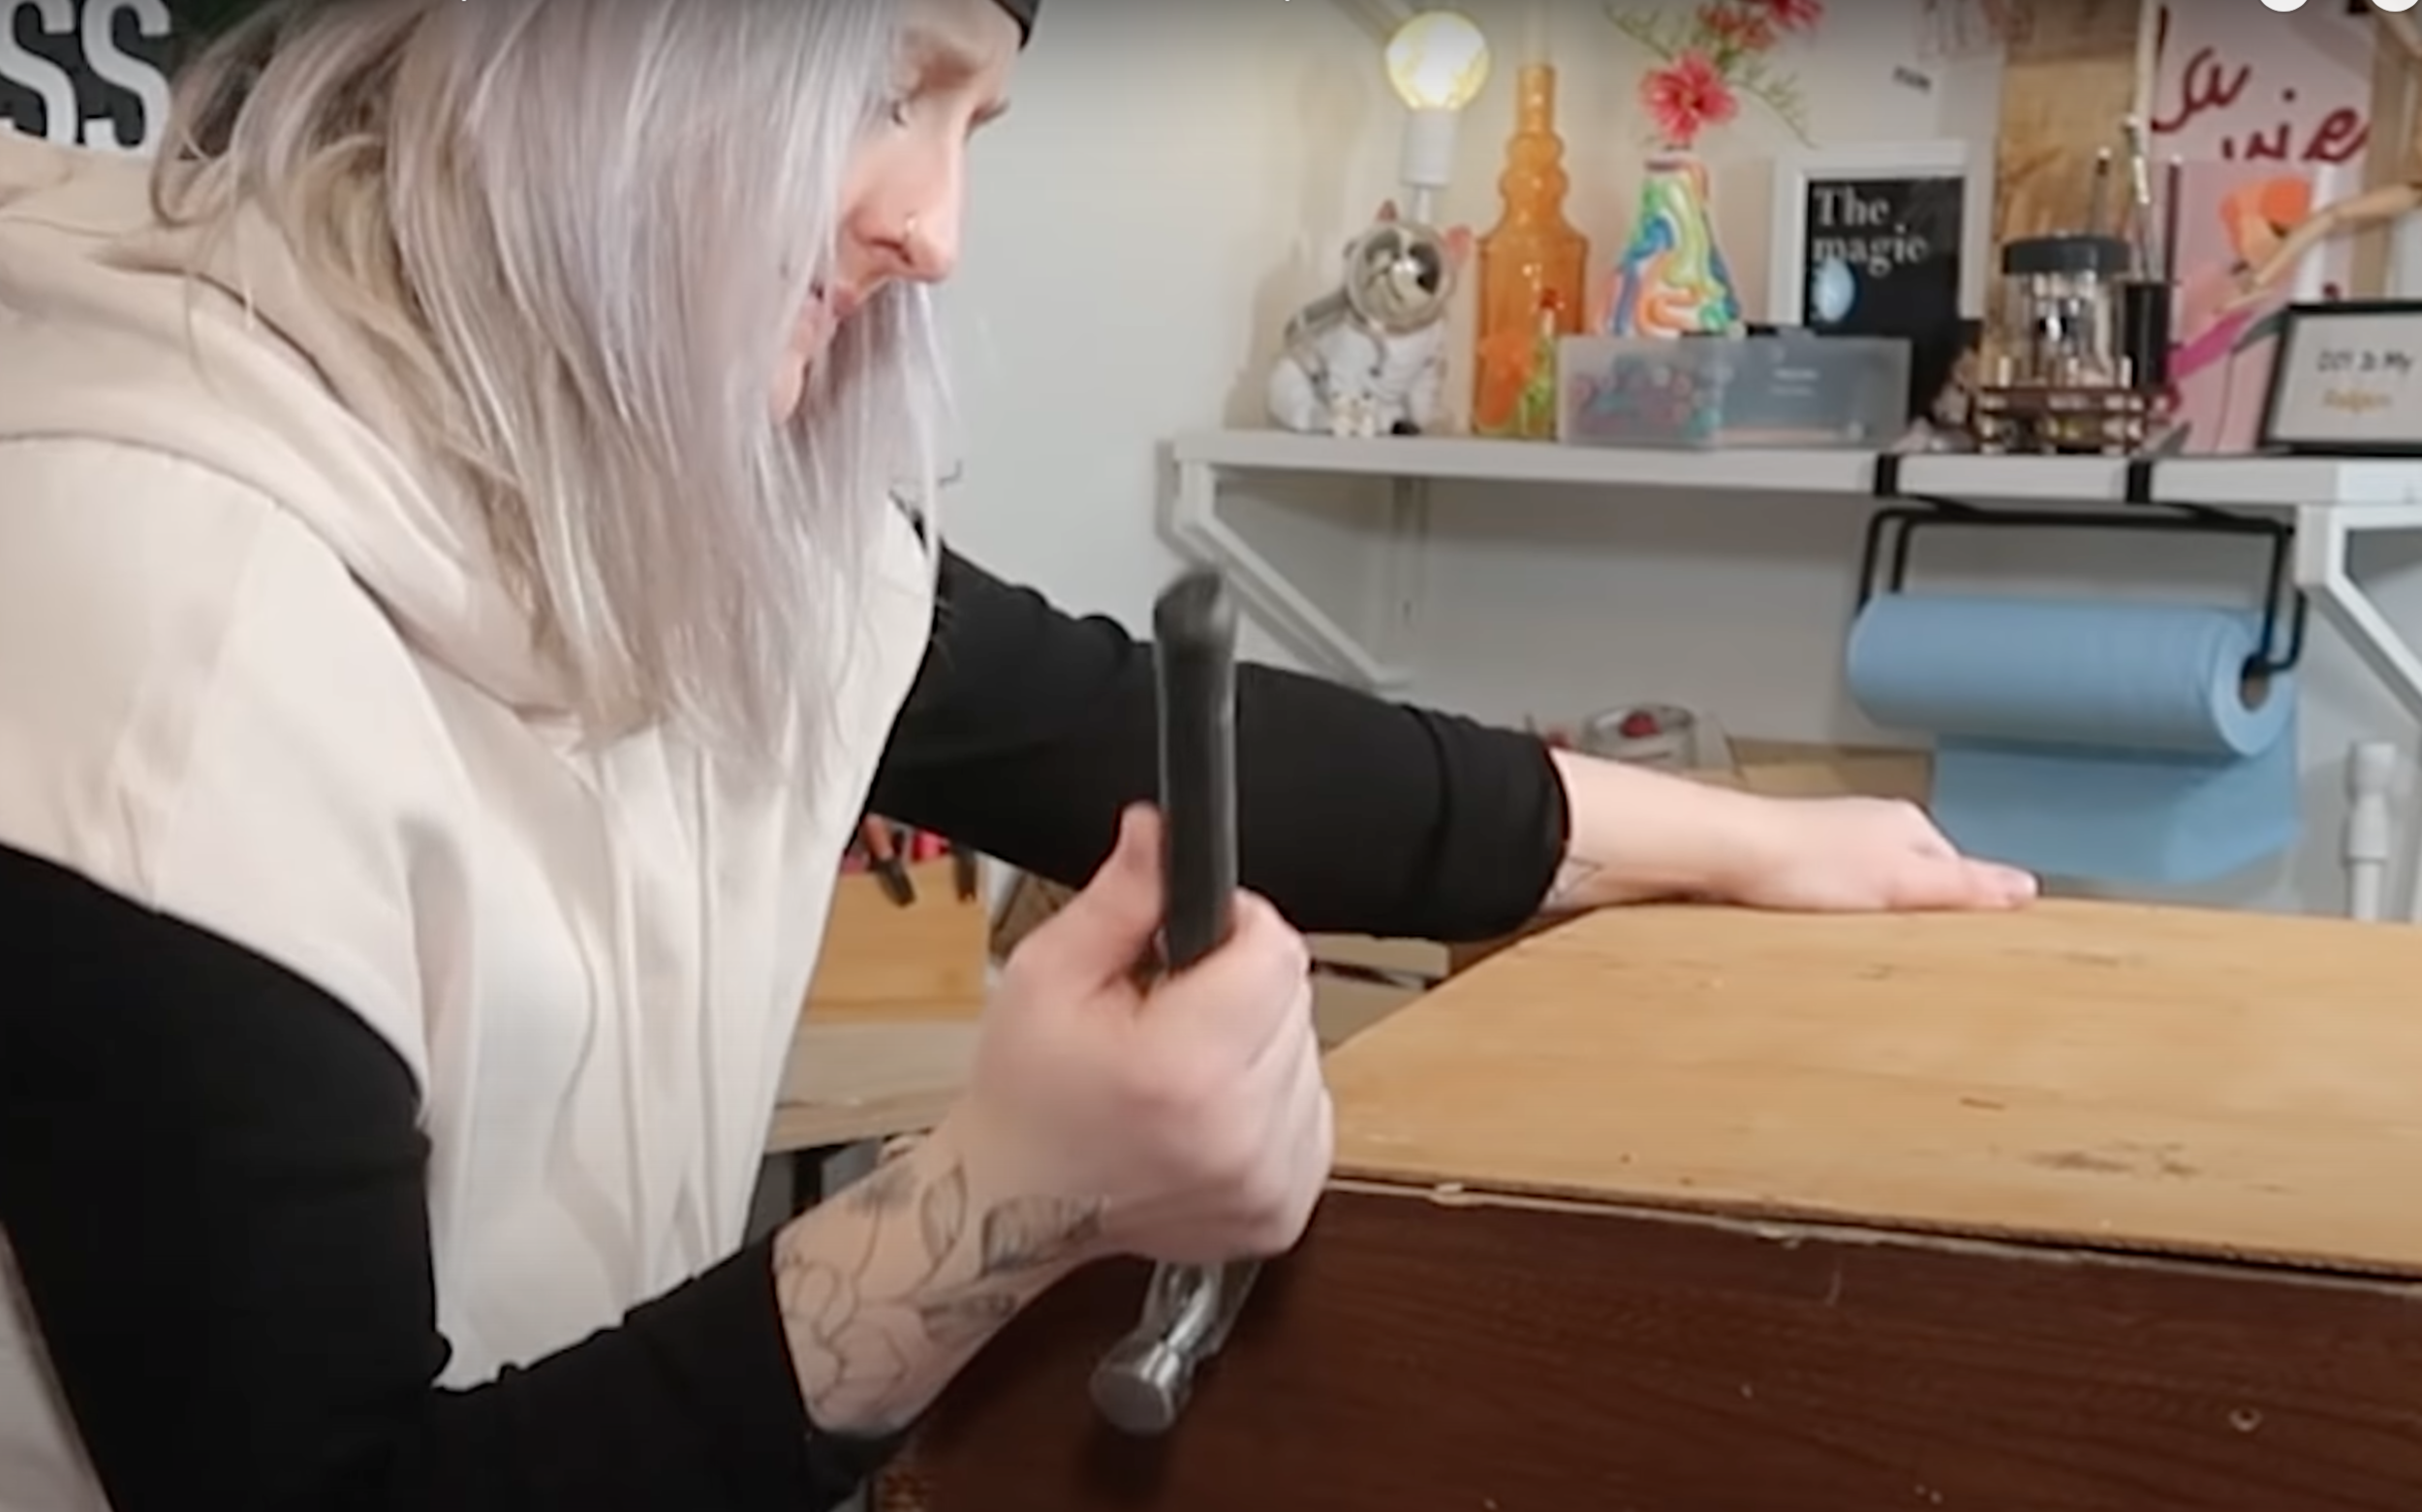
To make the handle work, I used a long hex bolt (bought at my local hardware store), a small 1/2” steel plate and a nut.
The new hex bolt was a bit long, so I cut into the wood and secured the bolt to the steel plate and the steel plate to the wood spine.
I then removed the book portion from the book cover. Don’t worry - the book was safe!
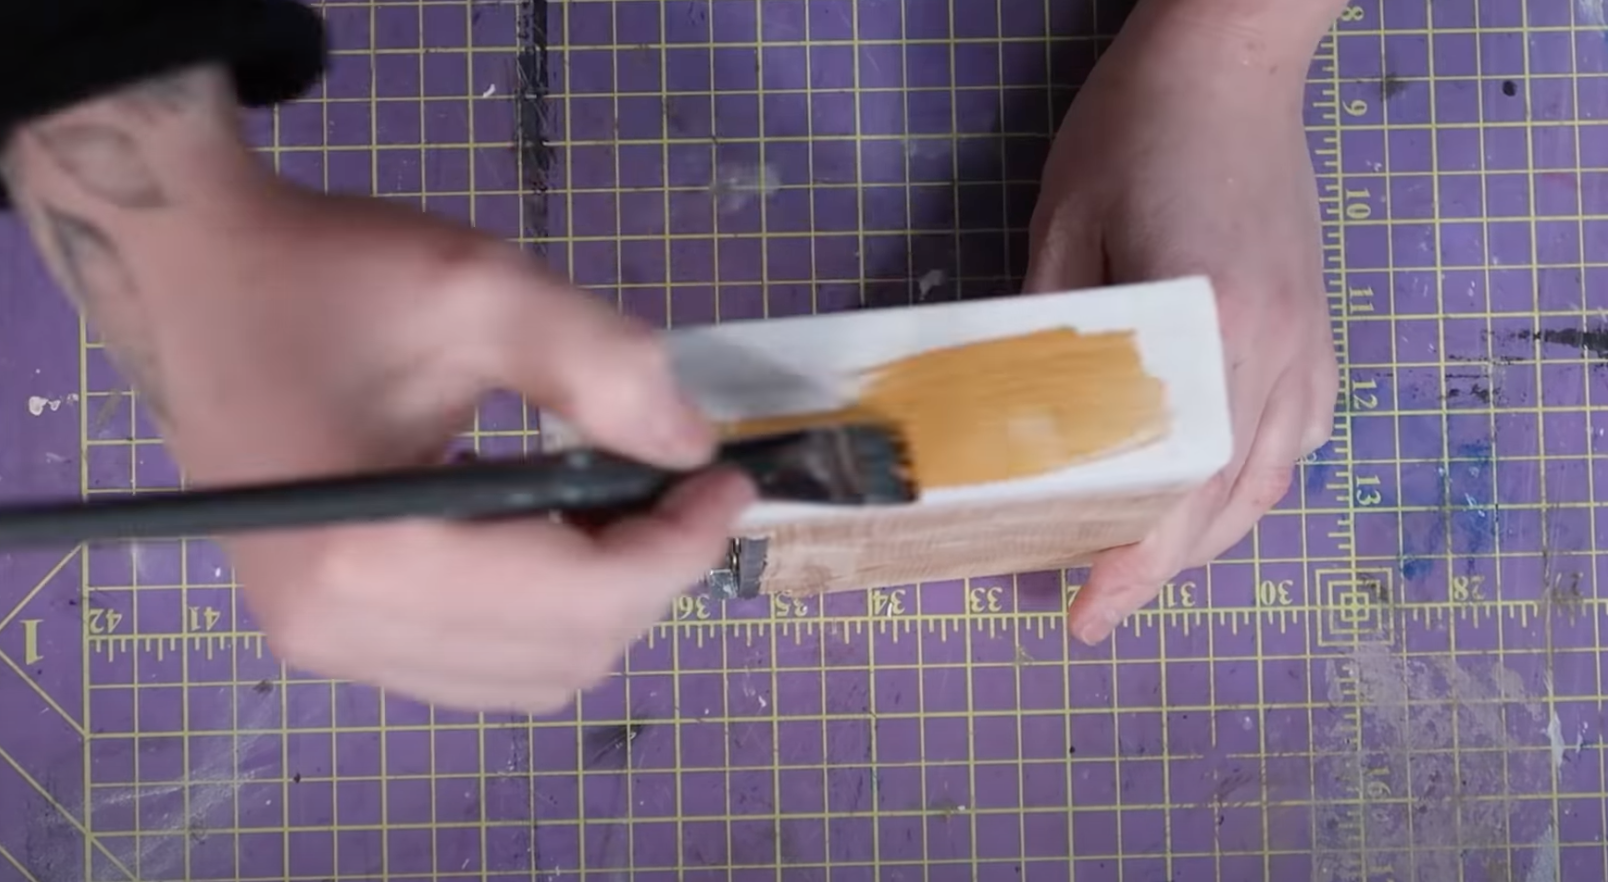
I then painted the spine and top of the wood key then added drywall compound to give the side some texture to look like pages. I lightly sanded it.
I painted the pages a gold to mimic the original book.
Last step was to drill a hole through the back of the bookcase so that the new book key could reach the door hardware mechanism.
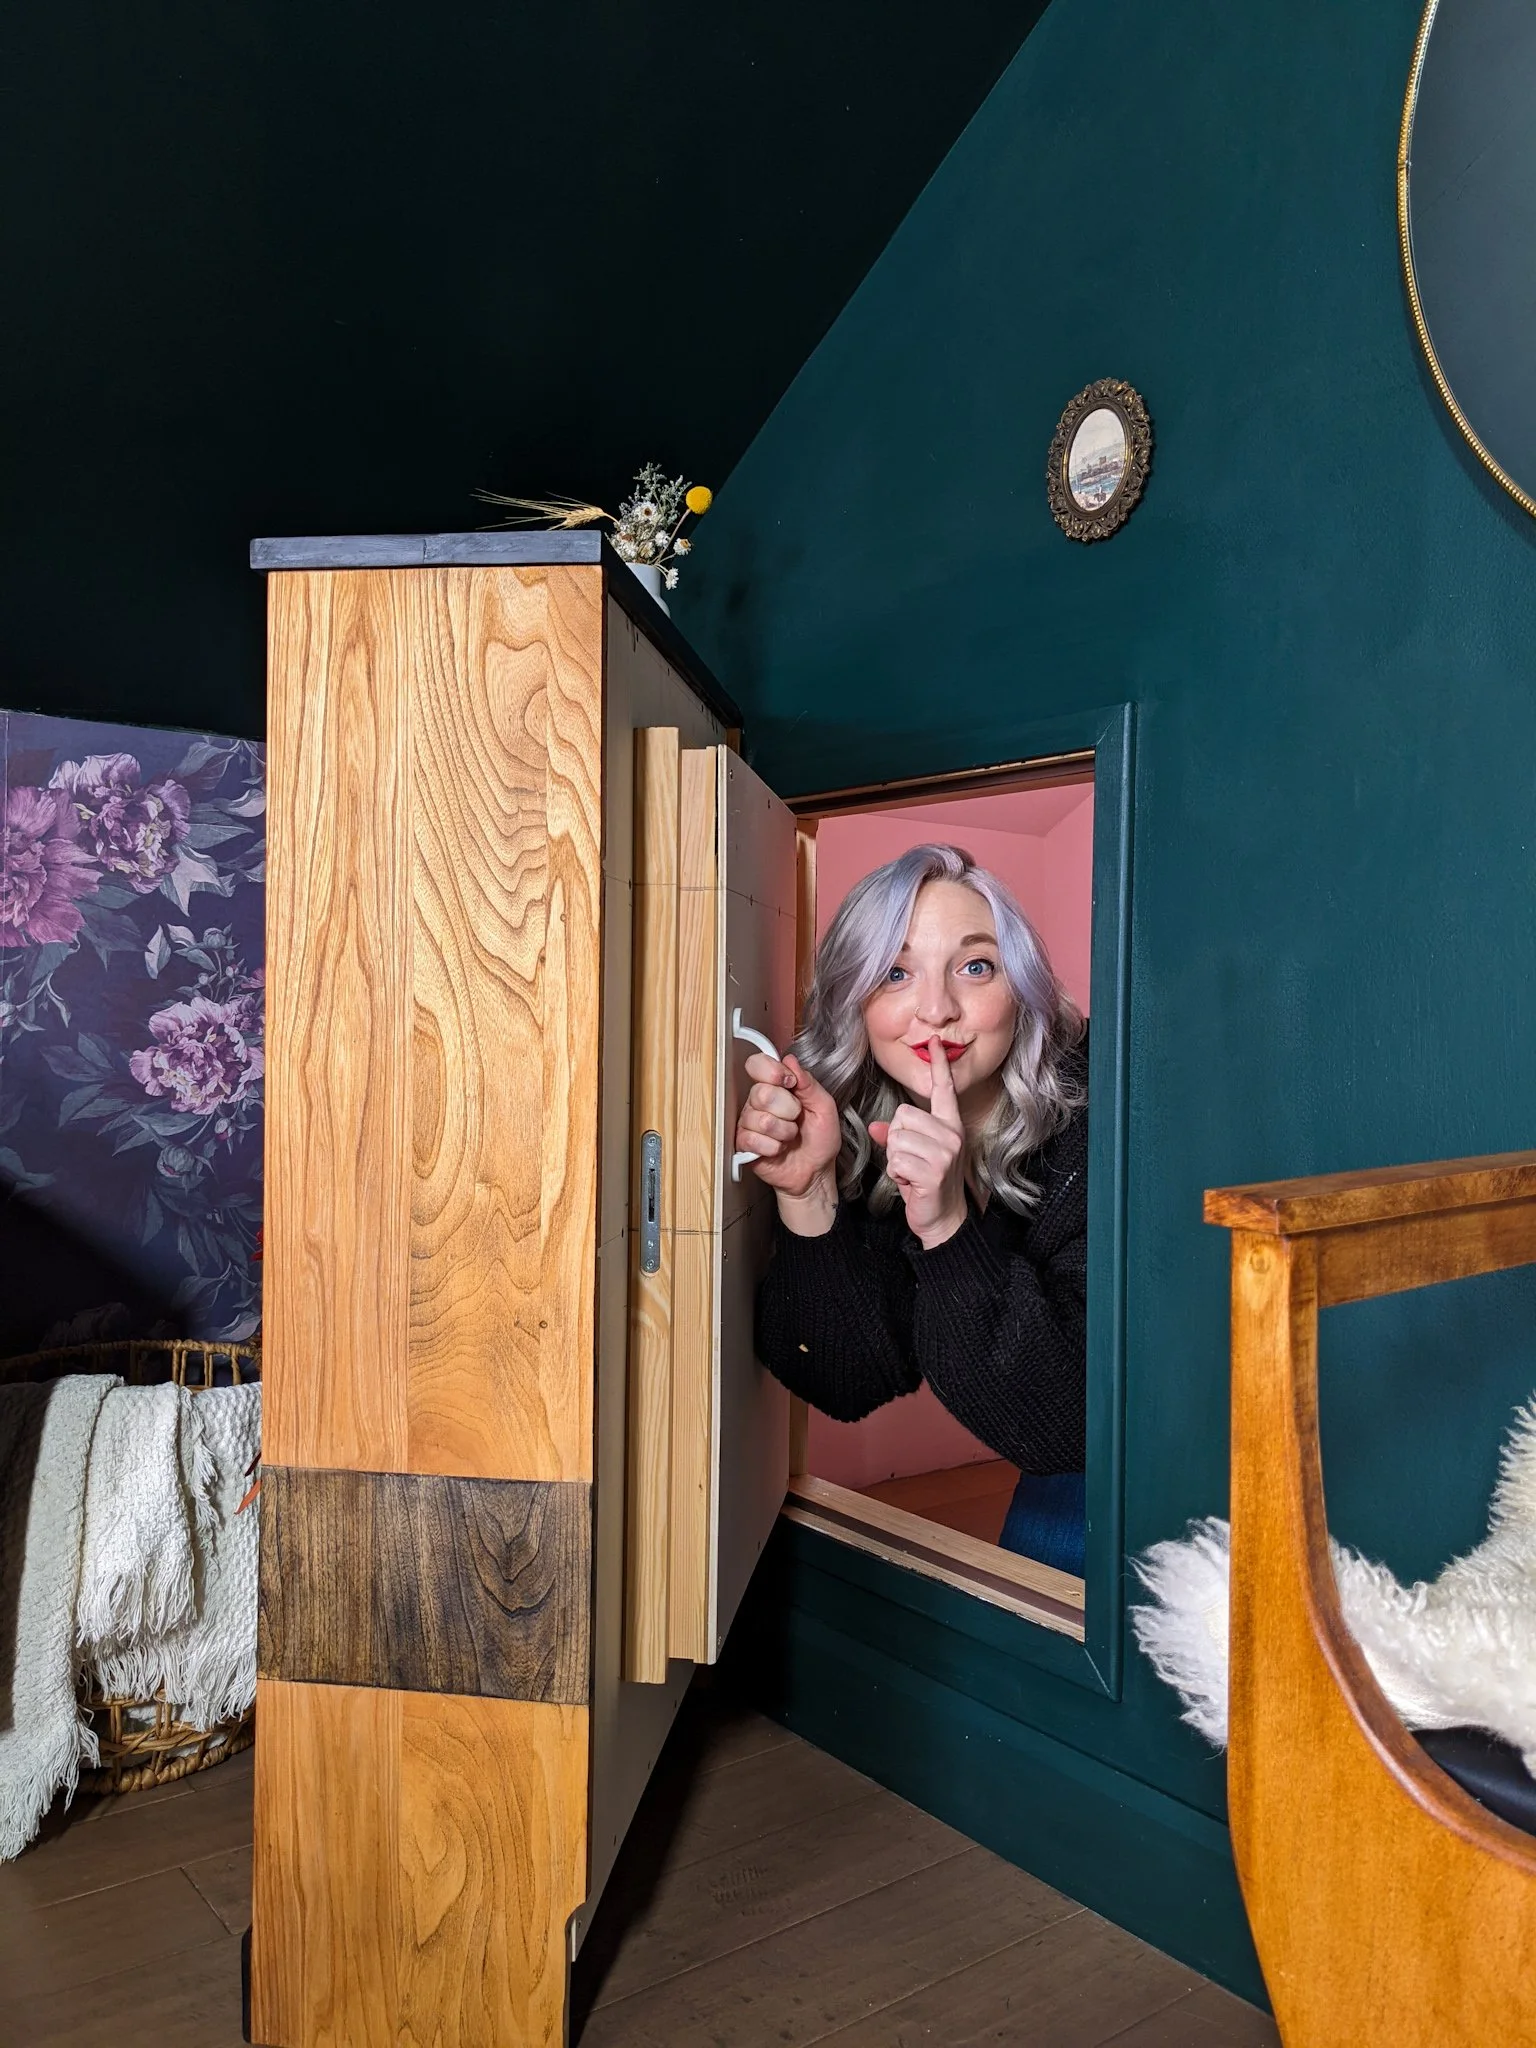
I then secured the bookshelf to the front of my access panel and VOILA!

A secret door, with a secret book handle to a secret closet!
The inside is still in need of some work… but the door worked and it was a total secret!
