DIY LINEN CLOSET MAKEOVER
No matter what home you live in, there is always going to be something that makes you go — “I wish this house had [INSERT WISH LIST ITEM HERE]”. For me, it was a linen closet. Don’t get me wrong, our house came with an upstairs closet… but it was long, dark, dysfunctional and played home to many spider friends shudder. For a time, I was using the third bedroom as the closet to house all our extra linens and blankets but it was over flowing and I knew this was not a long term solution. It was time for me to pull up my DIY sleeves and find a solution to our long, dark, dingy closet. So I got creative. Let’s call this solution PART 1 because this closet got turned into two functional spaces in my home. Let’s begin!

WHERE IT STARTED.
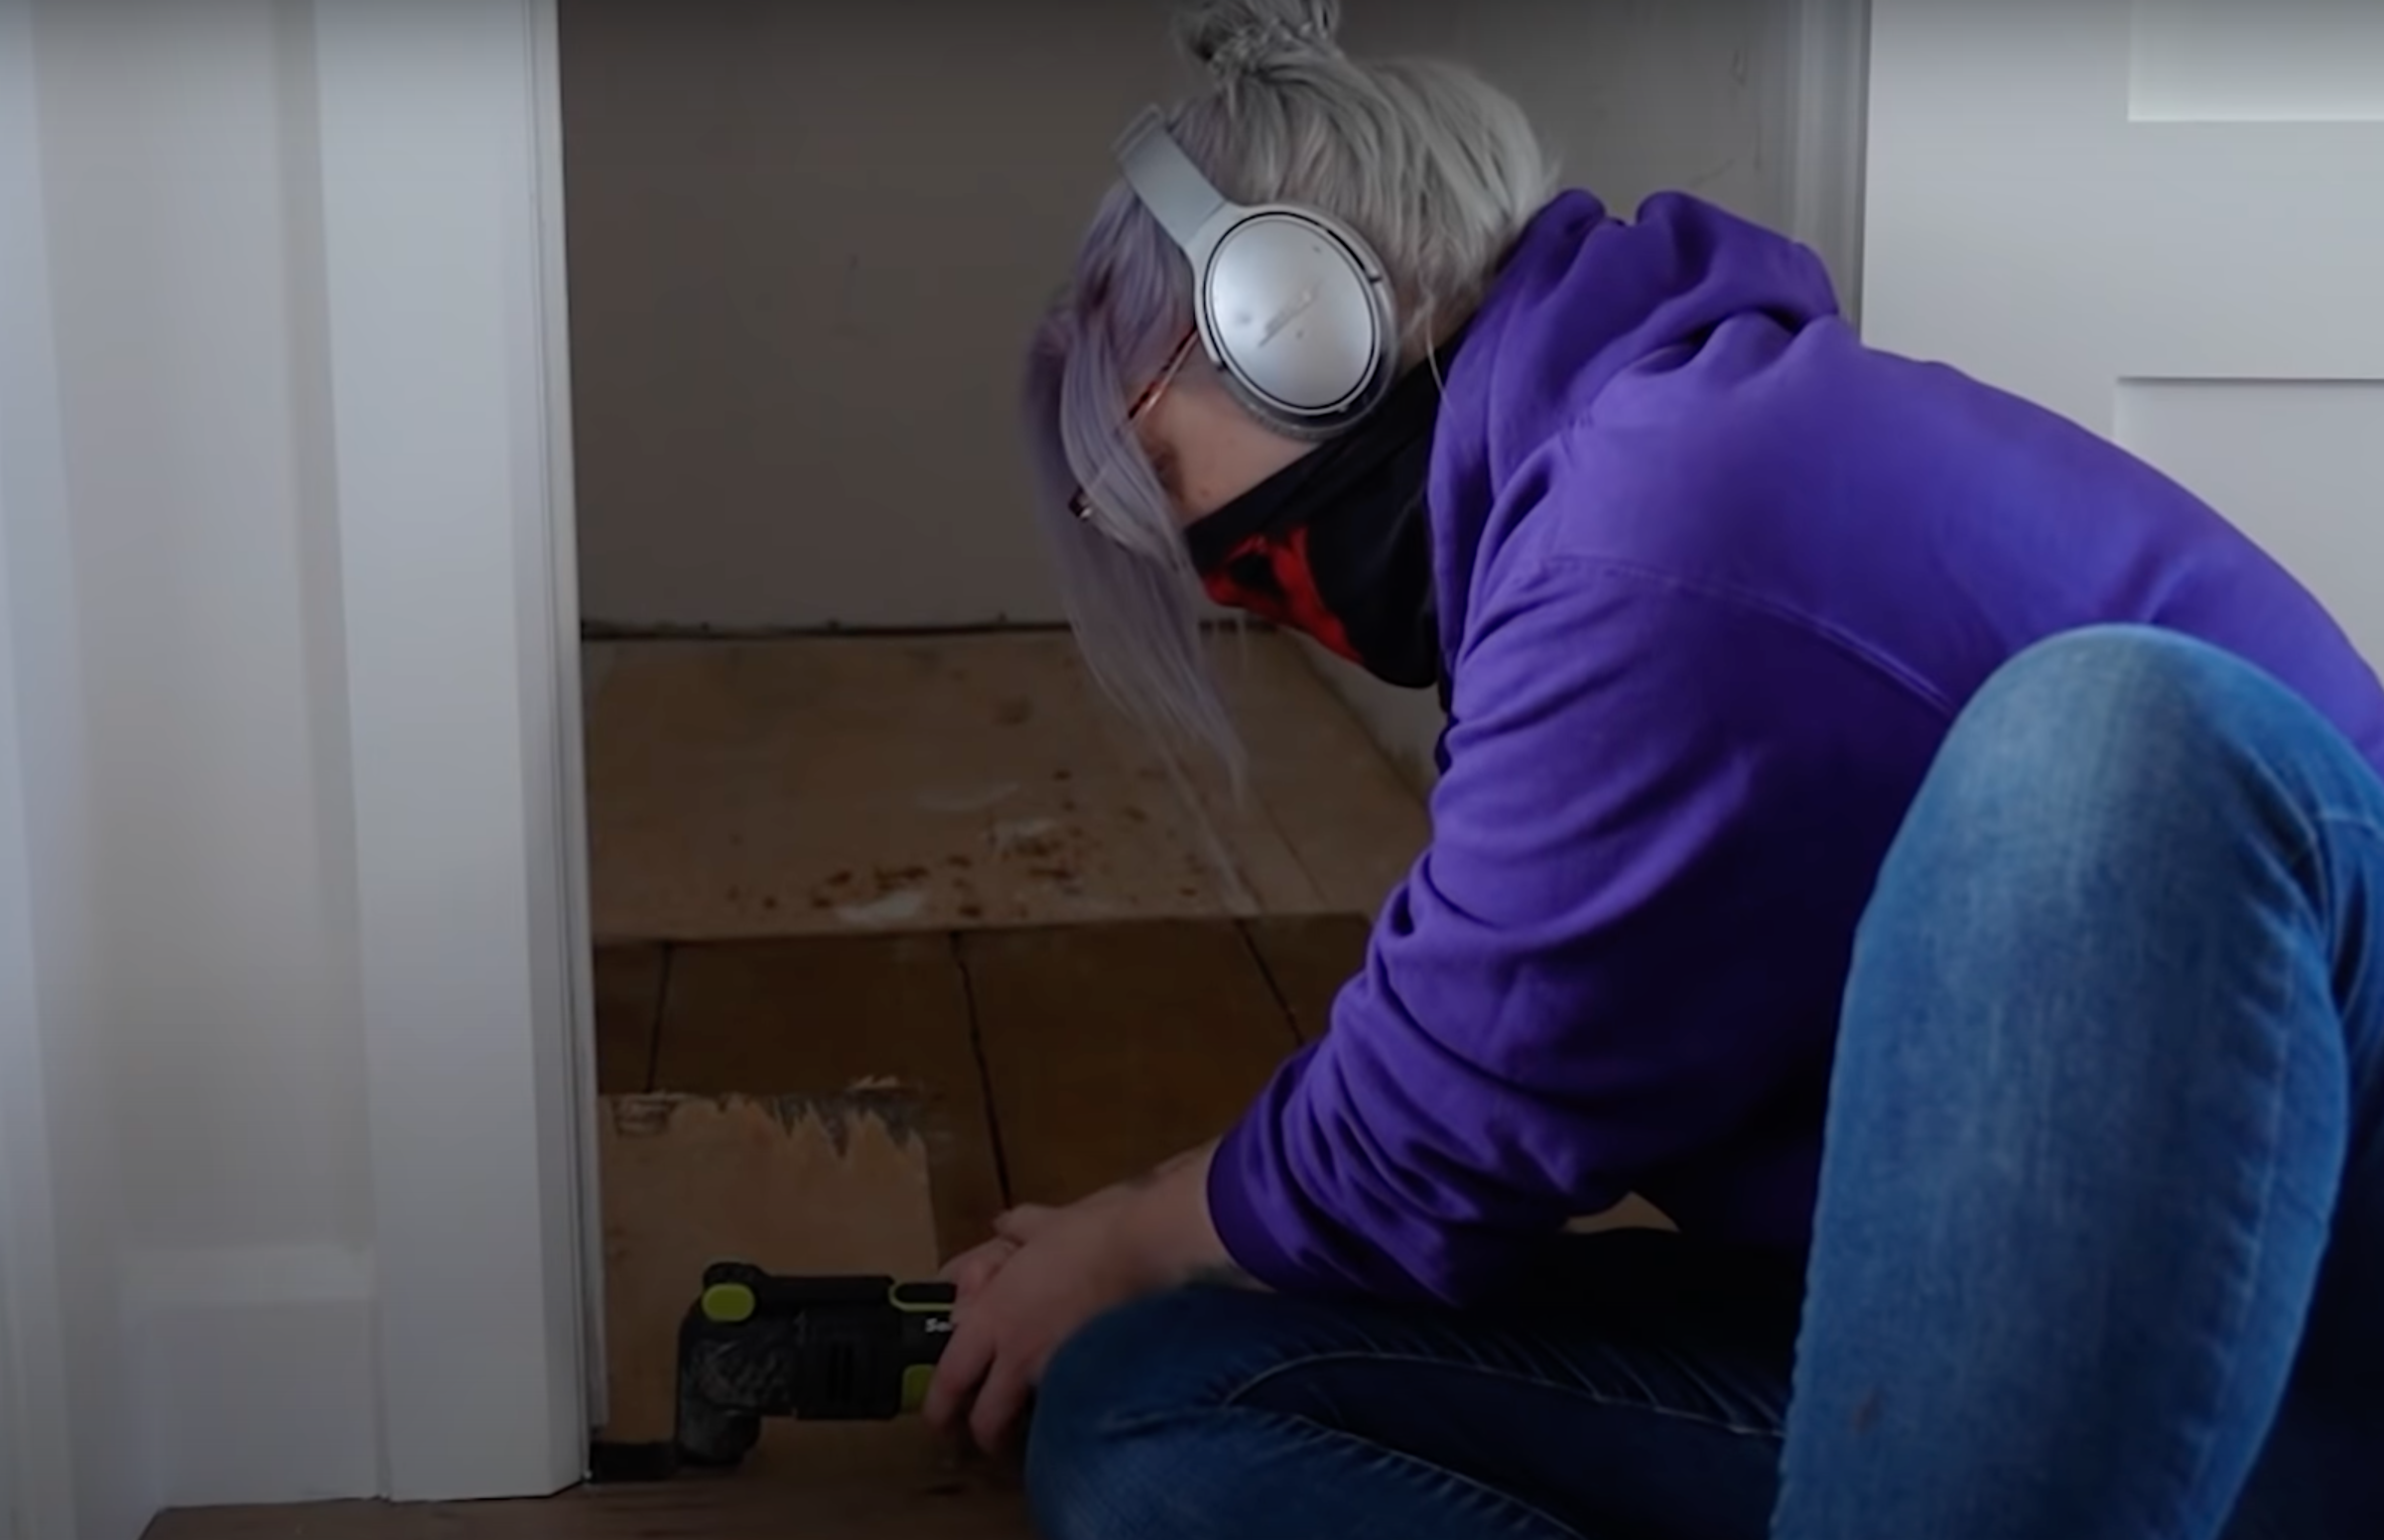
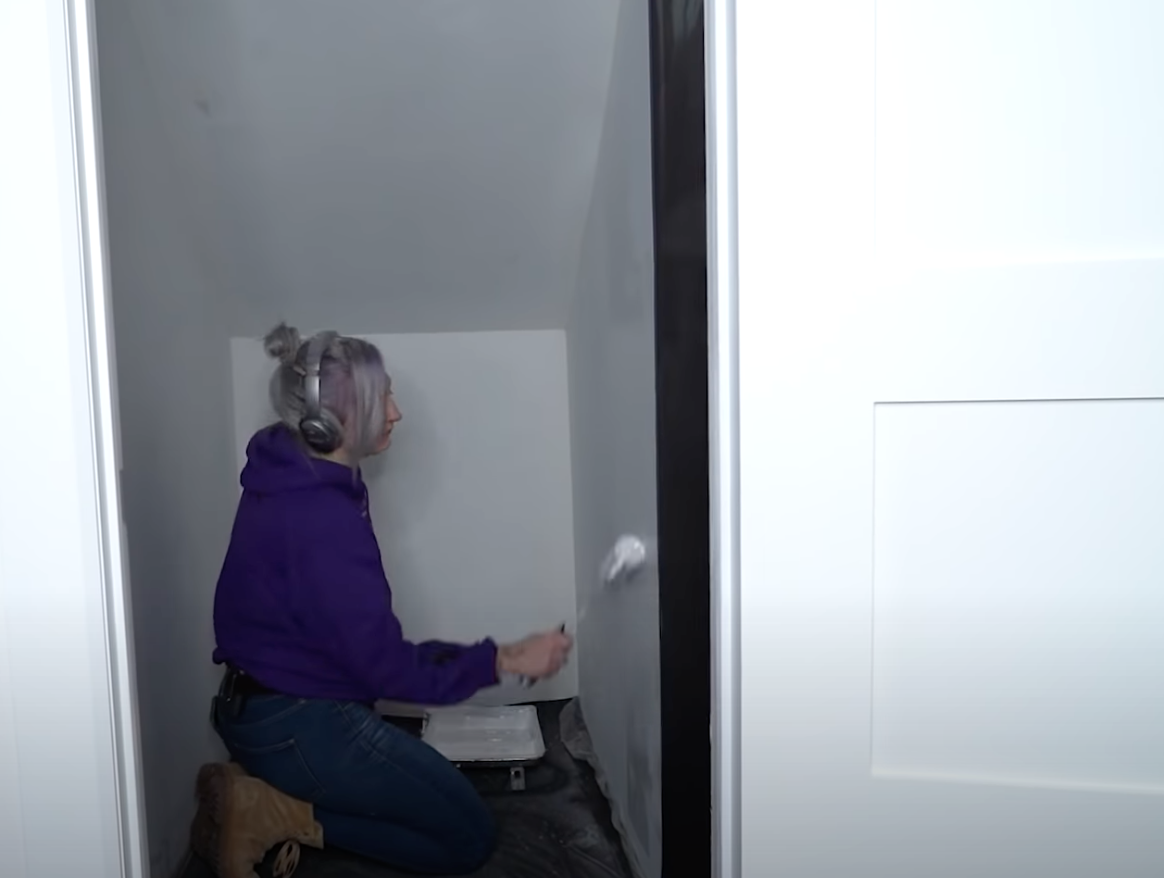
Here it is folks. The upstairs closet. This photo is actually pretty tame to what it usually looked like but it was long, slanted (which means it’s hard to fit common everyday items into it, and it was missing sporting last season’s flooring AKA SUB-FLOORING.
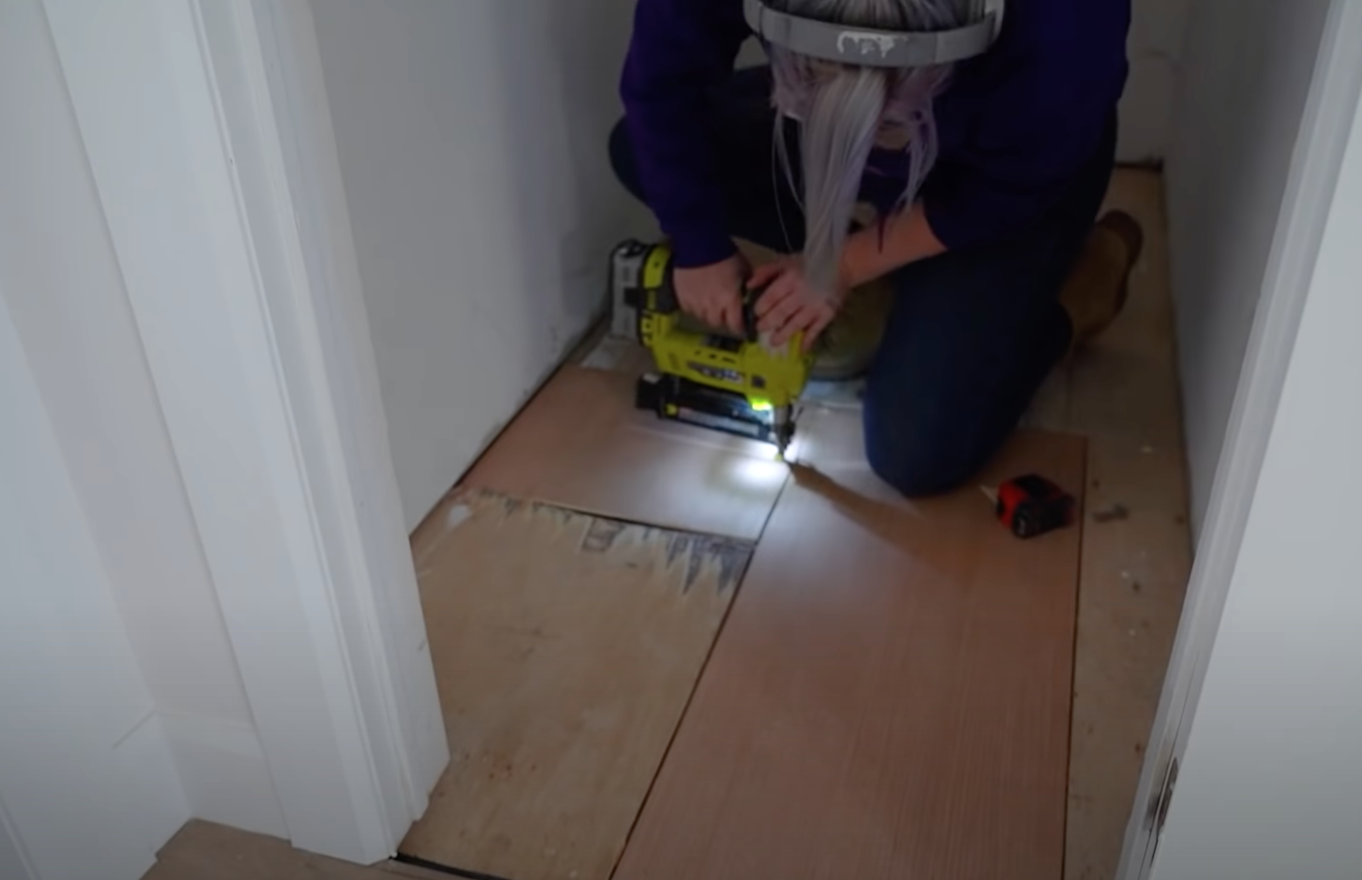
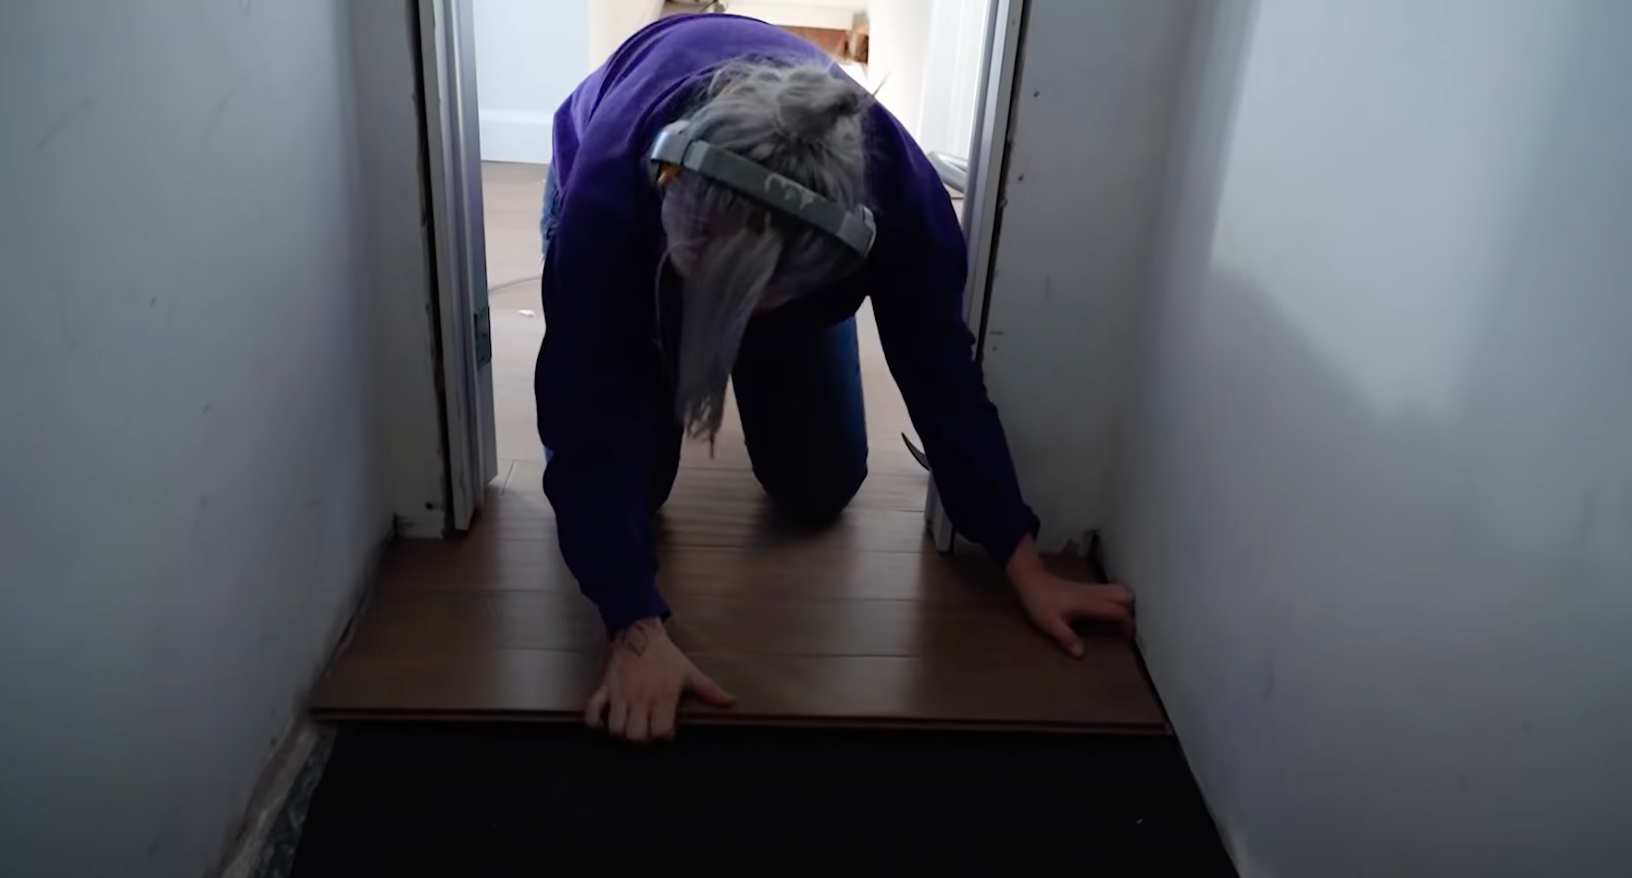
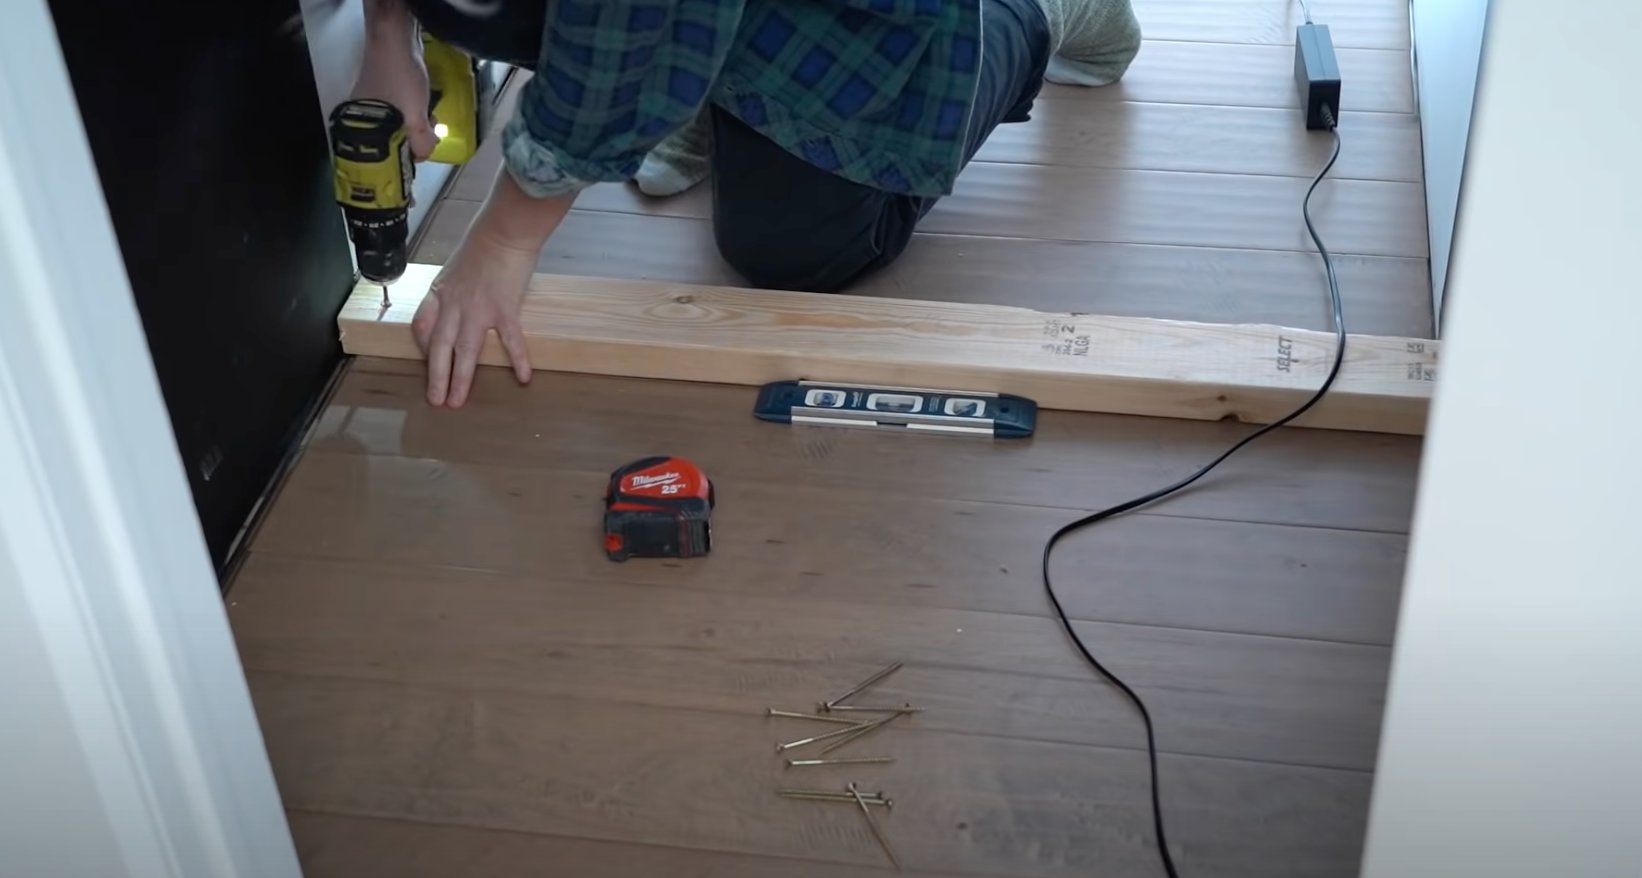
After fixing the L shaped chunk of sub-flooring, I put down underlay and lay the the flooring horizontal to match the upstairs floor.
FLOORING
I trimmed up the door stopper with a multi tool, layered thin plywood to even out the sub floor, and then installed a moisture barrier. After that it was just laying down the flooring in a horizontal pattern and it was done. It wasn’t as much work as I thought it would be and it made the entire closet feel SO MUCH nicer to be in. My only regret was not doing this space when I added the flooring upstairs earlier in the year.
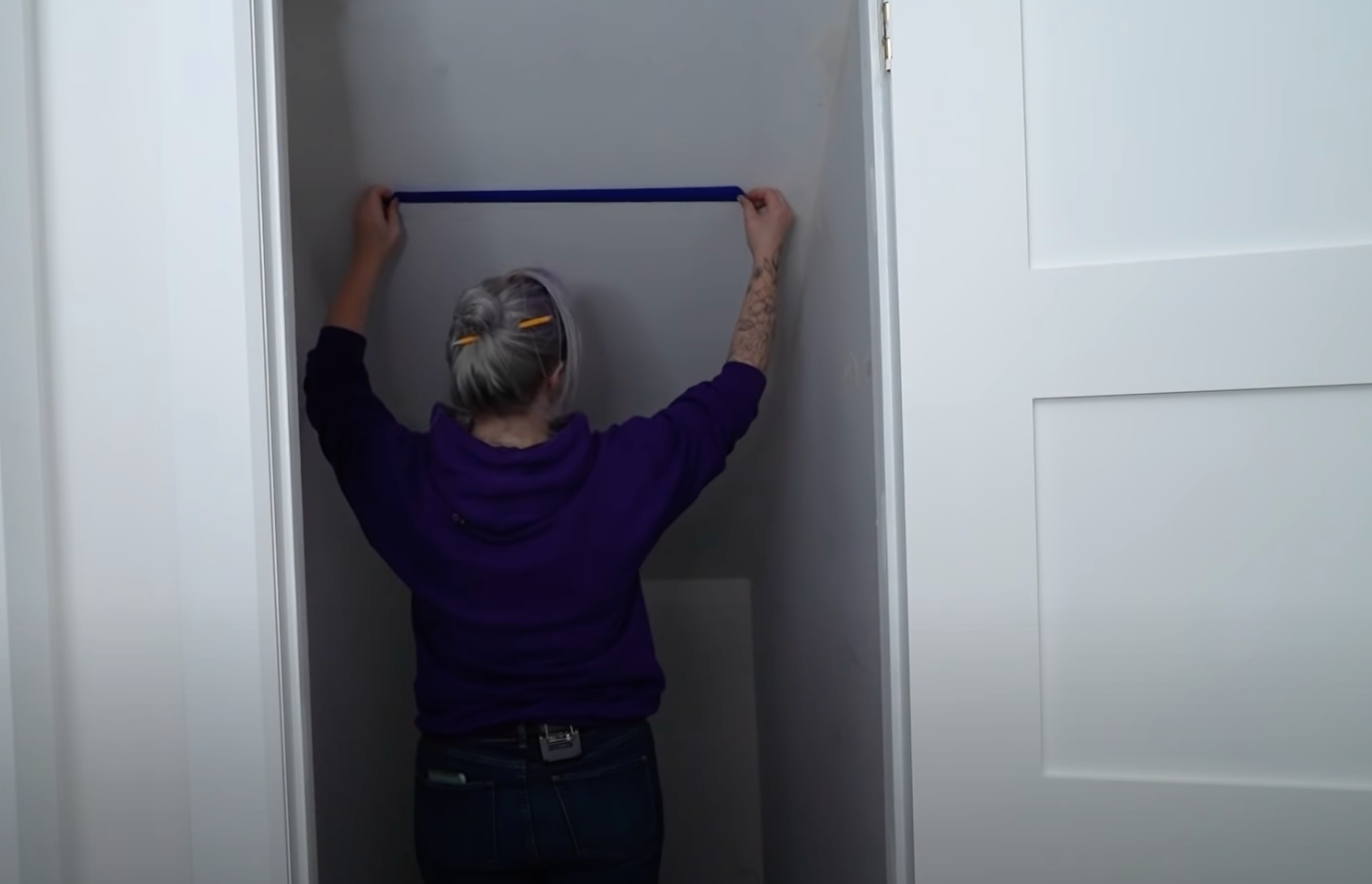
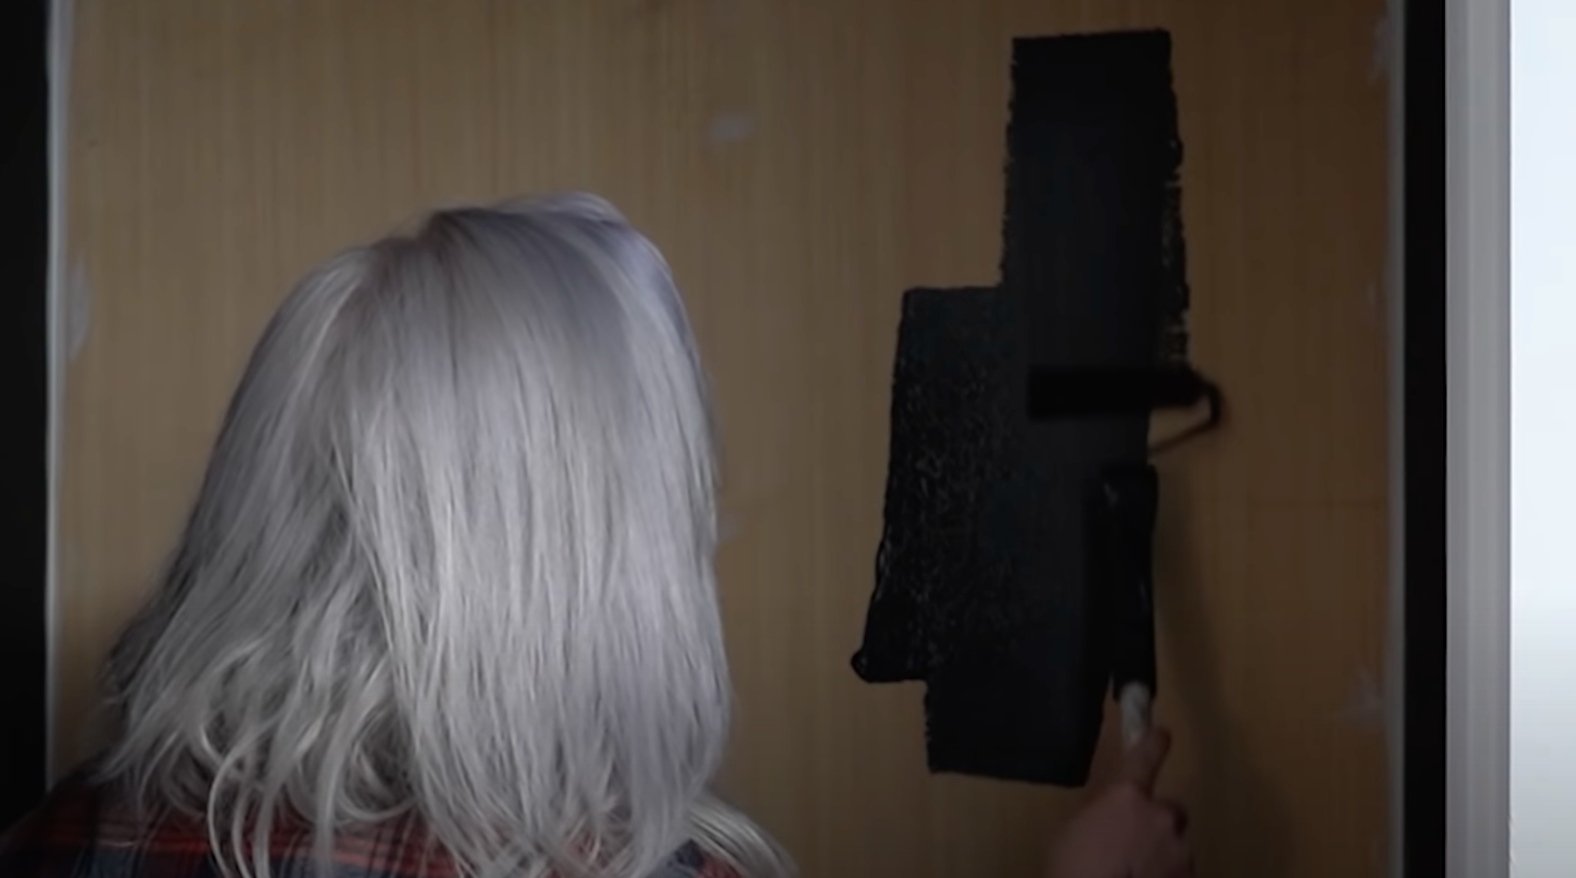
LET’S ADD SOME DRAMA!
Once the flooring was done, I decided to create some drama by painting the front half of the closet the colour BLACKOUT- N510-7 by BEHR and the back half the closet using the colour BIT OF SUGAR - PR-W14 by BEHR.

DIVIDE AND CONQUER!
I knew I didn’t need the entire closet for linens, so the goal was to cut the closet in half. How? - Build a wall.
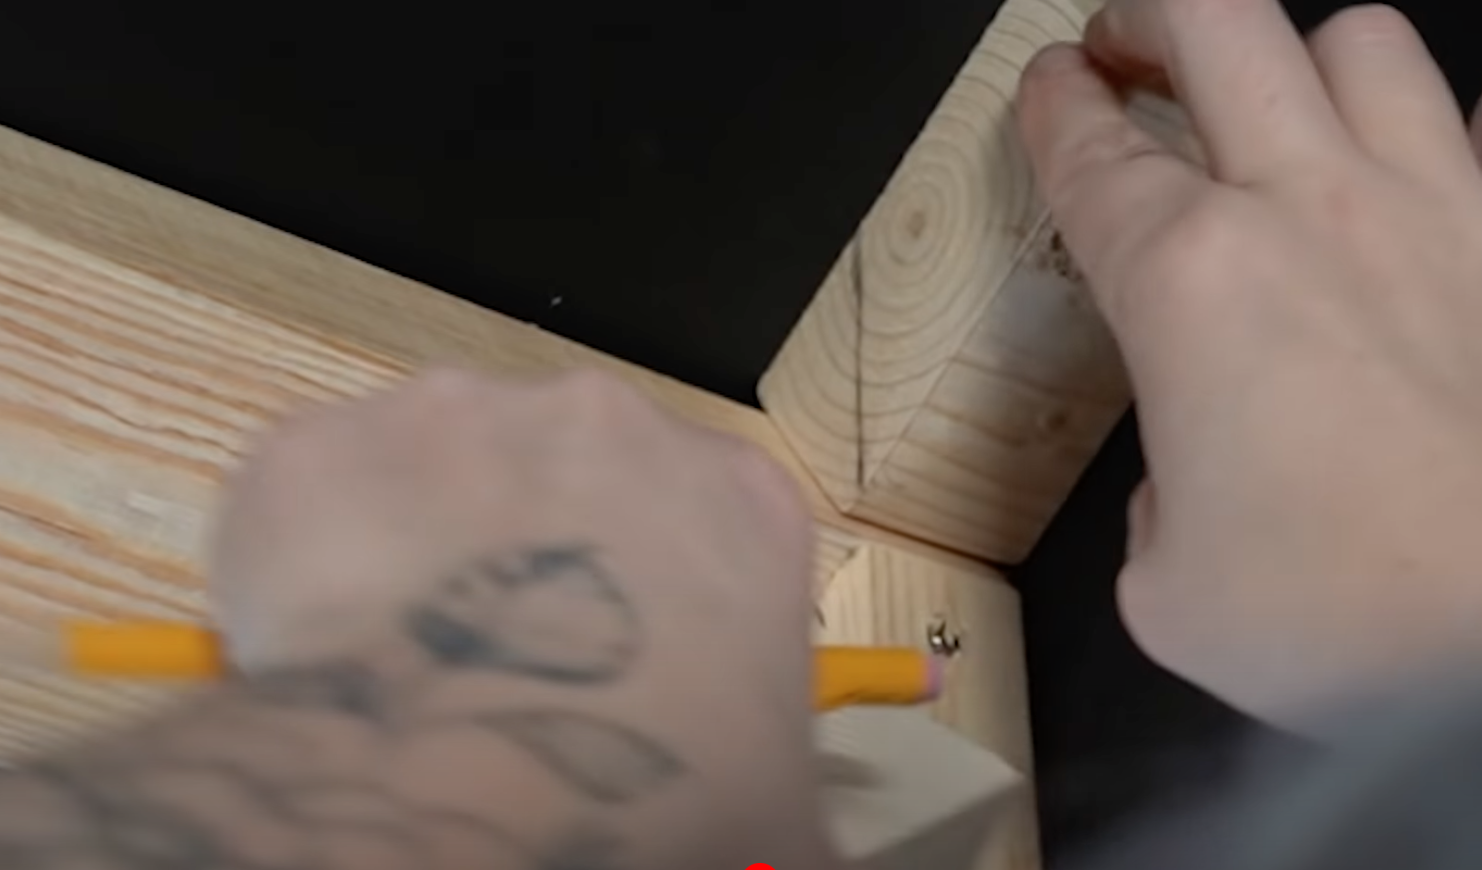
Using 2x4 lumber, I built a surrounding wall frame making sure to screw everything into studs for strength. Once the frame was built, I added the middle support (aka the stud) and cross studs to keep the wall strong and allow for the wall fronts to be attached to it.
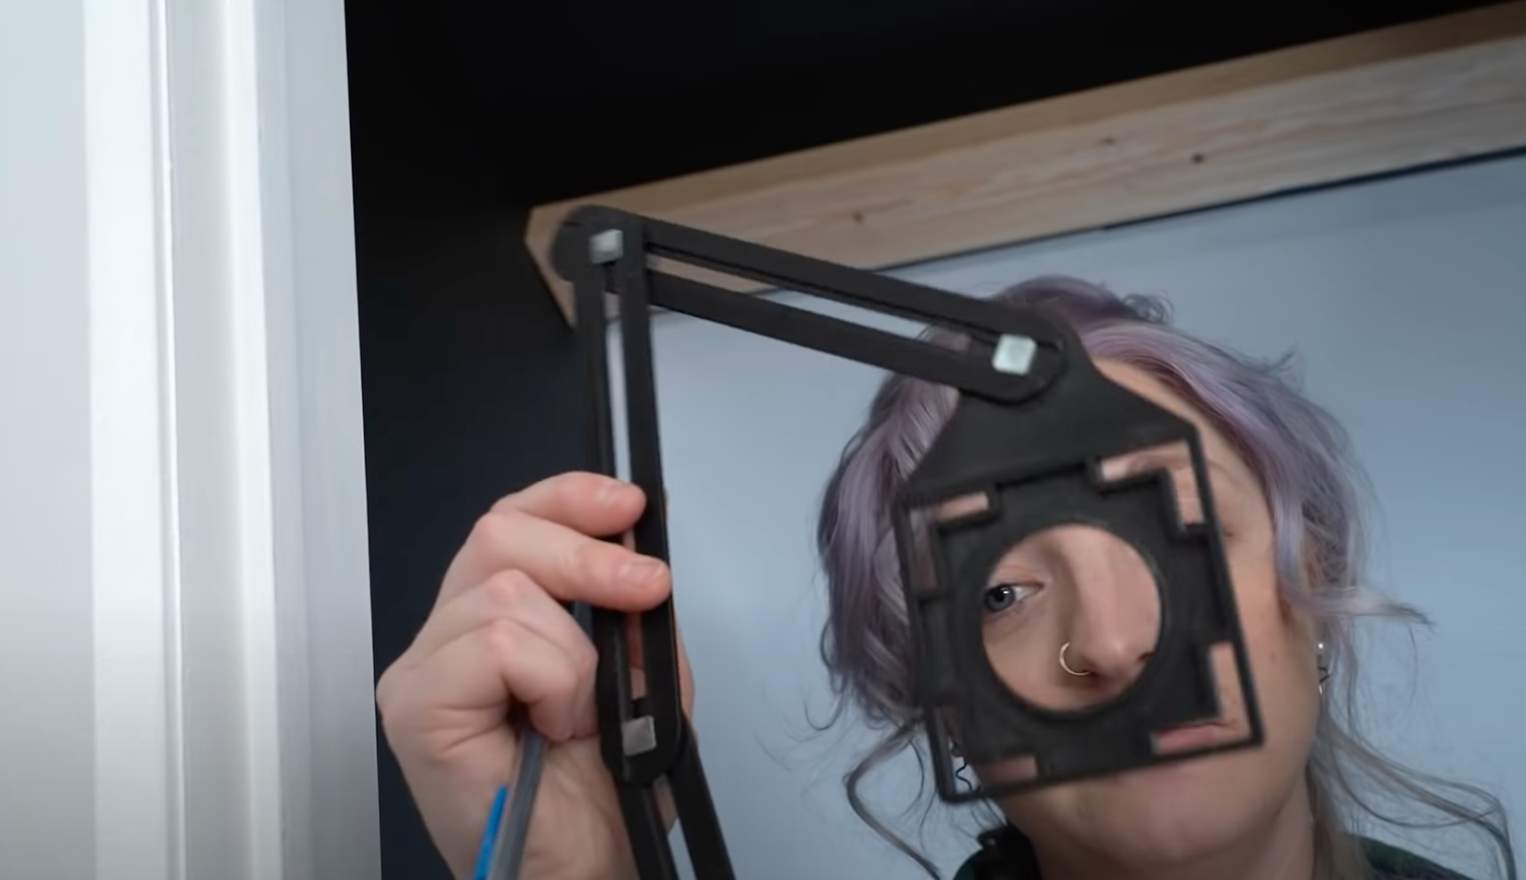
By the end, it looks a bit like a window frame! My only struggle was building a frame to a slanted ceiling. Can’t say I’ve ever done that before, but with my handy angle finder, I was able to make the proper cuts with ease!
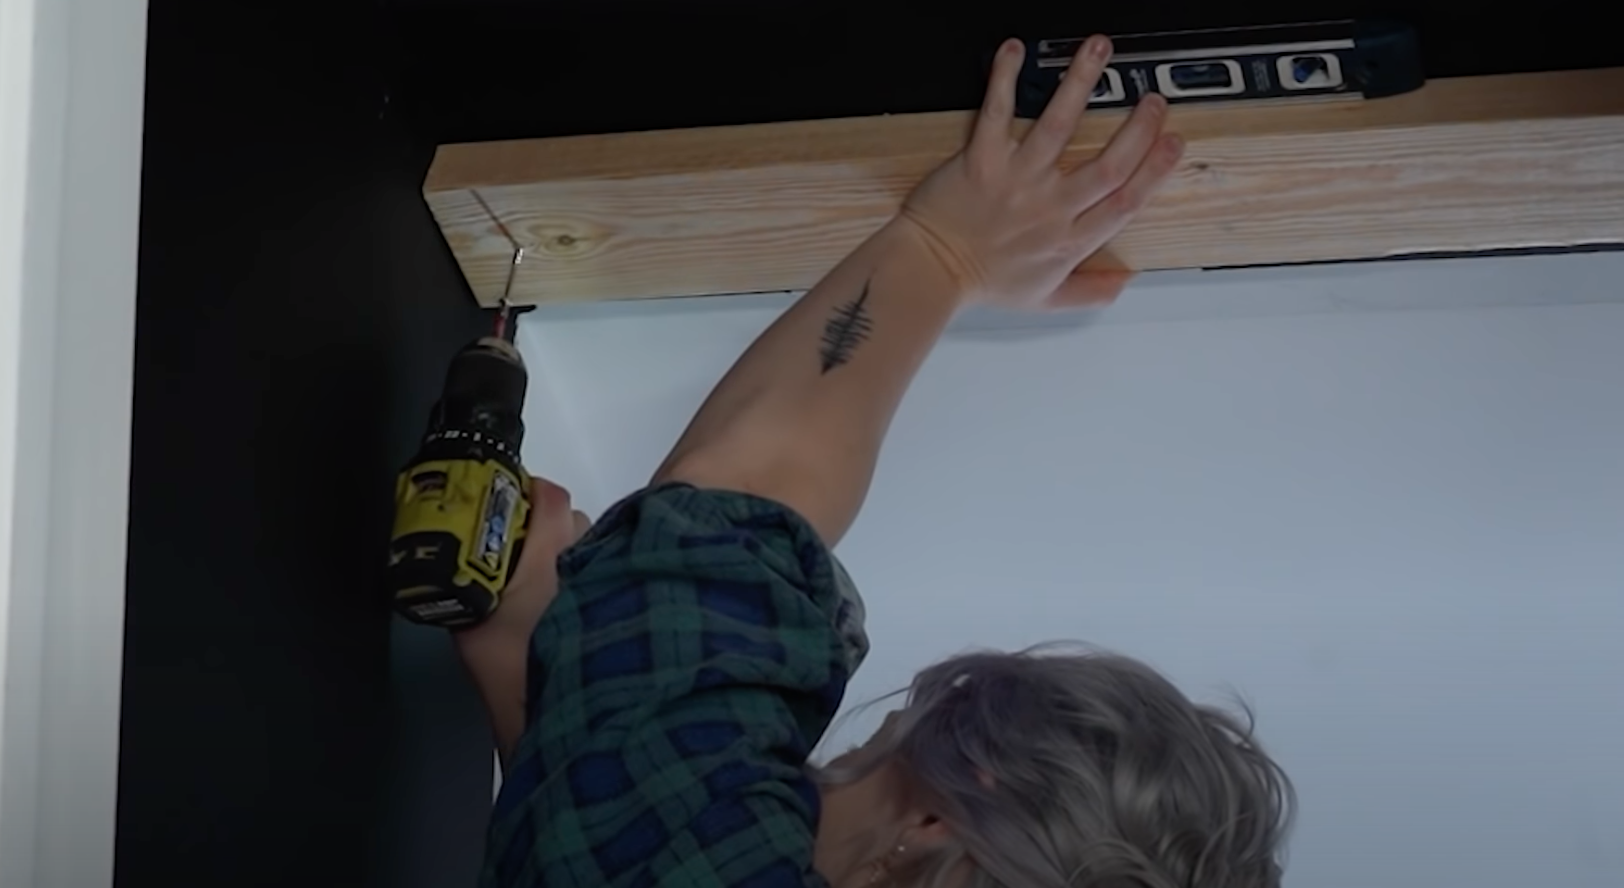


ATTACHING THE WALL
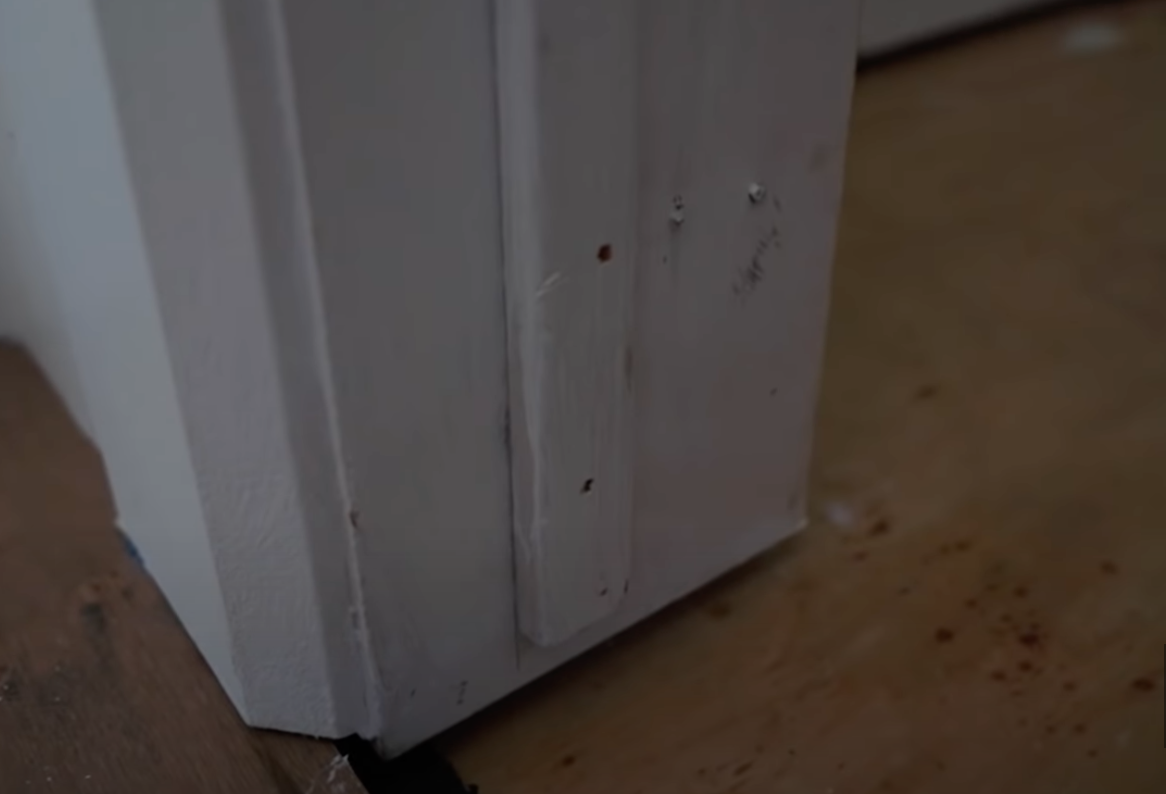
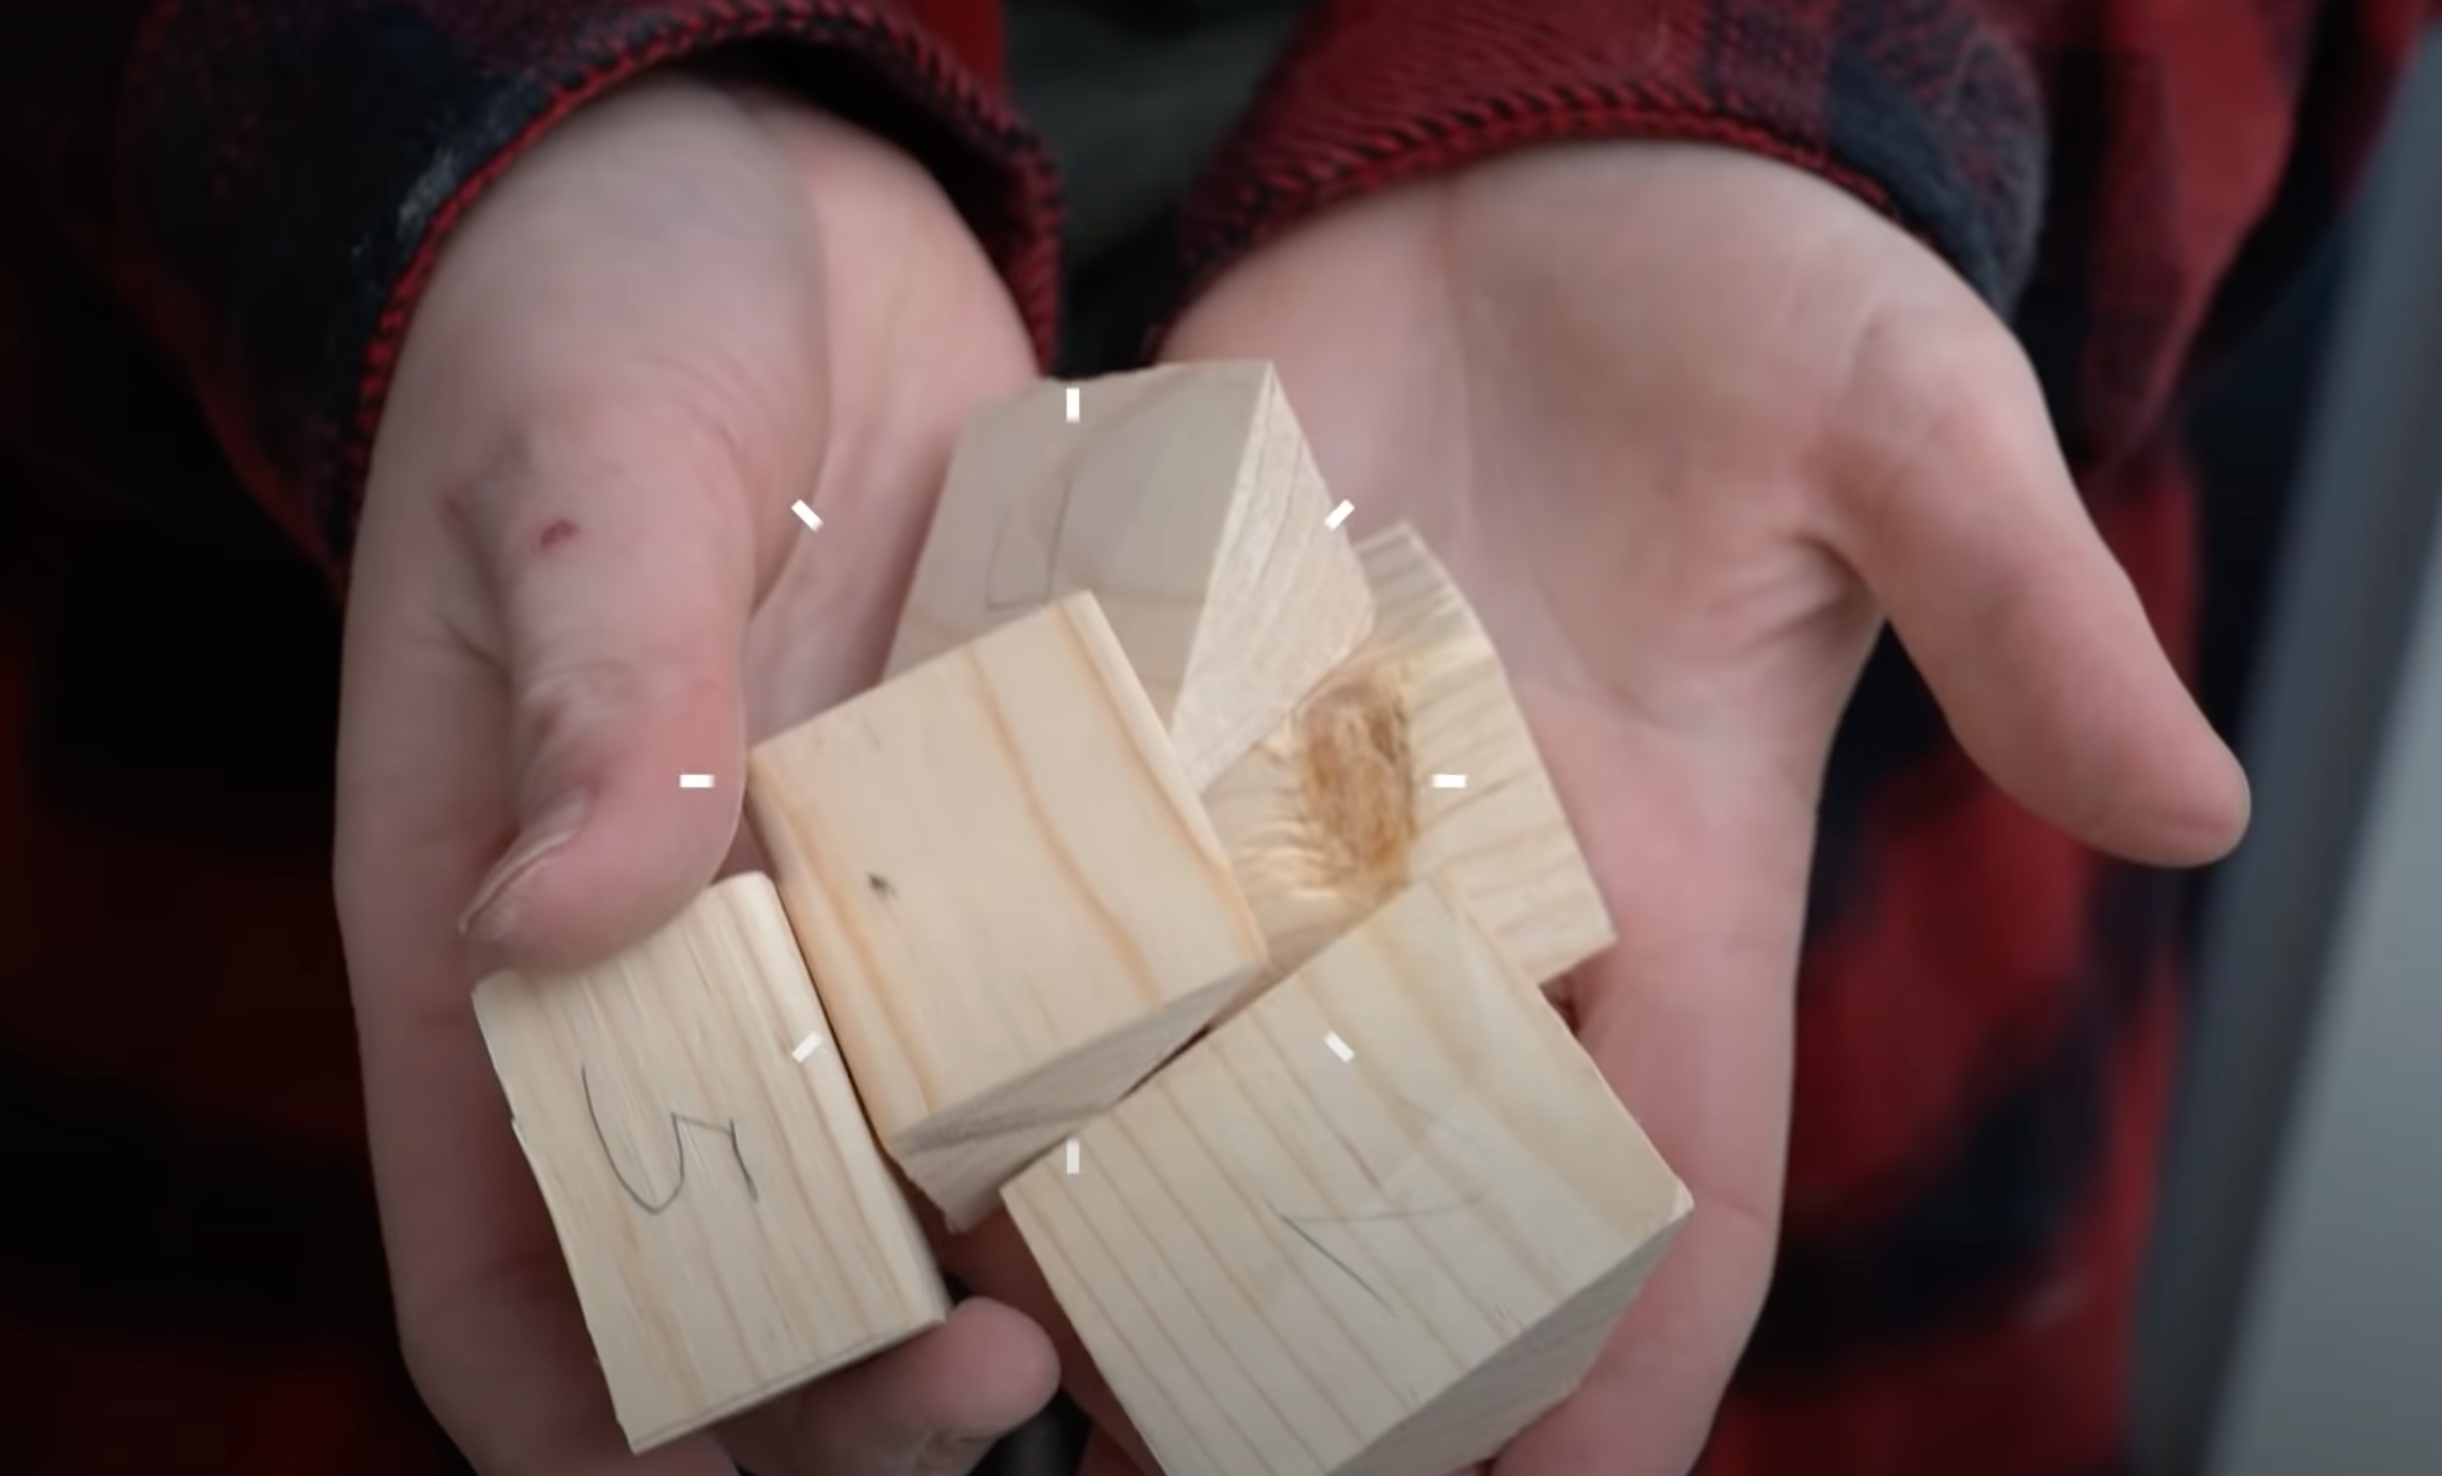
Due to the slant, I had to find a way to fill in the gap at the top so my wall would sit flush to the frame. I created small triangles to add into the top gap between the frame and the wall and this worked well for securing everything in place.
To secure them, I simply used my brad nail.

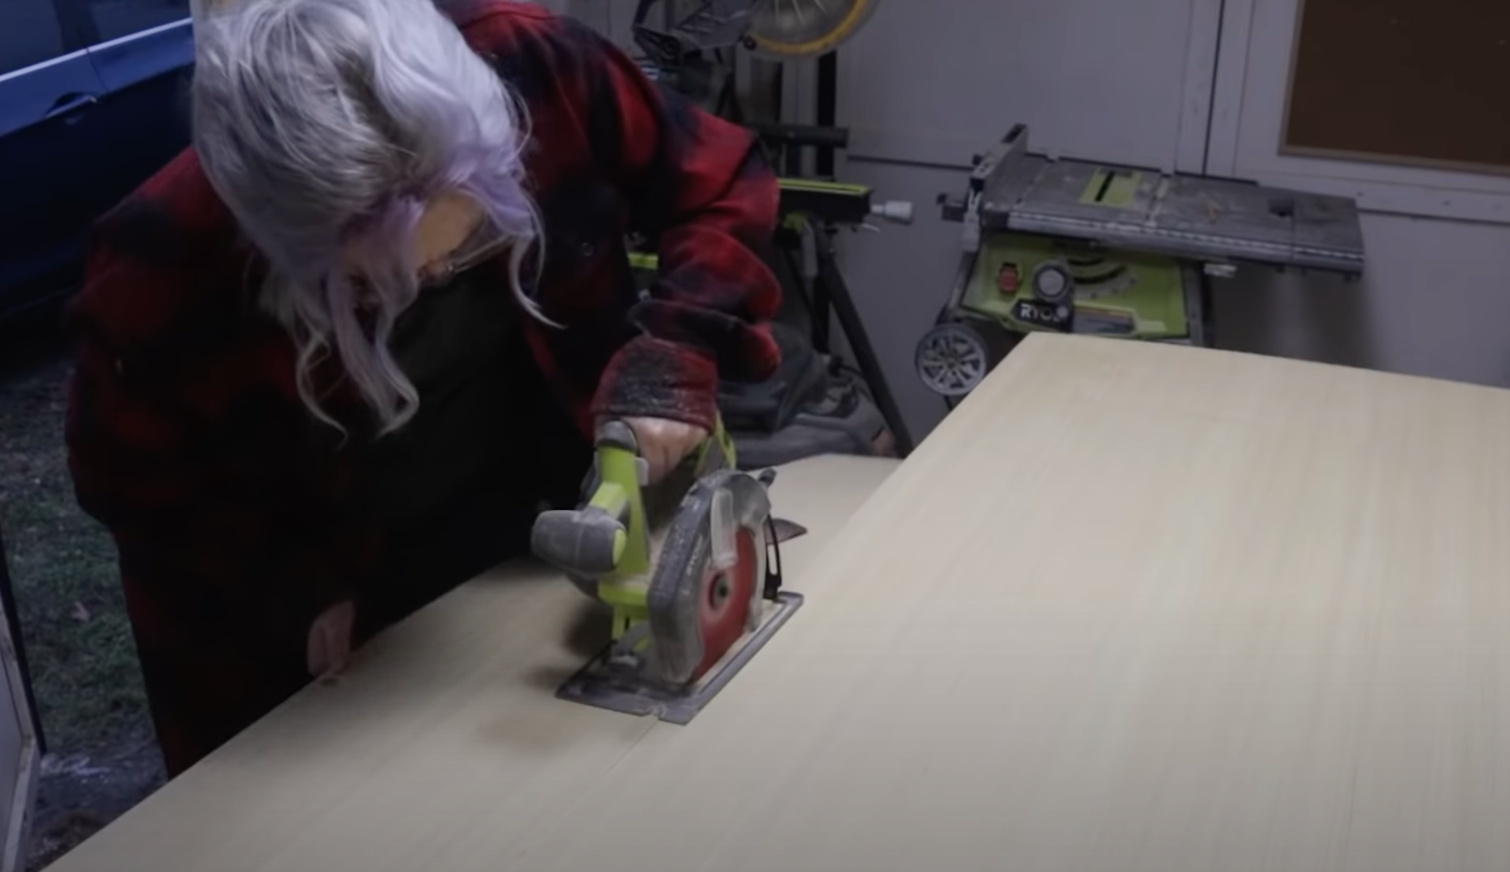
I knew this was a closet wall so it didn’t need to be heavy duty. Instead I used a 1/4” plywood sheet which was easy to apply and way less messy. I simply measured the wall, cut the board with my circular saw and secured in place with a brad nail.

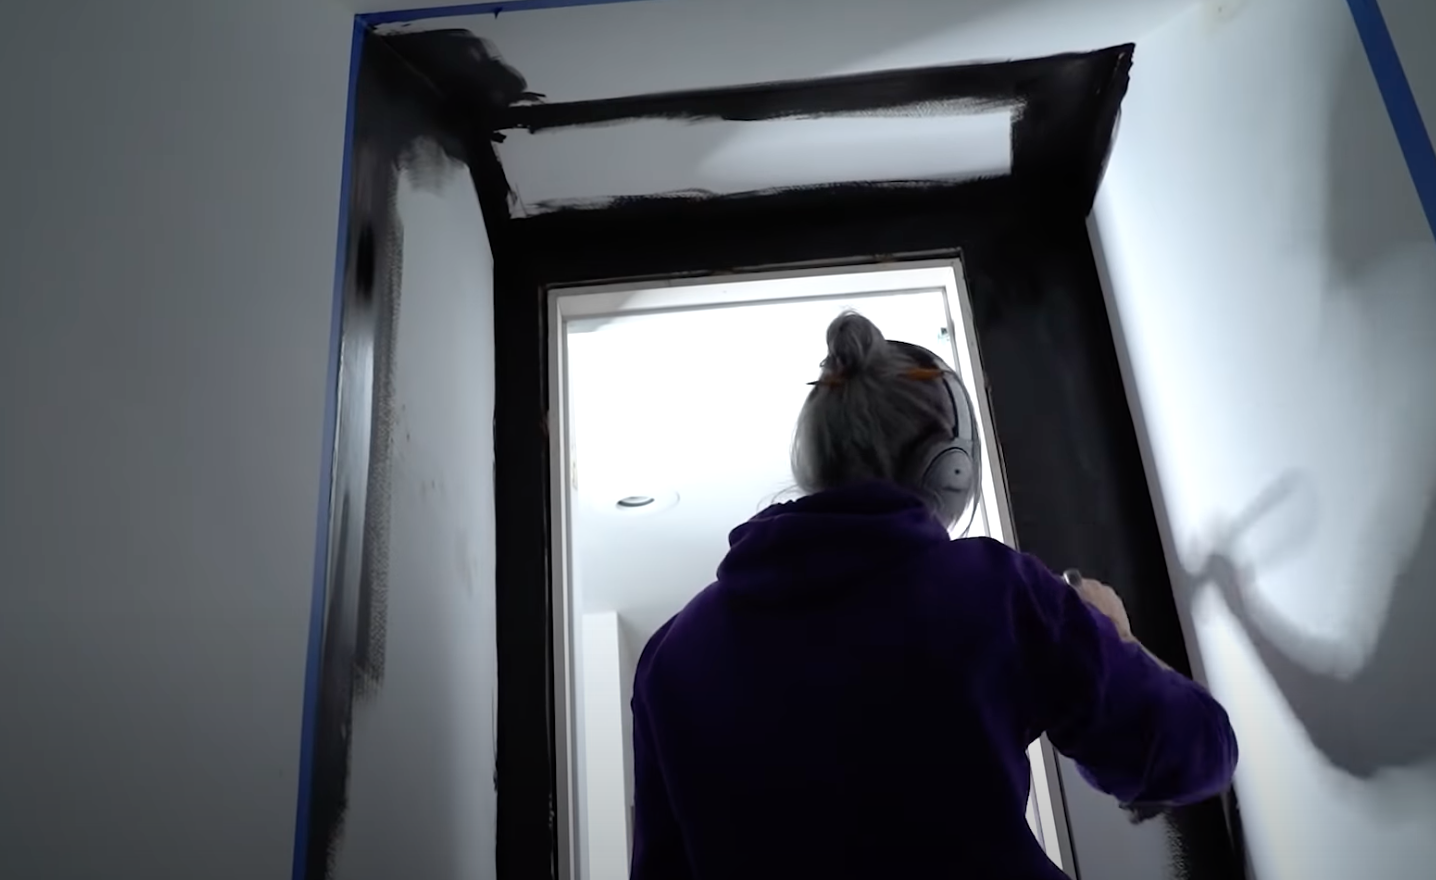
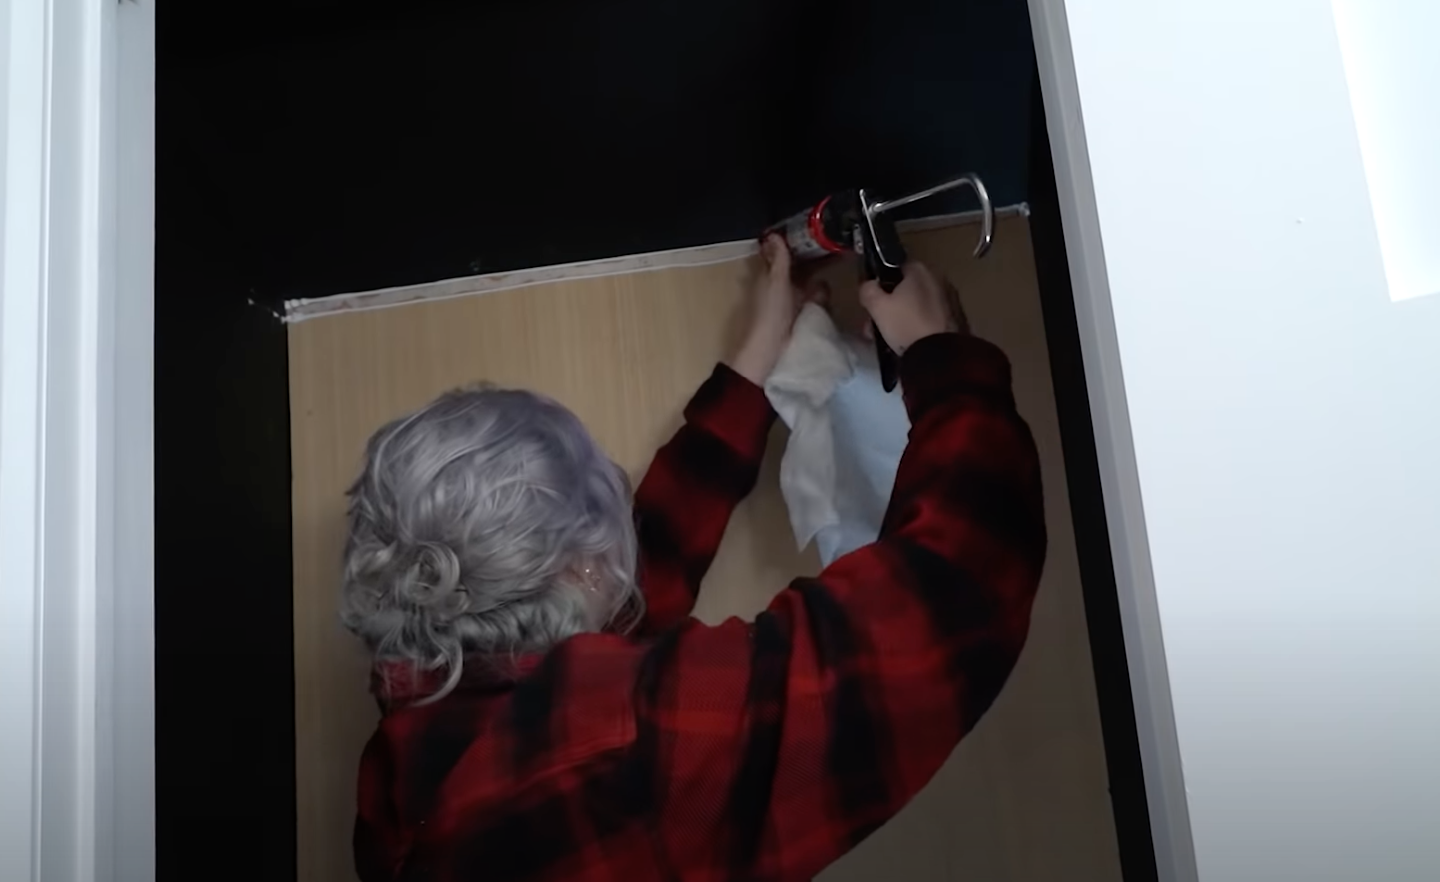
After the wall was secure, I filled in the sides and gaps with caulking and let it dry. Once dry, I painted the wall the same BLACKOUT colour as the surrounding walls.
PLAN THE LAYOUT
Before I measure or get technical, I prefer to sketch out the “perfect” design so I can work towards the dream vision. This allows me to think outside the box and have a little fun with the design.
Once I have the perfect design, I’ll measure and take note of what I can/can’t do in this space!


LET’S BUILD THIS: SHELVING
To create the shelving, I used 3/4” aspen plywood and 1x2 lumber for the braces to hold them up. To cut the shelves, I used my circular saw and Kreg Jig Rip Cut guide to ensure the cuts were straight.


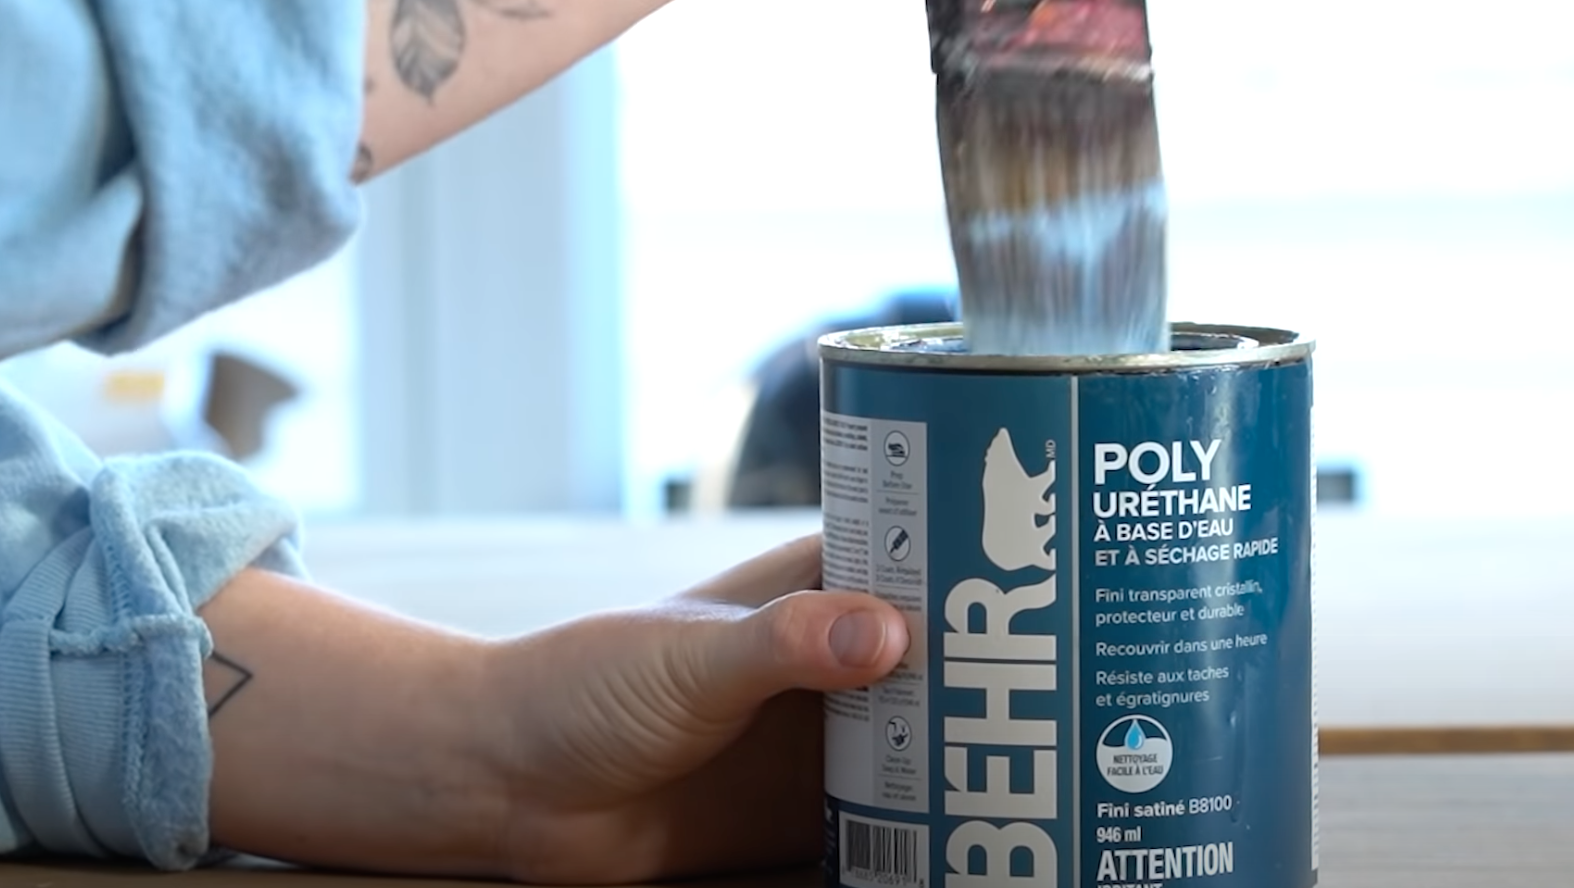
Once all my shelves and braces were cut, I sanded, stained and applied a finish to protect the shelves. The braces were painted black to feel uniform to the wall.
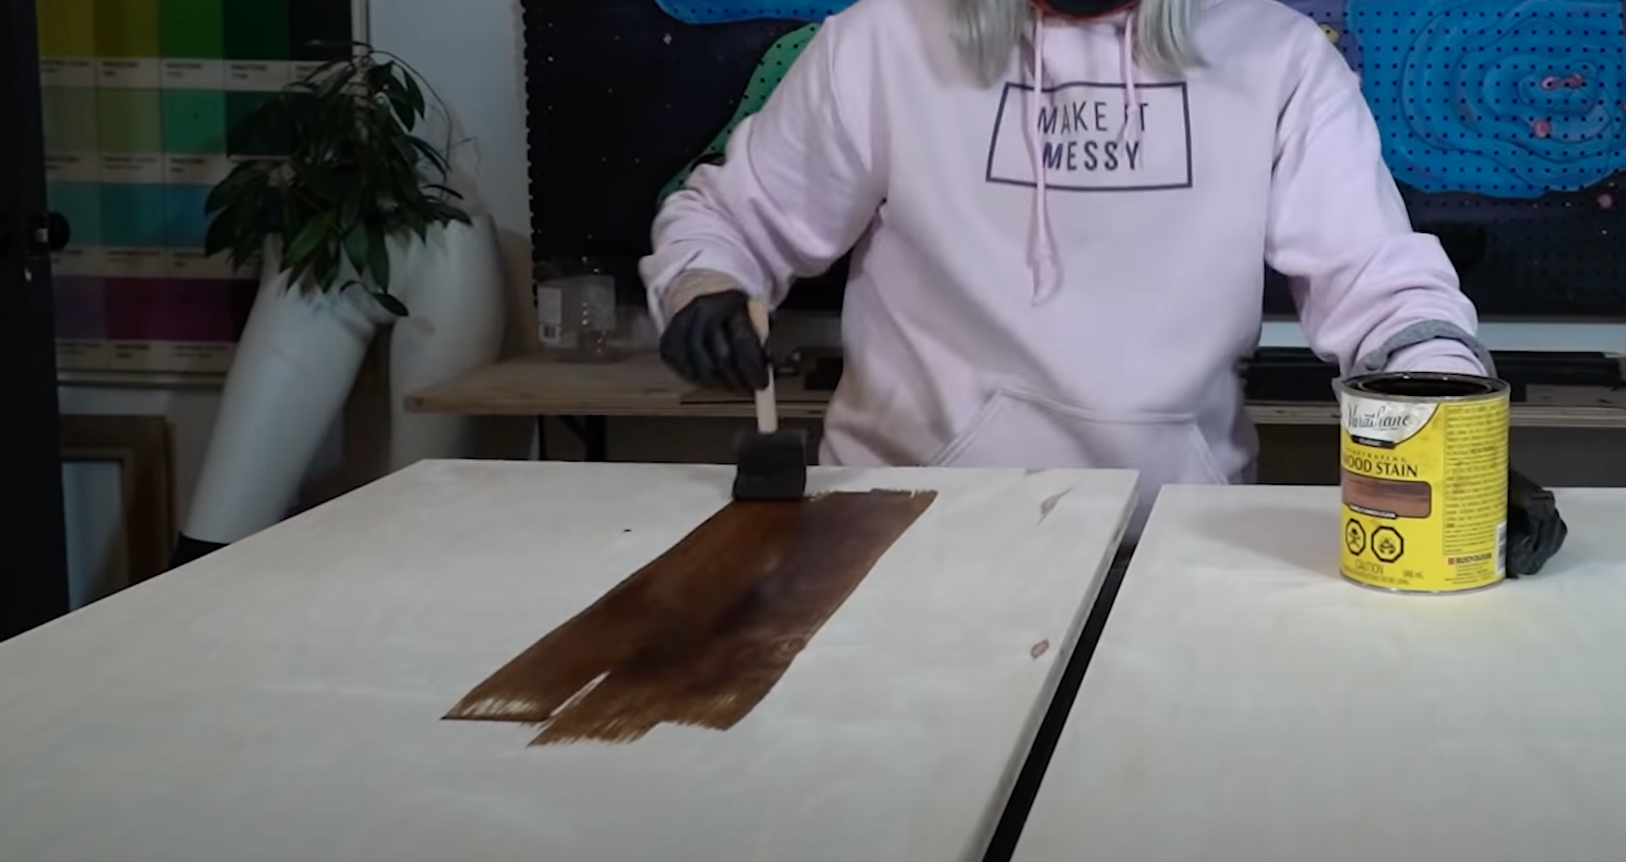


STAIN COLOUR: VARATHANE, EARLY AMERICAN
FINISH: BEHR POLYURATHANE, SATIN
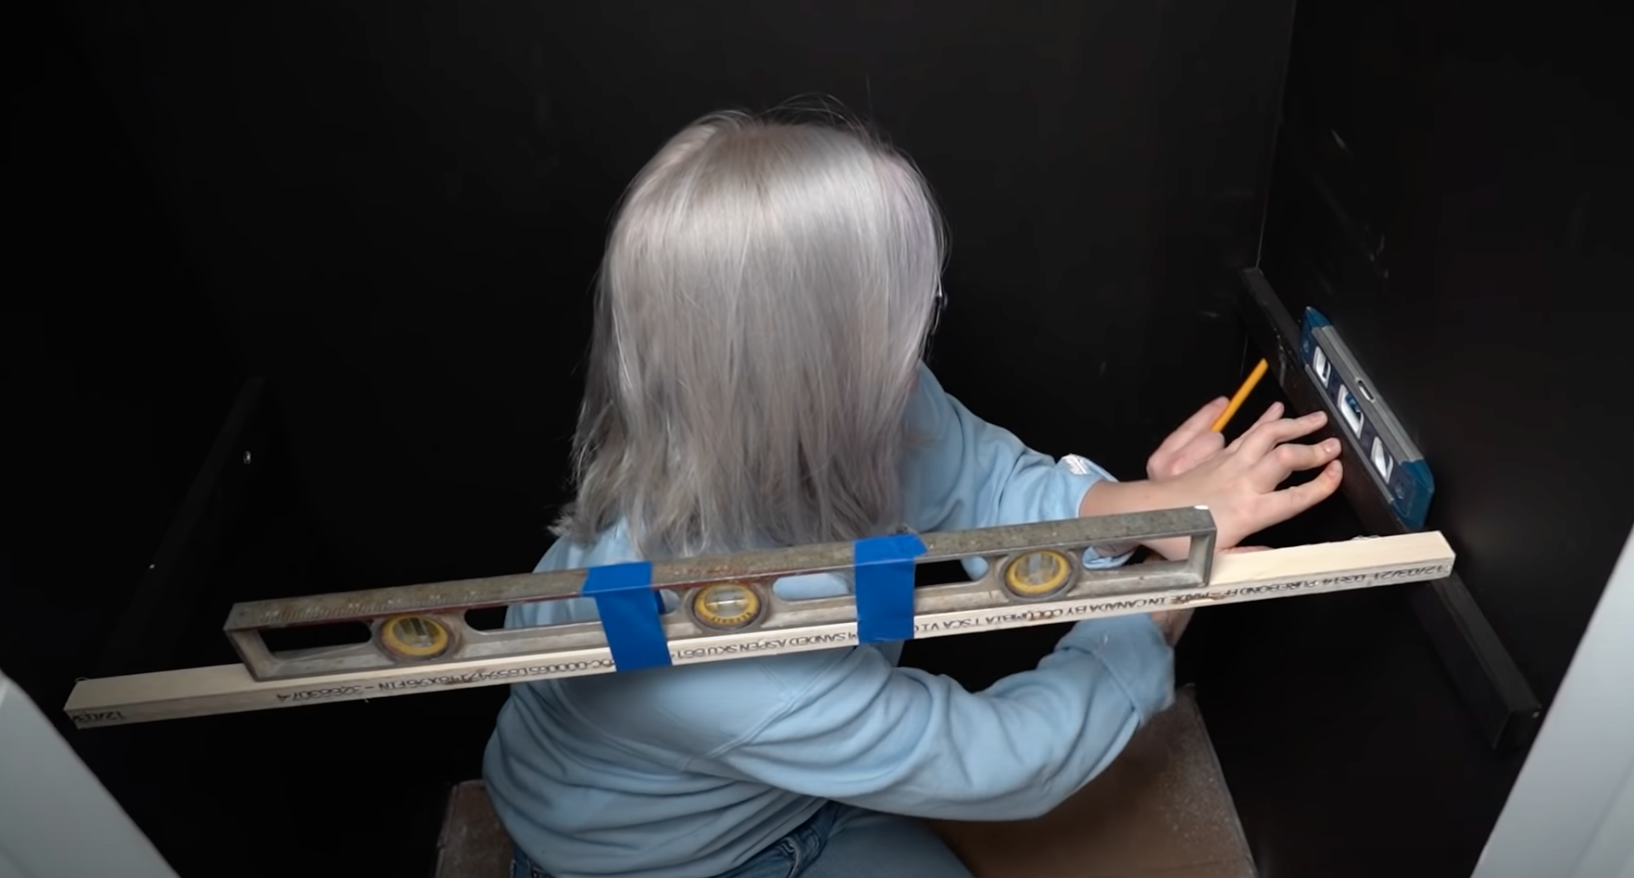
To install the shelf braces, I measured each shelf height up the wall and installed braces for one side only. To install the second side and ensure it was level to the partner brace - I first measured the same distance up the wall, secured a secure in the back of the brace then used a level attached to a stick to swivel the brace until level.
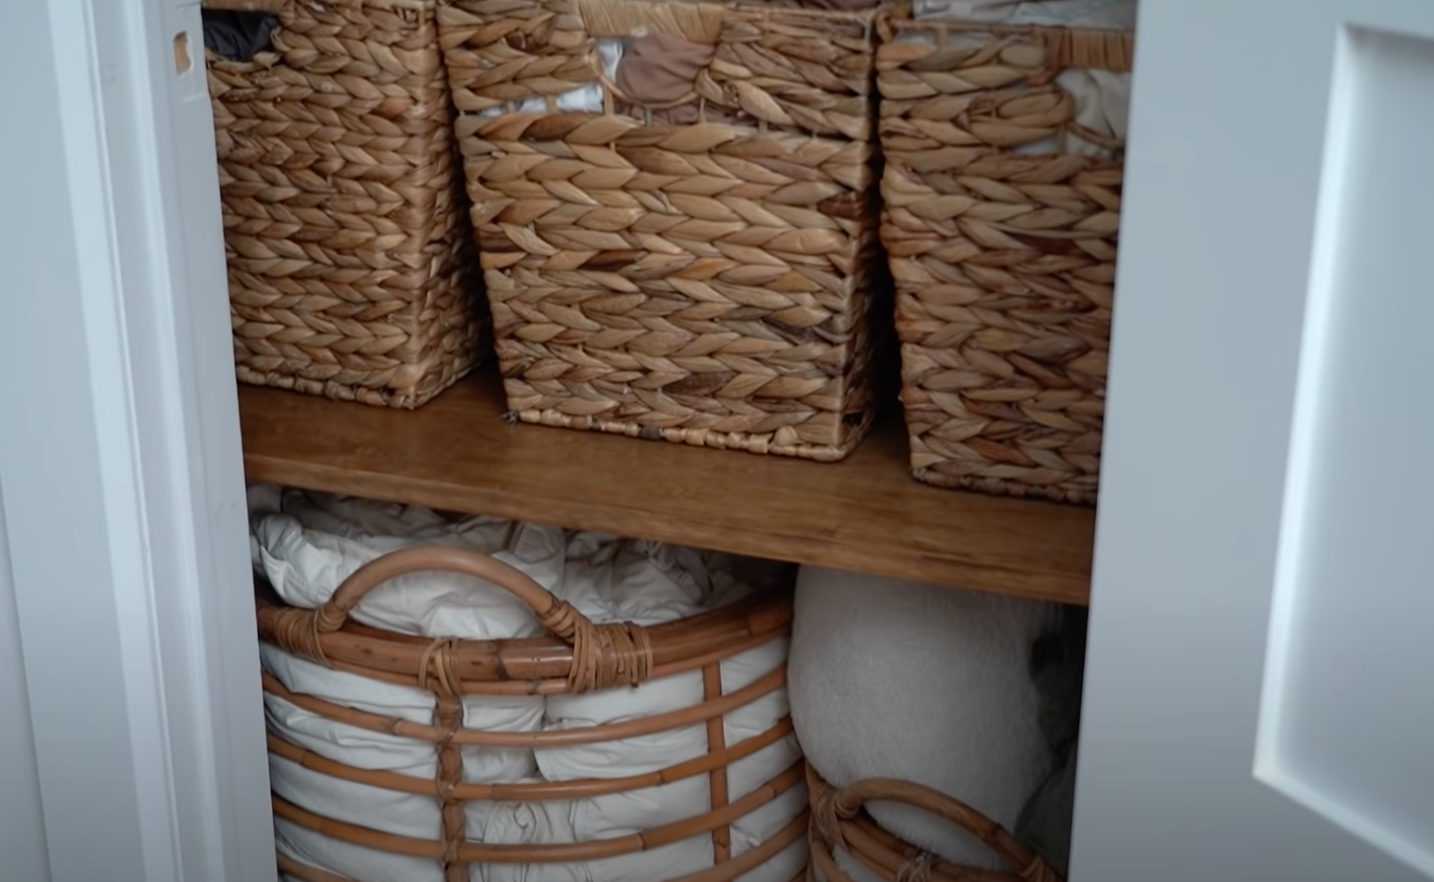
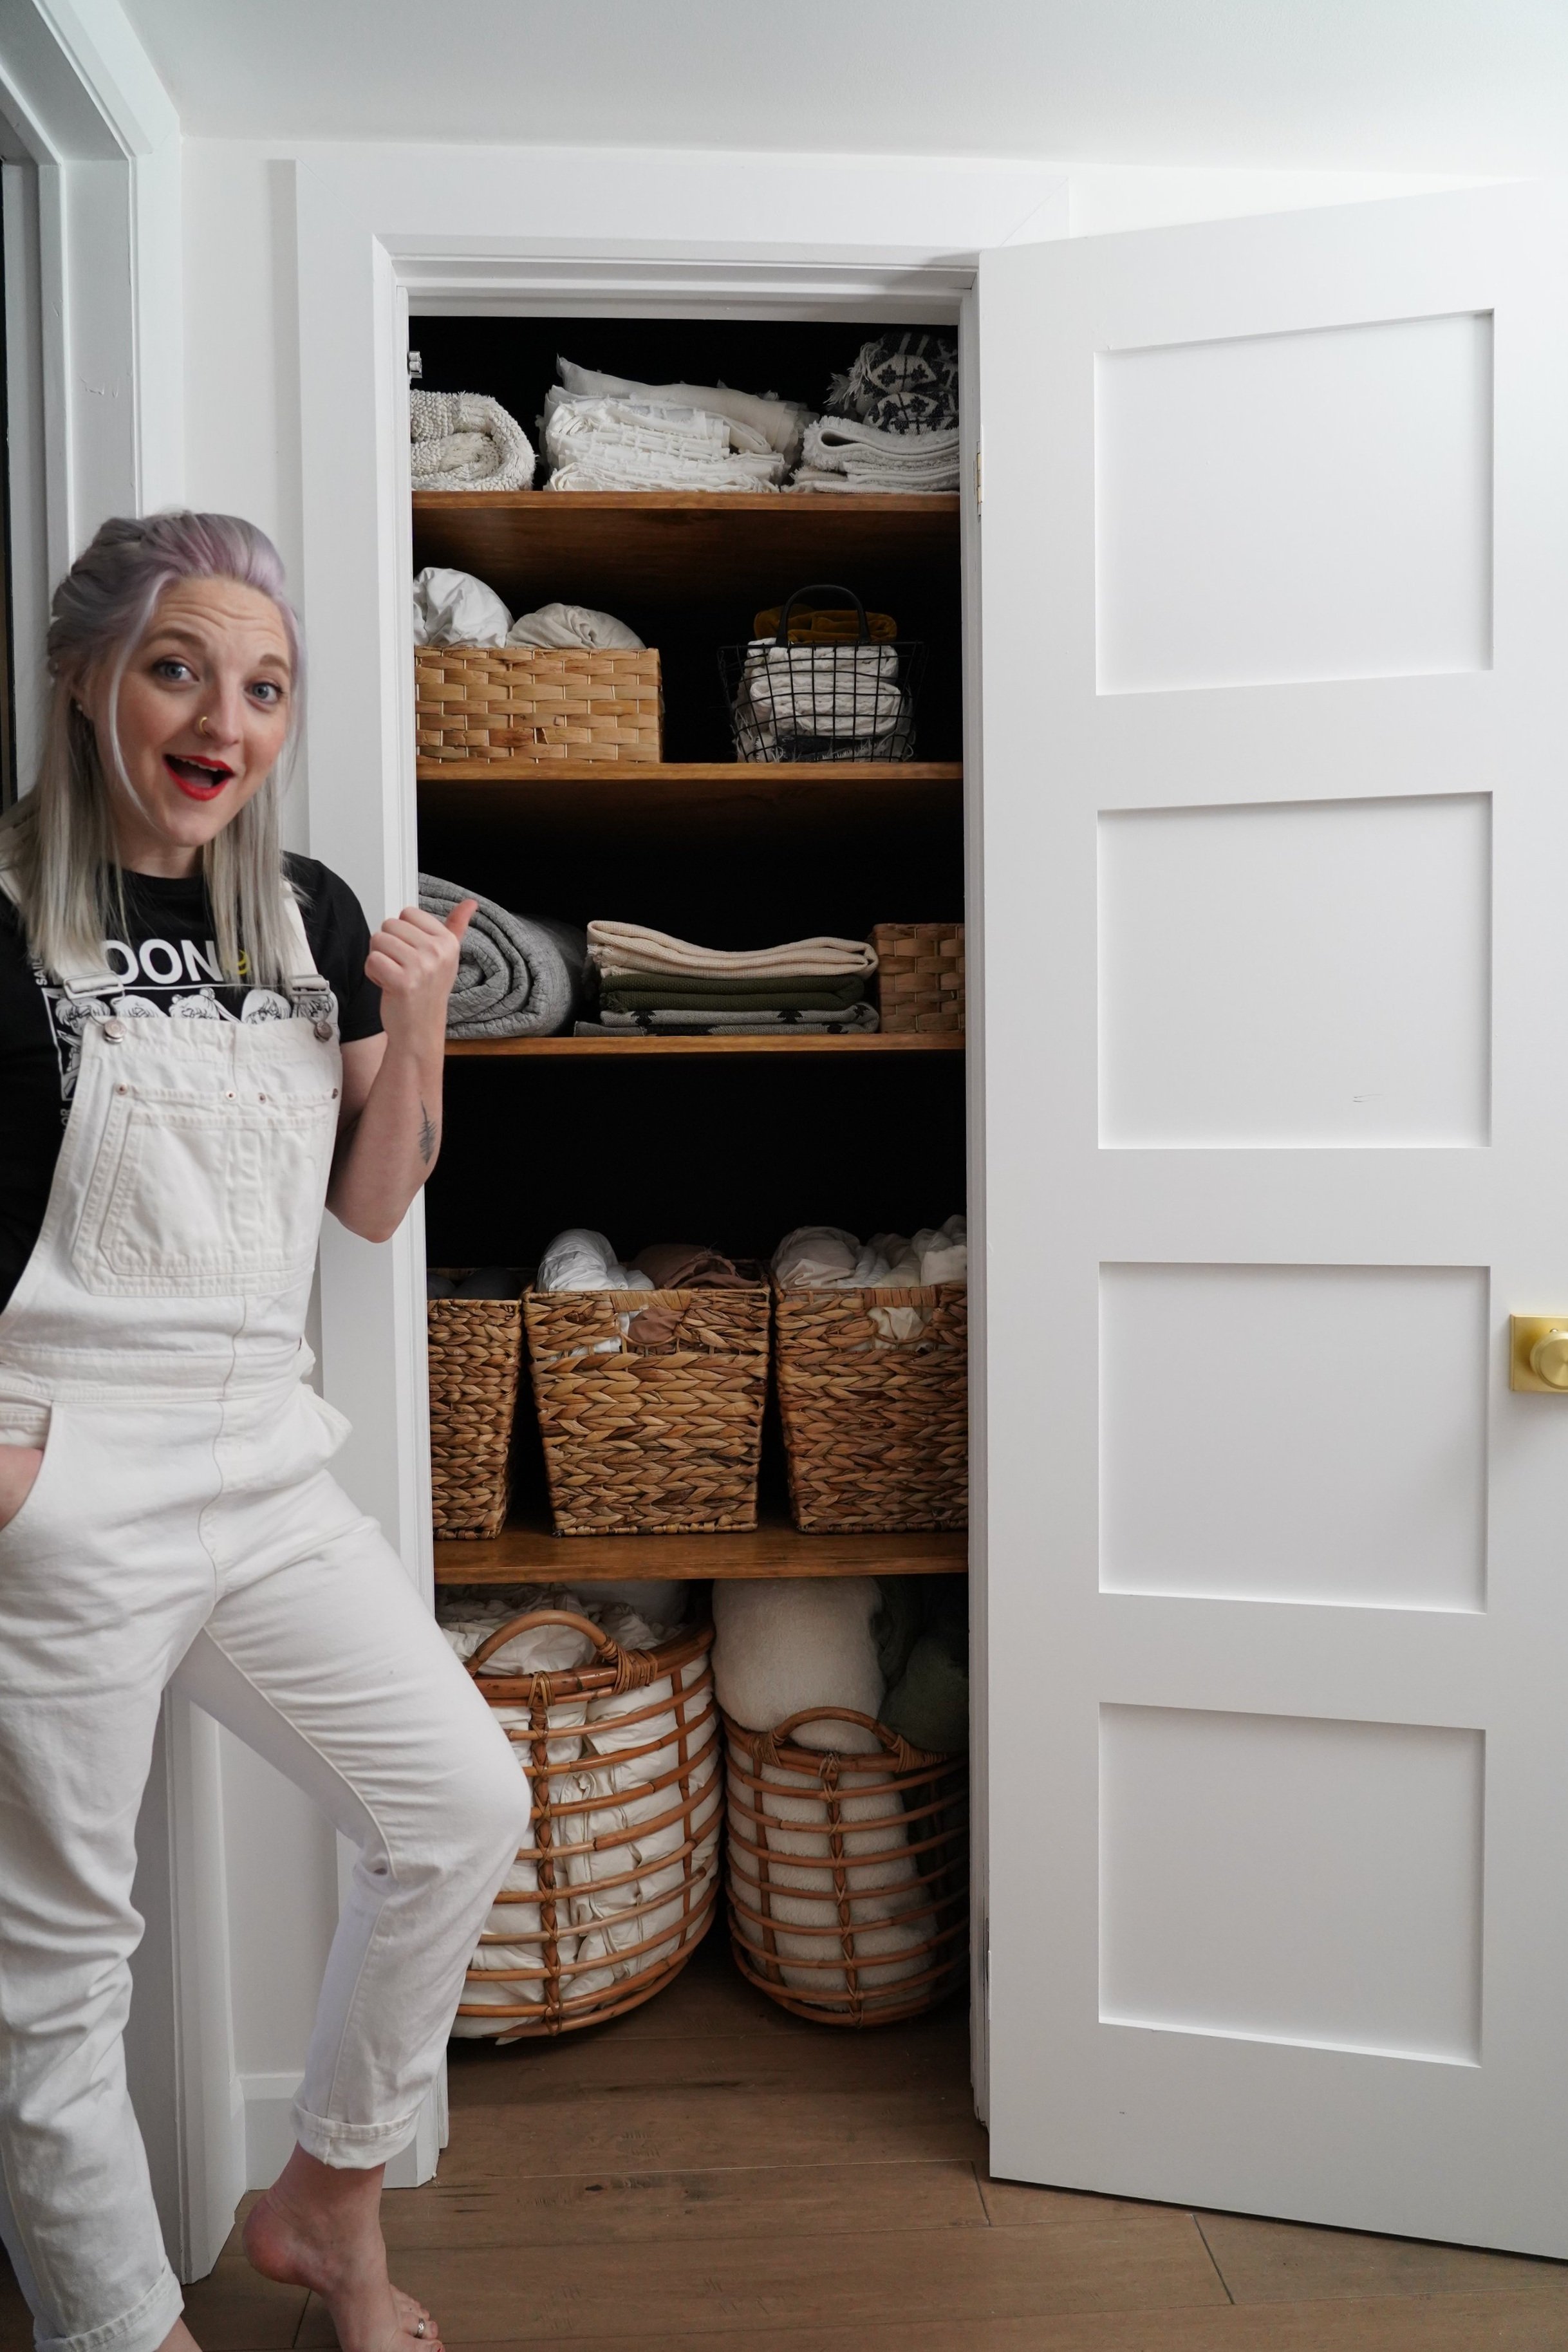
Once all the braces were installed, I added the finished shelves and it was finally time to turn this closet into a functional linen space!
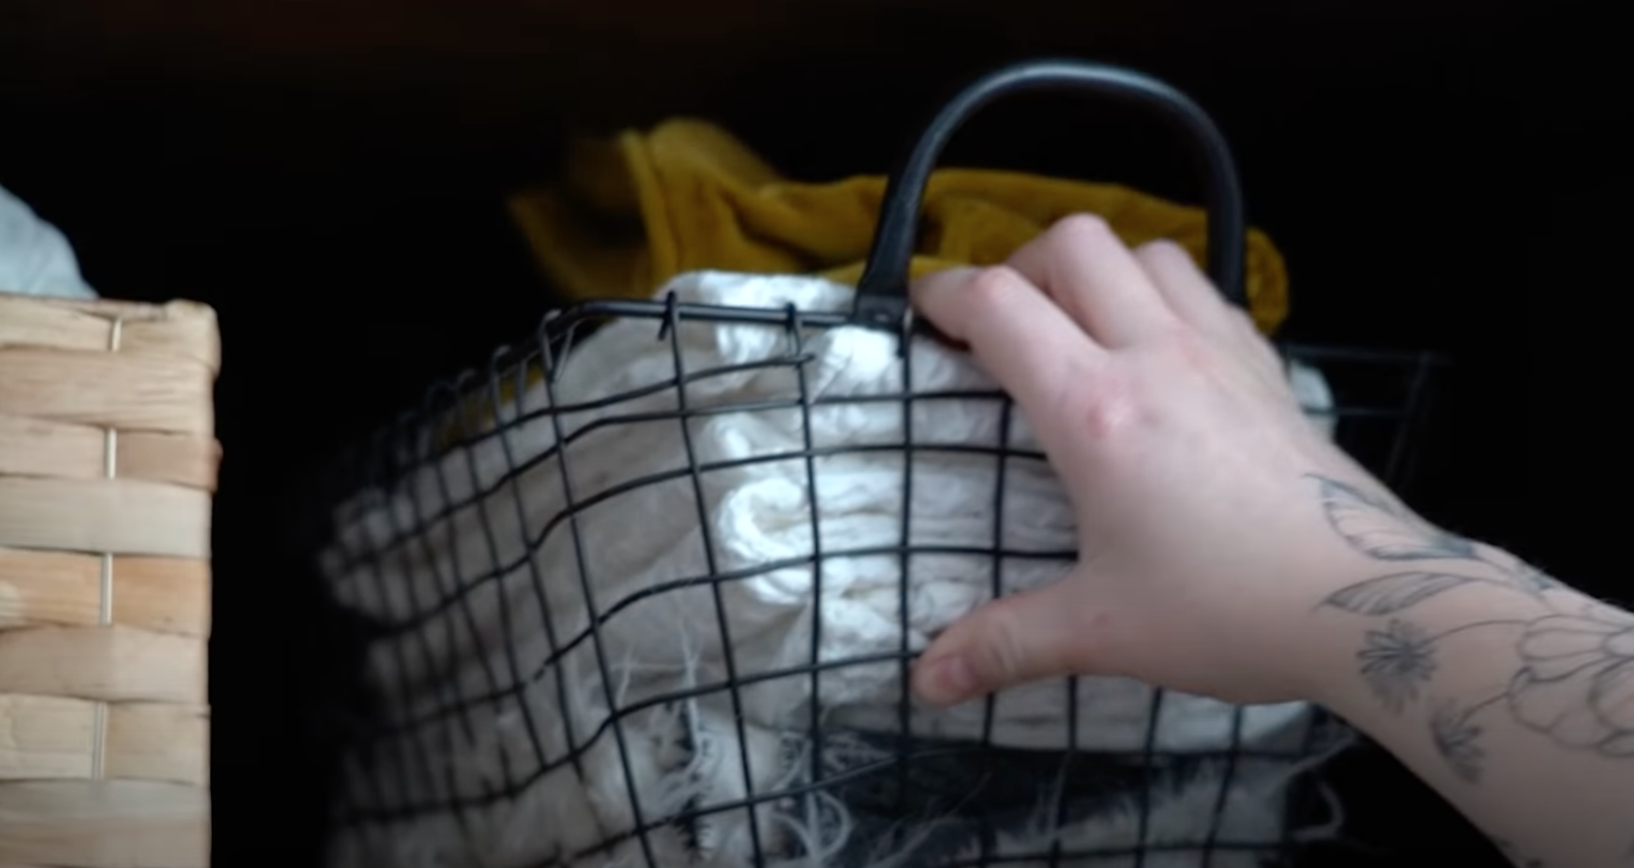
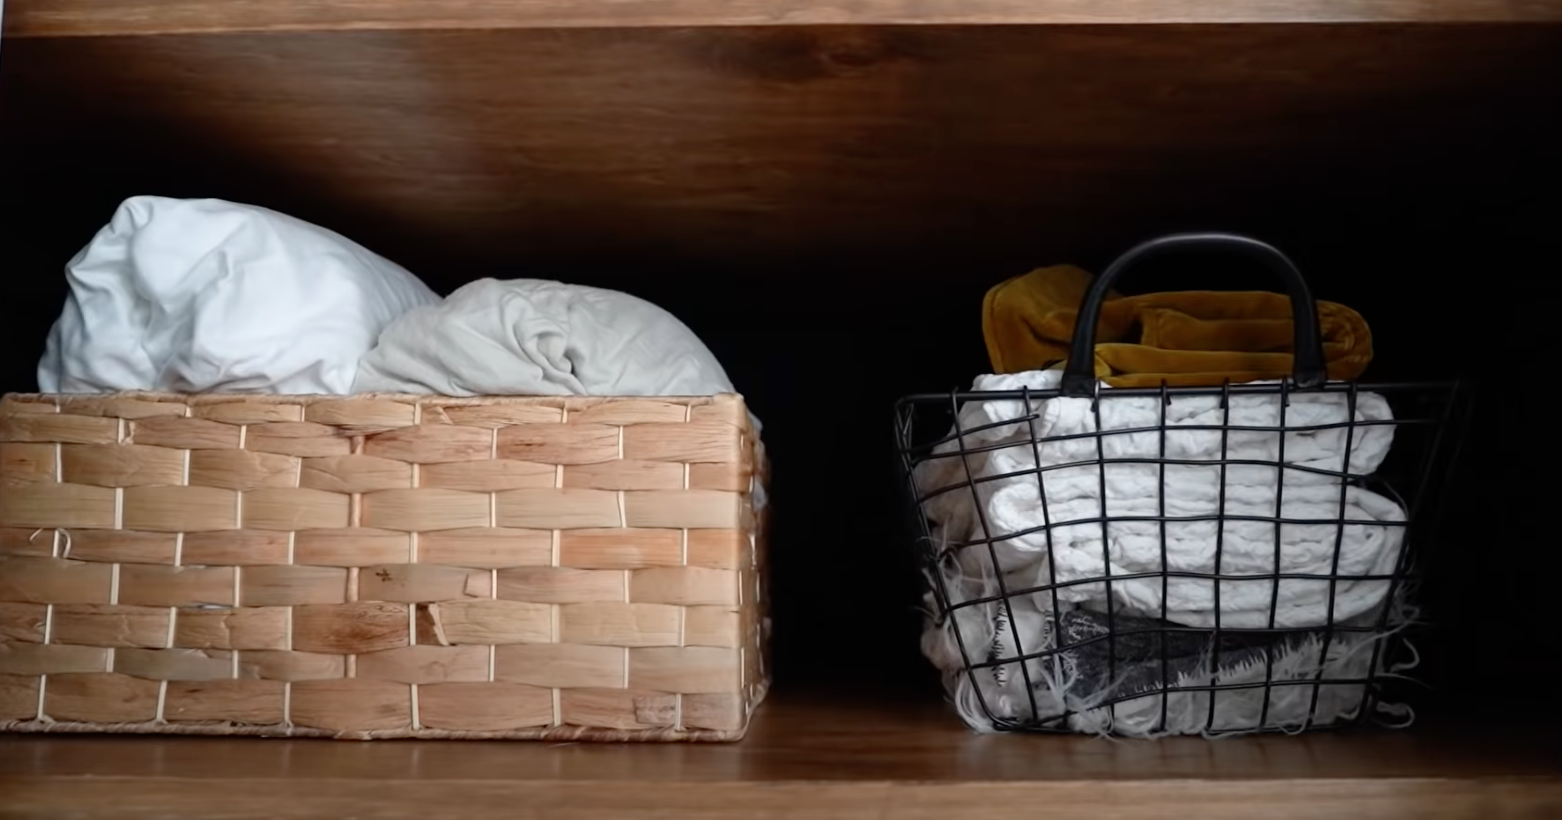
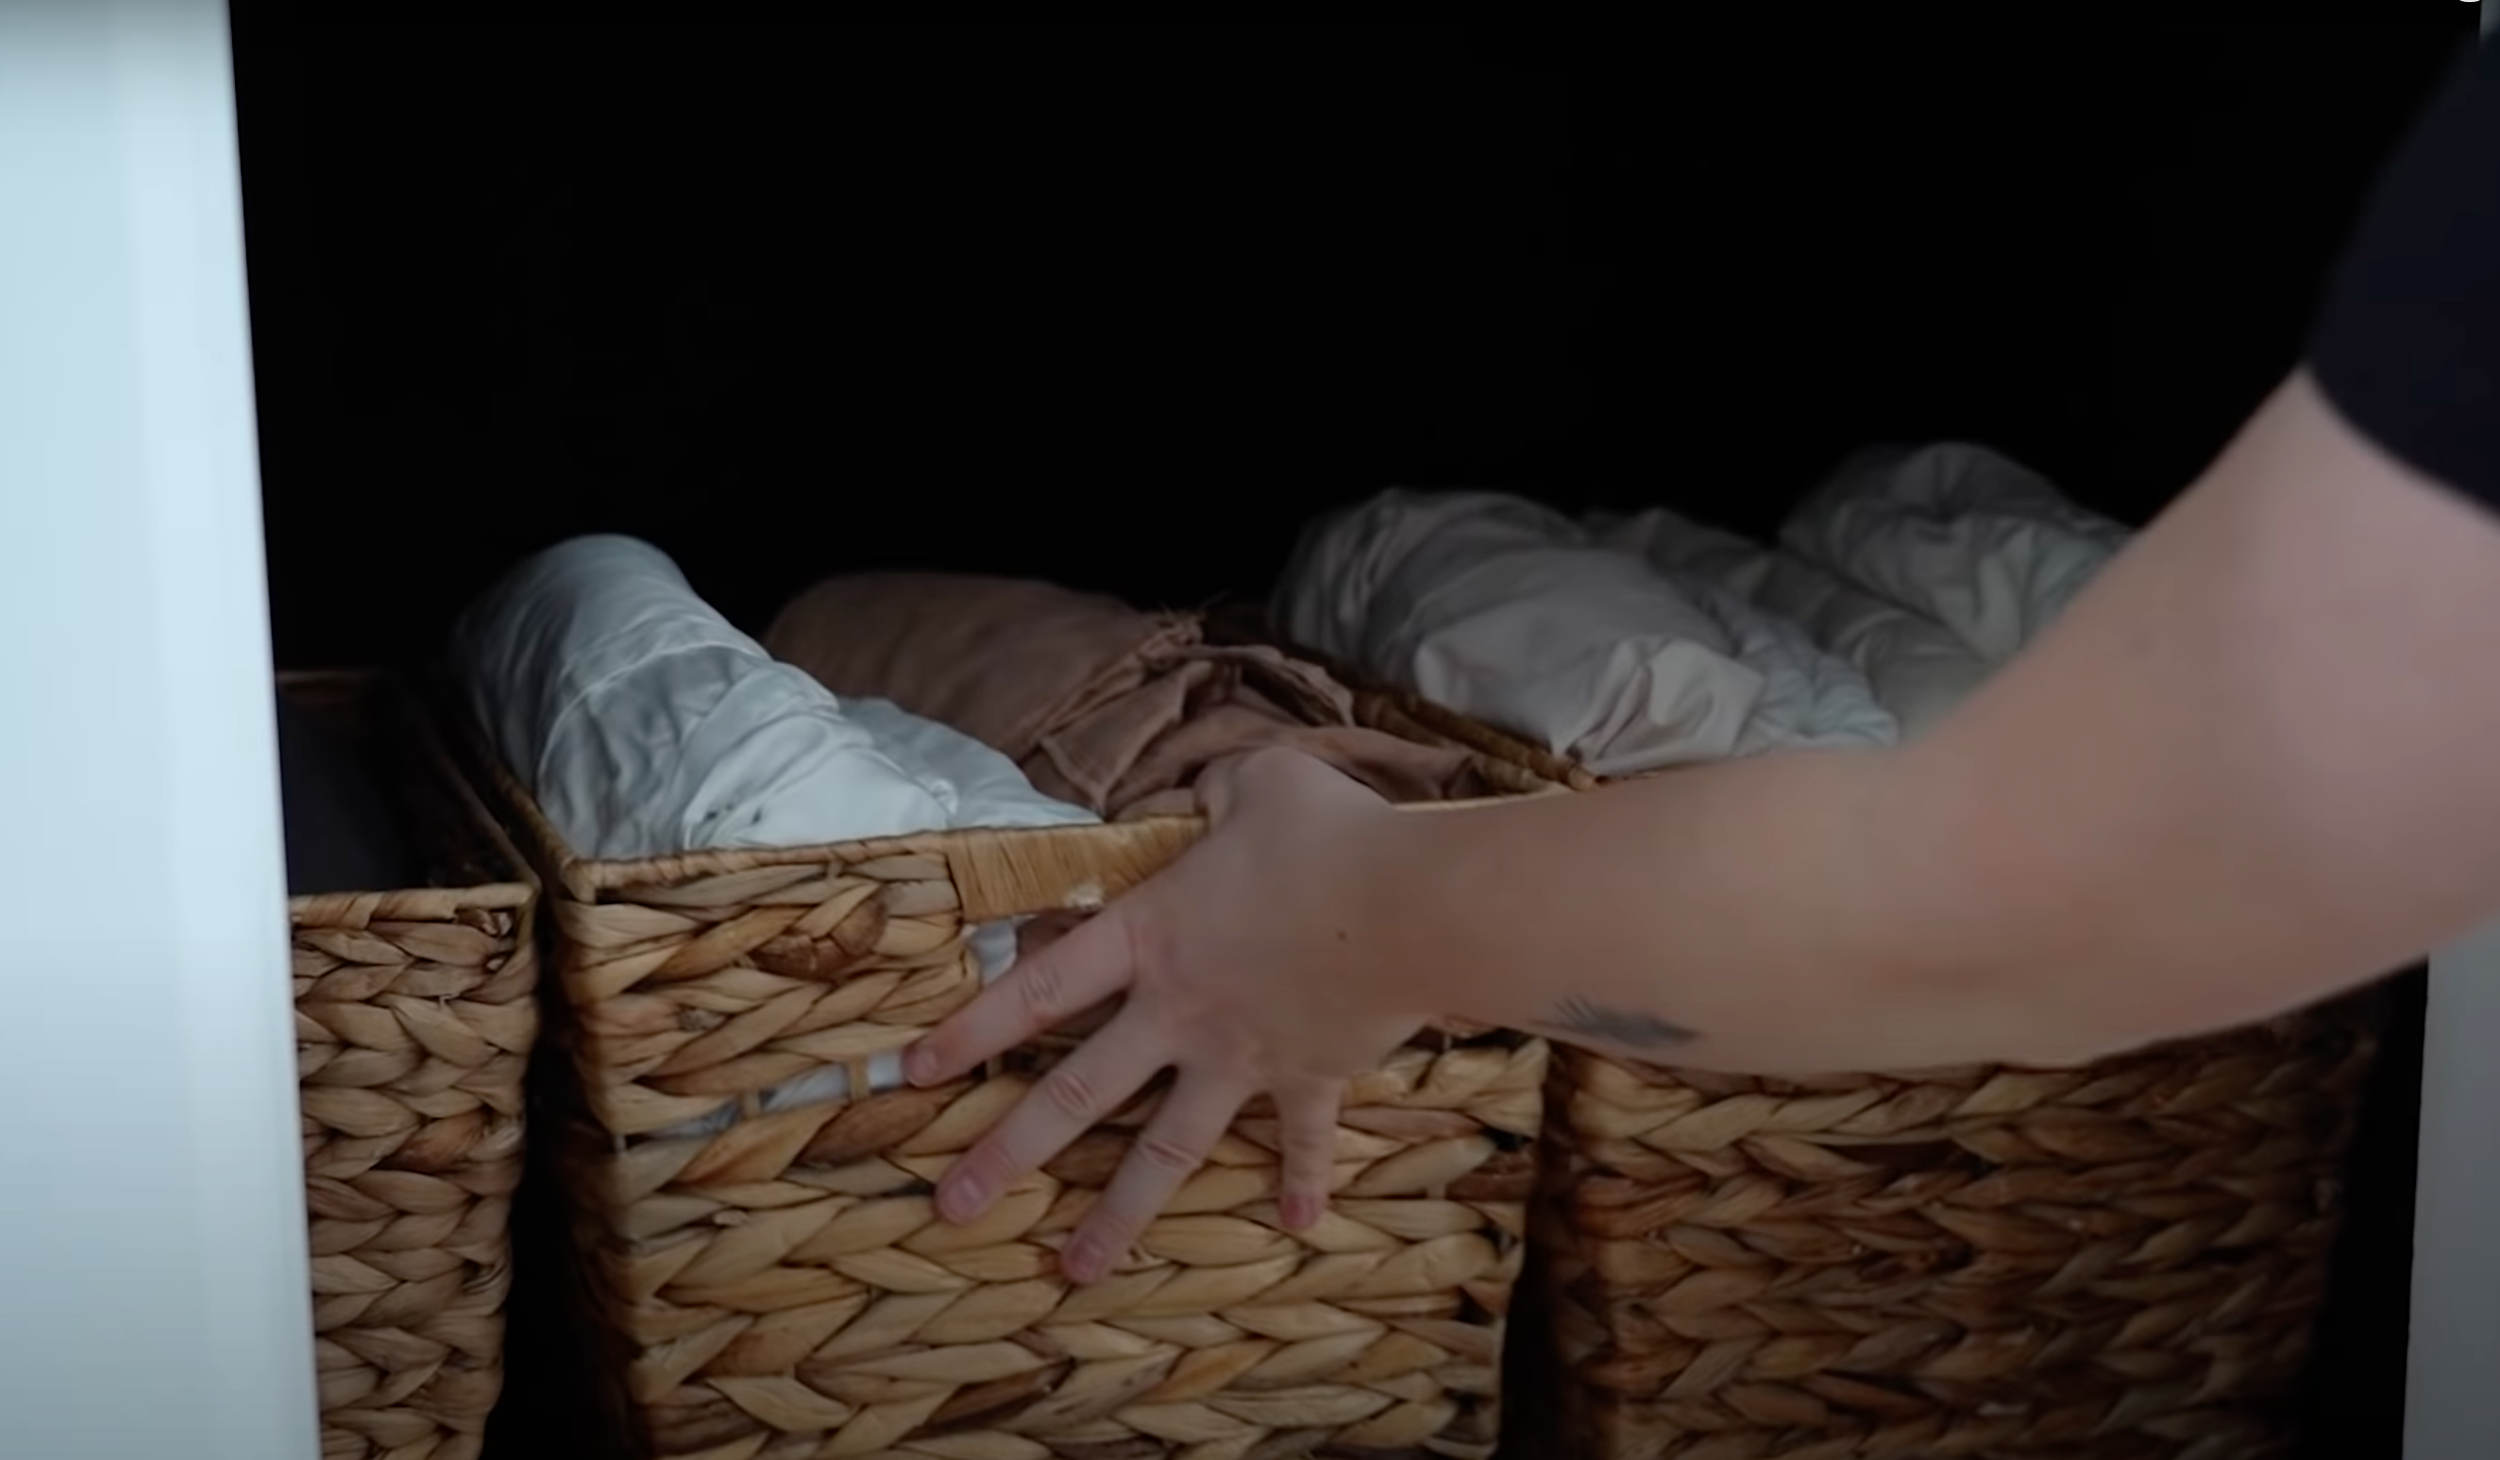
To keep all the bed linens organized, I used baskets to hold each set.
Large wicker baskets were used at the bottom for duvets and heavy blankets and small wire baskets were used for clothes, extra pillow cases and smaller items.