DIY Ombré Radiator Makeover: MINERAL PAINT SUCCESS
Hello Ombré Magic! I don't know about you guys but I love DIY projects that work with lots of color, and paint is such a simple and affordable way to create big impact changes in your home.
This DIY diary was for my friend Jennylyn, who is the owner and creator of Fusion Mineral Paint. Jennylyn reached out for help to makeover her new industrial office space that was in dire need of DIY love! I said YES (obvi), and together we came up with the idea to give her rusted radiator a big ombré makeover. The solution was so simple and the splash of color in the space made such an impact when you walked in. 😍💕

WATCH THE FULL VIDEO BELOW!
THE DIARY,
Before I jump into this makeover, I need to provide a little bit of warning. Many old industrial buildings and households may still have walls or radiators that contain lead-based paint. Although the use of lead in paint was banned in the late 70's, old properties still may contain residual lead paint trails. A little history listen here... Lead use to be added to paint to accelerate drying, increase durability and resist moisture damage. It was later learned that lead was hazardous and very harmful to your body. Not to scare anyone here but it can cause nervous system damage, stunted growth, kidney damage, delayed development, reproductive problems and high levels can even cause death. Ok, Ok that was really dark - but hopefully you understand why it's so important to tread lightly around this and do the necessary preparation to make sure you're being safe!
Before you start your radiator makeover, check the residual paint with a lead test kit. These are very inexpensive and will help you make sure you wont lift up anything that will cause harm to your body. I've found a few kits online that are well received and I've linked them here:
CDN: LEAD TEST KIT
USD: LEAD TEST KIT
Phew! Now that we got that part over... Let's jump into the fun part!
WAIT...we have one more scary thing to talk about: THE BEFORE *BUM BUM BUMMMM 😱

This radiator was in DIRE need of a makeover. It was housing cob webs, spiders, dirt, rusted paint chips - it was not good.
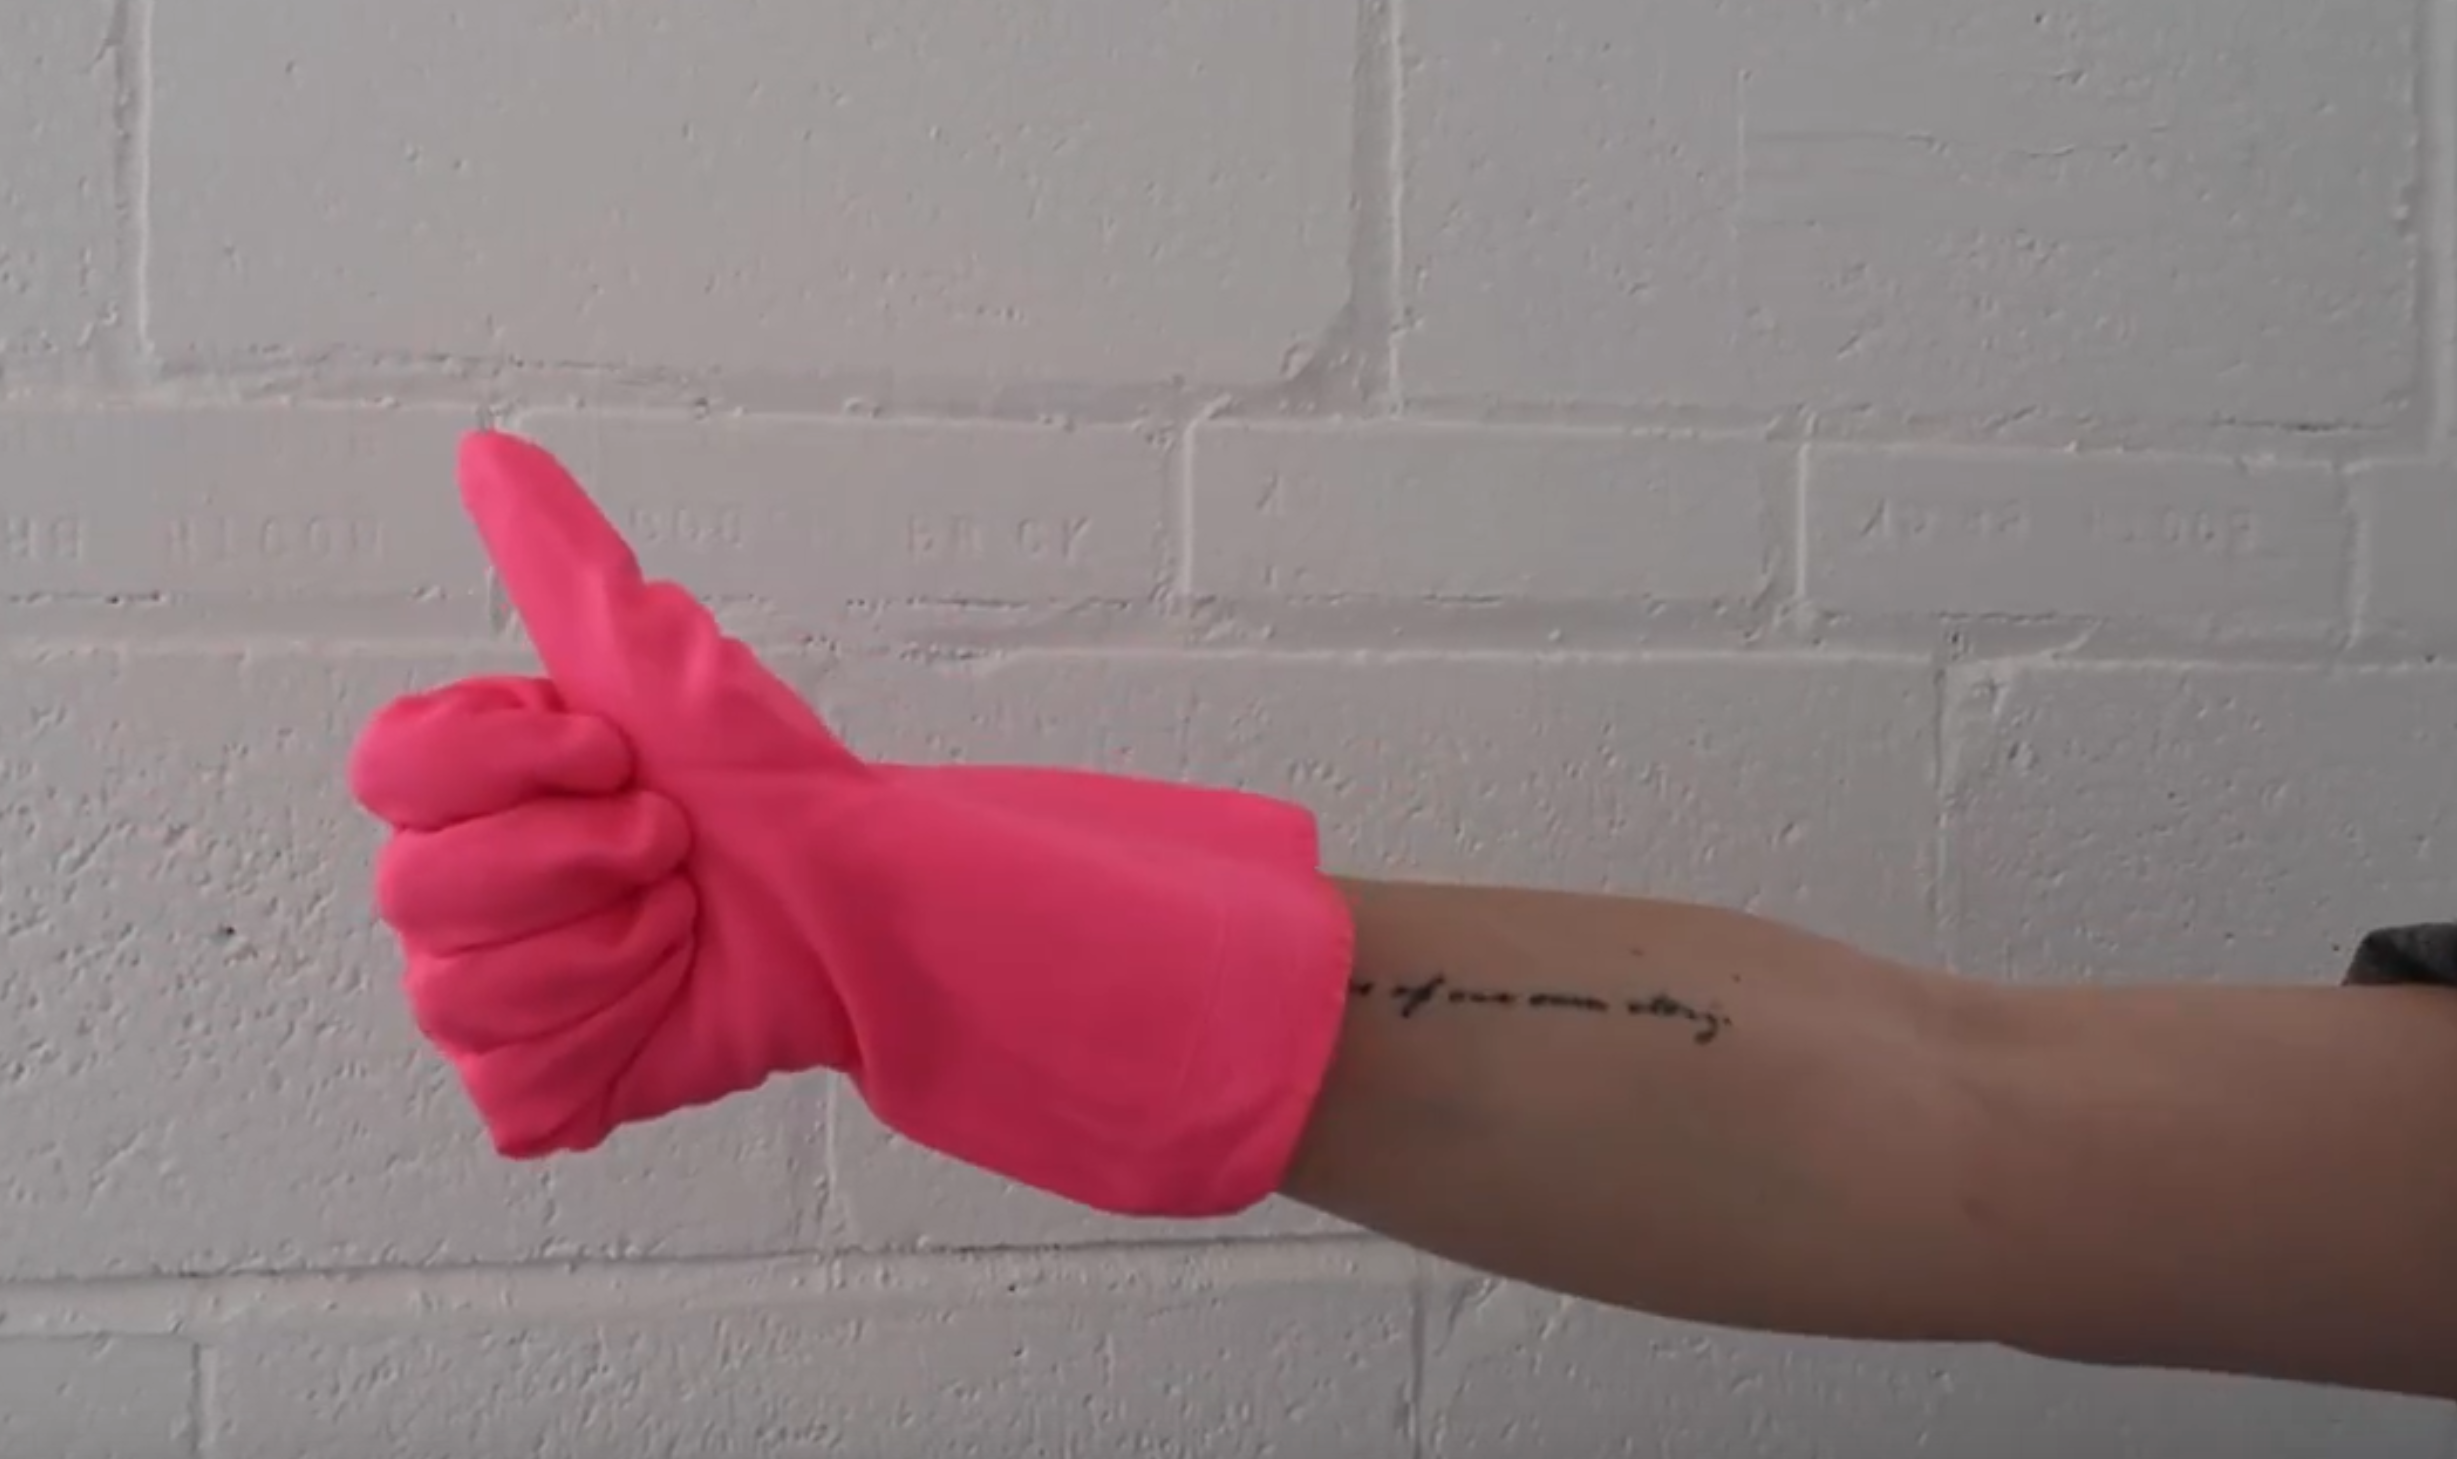
To clean the radiator, I first used a vacuum to suck up any of the dust and dirt sitting on the top. I then took a bucket, scrub sponge, rubber gloves, antibacterial cleaner and magic (mostly magic though) to really get off the grim.


Getting in between each of the coils was challenging and If you're going to do this to your radiator at home, I totally suggest investing in a extra long scrub brush that will help you get in all the small nooks and crannies, like this one:

Once you've removed the dust and dirt, start by covering your radiator with a coat of white multi-surface latex interior/exterior primer.

The key is to look for a primer that is made to cover metal surfaces. I was hoping I would be safe to proceed with only the use of a latex primer. However, If your radiator has large amounts of exposed rust like mine had, the rust can still penetrate through the paint and will begin to show through like rust spots. If this happens, you'll also need a oil-based primer on top as well. Oil-based paint is designed for metal surfaces and is great at keeping any residual rust sealed.

The reason I didn't start with an oil-based primer from the get go was the horrible smell and long dry time. By starting with a latex primer, I was able to cover the entire piece with a good base, let it dry on the same day and use an aerosol oil-based primer on top to cover any exposed rust coming through. The aerosol was great for getting into small nooks and crannies that I couldn't reach with a paint brush. This felt like the path of least resistance and allowed me less time to inhale bad fumes. *Yuk
*If you're going to use an oil based primer like me, just make sure you have the windows open, a face mask and a fan to move the air. 🤢
I USED:


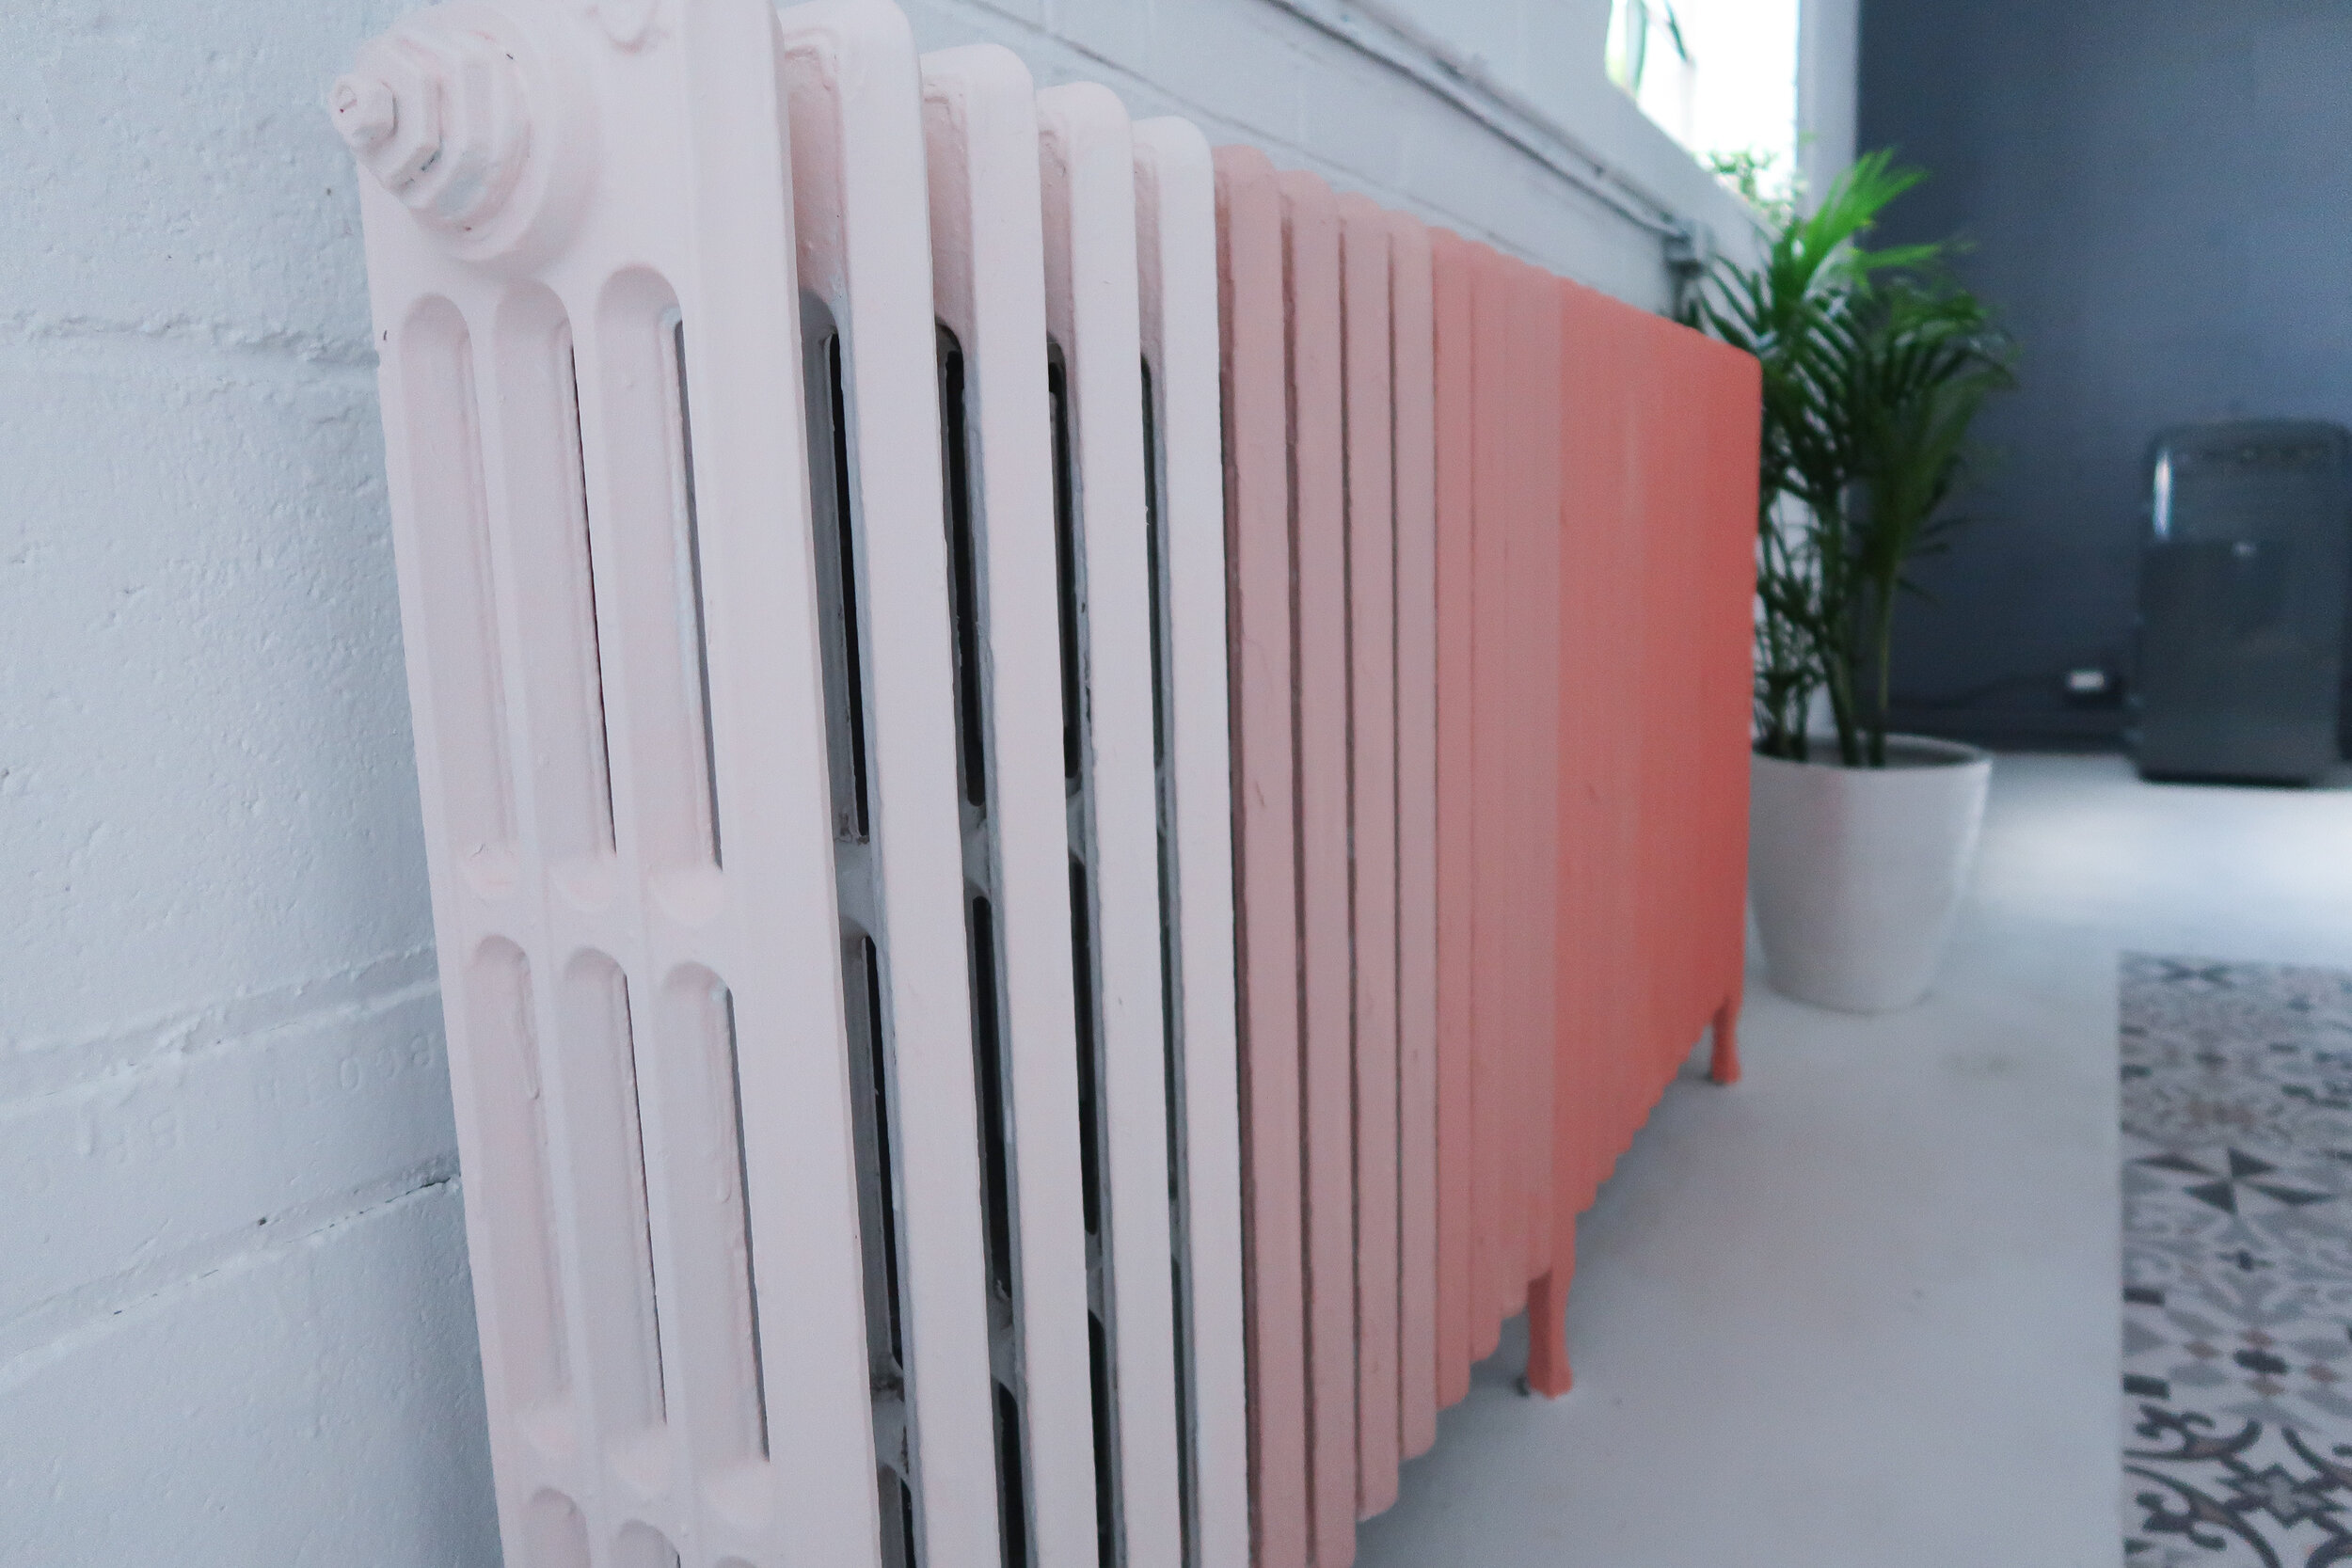
Once finished, I was left with a beautiful, crispy white radiator! Frankly, we could have left the radiator like this and it still would have drastically improved the space.

PAINT MIXING

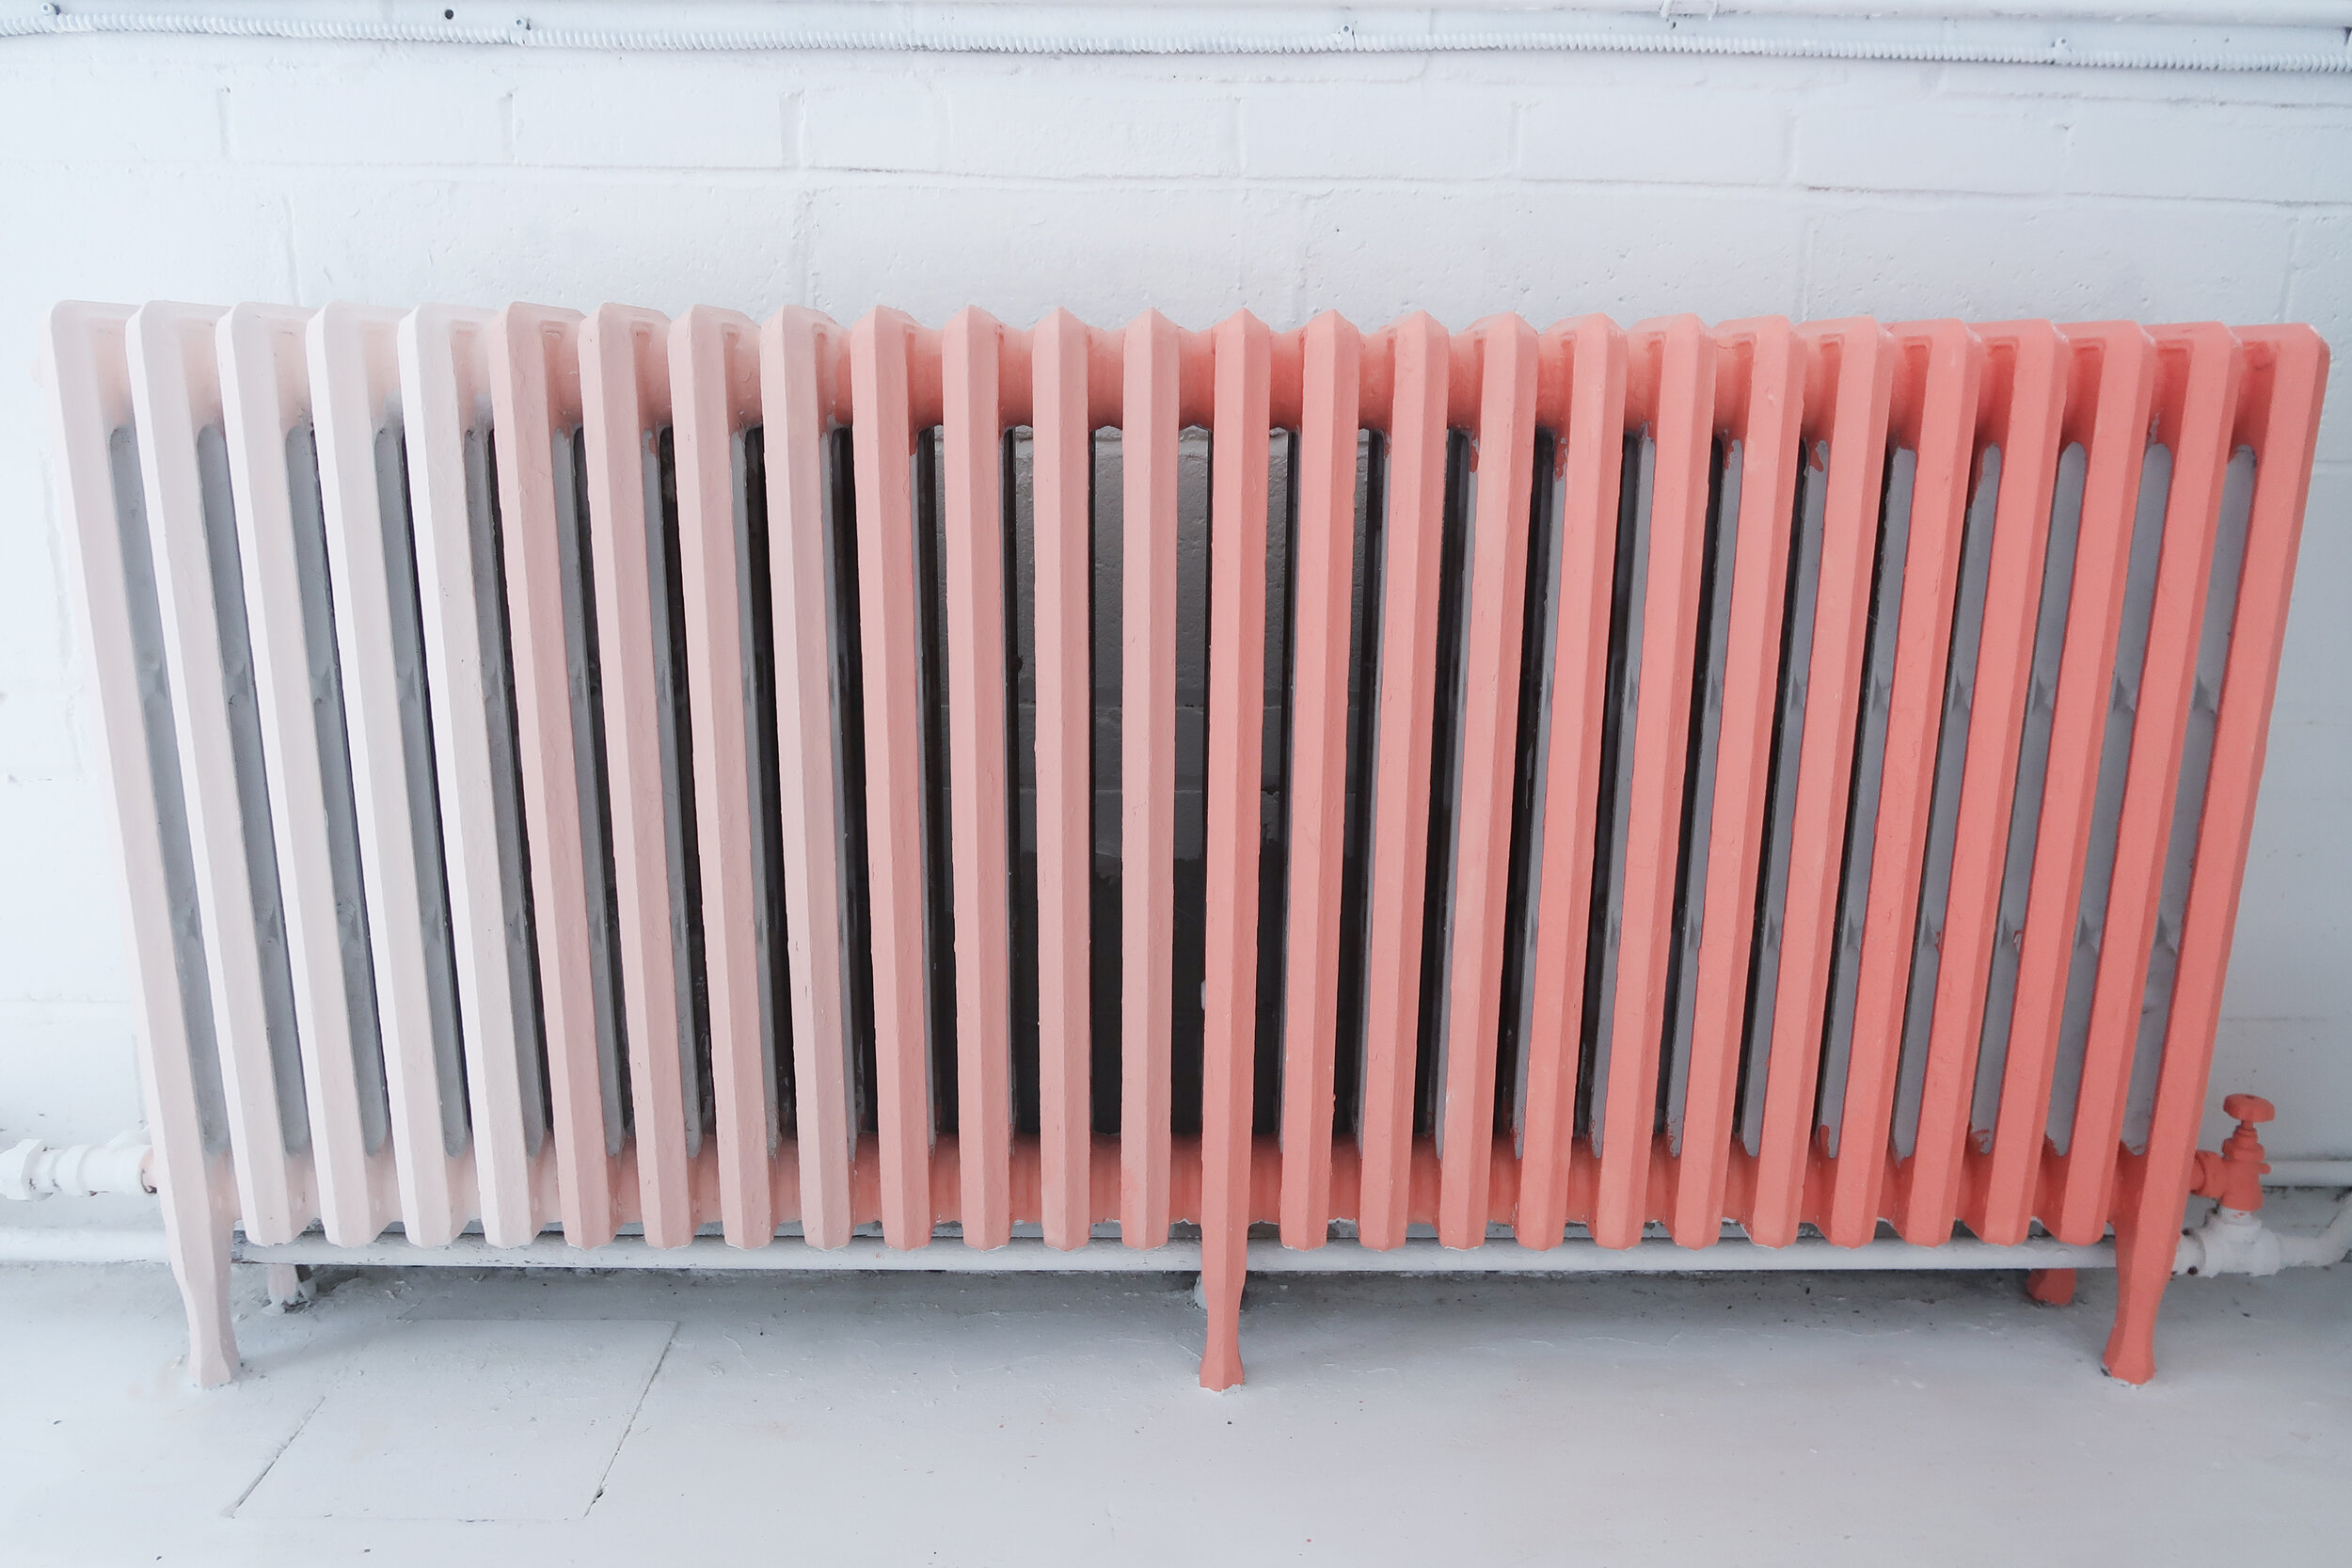
I had so much fun mixing the ombré paint colors with Jennylyn! The basic rule to paint mixing is simply have fun. Test colors together in small trays first, once you're happy with the color you've created, proceed with larger batch mixing. To create the coral coloured ombre hues in this DIY, we mixed the following colors to make up 6 hues we were happy with: Champlain, Lamp White, Enchanted Echinacea, Fork York Red and Coral.


CHECK OUT ALL FUSION MINERAL PAINT COLORS HERE

HUE 1: 1 Part Coral, 3 Part Lamp White
HUE 2: 2 Part Coral, 1 Part Lamp White
HUE 3: 2 Part Coral, 2 Part Champlain
HUE 4: 3 Part Coral, 1 Part Enchanted Echinacea
HUE 5: 2 Part Hue 4, 2 Part Hue 6
HUE 6: 3 Part Coral, 1 Part Fort York Red
**Please keep in mind that we experimented with the mixing of these color so I can't guarantee that you'll end up with the exact colors we used. I suggest you play with small samples first and don't be afraid to mix different colors together! You'll never know what you'll end up with!
If you're not into experimenting too much and you want a simple ombré hue, than I suggest you follow these simple mixing rules:
HUE 1: 100% WHITE
HUE 2: 80% WHITE, 20% CORAL
HUE 3: 60% WHITE, 40 % CORAL
HUE 4: 40% WHITE, 60% CORAL
HUE 5: 20% WHITE, 80% CORAL
HUE 6: 100% CORAL
*Add a little Fort York to Darken if need be
Here's what I love about Mineral Paint, I used SO little paint to cover this Radiator, so when you're mixing, make sure you only mix half of what you think you need. I promise you, a little goes a long way!
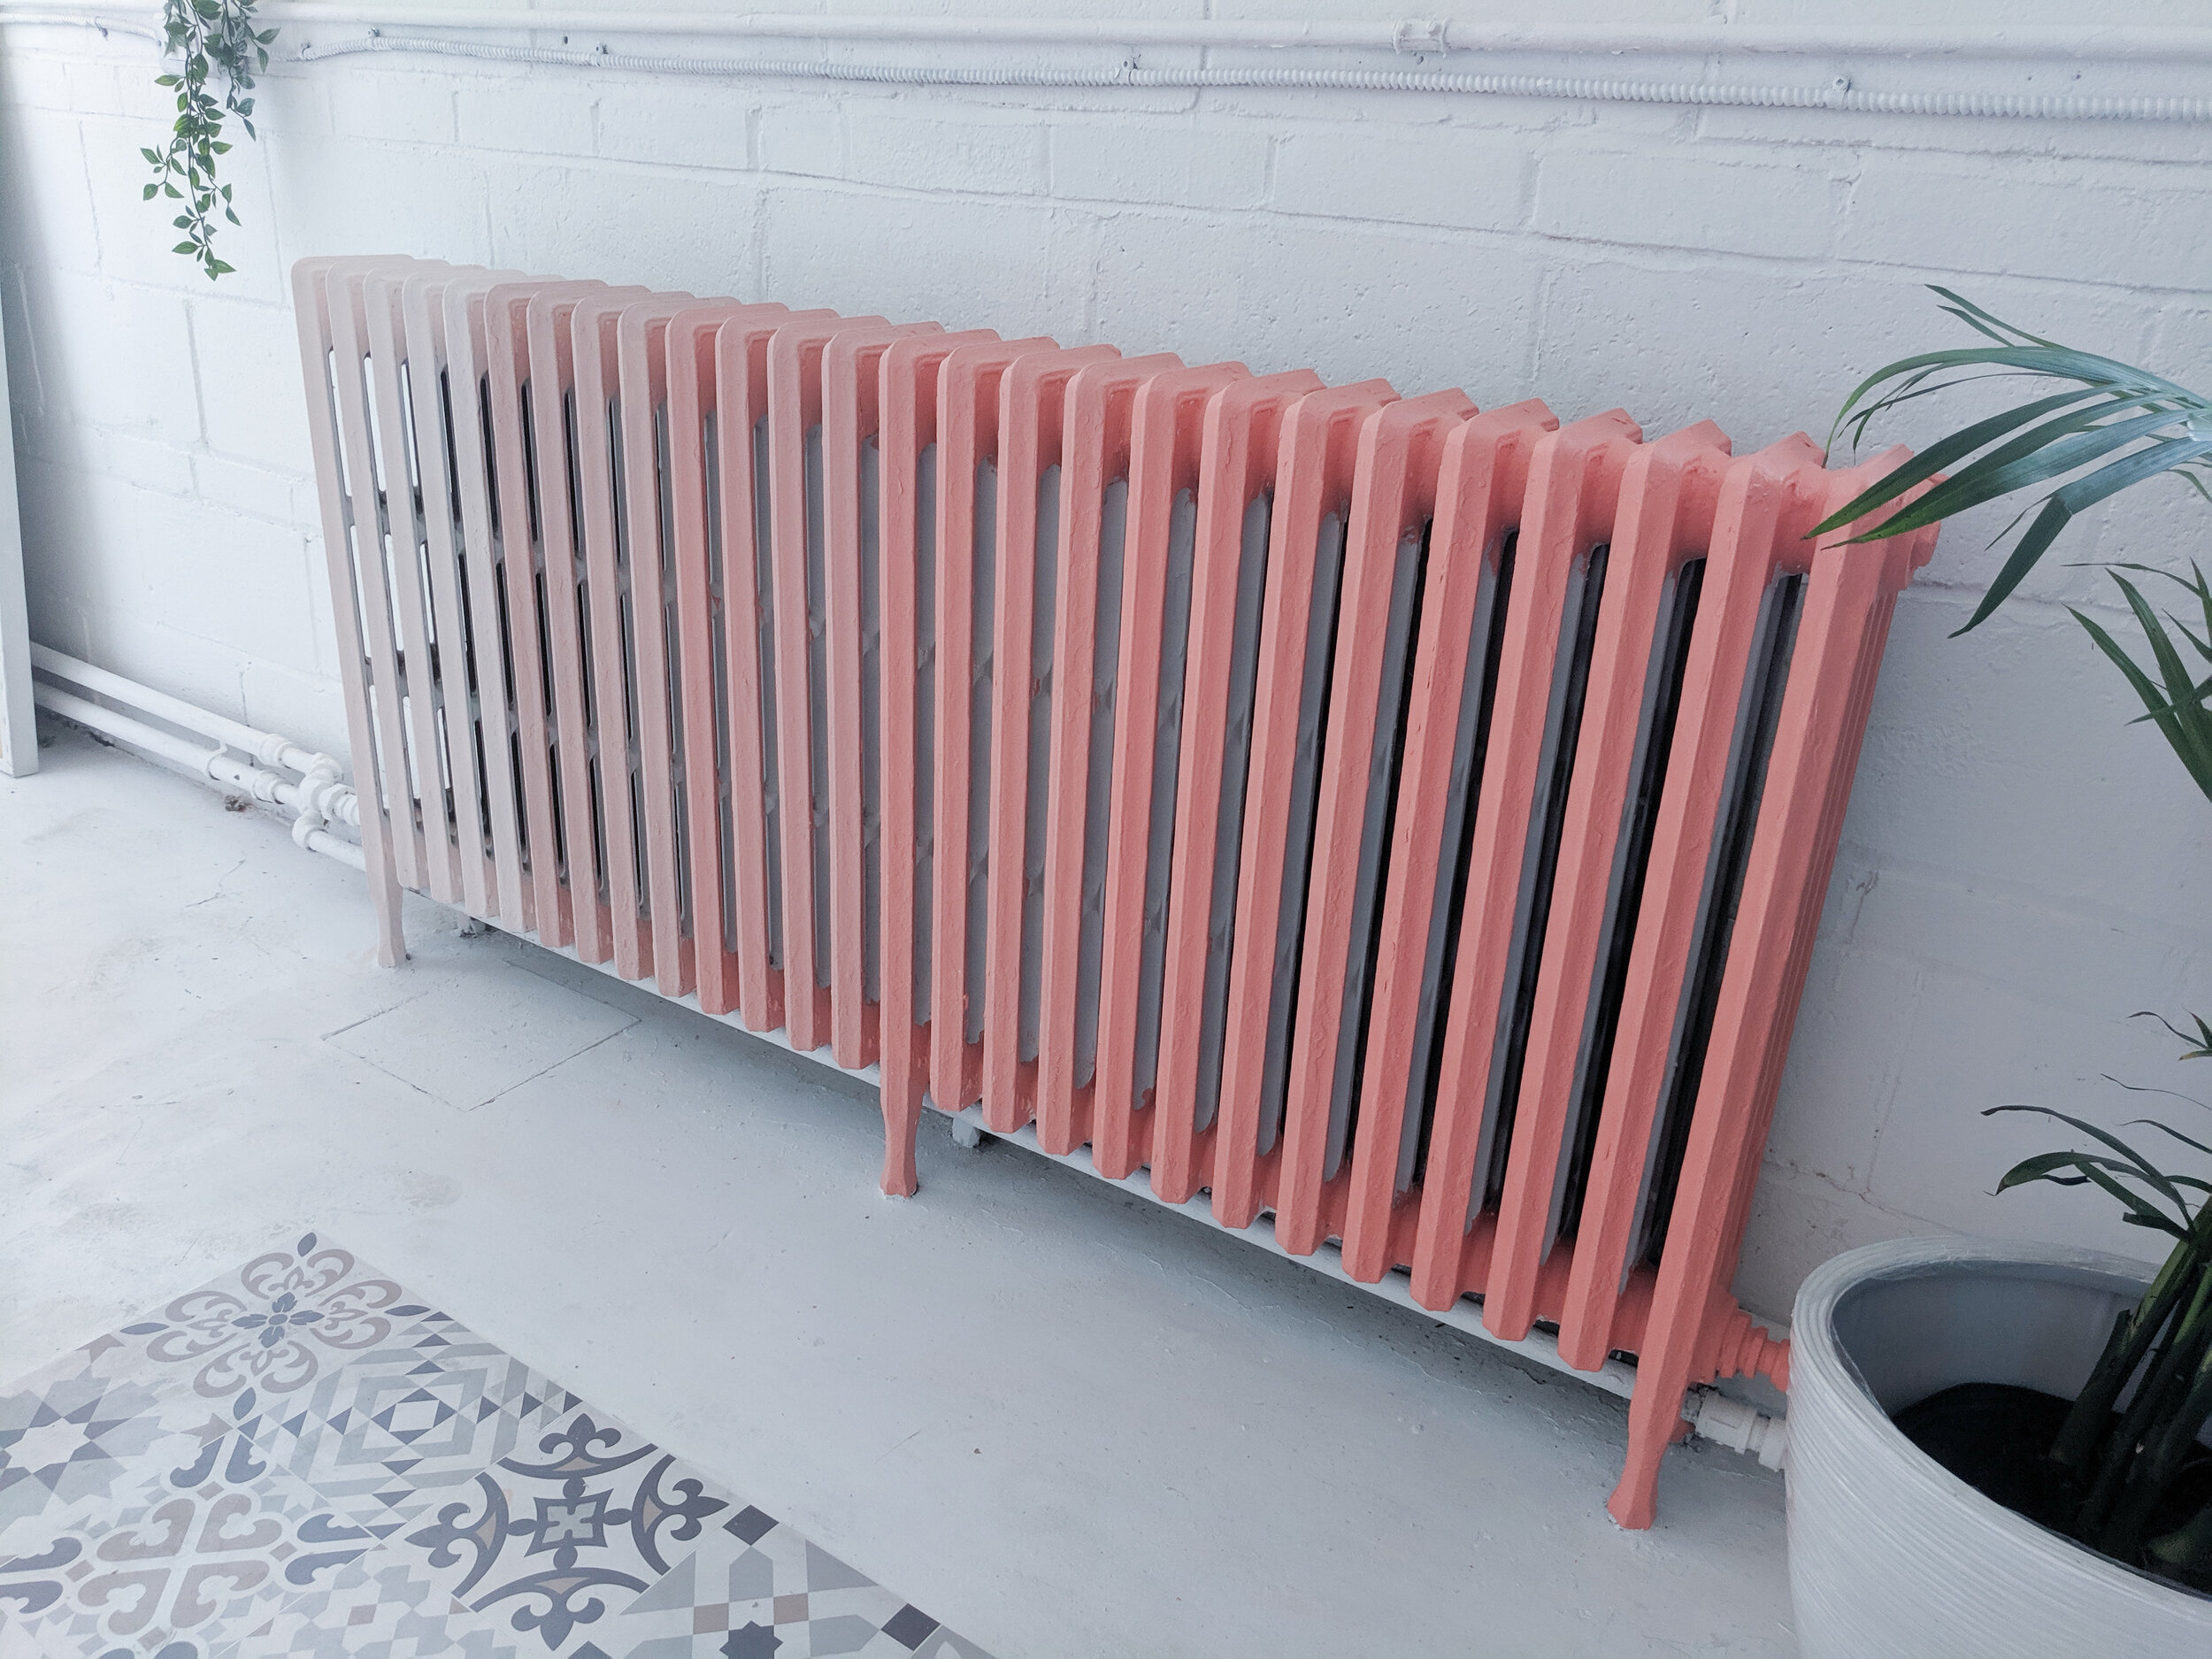
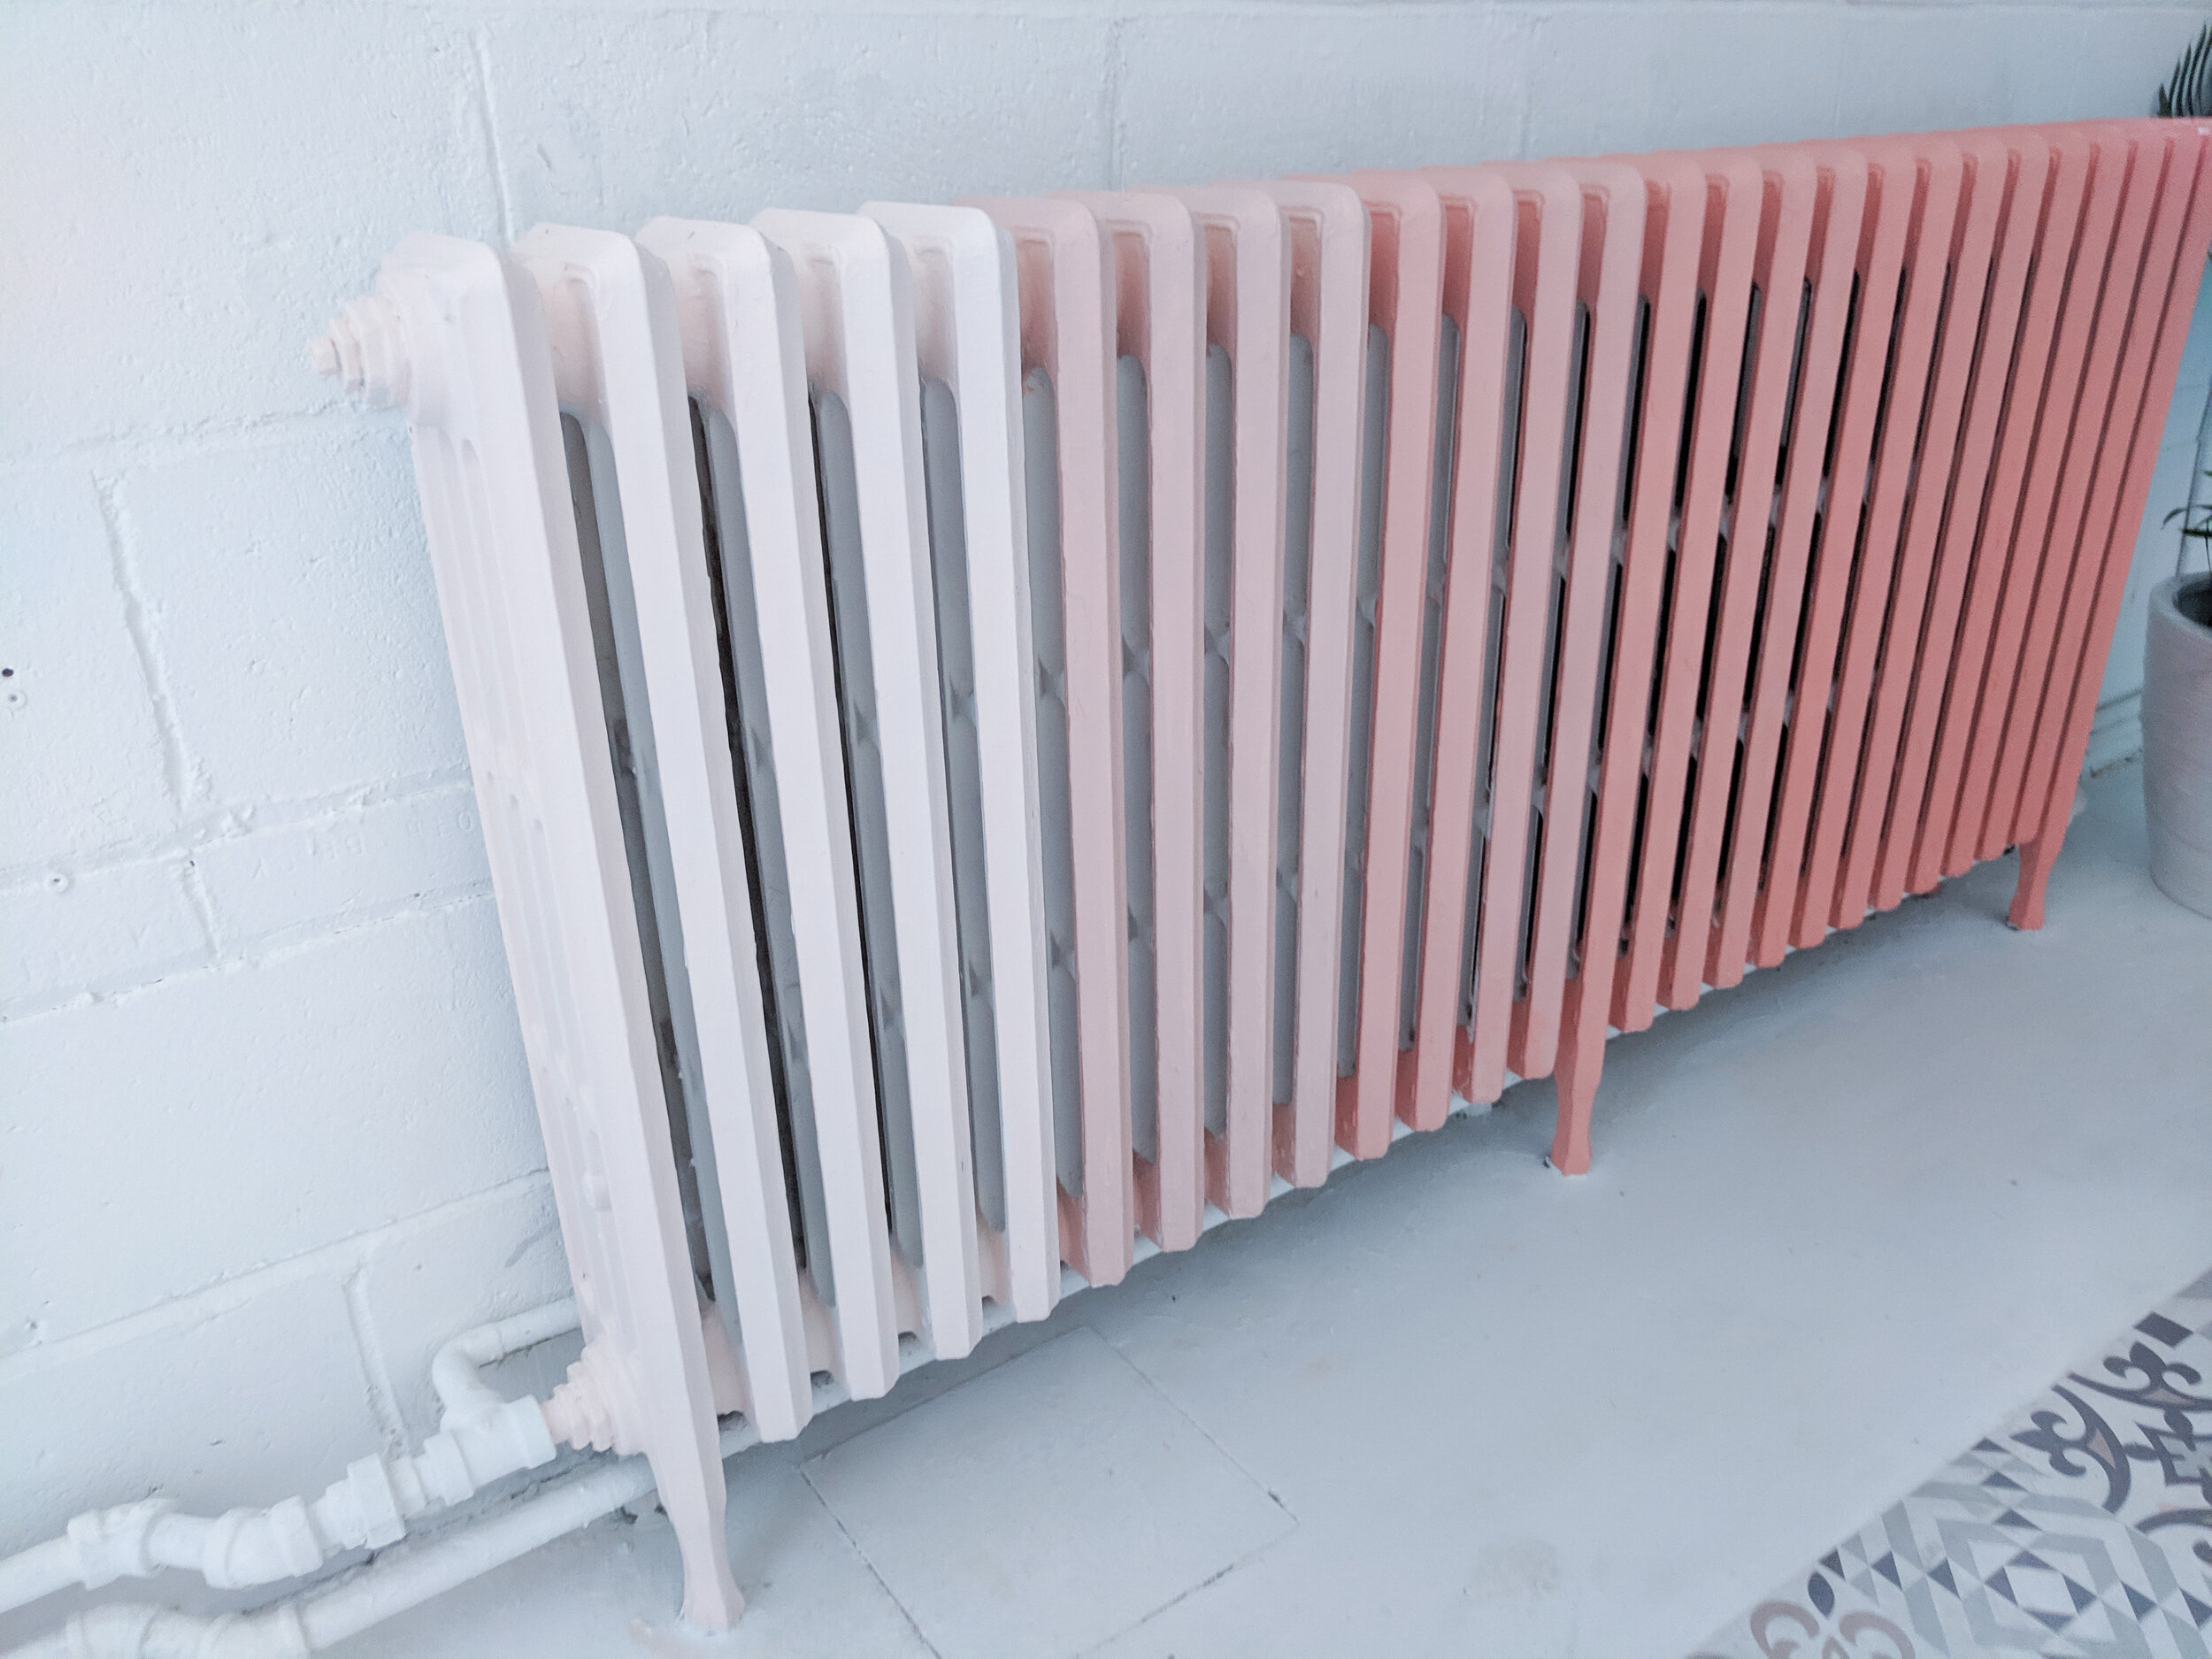
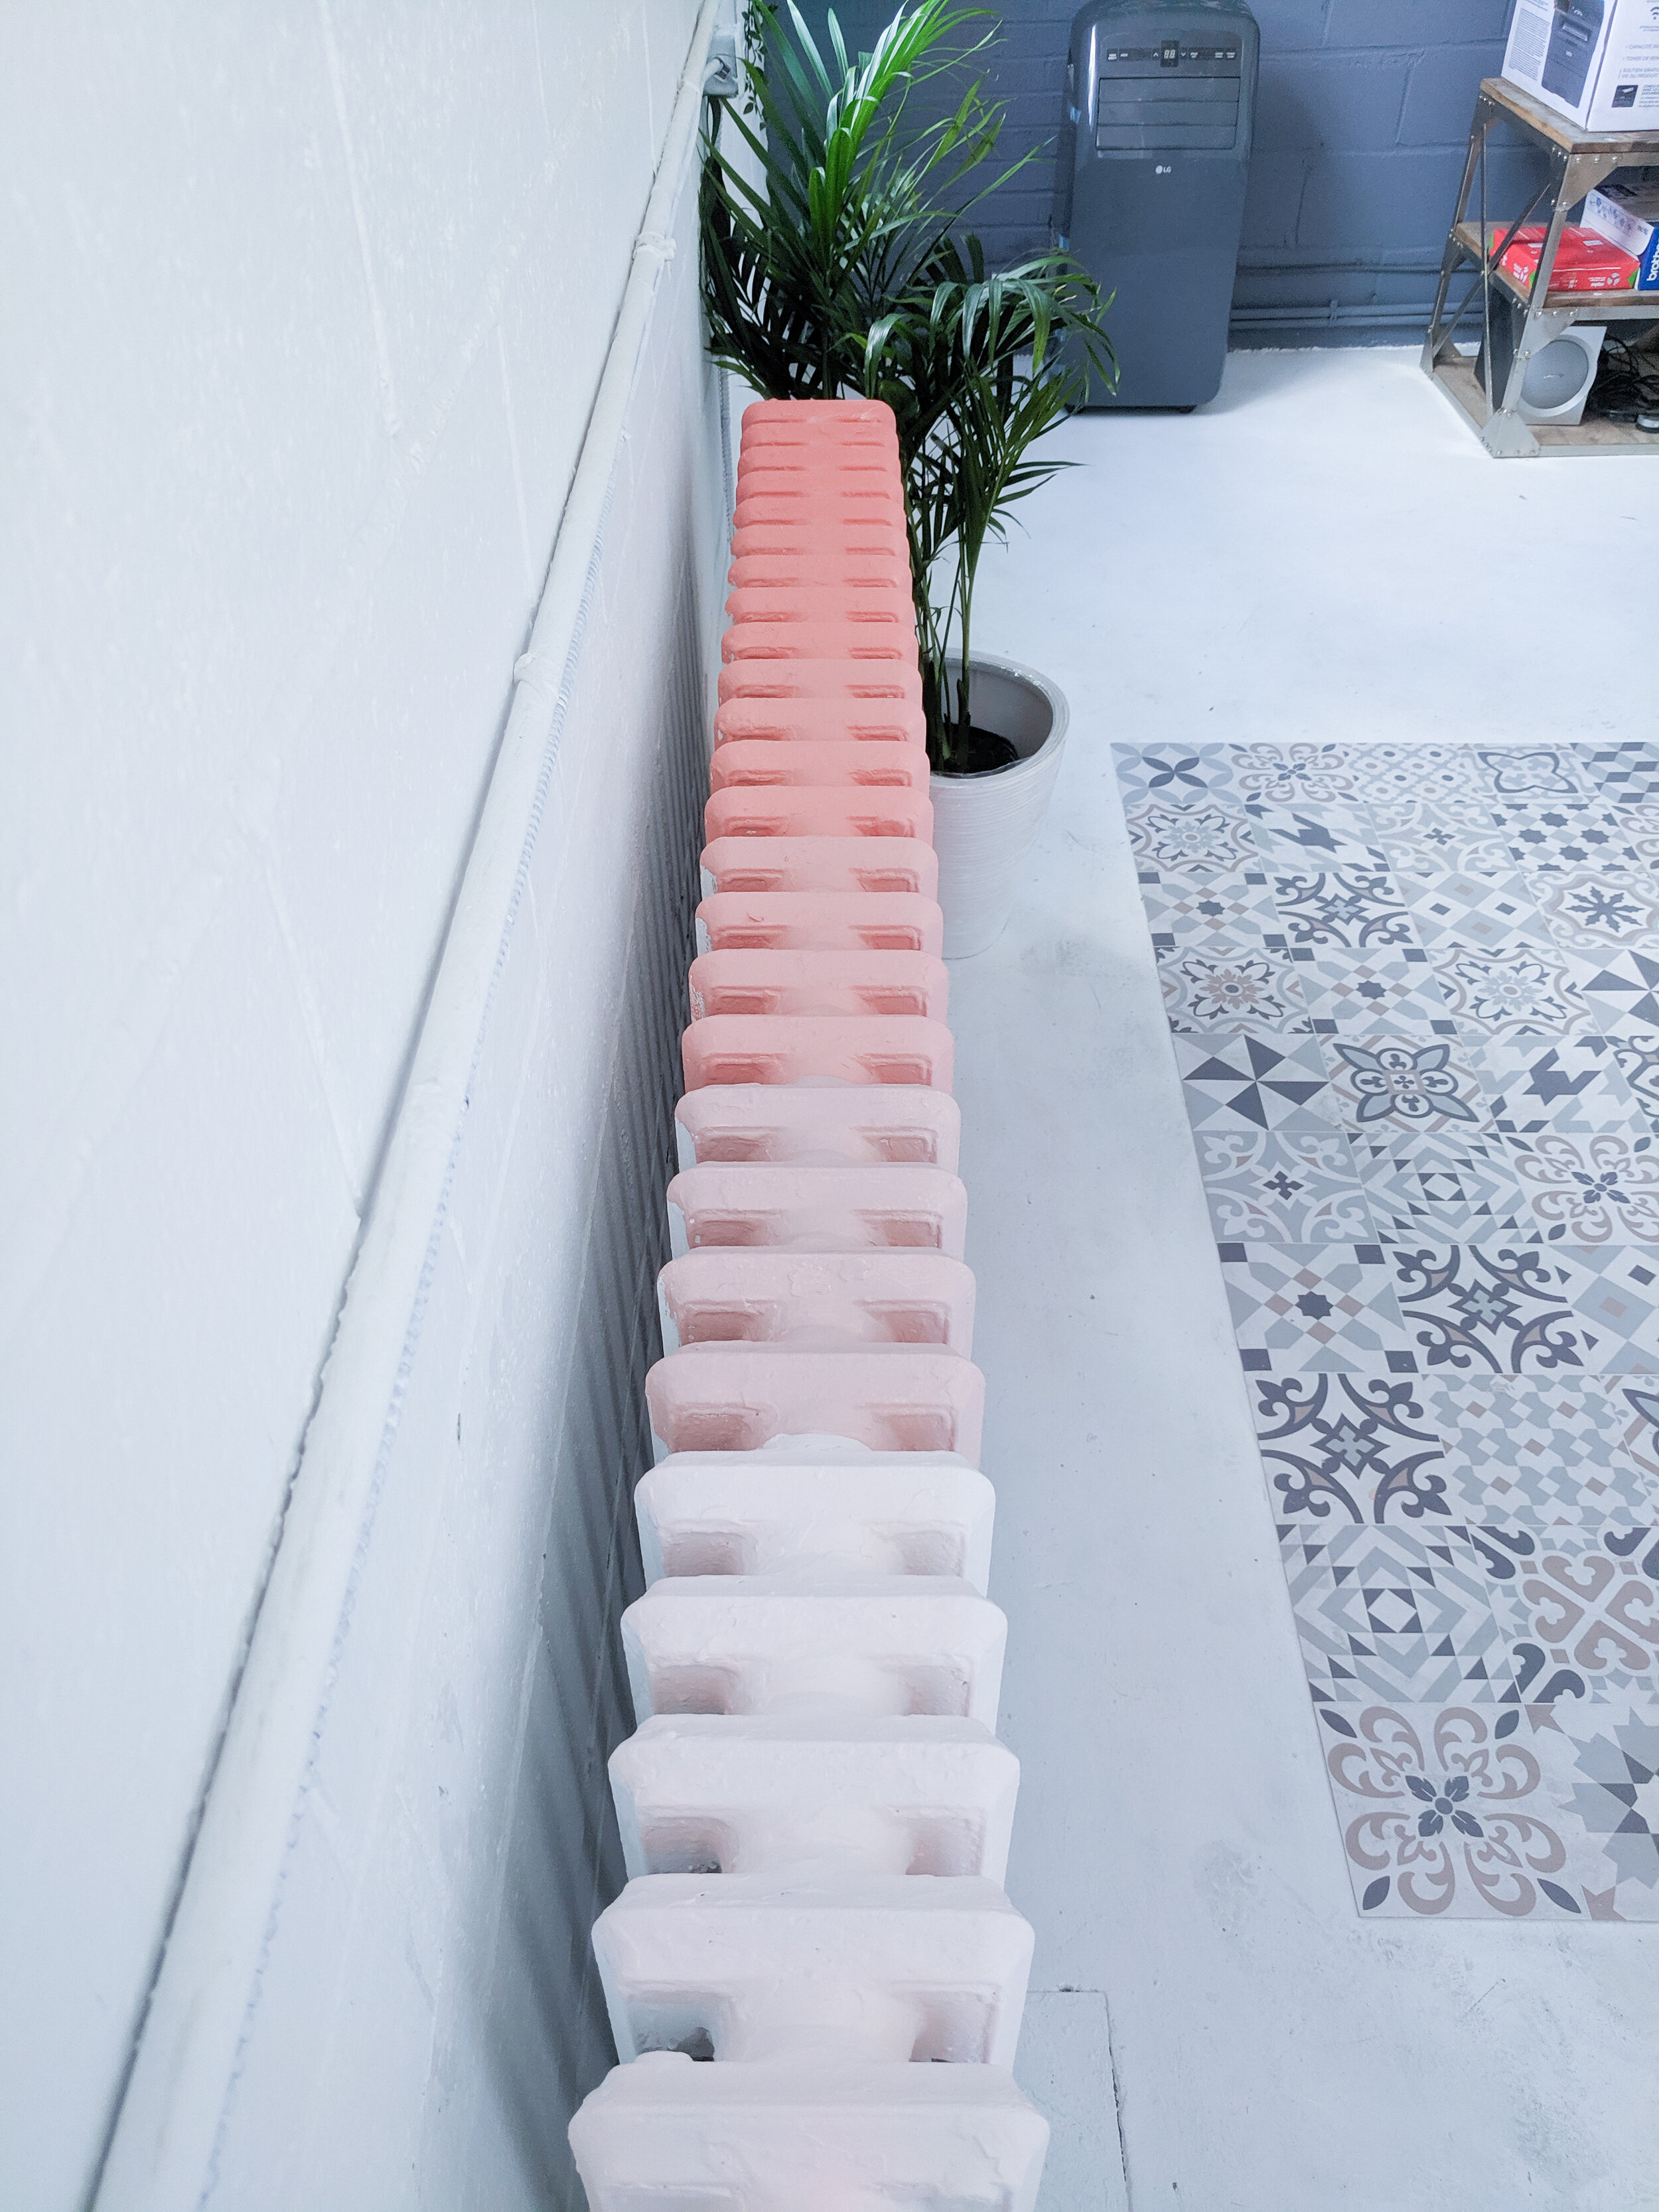
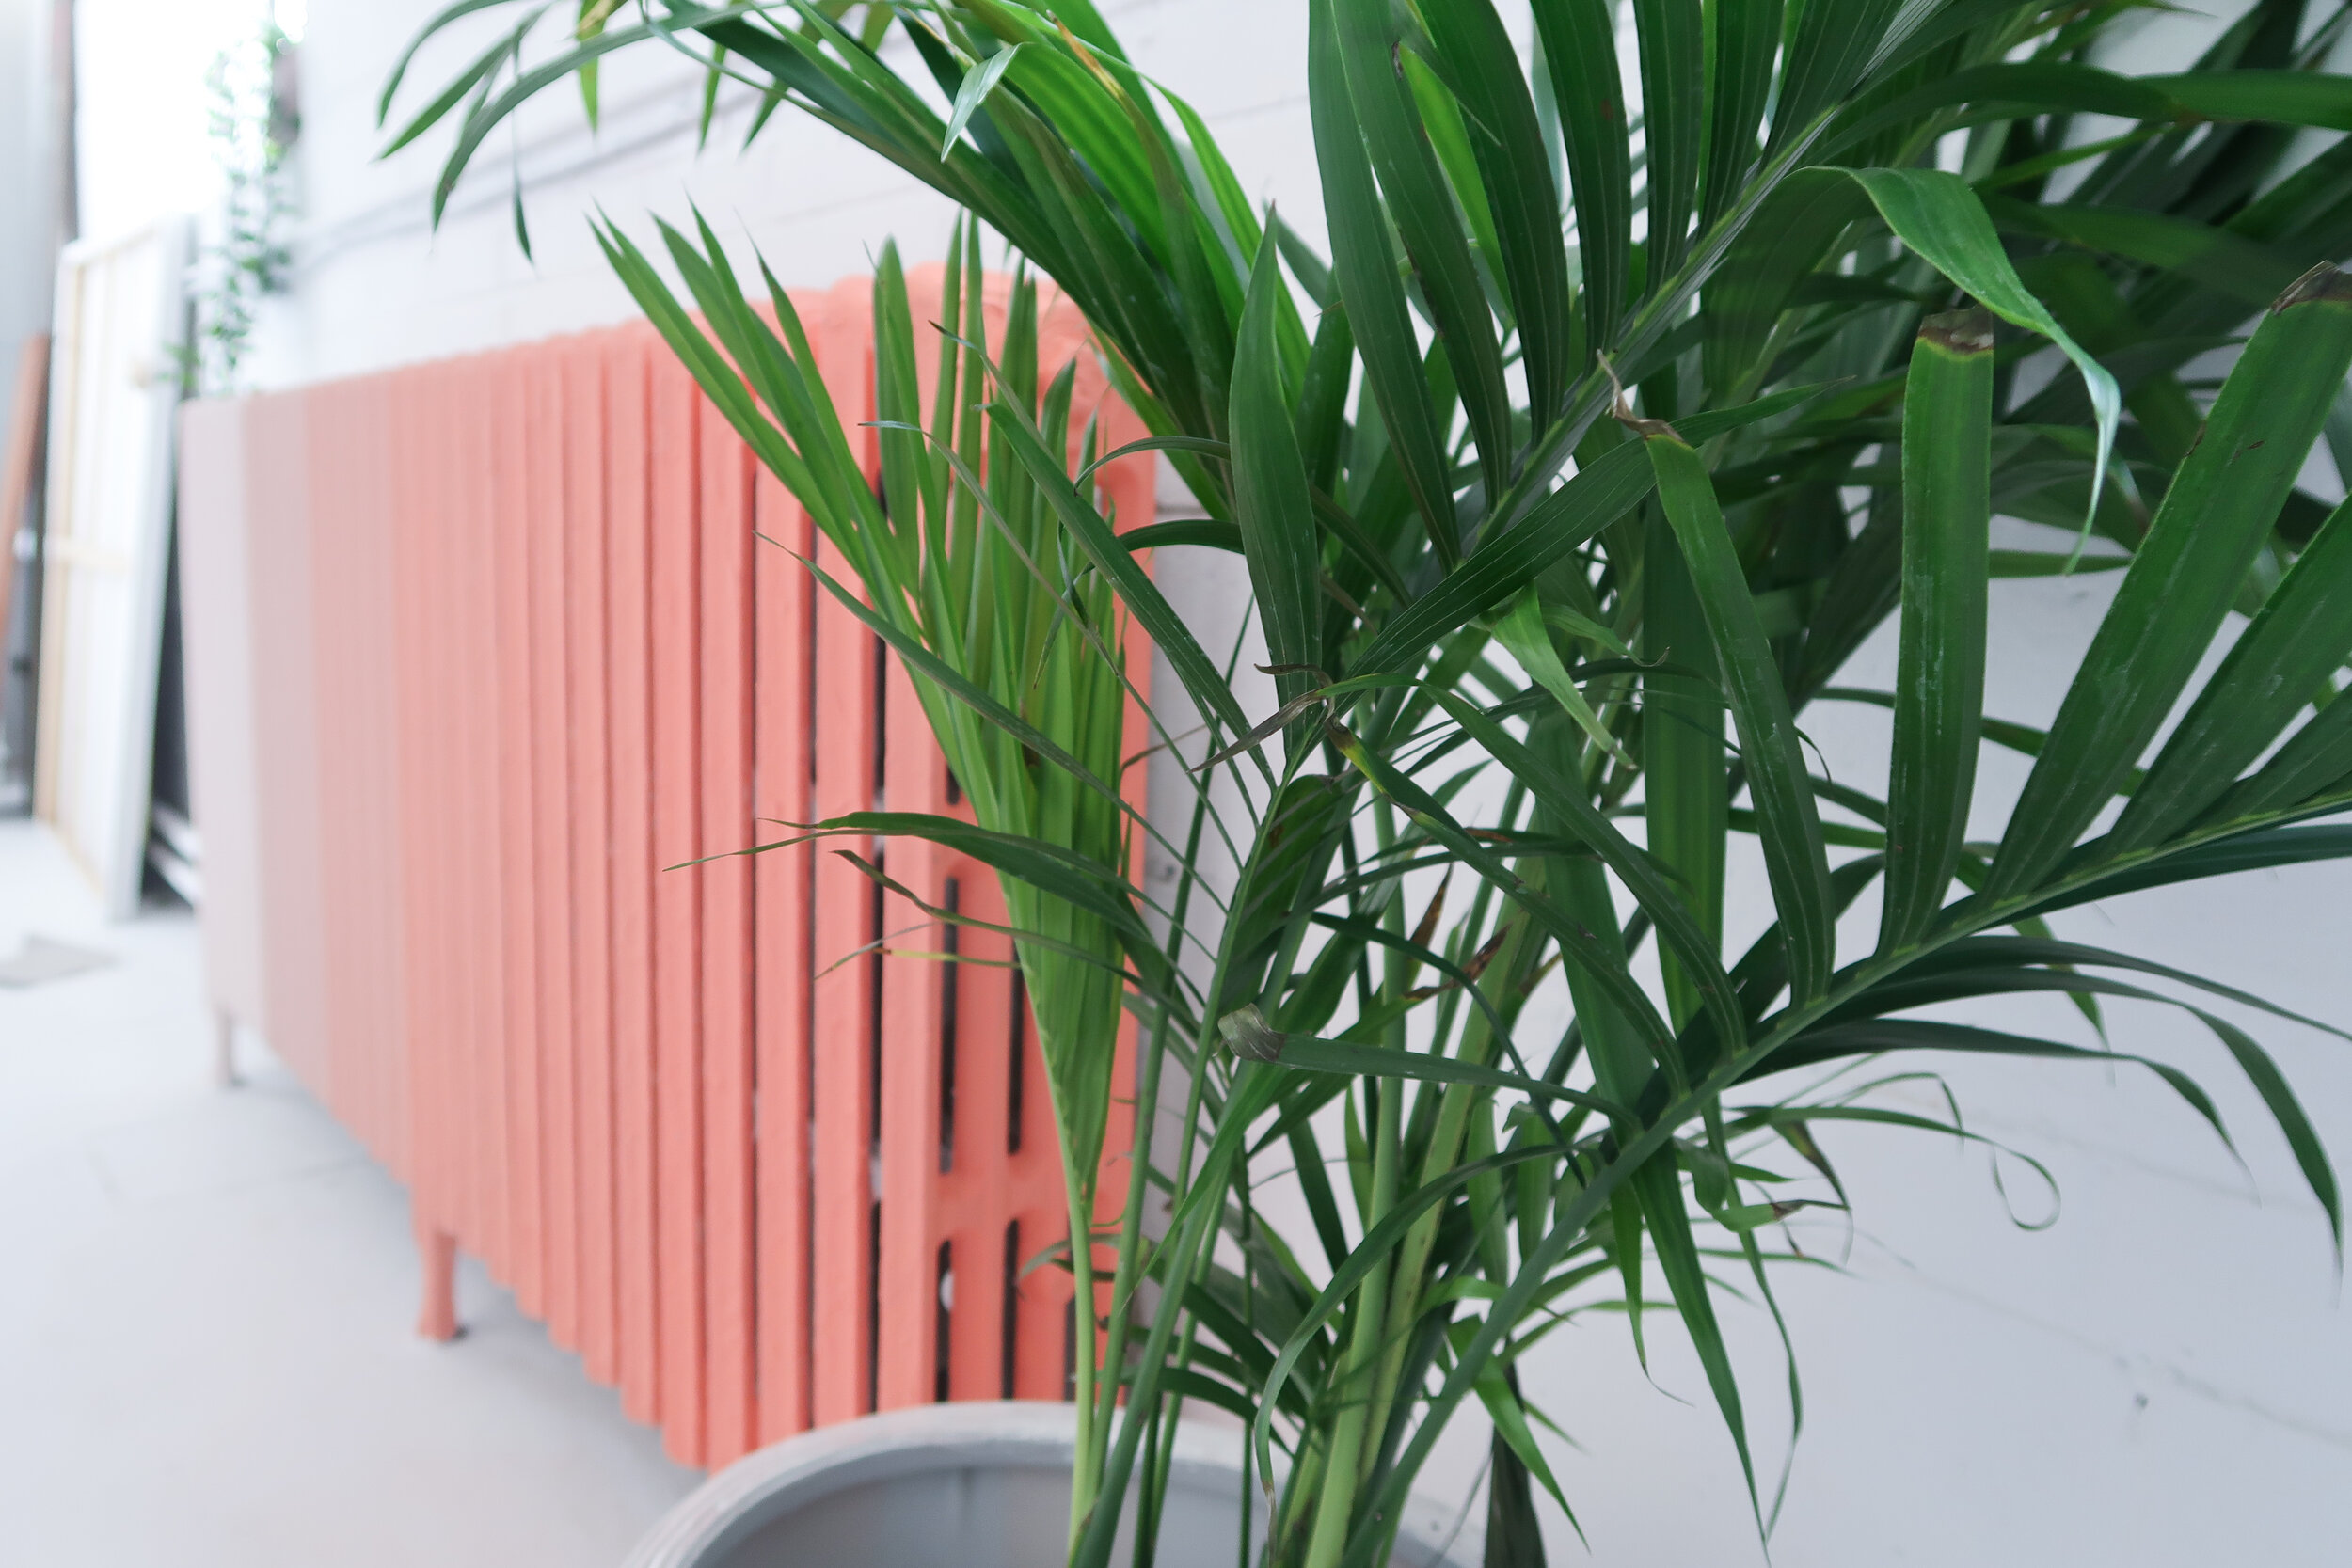
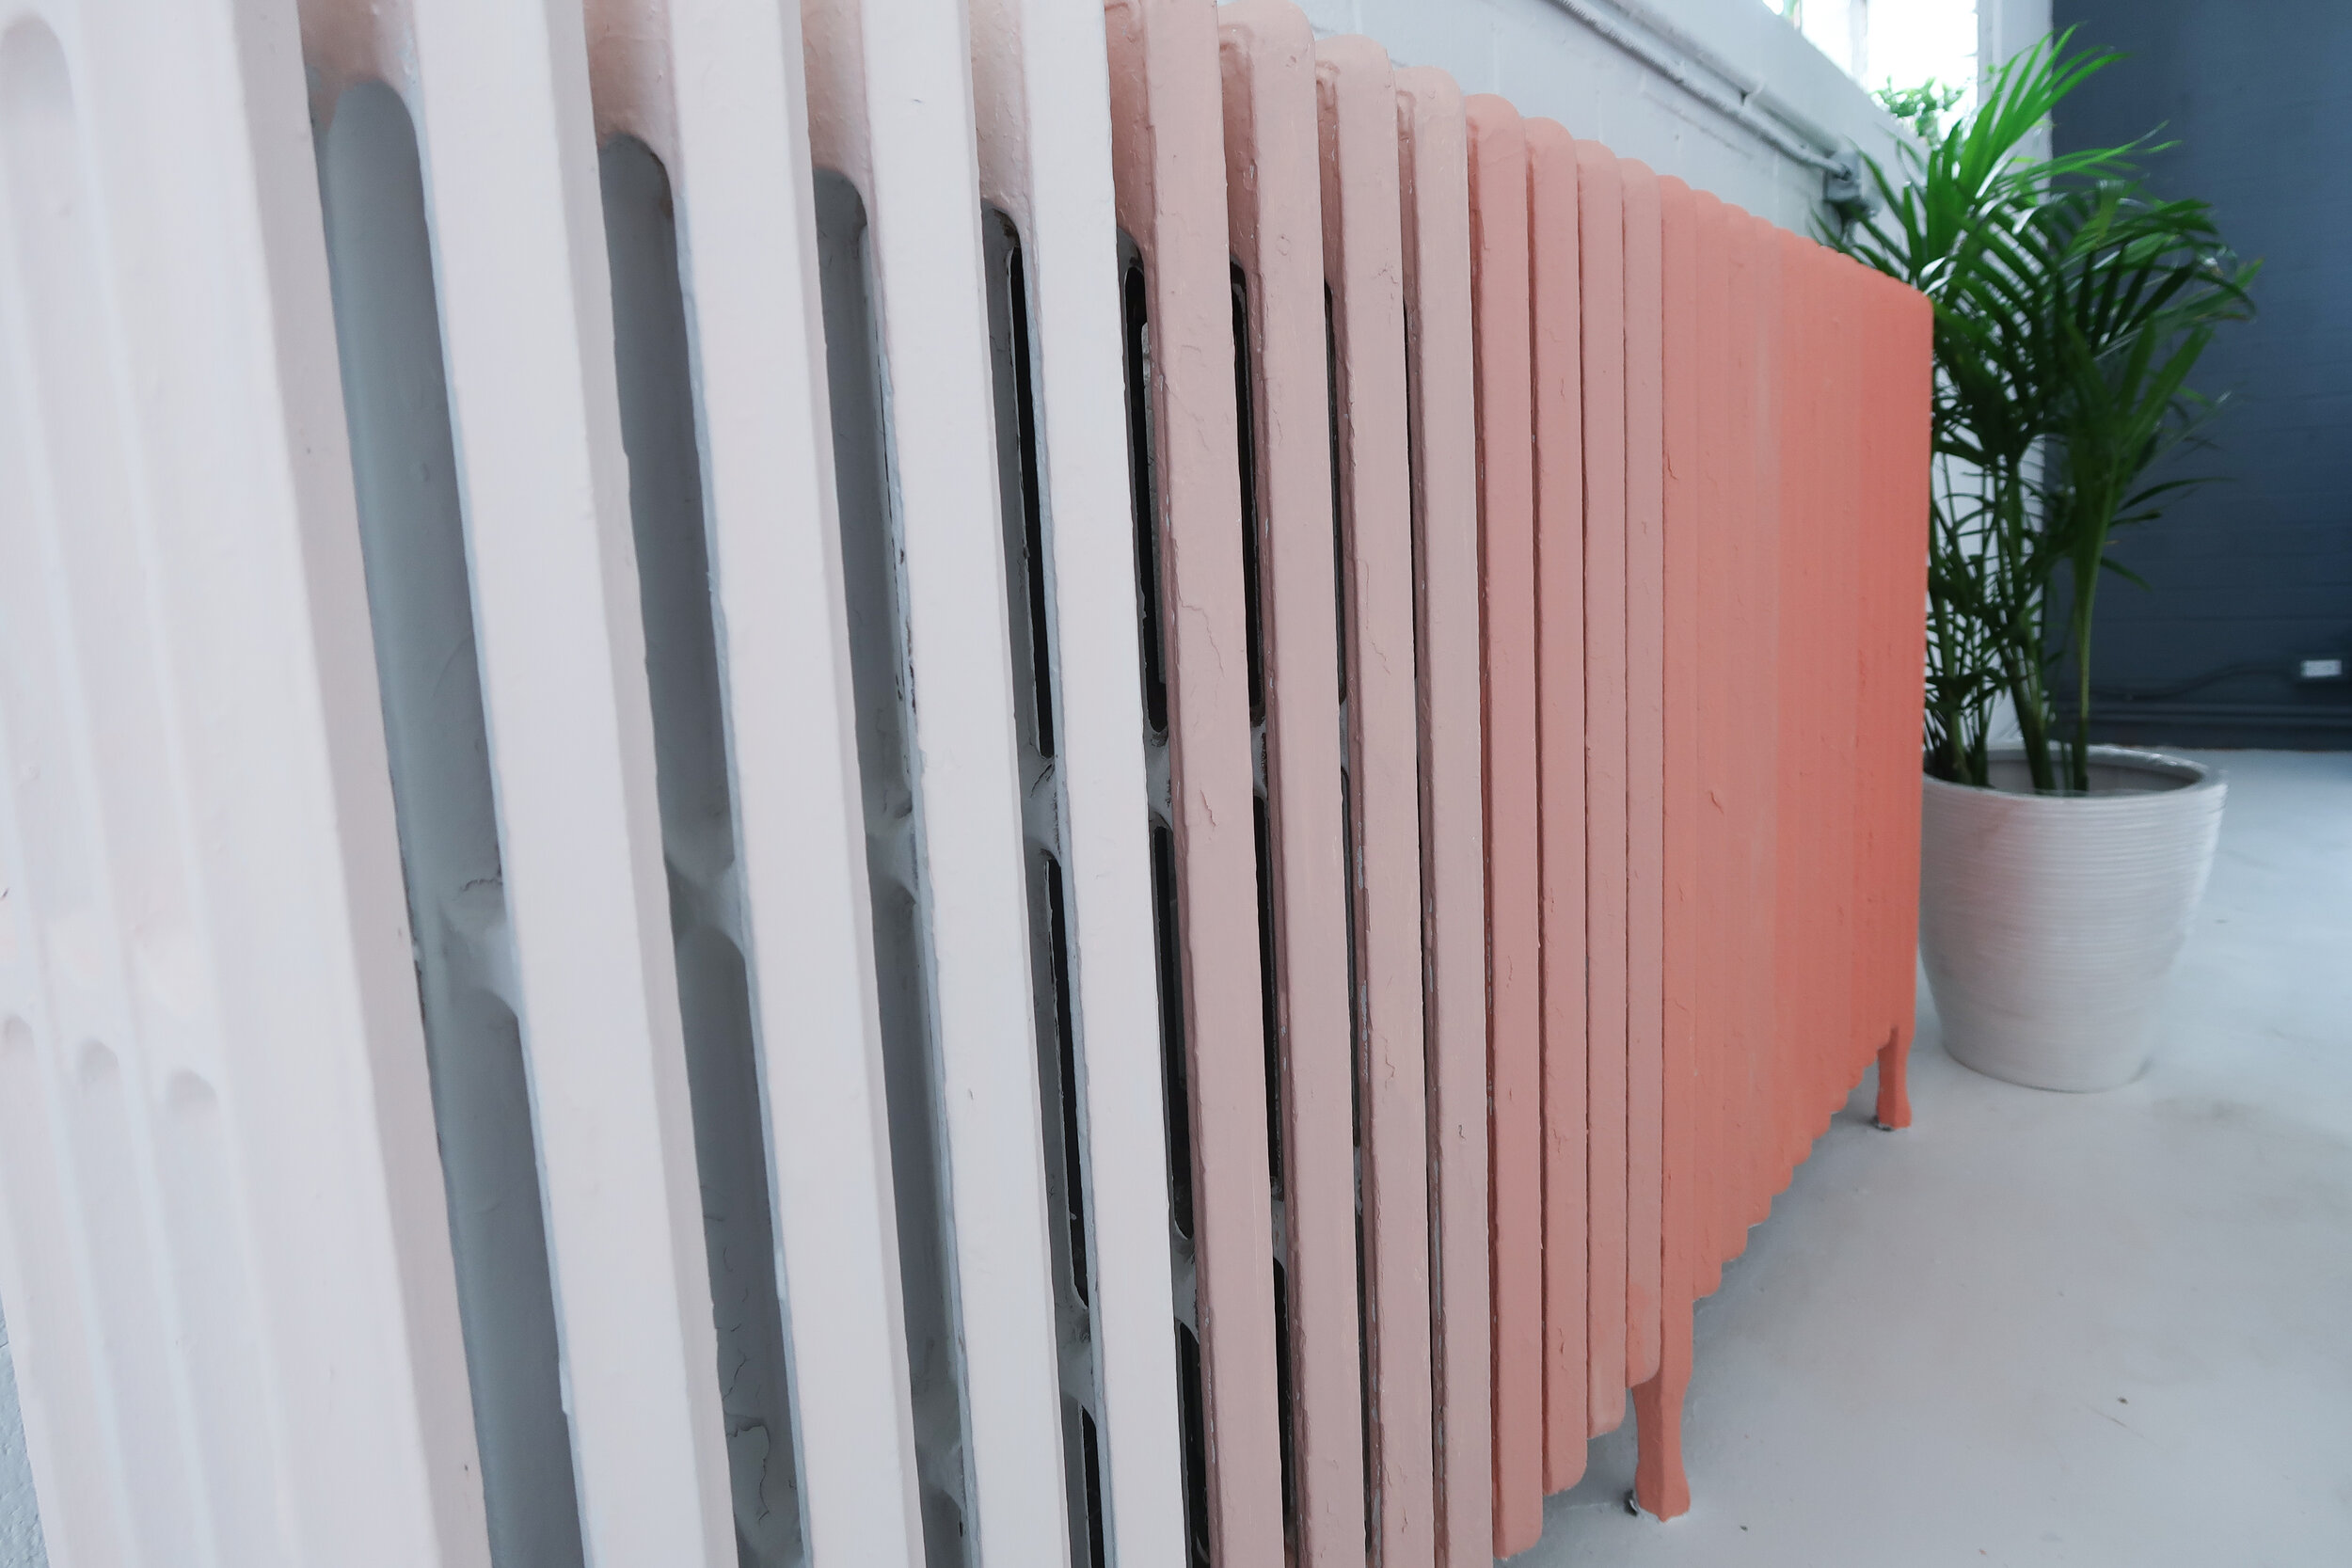
SCROLL THE OMBRE!
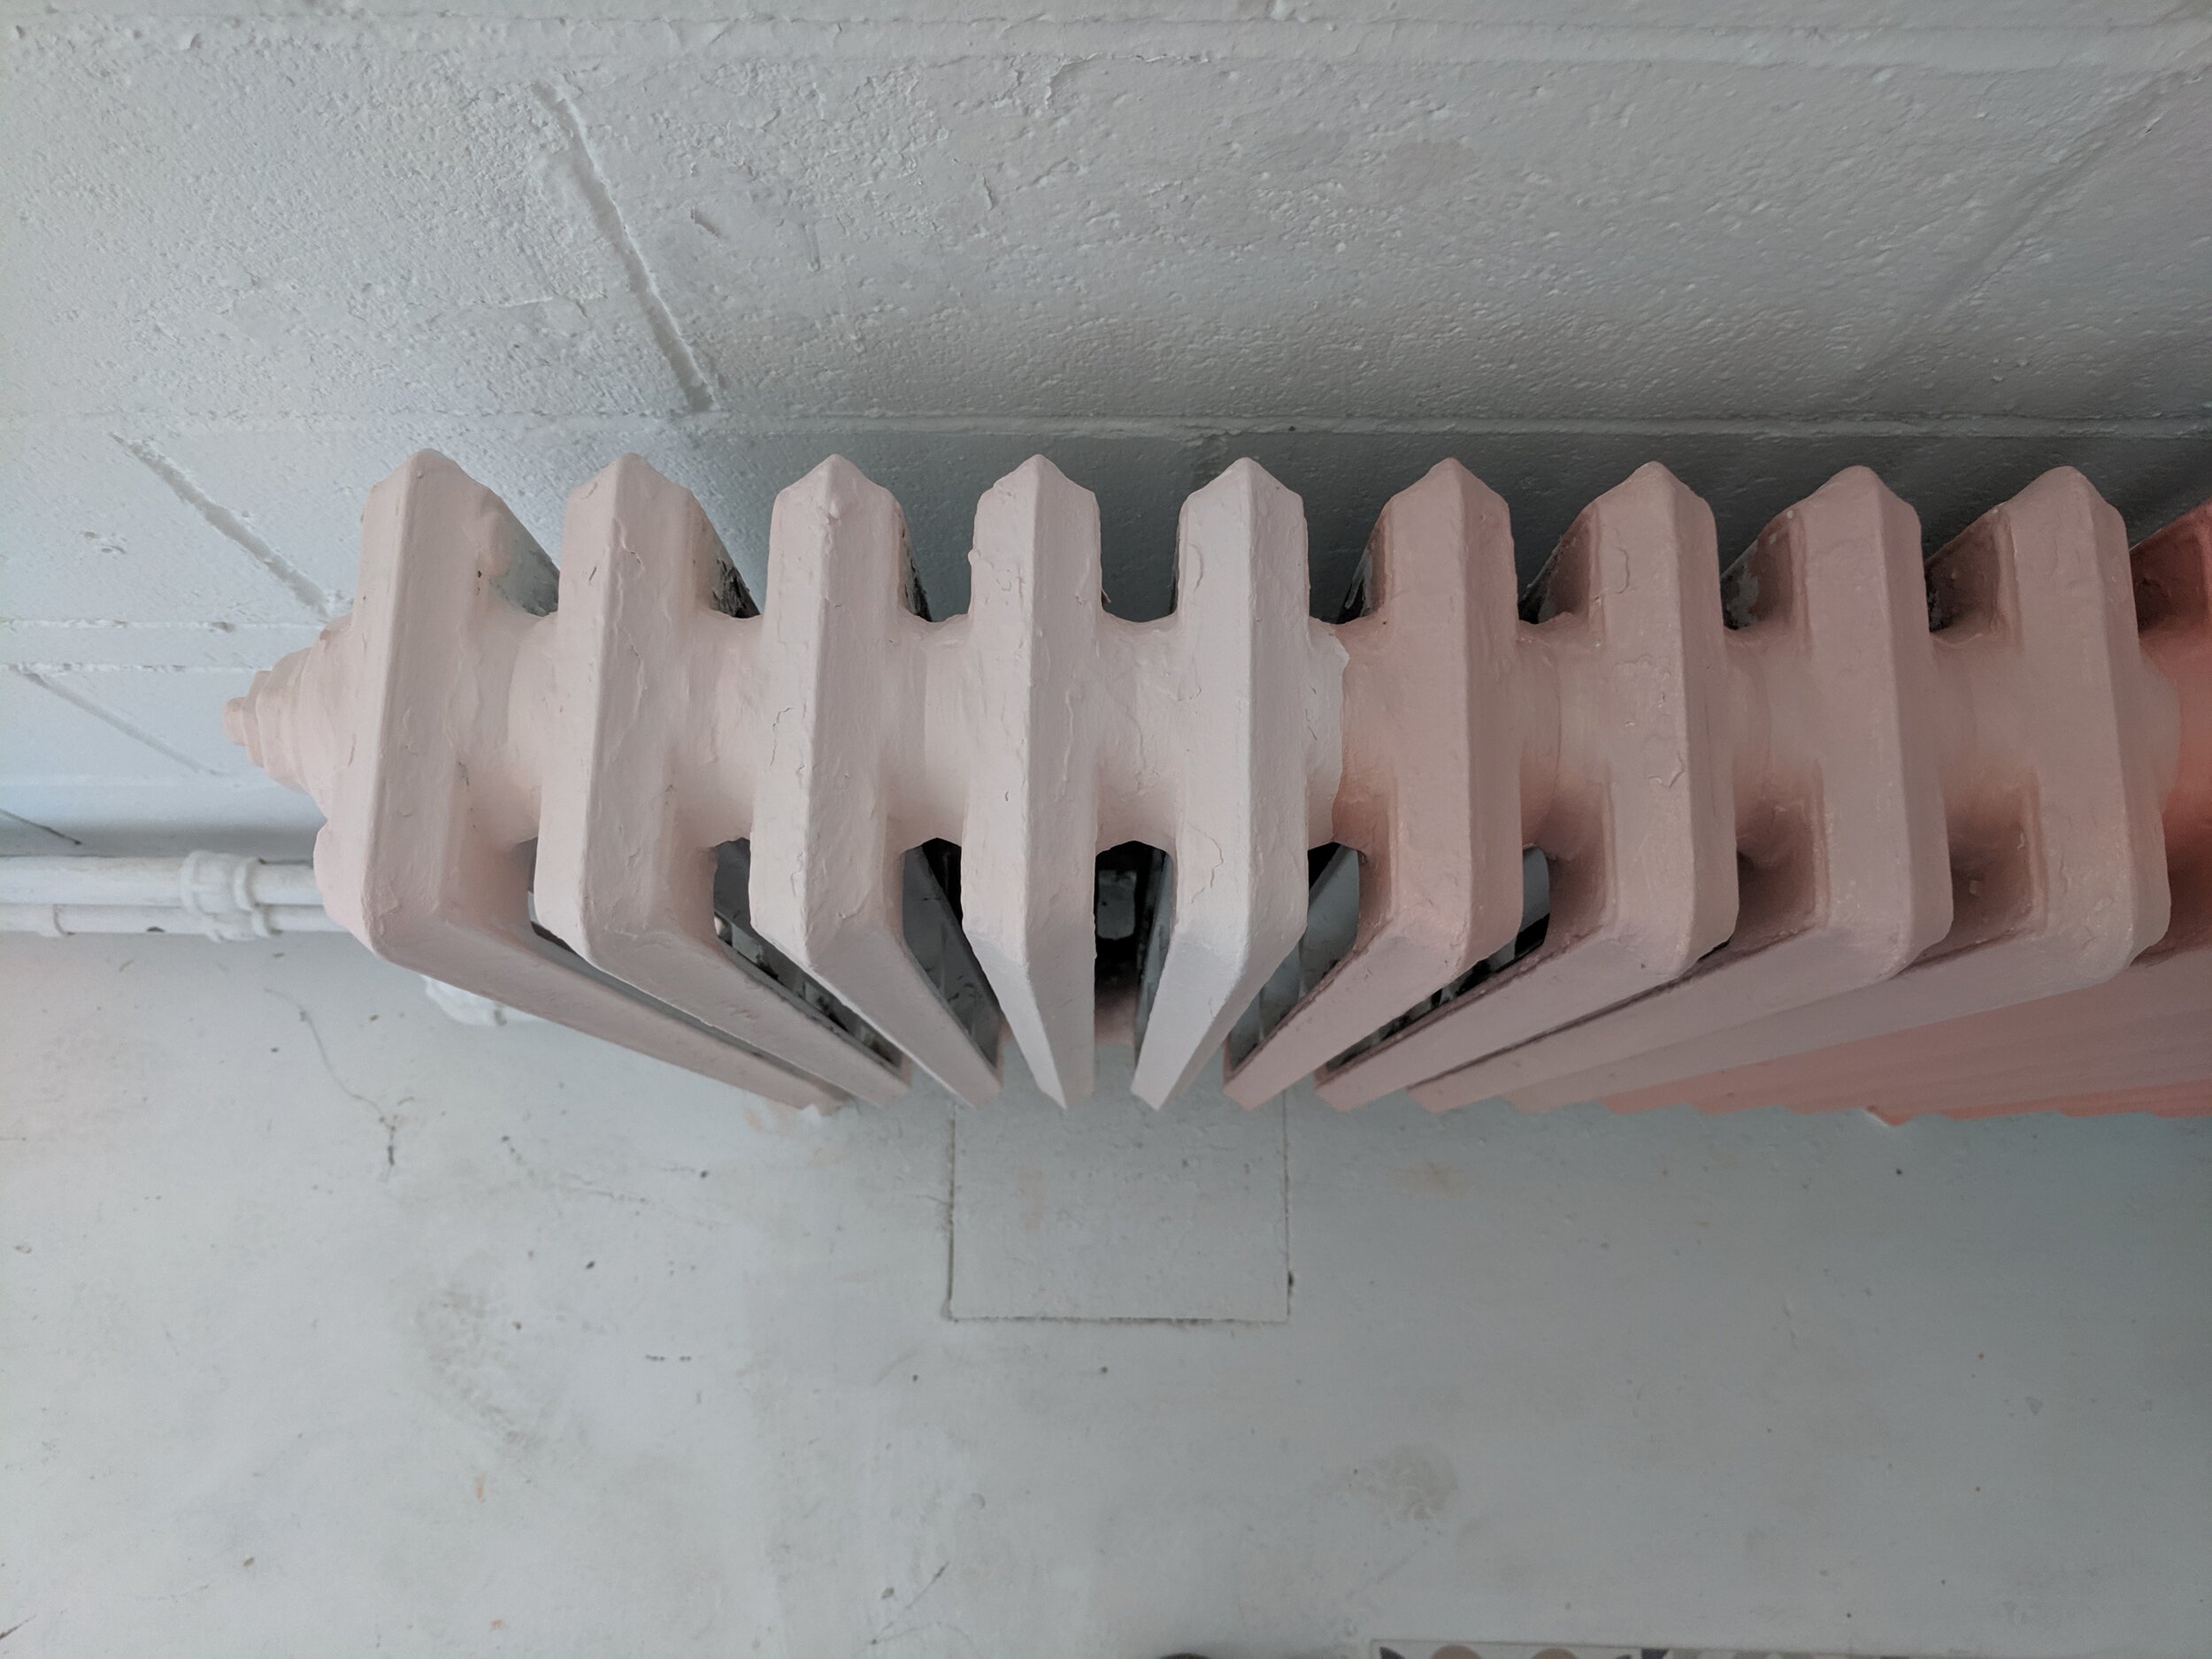
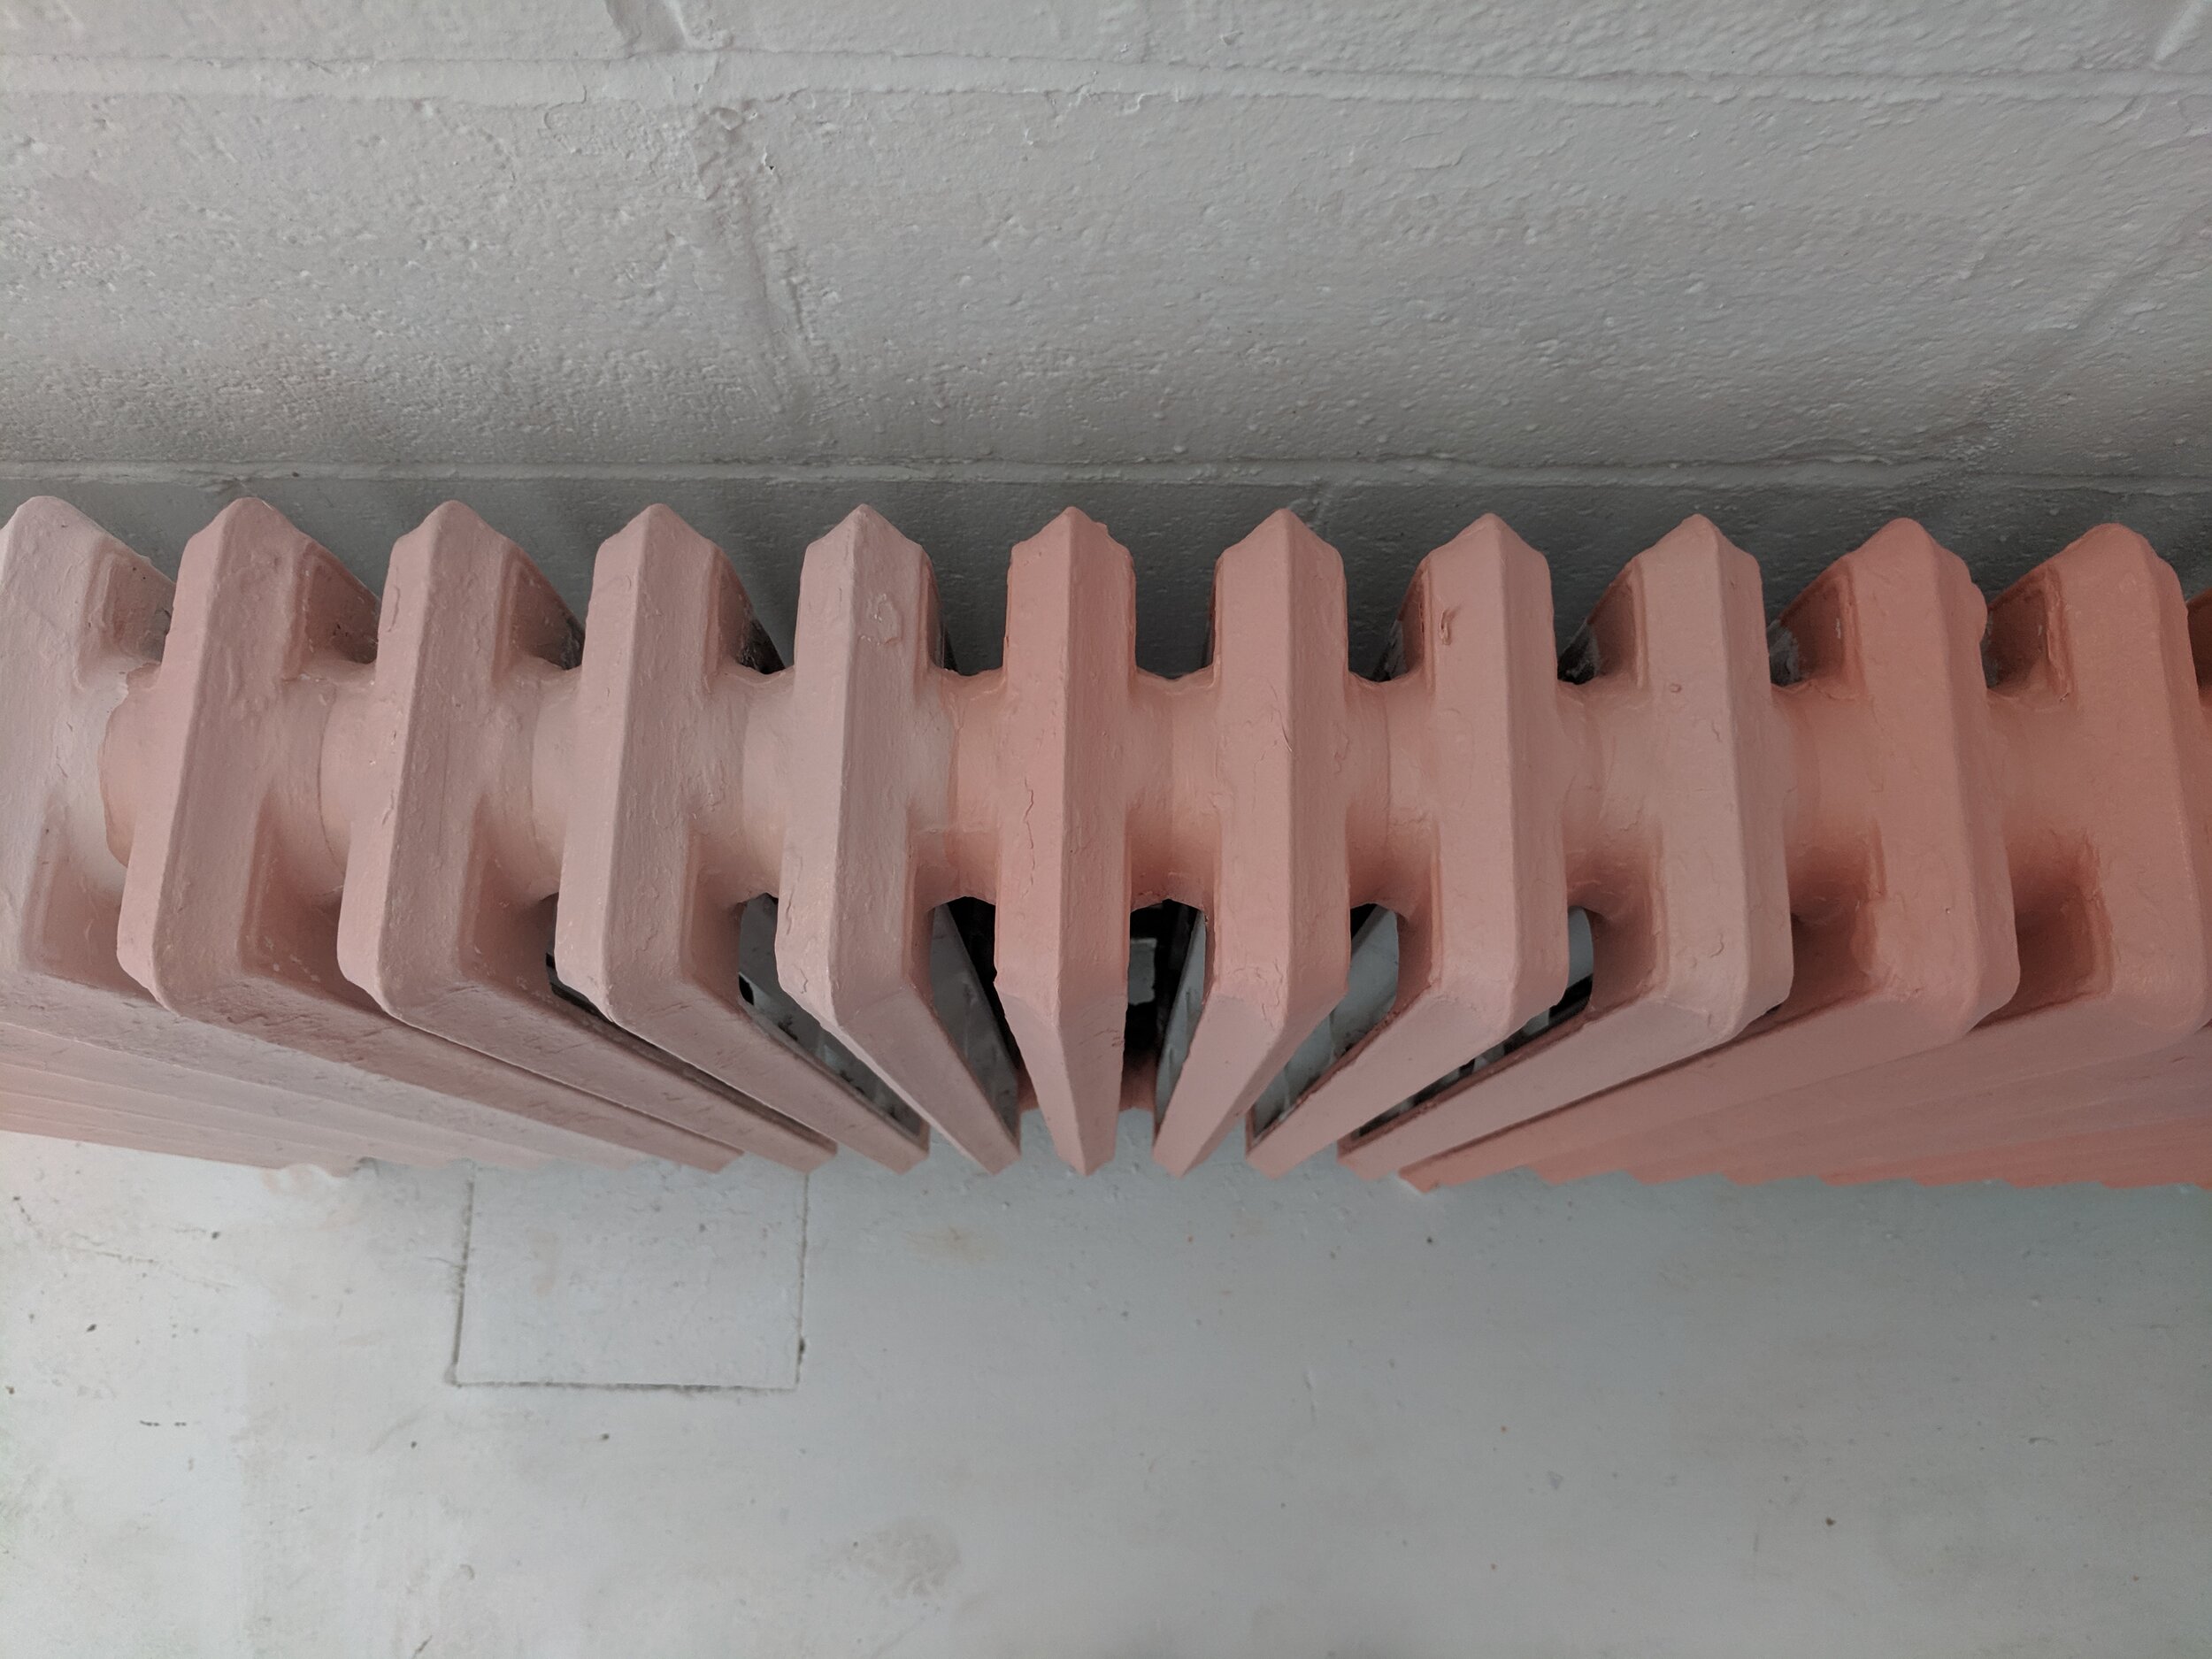
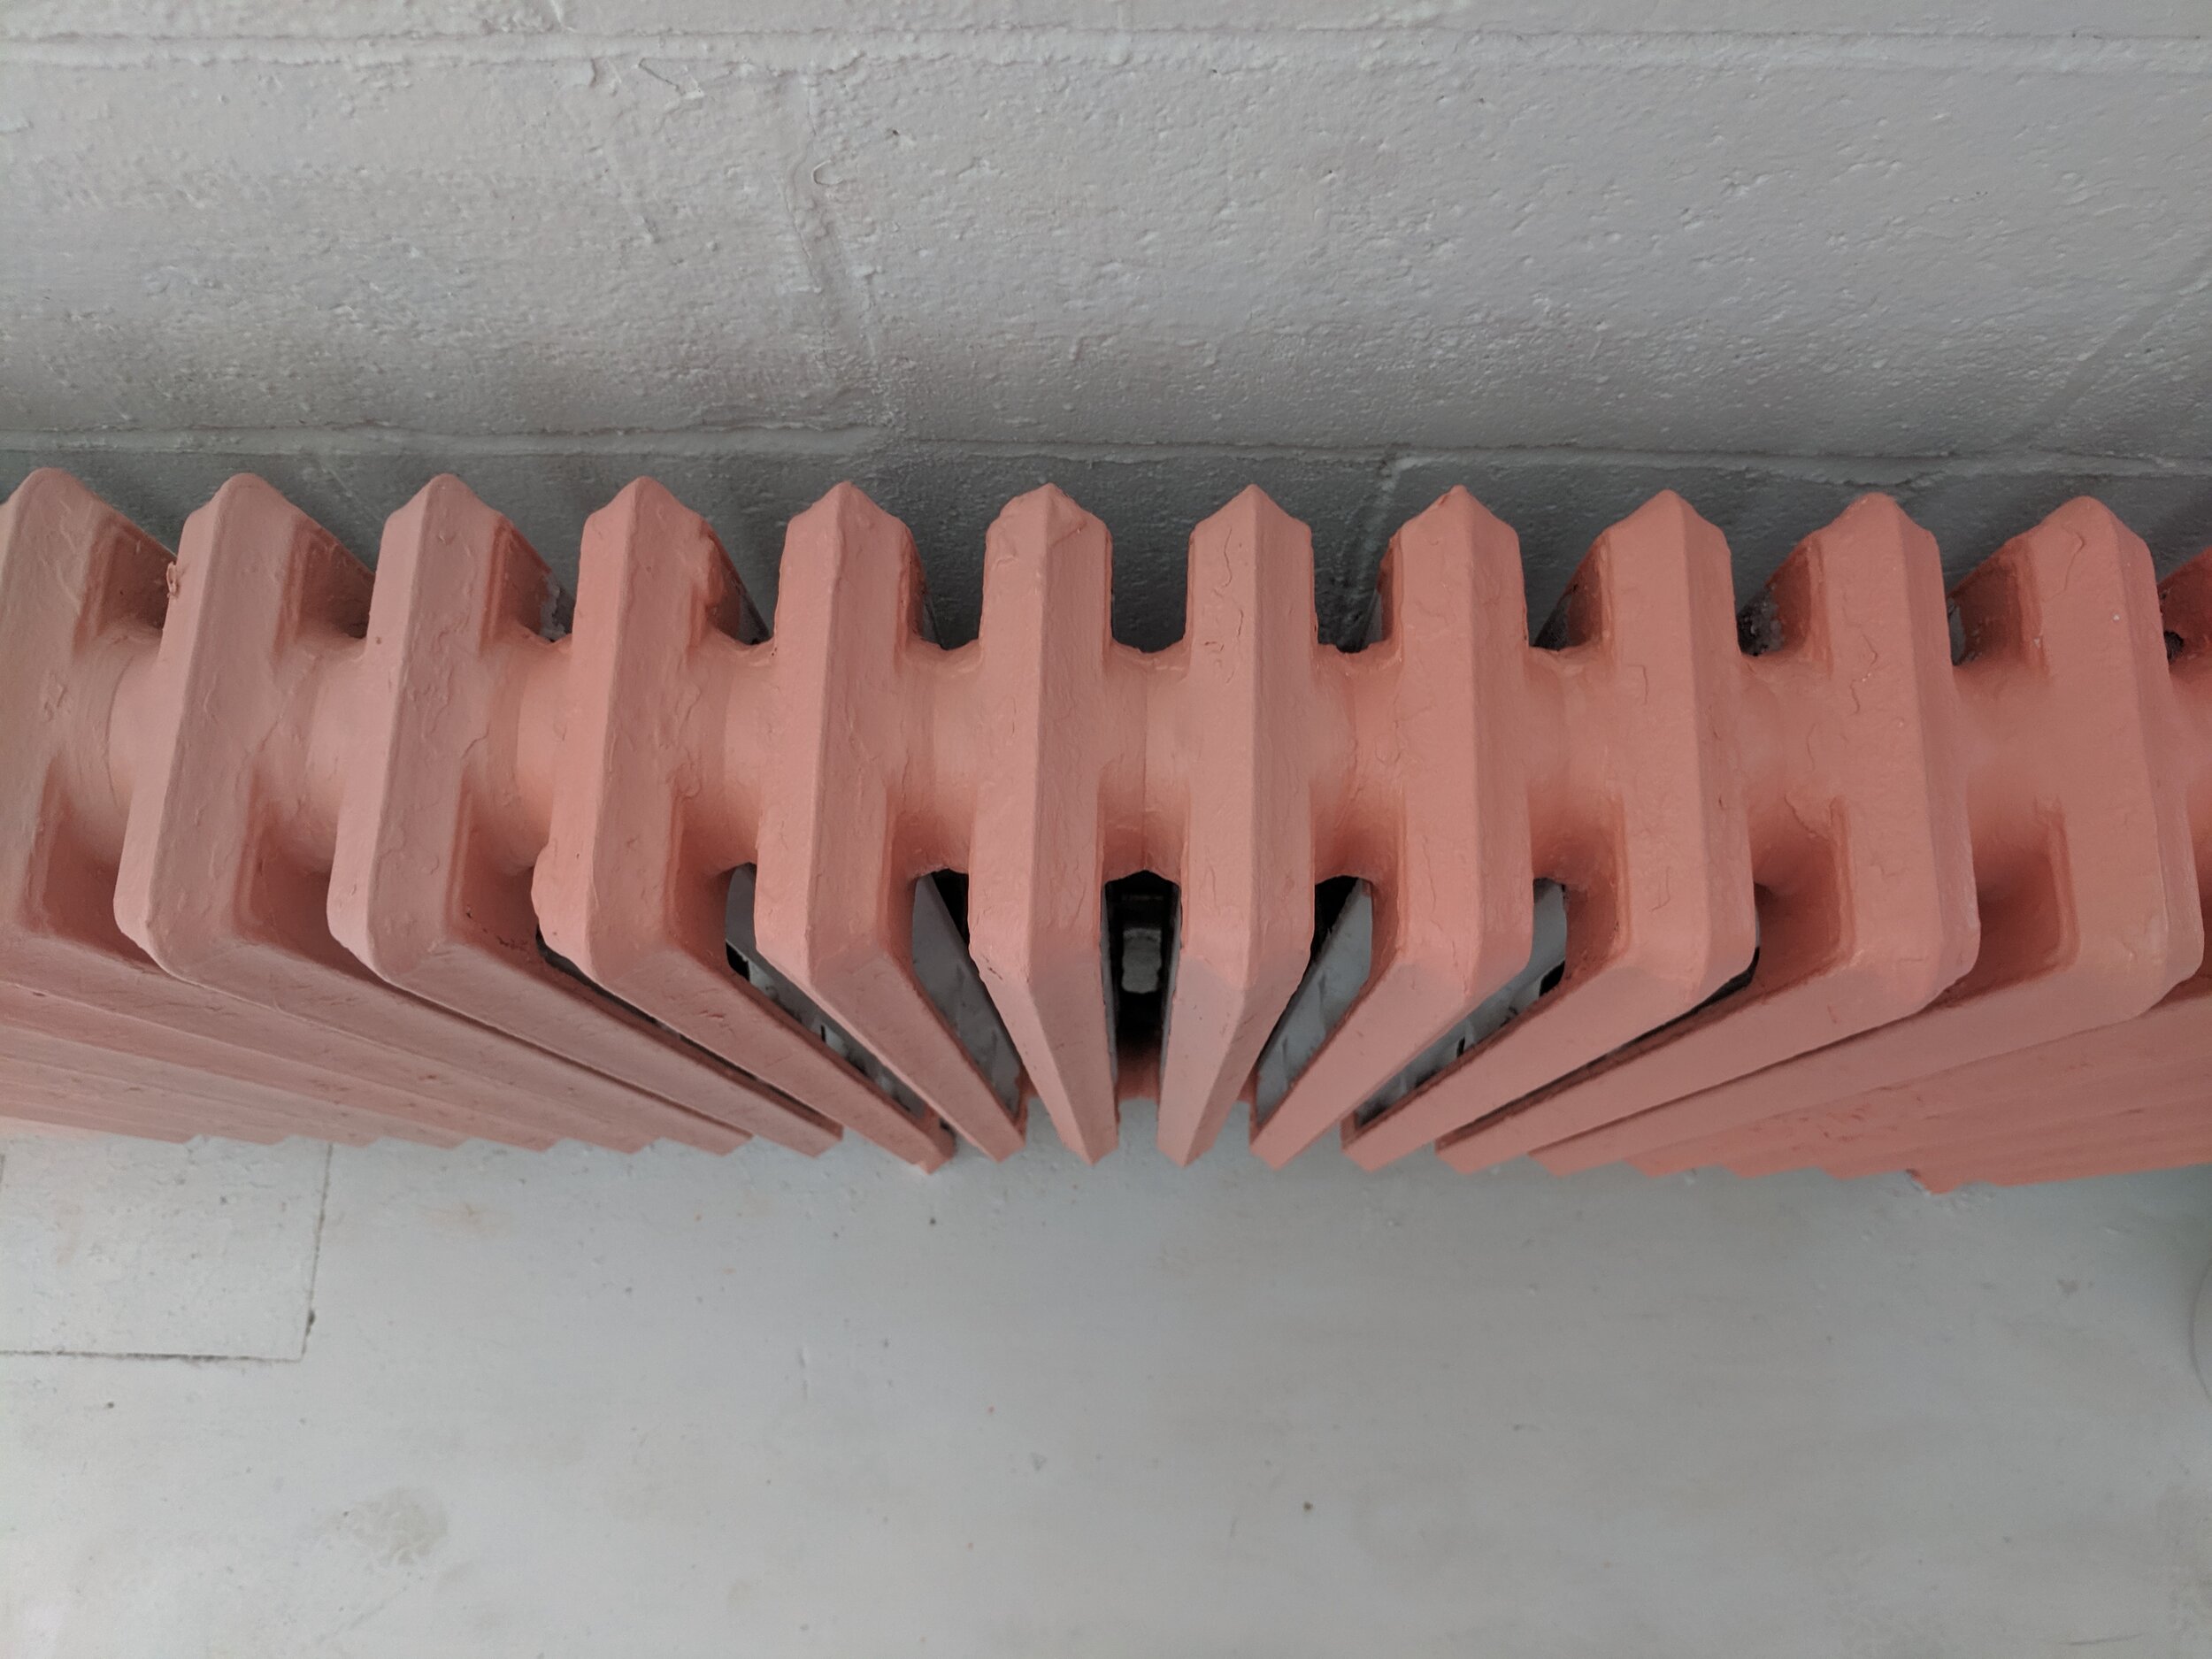
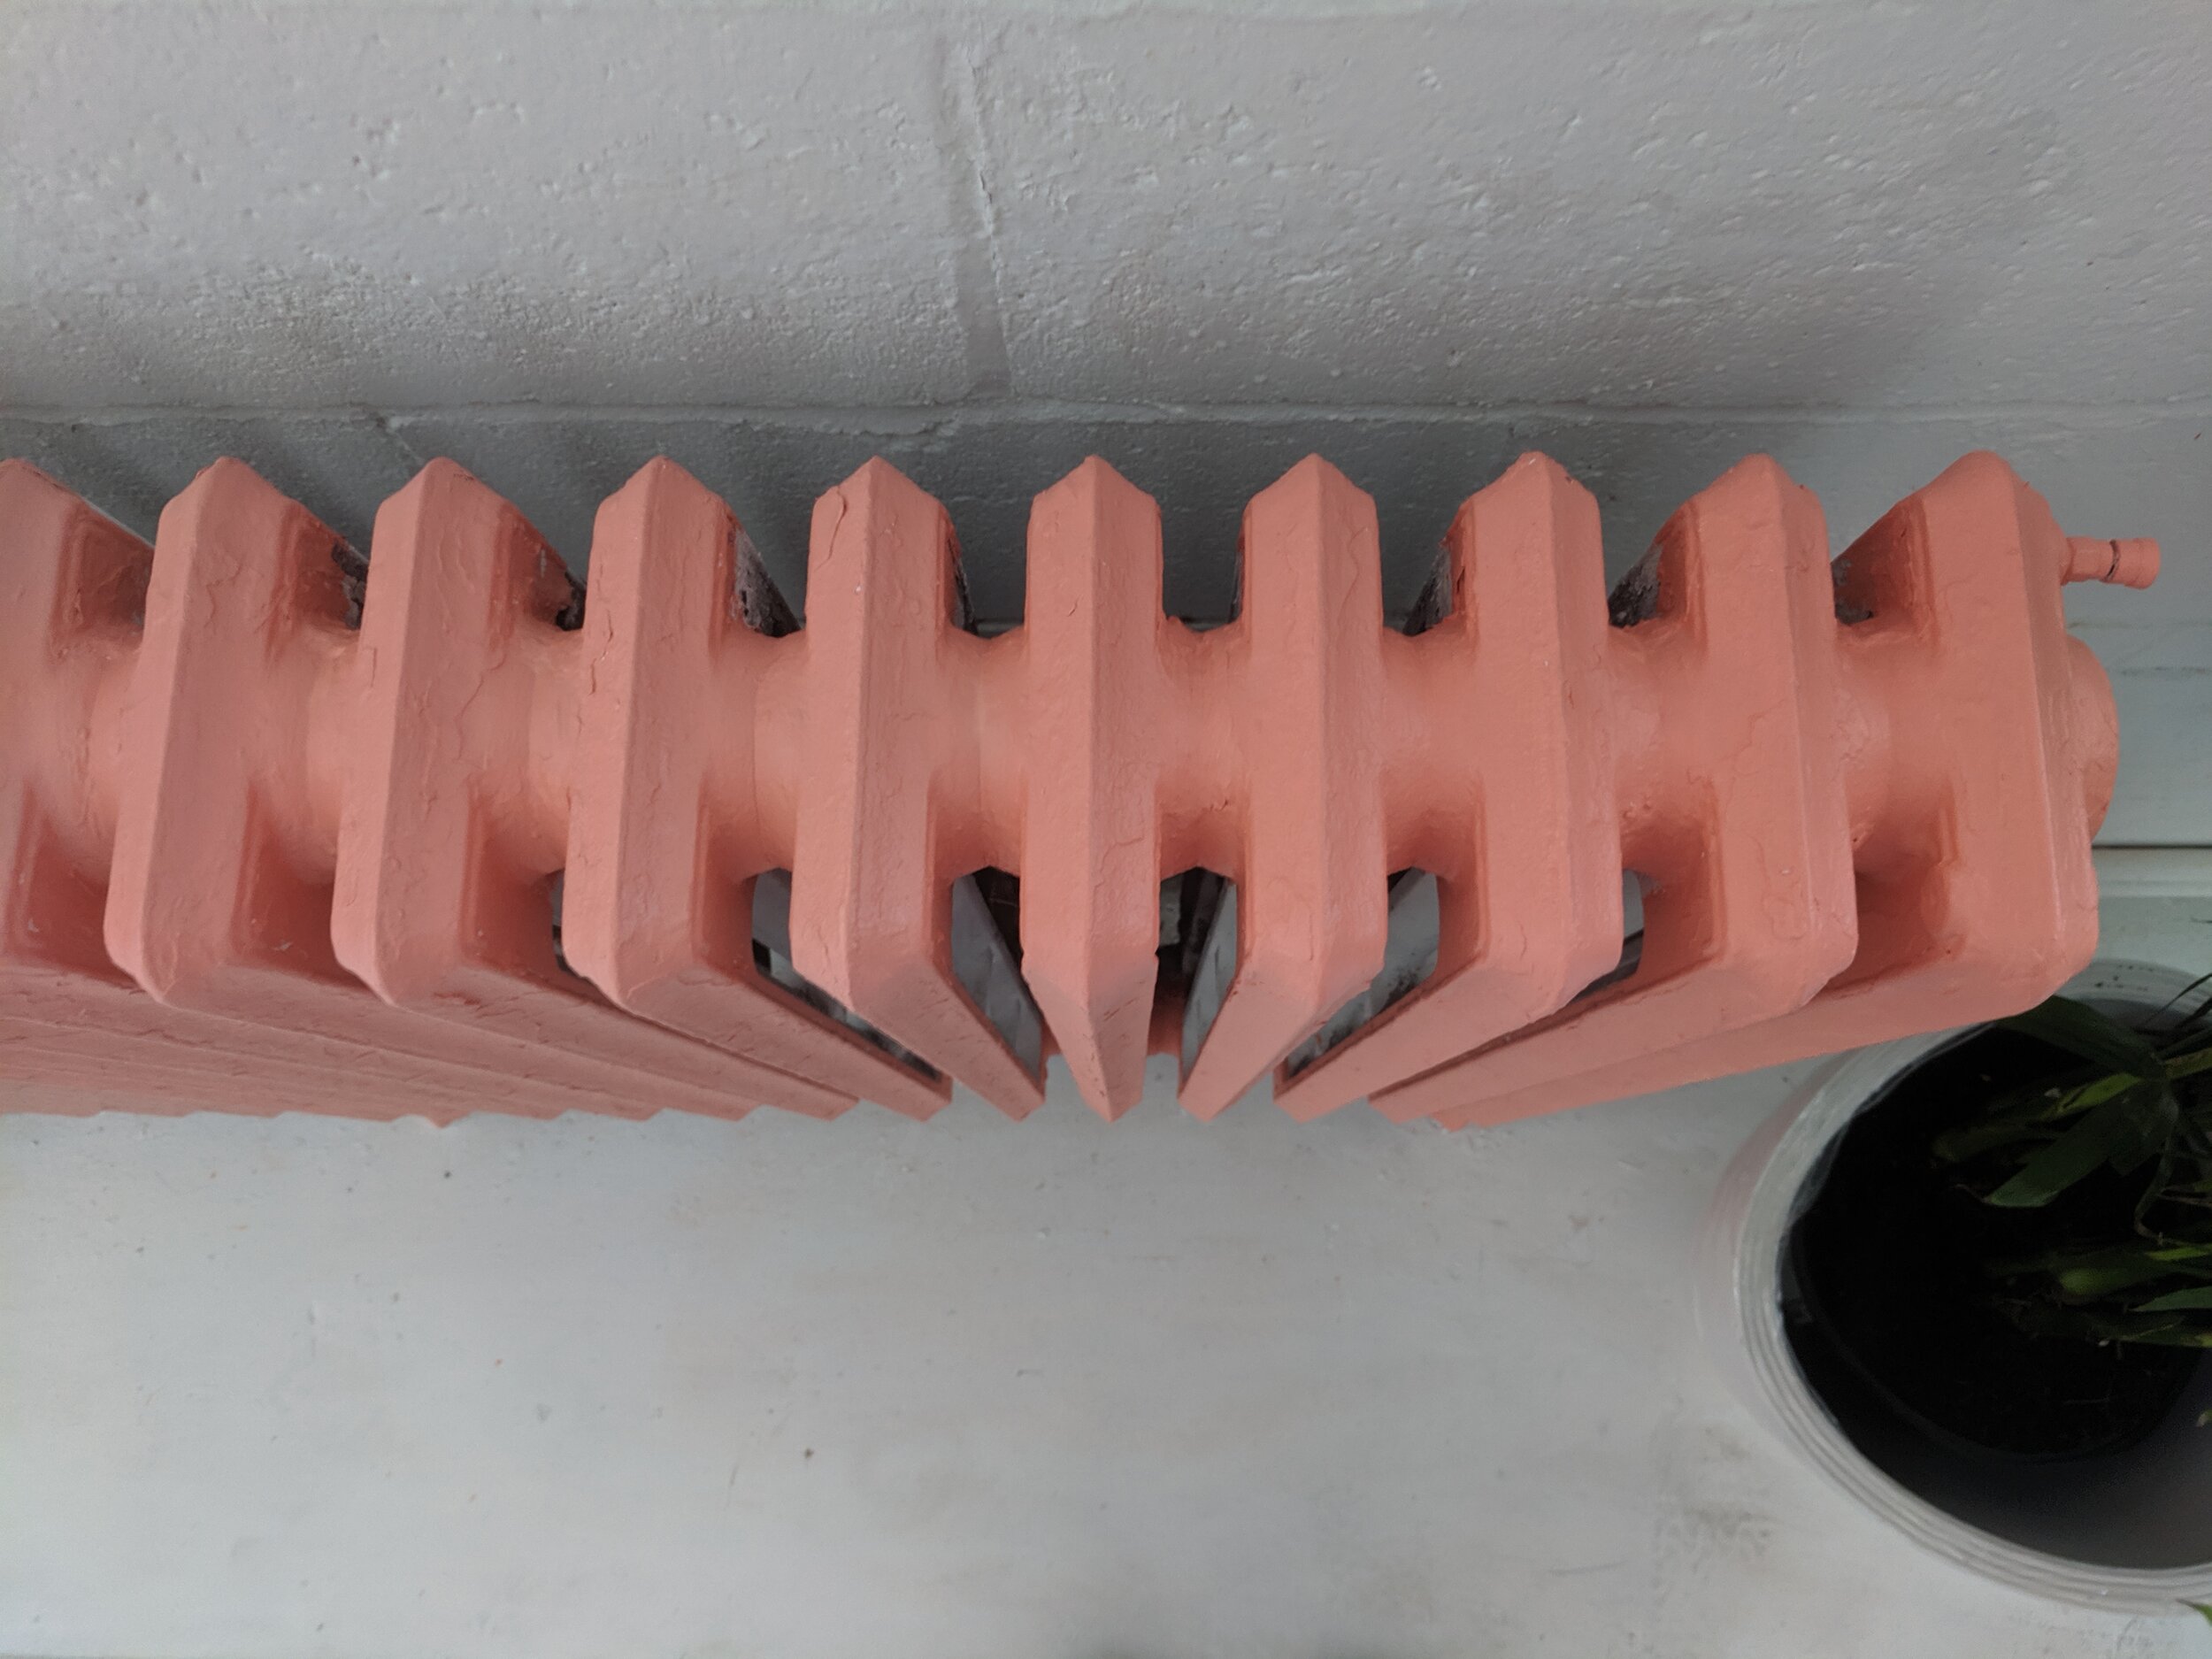
When painting the coils, I didn't worry about covering inside or in between each coil. I stayed to the exterior elements and exposed edges that I could see. The rest I kept white, but it wasn't noticeable at all.
There you have it! A beautiful radiator transformation that was simple to DIY + left a BIG impact in Jennylyn's Fusion Office Space. Such a great conversation piece and really shows off what Mineral paints are capable of!