DIY Art Supplies Caddy
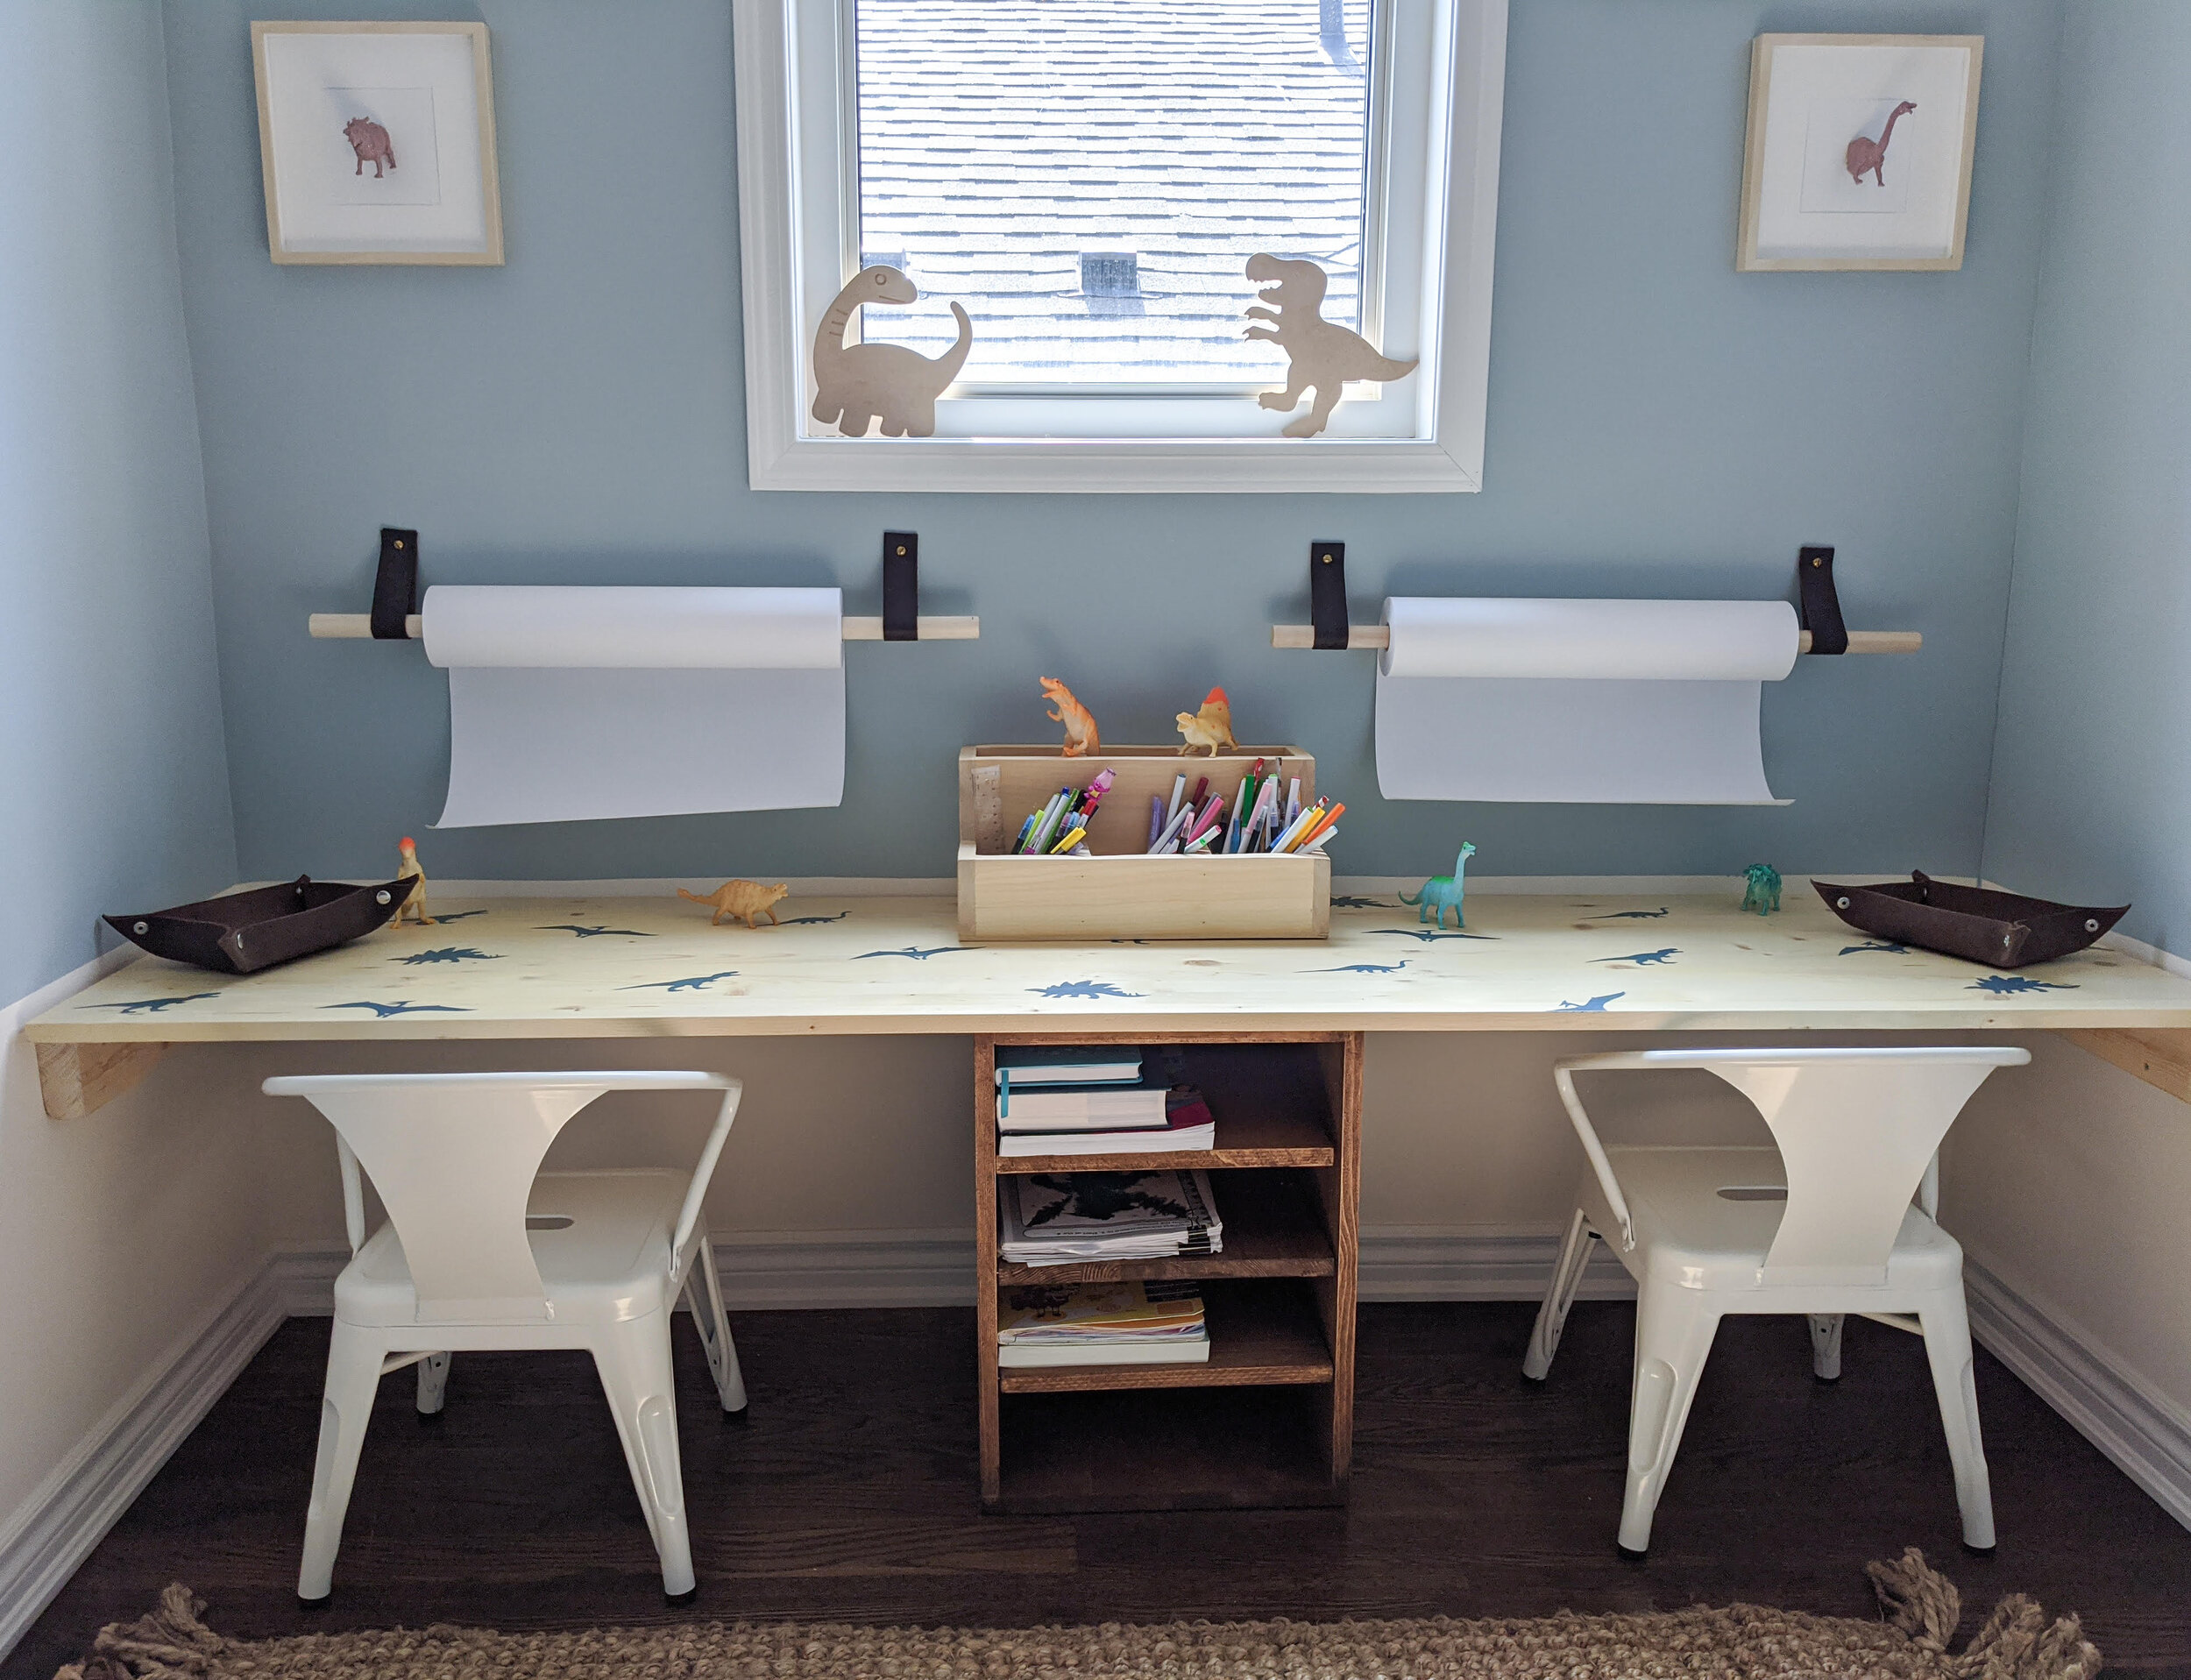
I've always had the mindset that if something is out of sight, it's out of mind - even more so when it's related to children! Dedicated creative spaces for kids are so necessary to help encourage them to draw, play and explore new ideas but proper organization is crucial.
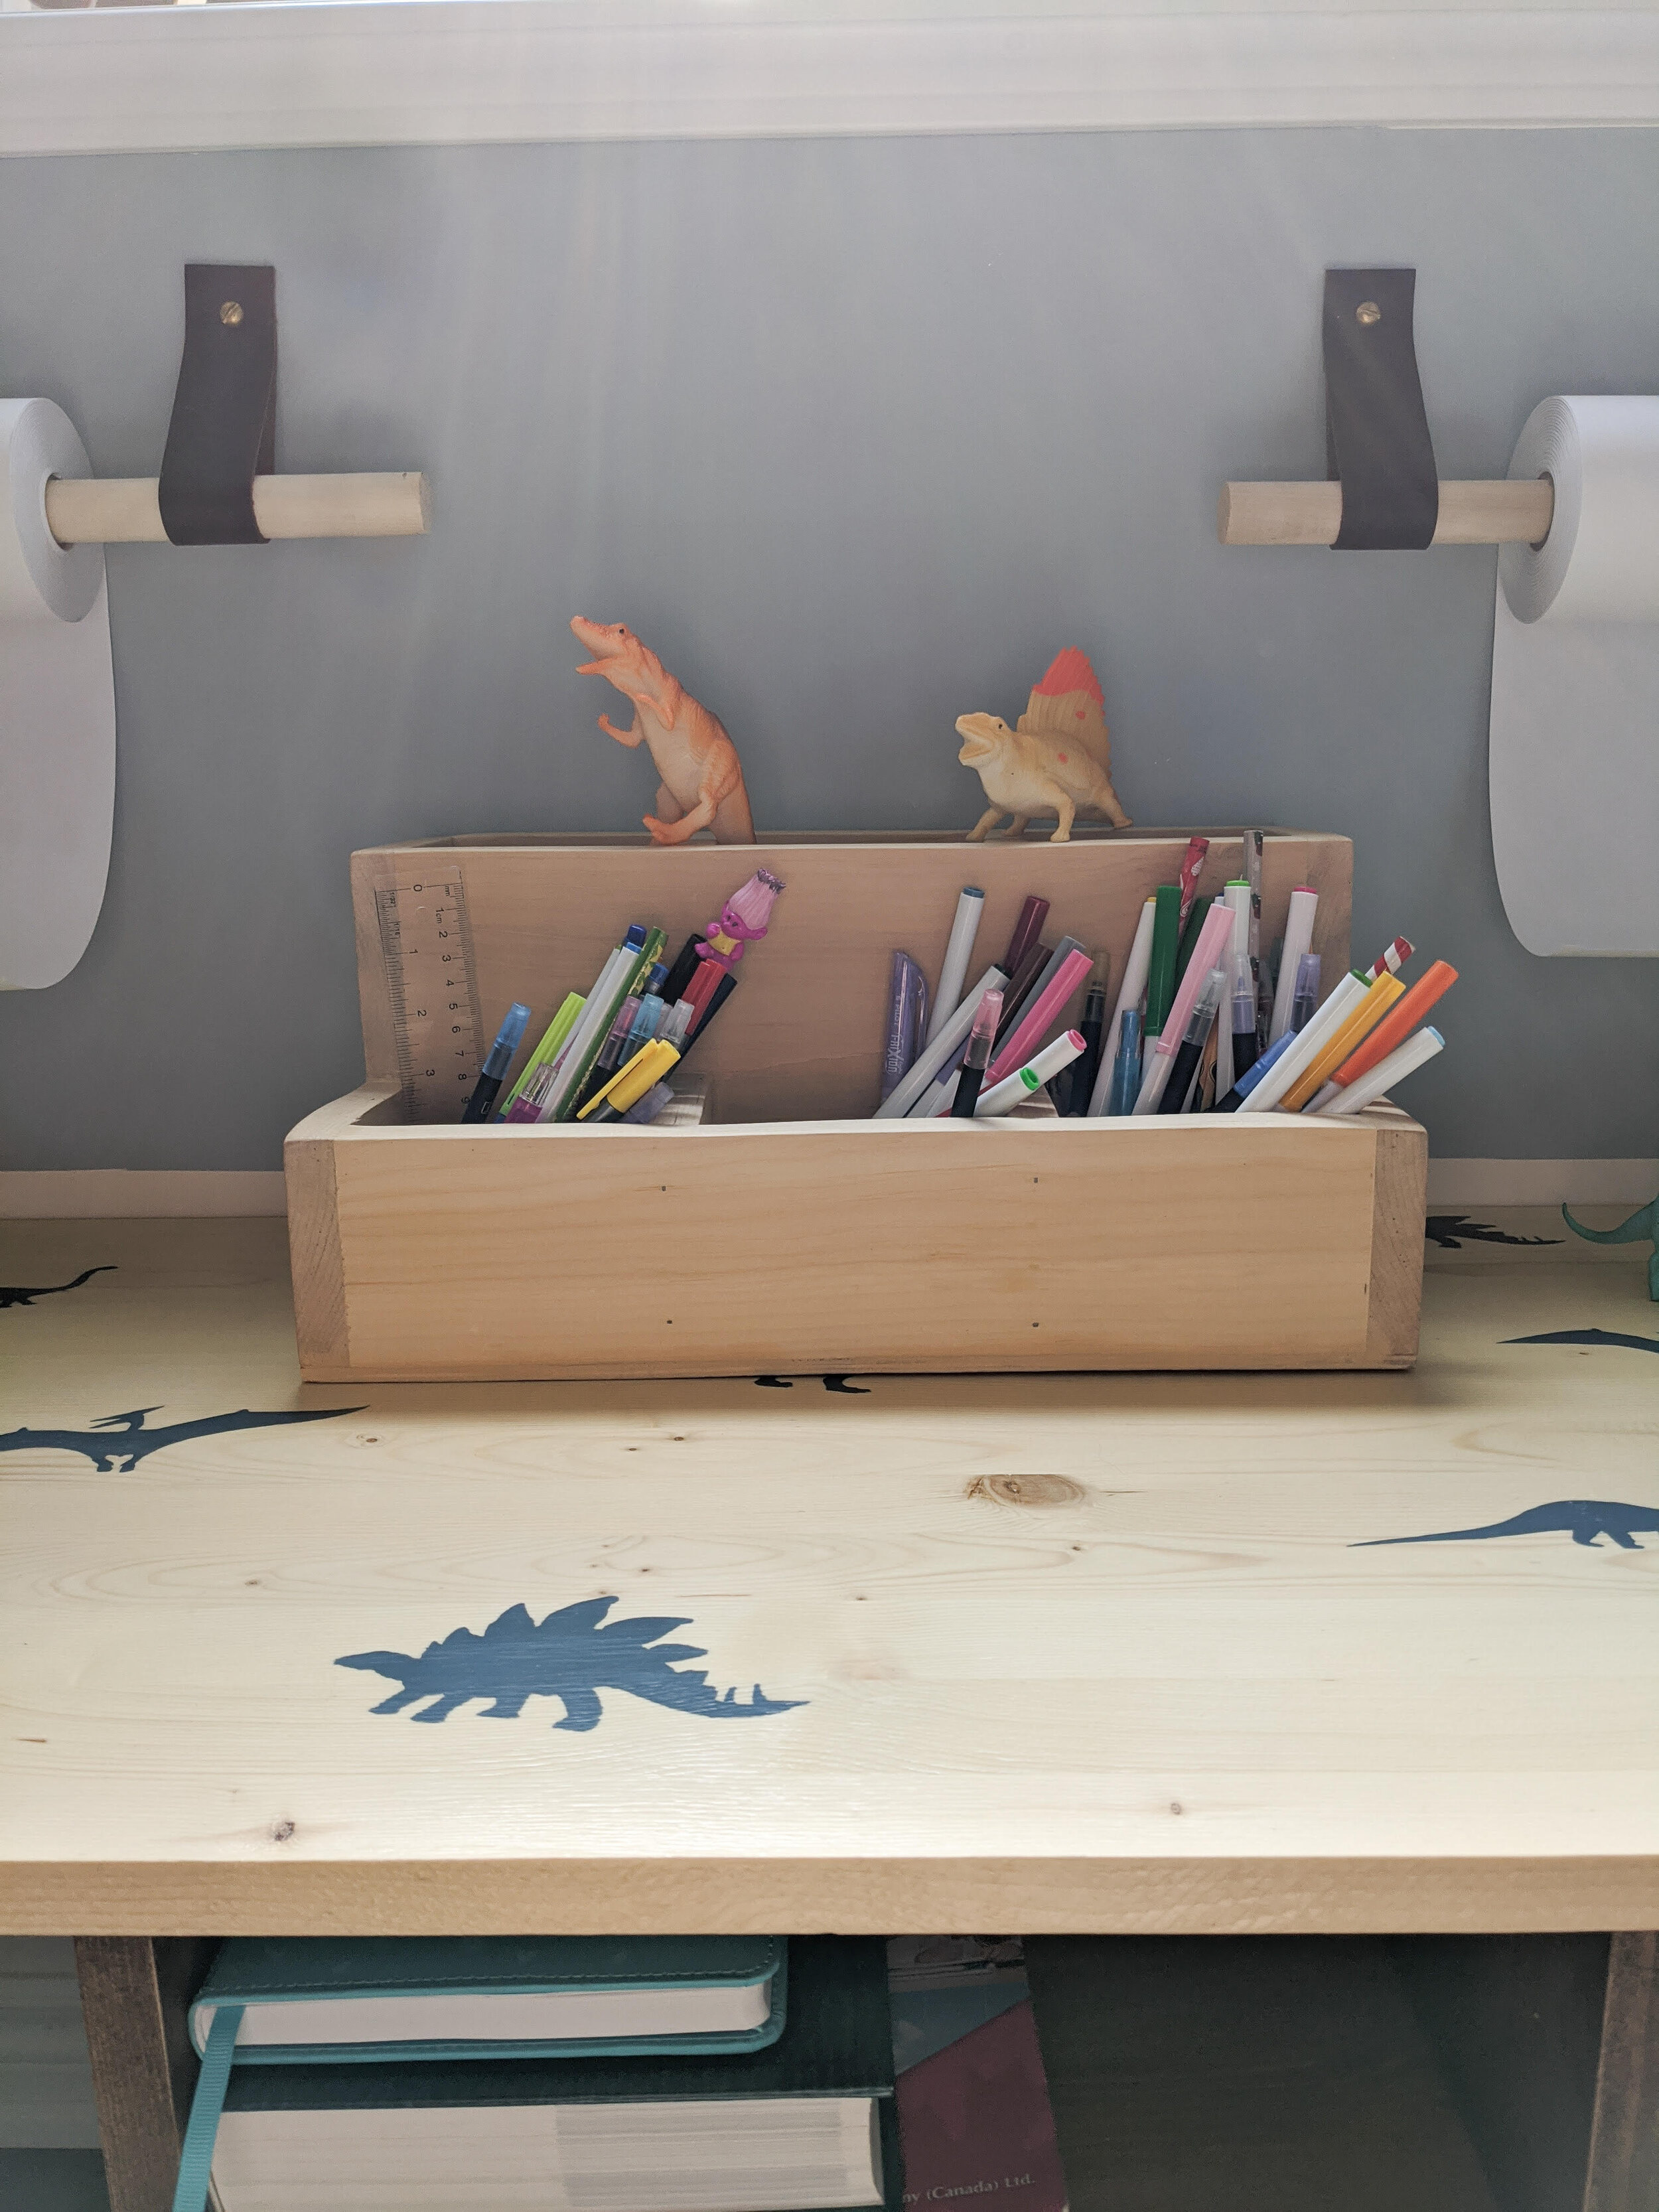
This DIY Art caddy is simple to build and creates open easy-access storage for all their pencil, crayons, scissors and general craft supplies. Not only that, this wood build can work in so many different area's of the home - create this for the kitchen, entryway or office!
Materials:
1 1/4” wood screw
1 1/2’’ wood screws
2’’ brad nails (or nails and hammer)
(1) 1’ x 8’ x6’ lumber
(1) 1’ x 4’ x6 lumber
1/4’’ ply-wood (at least 8.5’’ x 16.5‘‘)
wood glue
wood filler
stain and/or finish of your choosing
Tools:
Drill and/or Brad Nailer and/or Hammer with Nails
Saw of your choice (Hand, Chop or Miter)
Clamps (optional)
Sandpaper (60-220 grit)
The models below are used to reference the cuts by colour.
In 1’’ x 8’’:
1. (GREEN) Cut two boards to 14.5’’.

2. (BLUE) Cut two boards to 8.5’’. On each, a corner is to be removed to create an ‘L’ shape. 3.75 ‘’ on the short side to 3’’ on the long side. Cut out the rectangular shape. The L should have the following dimensions:


In 1’’ x 4’’:
1. (LIGHT PINK) Cut two pieces at 7.25’’
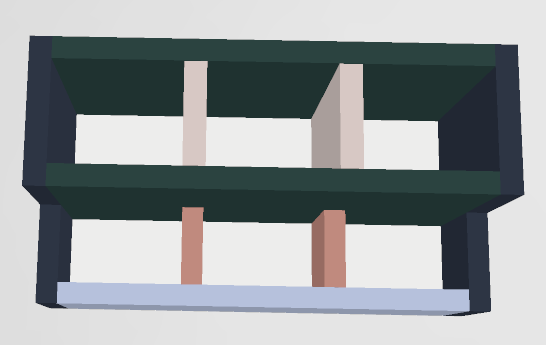
2. (PINK) Cut two pieces at 3.5’’
3. (LAVENDER) Cut one piece at 14.5 inches.
Cut the ¼’’ plywood to 8.5’’ x 16’’

Assemble:
Assemble the caddy with wood glue and brad nails or screws. Cover the fastener heads with wood filler.
1. (PINK + LAVENDER) Connect the short dividers (PINK) to the front (LAVENDER) piece at 1/3 and 2/3 of the way along the board. Make sure the divider ends are flush with the front board.
2. (+ GREEN) Connect the middle board (GREEN) to the opposite side of the short dividers (PINK), ensure alignment with the front board.
3. (+ LIGHT PINK) Connect the tall dividers (LIGHT PINK) to the middle board, ensure alignment with the short dividers, and flush with the middle board edges.
4. (+ GREEN) Connect the second back board (GREEN) to the other side of the tall dividers. Ensure alignment with the other middle board.
5. (+BLUE)Attach the side boards (BLUE) to the ends of the back, middle and front boards on either side. Make sure the edges are flush.
6. (+ WHITE) Attach the plywood bottom (WHITE).
Watch the Video Here: