DIY DOTTED ACCENT WALL - Simple DIY to elevate your home!
I love when makeover's have such a drastic before and after transformation. 😍 When people feel like they've lost hope and inspiration on their space, it's such a great opportunity for my favorite decor buddy, Alexandra Gater and I to work together, because we always come with fresh perspectives and positive attitudes that help each space feel brighter, happier and ultimately becomes a better reflection of the style they've always wanted to achieve.
Here is my DIY diary to creating a Dotted Accent Wall in any living room space. I was amazed how warm and cozy the room felt as the wall was being transformed. This is such a simple DIY update that elevated the entire mood of the room!

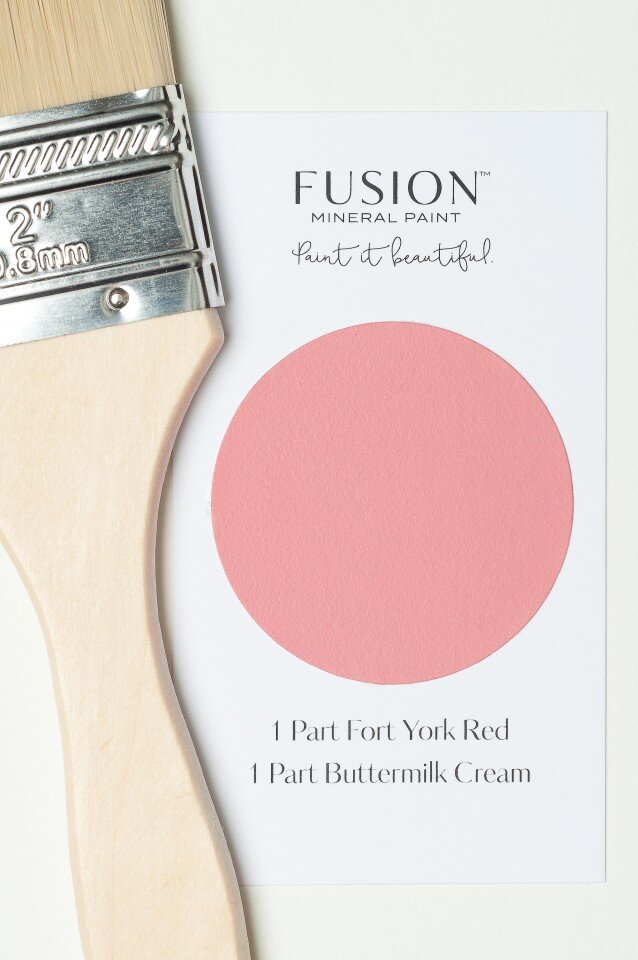
Step 1: PICK A COLOR!
Depending on the mood you're going for, I always opt for a fun color to help elevate a space. Most times you want to pick from a color that's already prominent in your space or contrast it to give ti a big WOW factor. If color isn't your thing, you can always go with black dots to give it a more refined look.
For this DIY, I used Fusion Mineral Paint in custom blend 9, which was a mix of 1 part Fort York Red and 1 part butter milk cream.
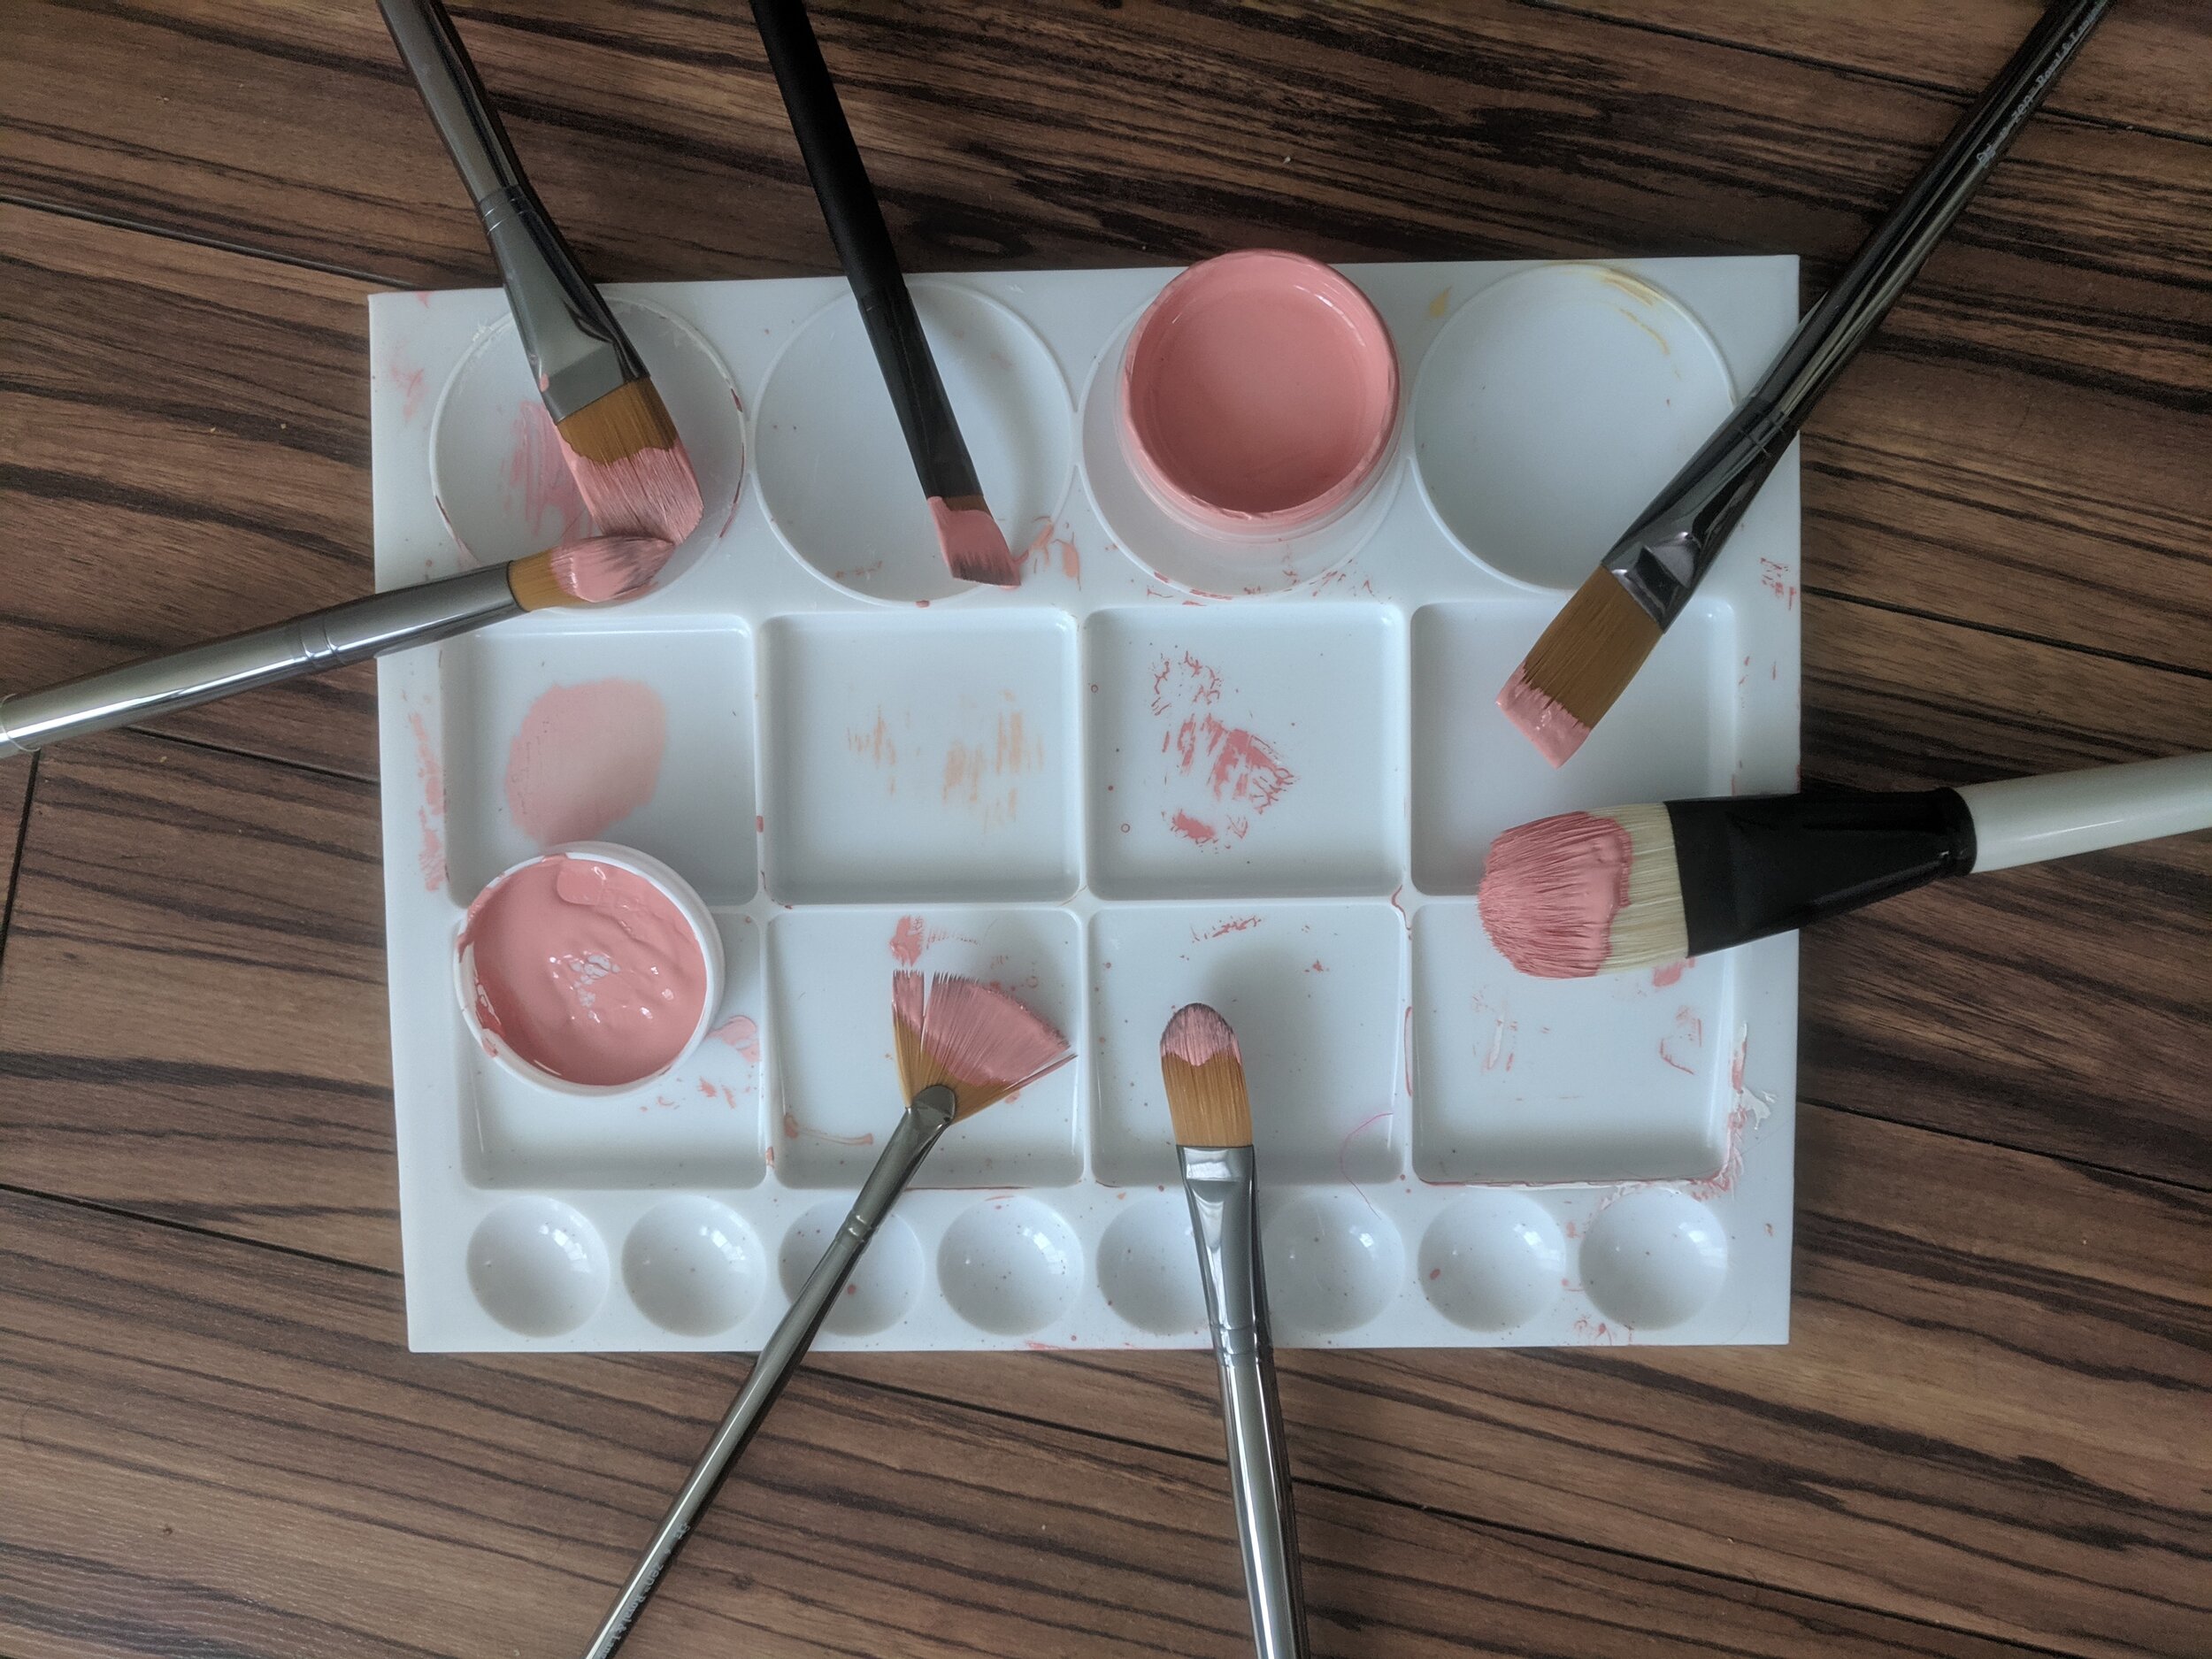
Step 2: PICK YOUR BRUSHES
To create a unique spread of brush strokes across your wall, I used 6 different brushes types that achieve different looks when applied on a surface.
Filbert Oil Brush (size 16), Filbert Acrylic Brush (Size 12), Filbert Acrylic Brush (Size 10), Fan Acrylic Brush (Size 6), Angular Acrylic Brush (Size 8), Round Acrylic Brush (Size 12)

Once you have your brushes picked out, create a legend on a piece of paper that will help provide a visual guide as you begin to apply each dot onto the wall. I find the legend reminds me which brush creates what look, so you can determine the best brush to fill a gap or space!

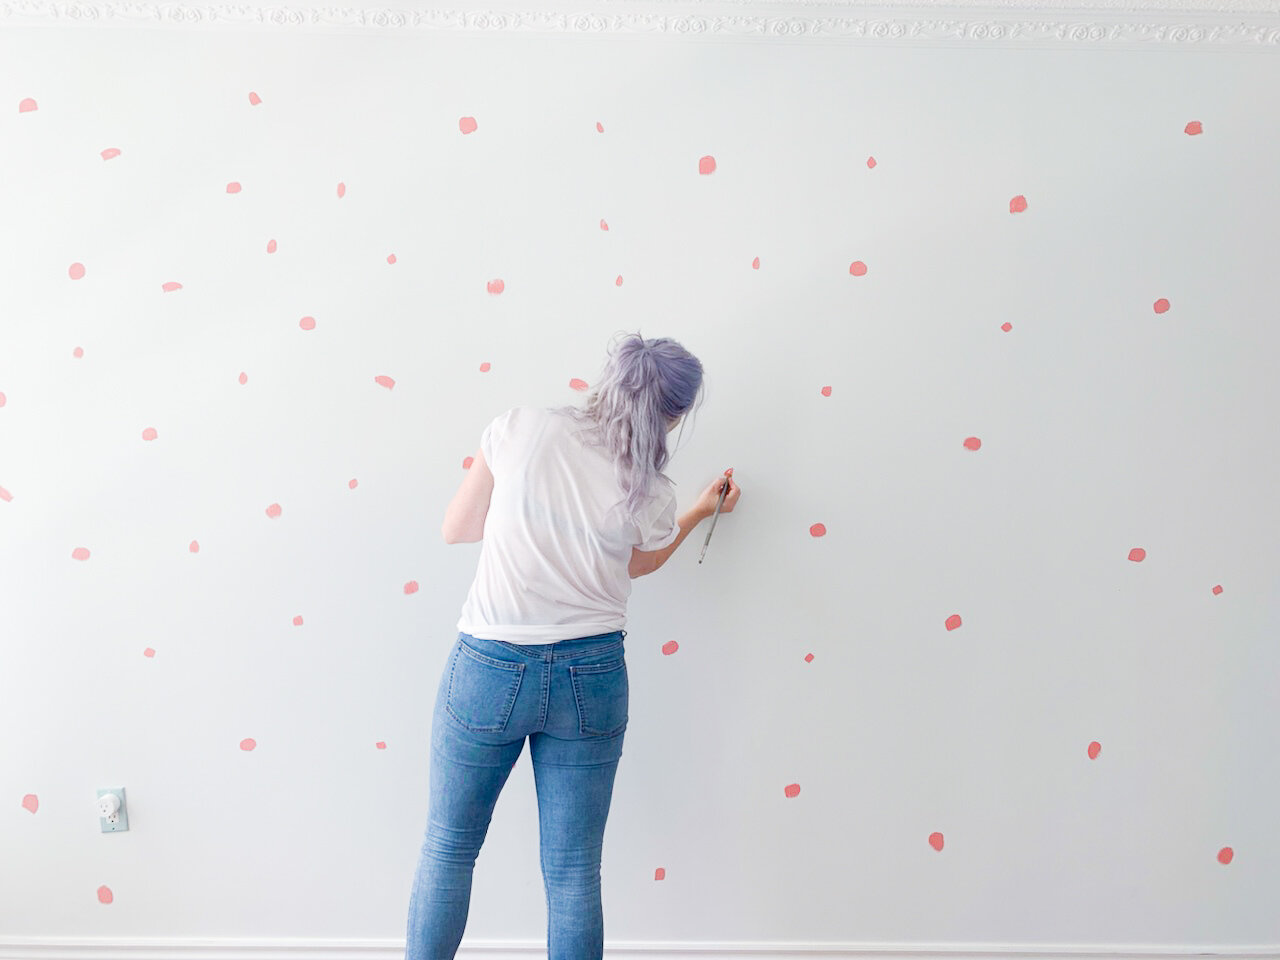
Step 3: Apply To Wall!
Using one paint brush at a time, begin applying single brush strokes to your wall. There is no technique here, simply apply to a blank space and take creative liberty! I always suggest stepping back every once in awhile to gauge which areas of the wall are feeling more heavy than other, and then adjust accordingly.
I found it easier to begin with my largest brush, dispersing it all over the wall, then going in with a second brush, then a third and so on. At the end, I would fill in gaps with smaller dots.
That's It! Once I was finished, the entire energy in the space changed. It felt more vibrant and cozy. It seems silly that such a small project could drastically change the feeling of a space, but it did. It became a beautiful accent to the living room, a focal point to look at when you walk in and helped give the living room the personality it needed!

WATCH THE FULL VIDEO COLLAB HERE: