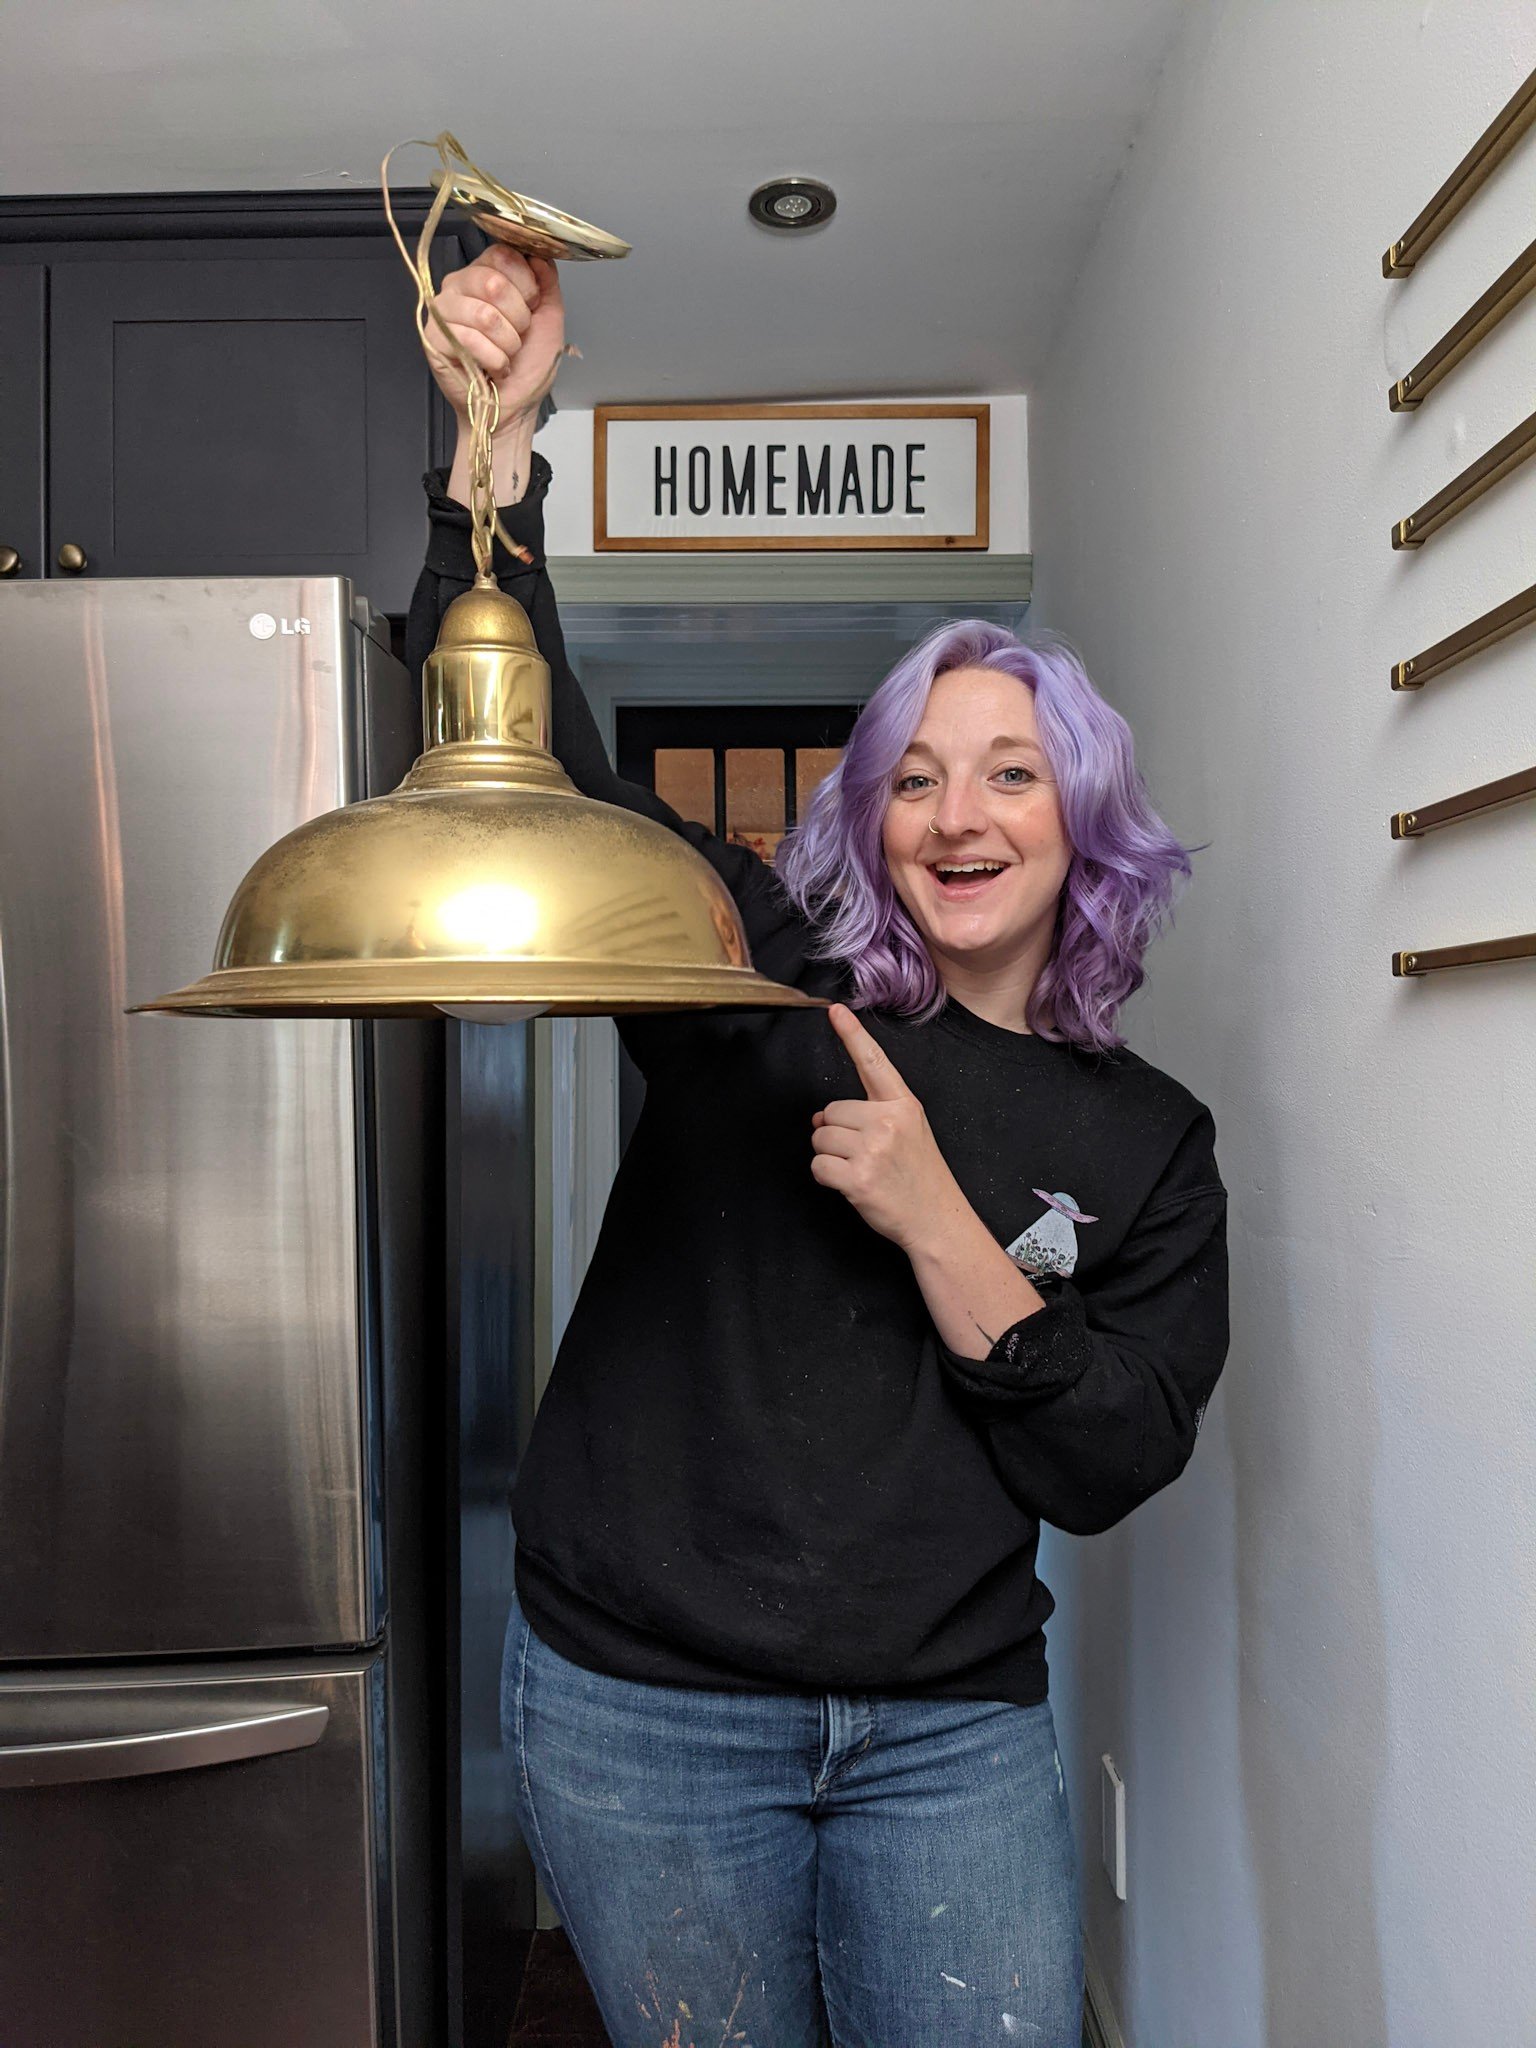
My ‘Moody’ Kitchen Makeover
Taking on a Kitchen upgrade or refresh is NO JOKE! They can be costly and time consuming but it’s worth the battle because as they say - Kitchens are the heart of the home which means it’s the one space you probably spend the most time in - so you better love it! Admittedly, I didn’t hate this kitchen. It had great bones, a good layout with ample storage and the island was great for bringing people together. On the flip side of that, the colour of the cupboards clashed with the dark brown floors, the counters had a questionable wall tile top that made it easy to clean but that was ABOUT IT and a dark porous sink that was impossible to keep clean. It was the kitchen we bought into but not the kitchen we loved… so it was time to give it a refresh!
THE MOOD BOARD

Mood boards are such an integral part of decorating any space. They allow you to collect and guild your aesthetic to create a consistent flow. I use an app called Milanote to organize my spaces! you can see the online version HERE!
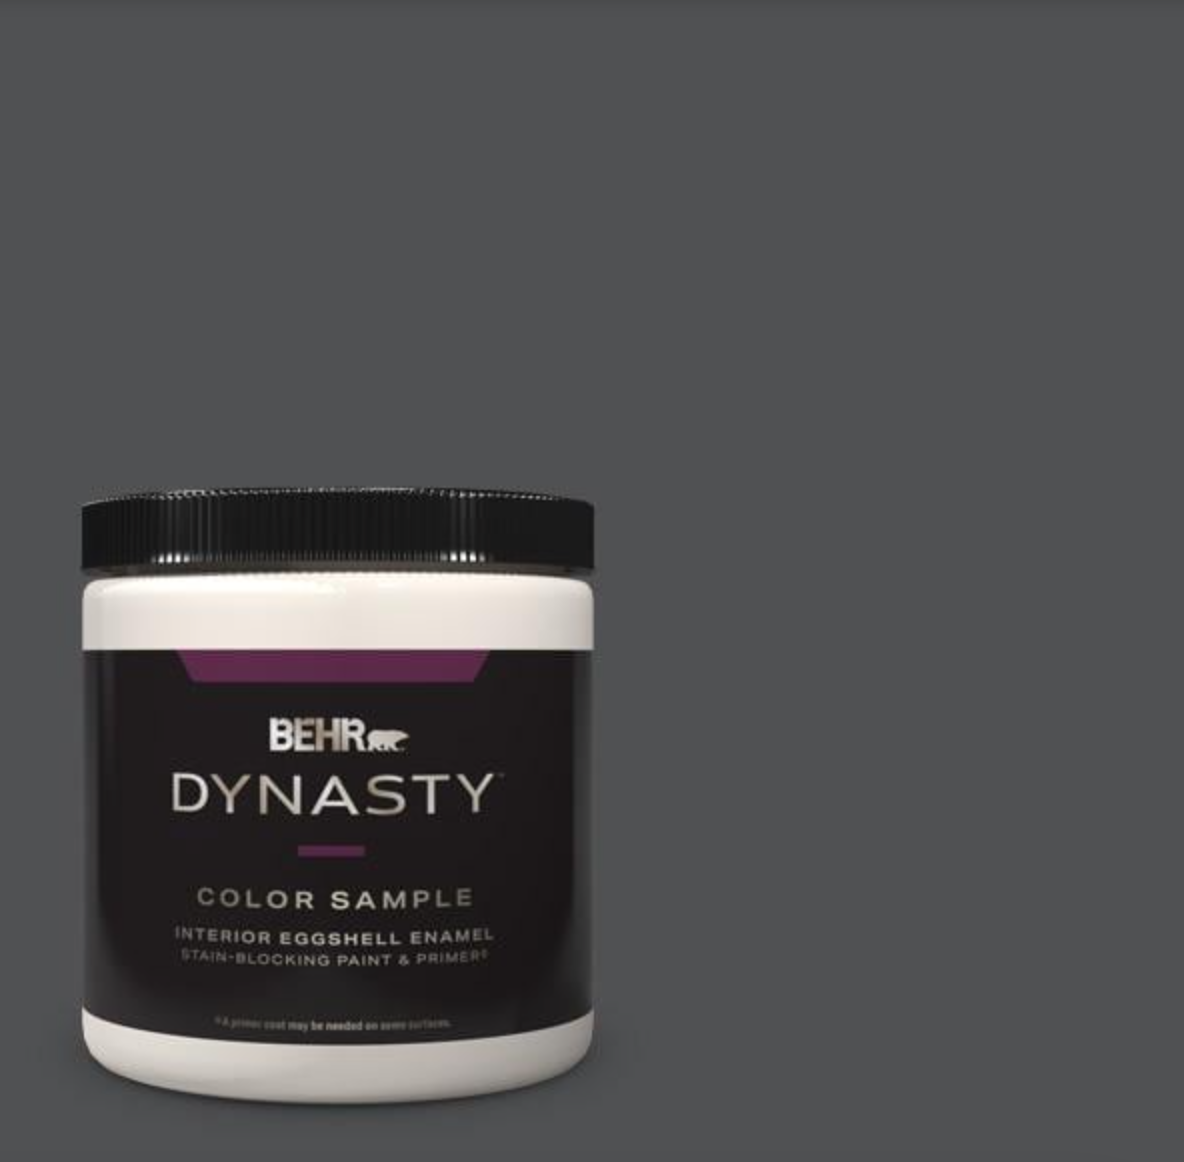
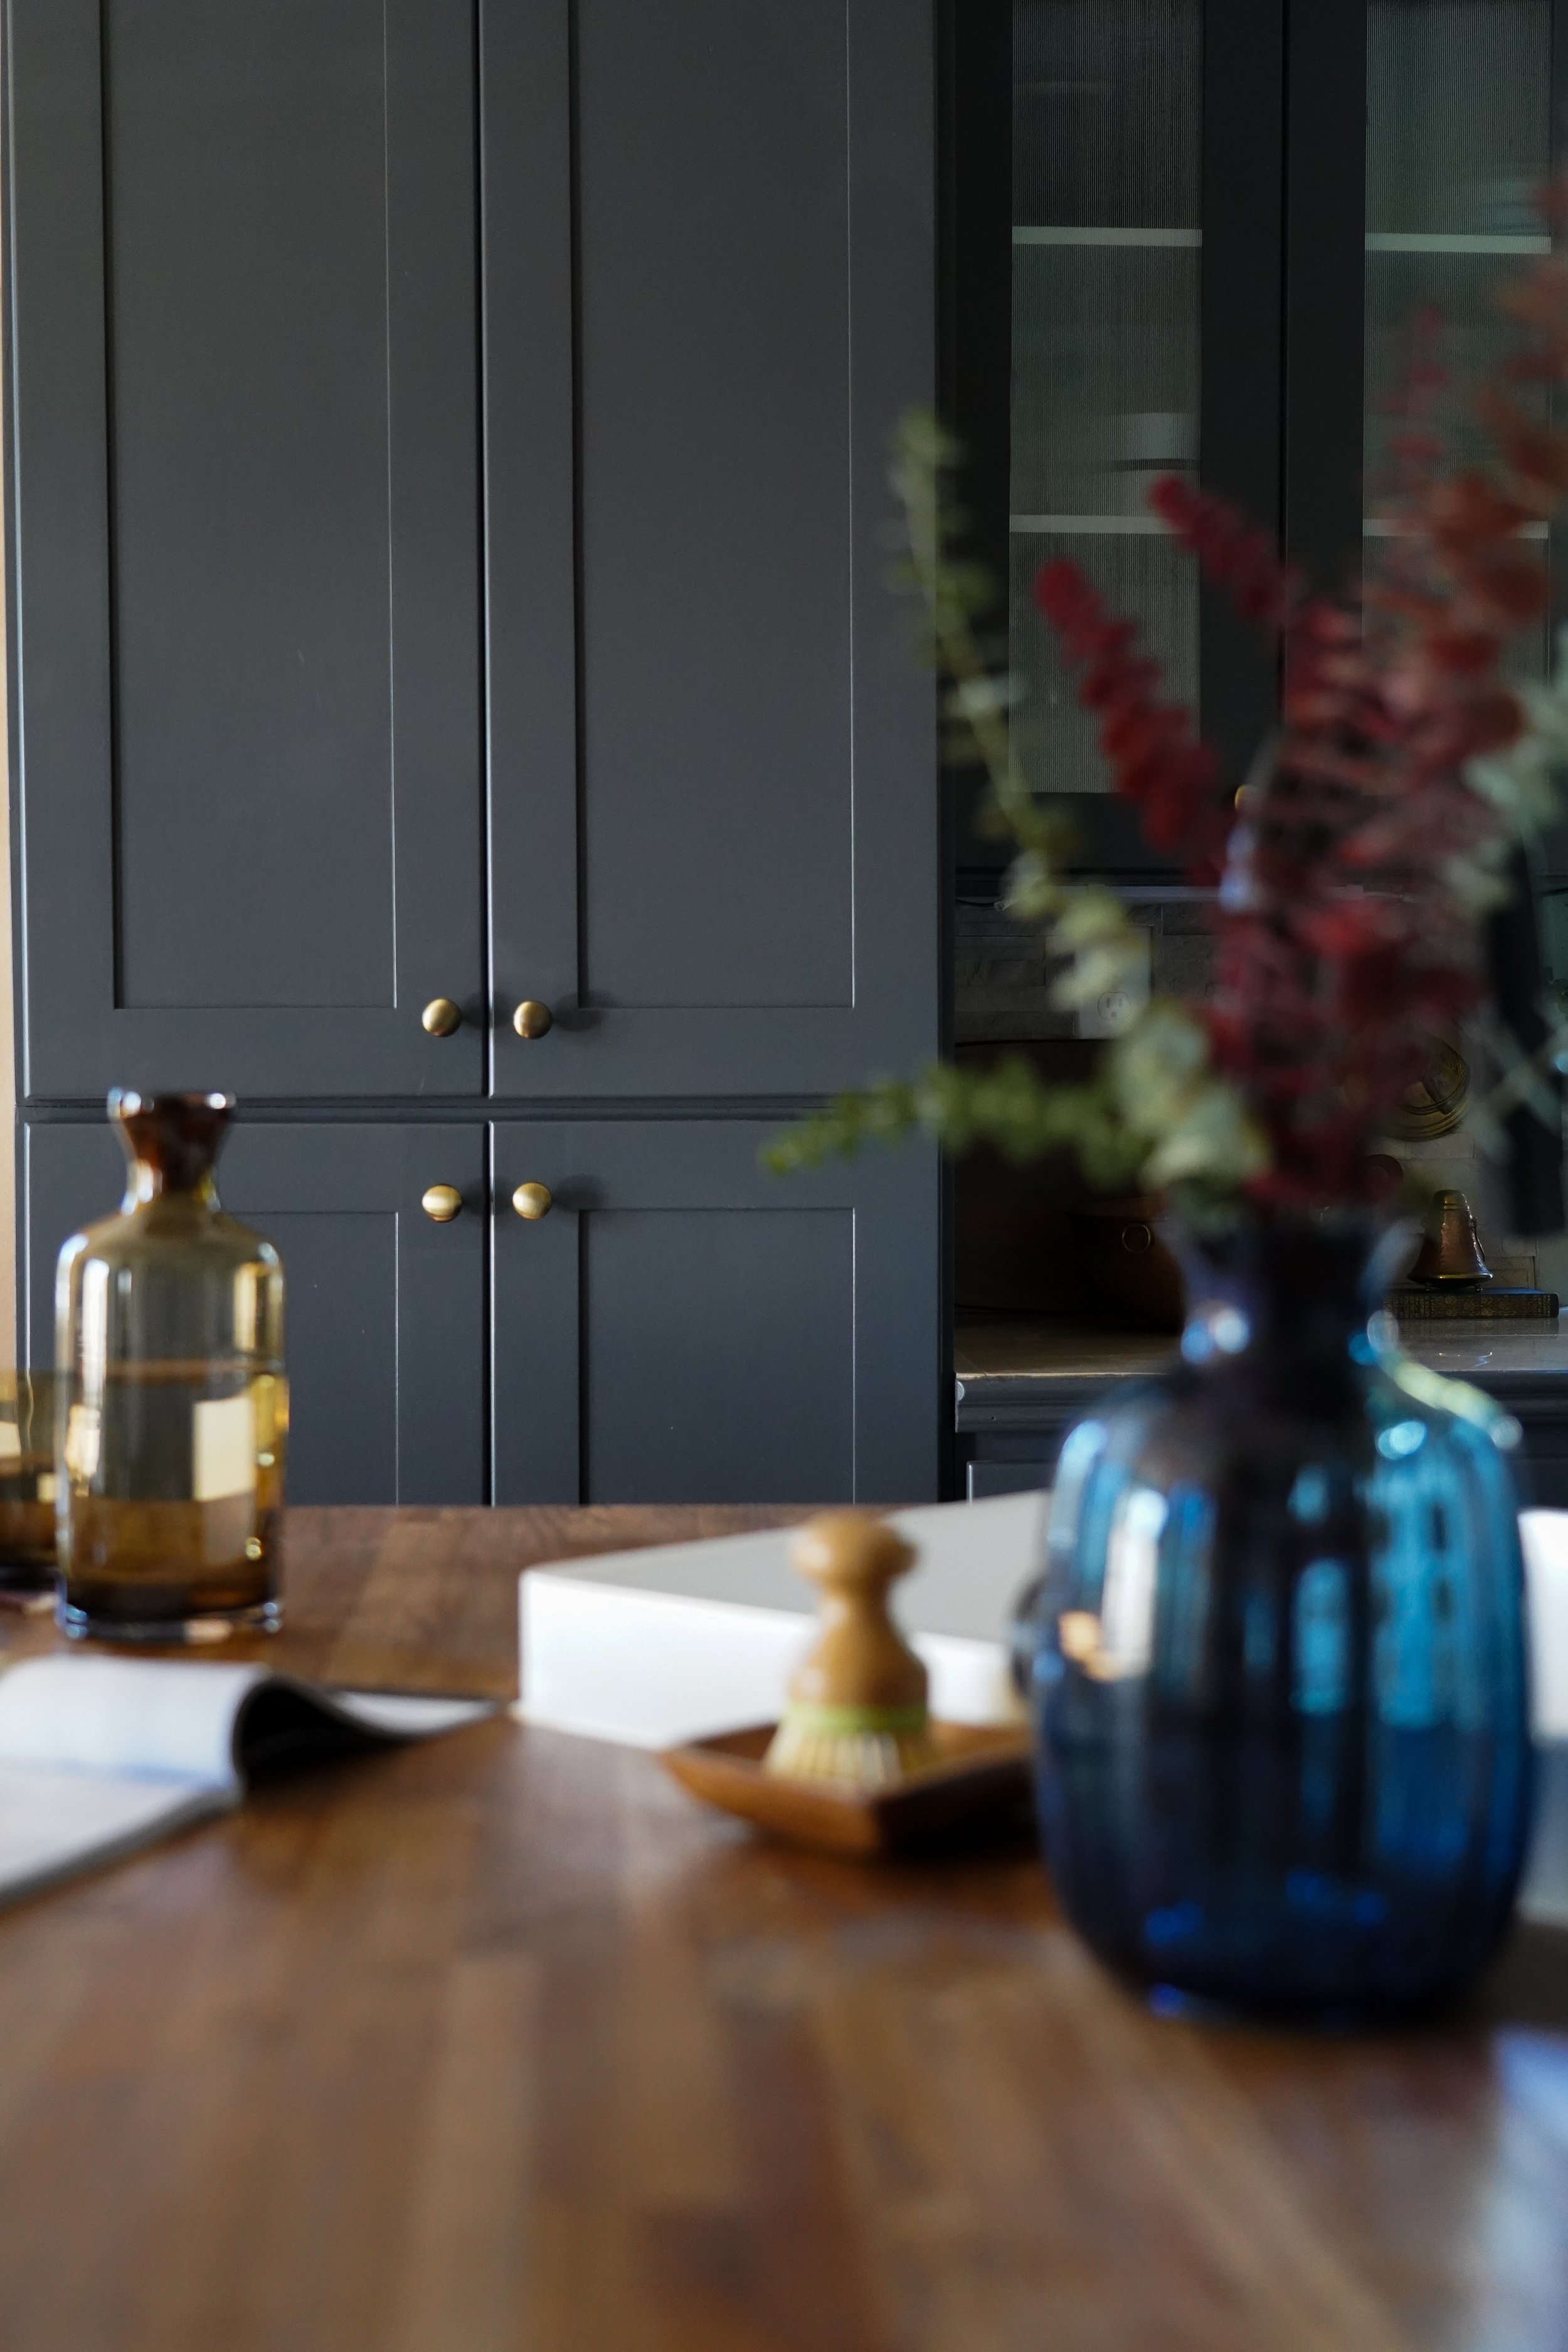
I had the pleasure to partner with BEHR Canada on this project and use their top of the line BEHR DYNASTY™ Interior Paint! I choose to do all the cabinets in a semi-gloss using the the paint colour Cracked Pepper - PPU18-01.
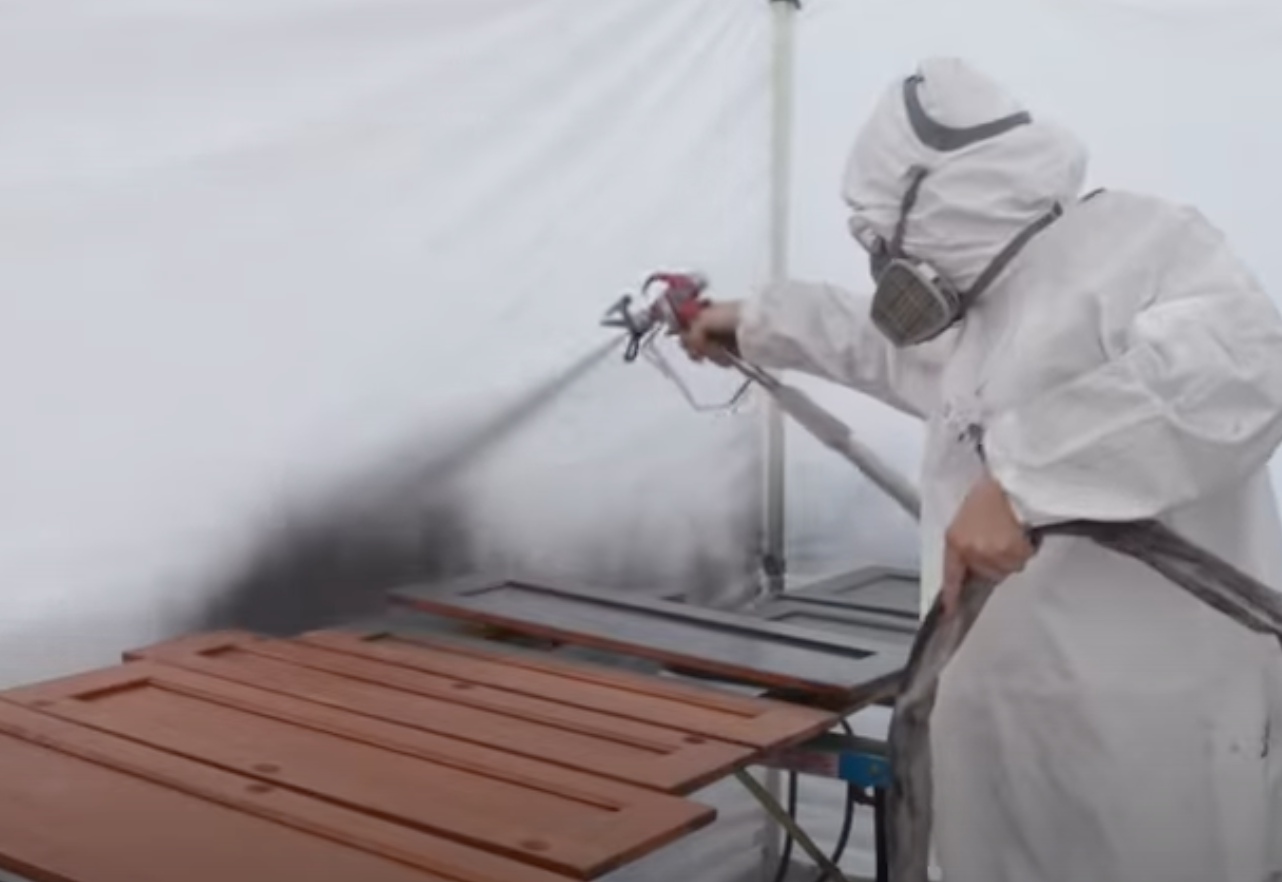
I really wanted the cabinets to have a professional looking finish which is why I opted to use a paint sprayer for this project.
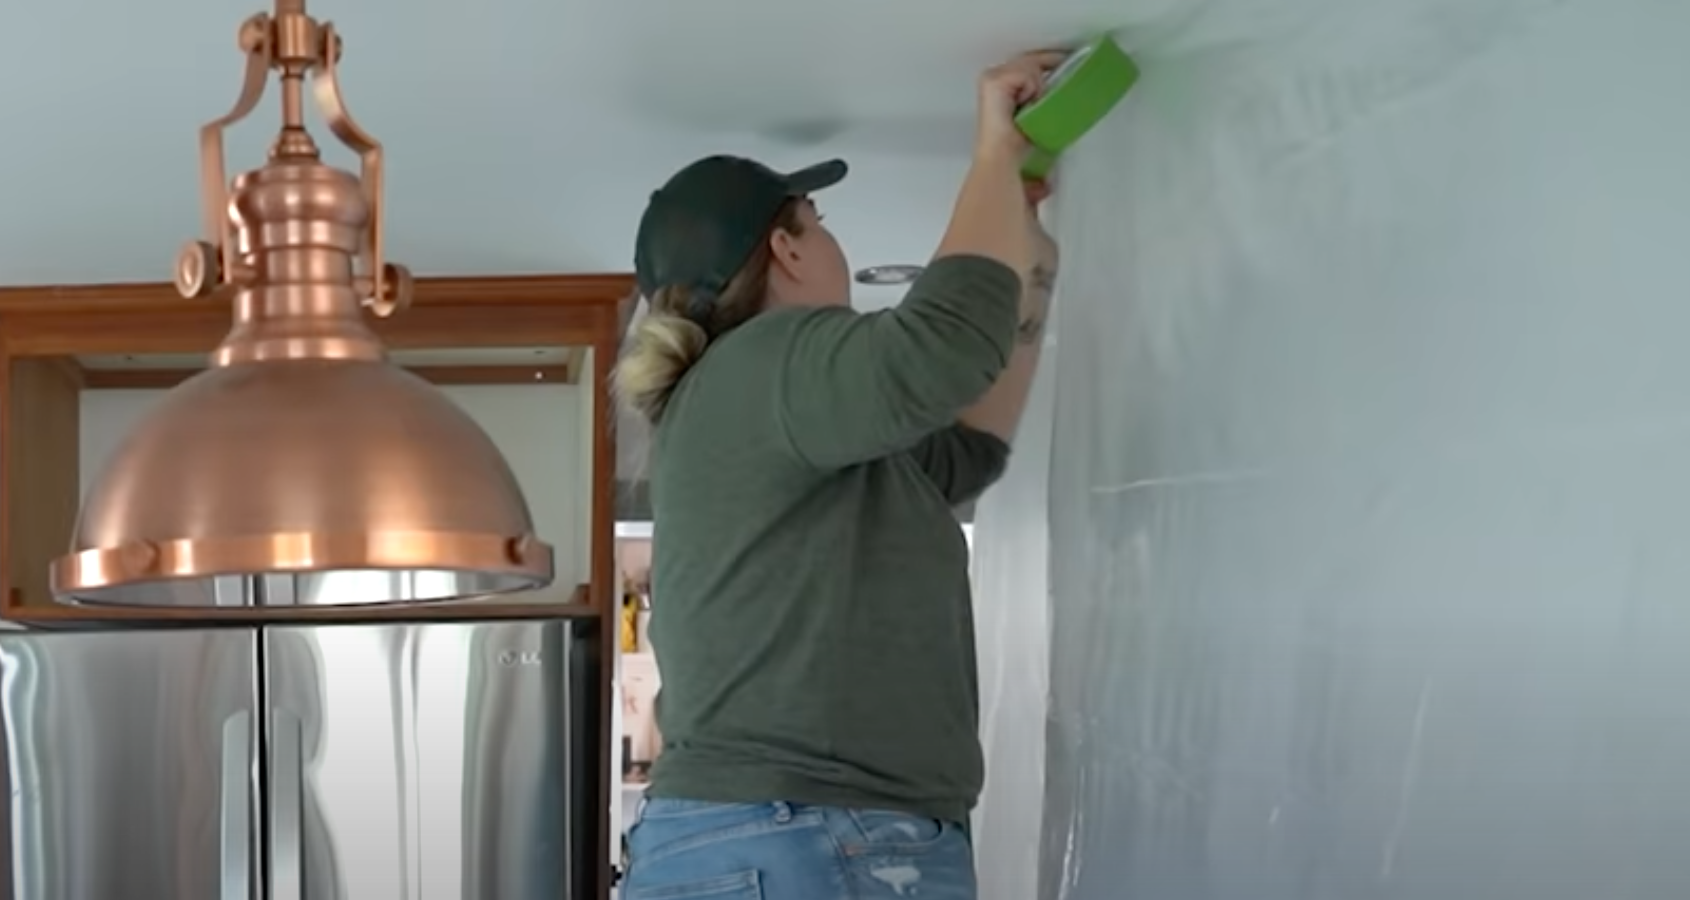
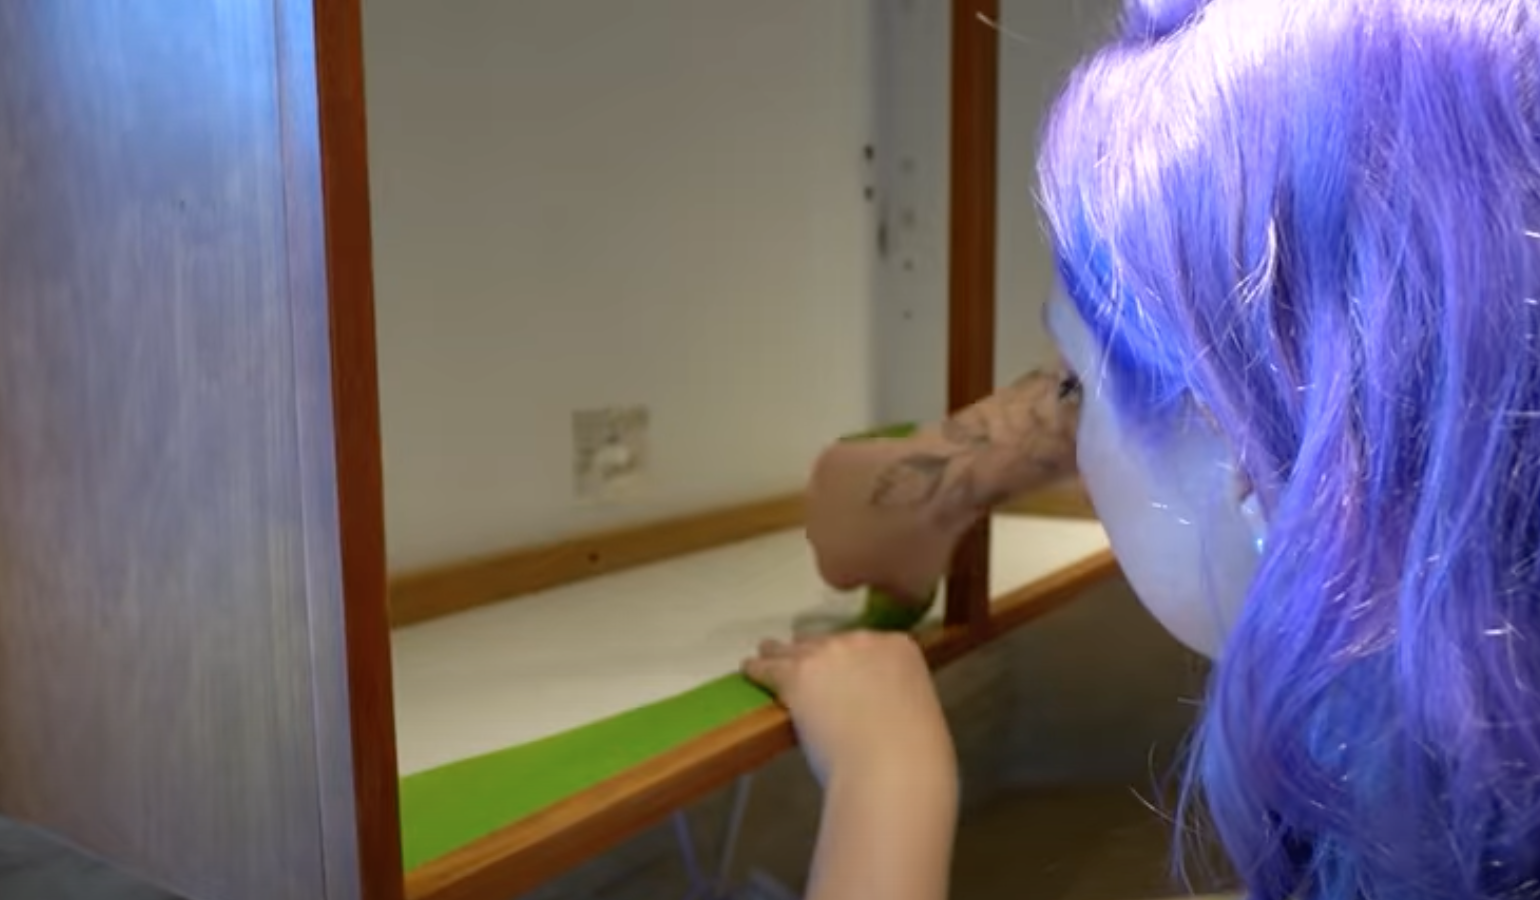
First we had to prep! To prep the kitchen cabinets for painting, we removed all the cabinet doors + hardware, then sanded all the surfaces to be painted (including the doors) with a 220 Grit sandpaper. We then wiped all the surfaces down to remove any dust, dirt and debris. Prepping the space for painting was the longest part of the process. It took us about two days to really prep this space properly. This is not a step you want to cut corners on!
After all the interior cabinets and appliances were taped and protected with plastic sheeting we were all set to get to work using a rented paint sprayer that we rented from Home Depot. This made the process quick and easy!


Just painting this space made a HUGE difference! I thought I would never say this but even the preexisting rock backsplash looks nice! After the entire spray painting process, here was my learning:
Is it worth it to do yourself? DEFINITELY. We saved a ton of money by doing the labour ourselves.
Spray or Hand Paint? If I was to ever do this again, I would spray paint the cabinet fronts only and just simply hand paint the cabinets. The process took way longer due to all the prep inside and I think even if I had hand painted the inside cabinets only, the result would have looked the same.
Did I like the dark colour choice? Yes! The dark moody colour was EVERYTHING to me! It actually made the space feel warmer and more inviting. It’s funny though, in my space - the colour really read navy blue is some places and light grey in others. Light has a funny way of playing tricks on us so be sure to test the paint in many sections around the kitchen and look at the test spots at different times of the day before committing!
The last big change was the ribbed glass in two of the cabinet sections. I felt the glass would make the kitchen feel a bit more open and add a bit of personality to a SEA of cracked pepper paint. I sourced the ribbed glass from my local glass shop and cut the cabinet fronts out using my jigsaw and router. Full details can be found in part 1 of my kitchen makeover vlog!
PART 2 - SINK + ISLAND COUNTERTOP REFRESH!
It has always been my dream to have a farmhouse sink. This was a pricey addition but WORTH EVERY PENNY! Adding this sink added that perfect modern farmhouse feel I wanted for this space. To make this work with our pre-existing cabinets, some surgery had to be done. We sacrificed our fold down cabinet and built a sink brace underneath to hold the weight of the new sink. Details of this can be found in my PART 2 kitchen makeover vlog!


THE SINK
The 30 in. VIGO Matte Stone Farmhouse Kitchen Sink is constructed from non-porous, solid Matte Stone. It resists stains and scratches and is very easy to clean! You can choose between two sink styles: either flat apron or casement front on display - I went with the casement front (seen above).
THE COUNTERTOP
The kitchen island was a big deal to both my partner and I. We spend A LOT of time at the island and we really wanted the new top to be durable AND beautiful. I opted for a lovely unfinished ash butcher block top from Home Depot and stained it the colour DARK WALNUT to give it a warmer feel!
To build the top, we purchased two sizes:
(1) 74x25x1.5"
(1) 74x39x1.5"
We cut all the necessary pieces to fit our base and secured them together with pocket holes. For the full explanation and steps - check out the vlog!
After the stain up was finished, I added a coat of danish oil to ensure my table top was protected from stains and water damage!

And there you have it folks! We went BIG and we went BOLD! If you're interested in watching all the nitty gritty details check out Part 1 and 2 full video coverage below.


Love what you see? Here are a few links to products from my kitchen!
ORGANIC STONEWARE: https://www.chapters.indigo.ca/en-ca/...
NAPKINS Sienna Linen Napkins: https://www.chapters.indigo.ca/en-ca/...
SHALLOW WOOD BOWL: https://www.chapters.indigo.ca/en-ca/...
AMBER GLASSWARE: https://www.chapters.indigo.ca/en-ca/...
AMBER GLASS DECANTER: https://www.chapters.indigo.ca/en-ca/...
AMBER WINEGLASS: https://www2.hm.com/en_ca/productpage...
BLUE VASE: https://www.ikea.com/us/en/p/tonsaett...
FAUCET in Matte Black: https://bit.ly/3EF4Me7
COPPER LIGHTS: https://www.wayfair.ca/lighting/pdp/b...
BRASS CABINET HARDWARE Knobs: https://amzn.to/3EY8qQz
Pulls: https://amzn.to/3GNZb77
ART PRINTS: https://etsy.me/3k3Qxrm
RUG RUNNER: https://bit.ly/3q408C9