DIY APOTHECARY CABINET THRIFT FLIP
As you all may know by now, I have a massive fascination with anything apothecary. However, the challenge with loving such a trend is that they are mucho $$$!
My office recently needed more storage (never enough of that, am I right?) and I knew this was my chance to finally find a DIY solution to this crazy obsession of mine. Beyond the general look, I love Apothecary cabinets because they offer multiple drawers, cupboards and cubbies to store all your vital odds and ends. My solution: THRIFT FLIP. I went on the hunt to find the right cabinet with the intention to make a few diy adjustments to give it the right look! I am so pleased with this epic transformation and I hope you will be too.
**Disclaimer: My overall cost does not include the tools I already own or the time it takes me to complete the project. We here in the DIY biz call it “sweat equity” and enjoy investing in tools we can use across multiple projects. With that said, my calculation of the project will include any materials I bought specifically for this project. **
THE PURCHASE
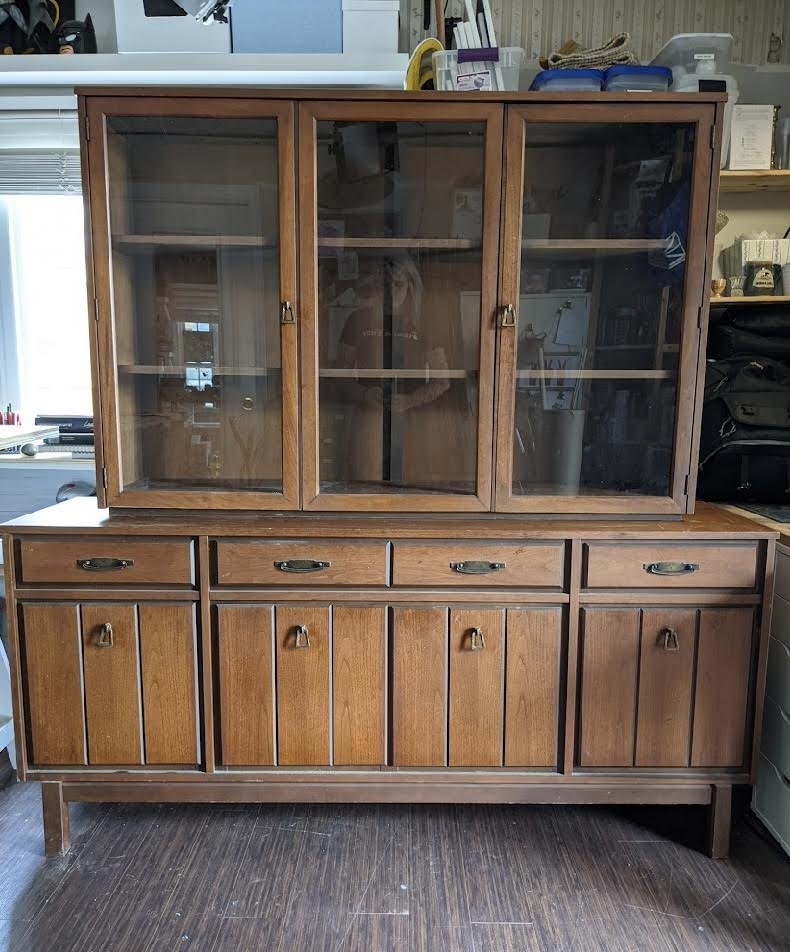
Before I went shopping for the perfect cabinet, I created an Apothecary Mood Board that provided me inspiration on what to look for. If you want success in your hunt, always shop with a clear idea of what you are looking for ahead of time. The dimensions were ideal, the top section could be elevated to accommodate cubbies, it has glass doors, is made of solid wood and was a sturdy piece.

Here was my rendering to plan out the overall look

These are the cubbies I built to elevate and add more storage.
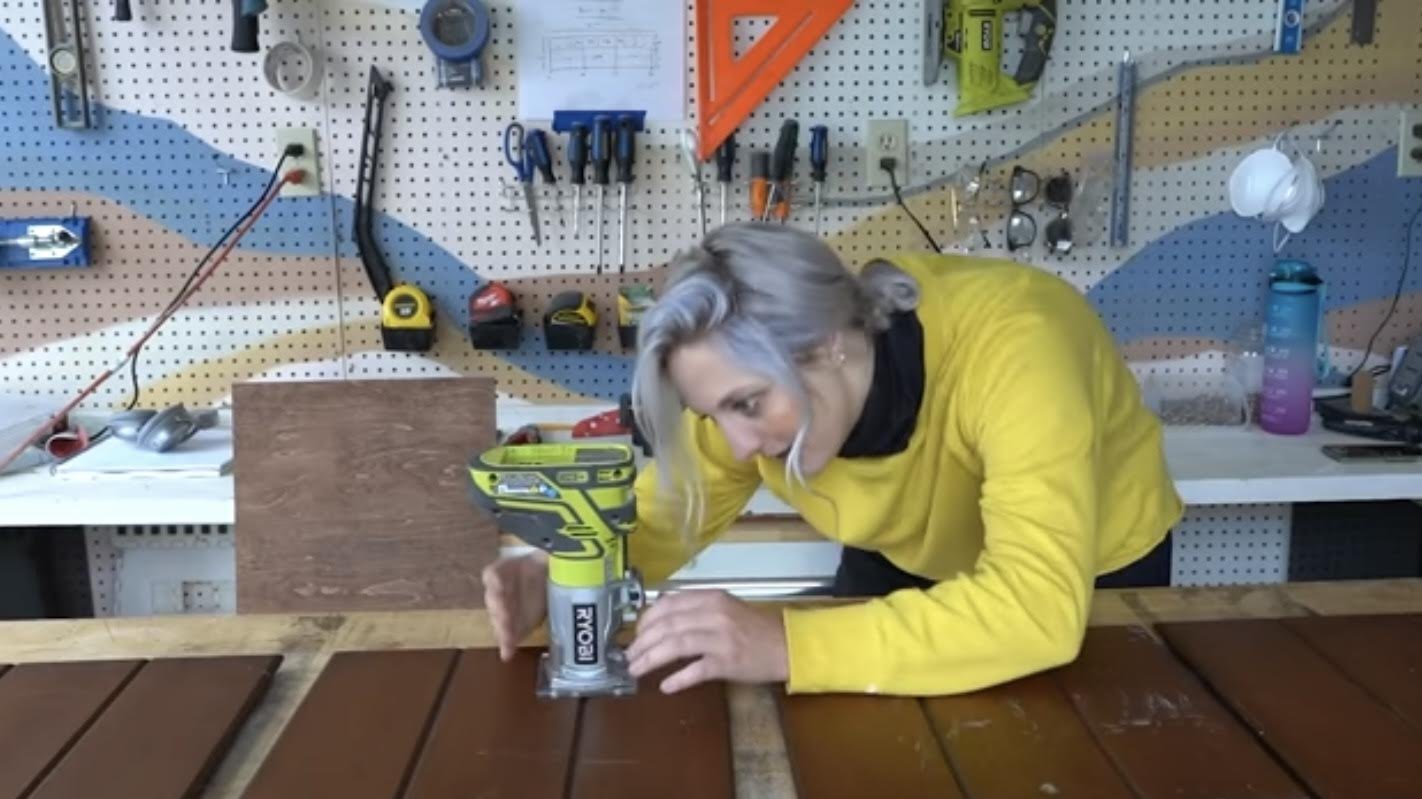
I used my router to carve out grid lines that create the illusion of drawers on the bottom cabinet doors.
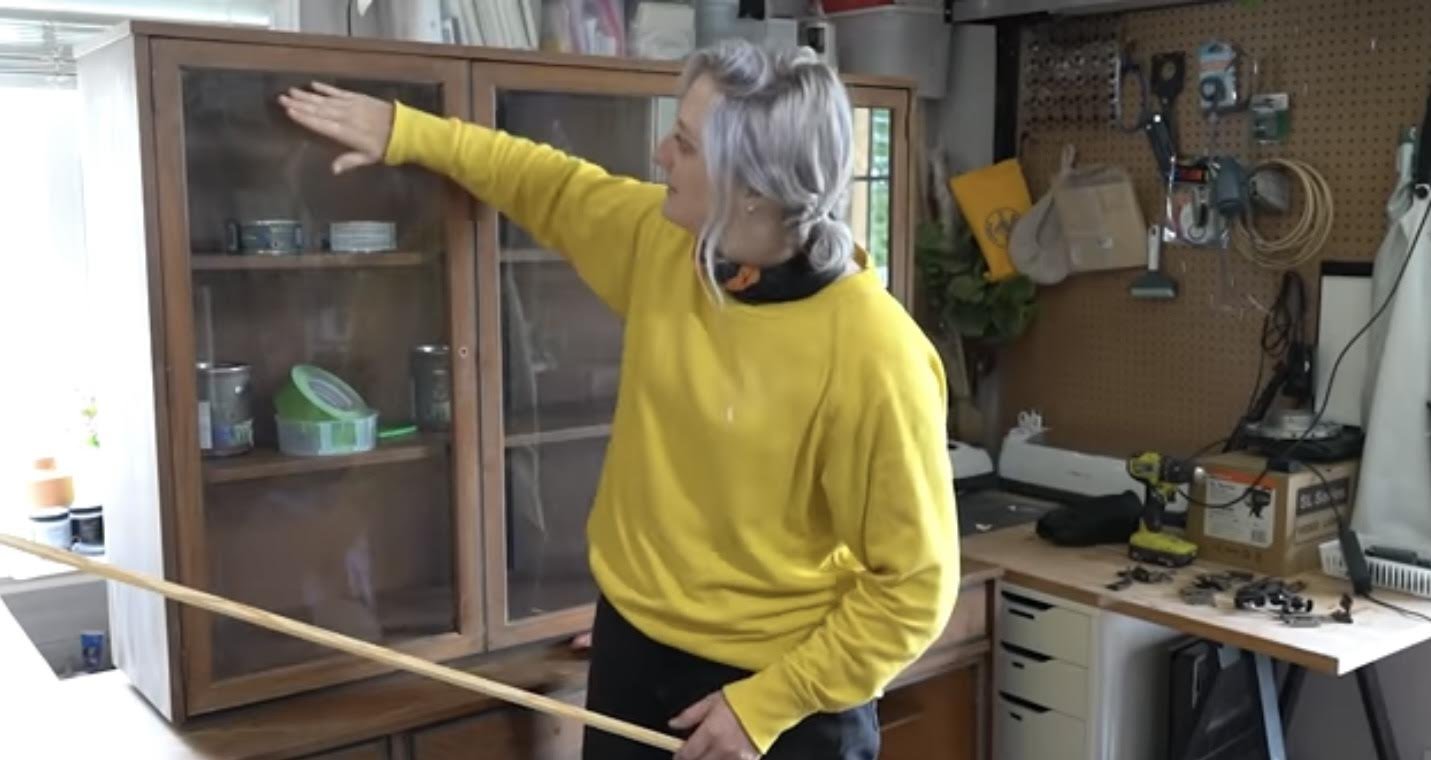
Then I planned out how to add strips of trim to the glass doors. This gives it a more antique vibe.

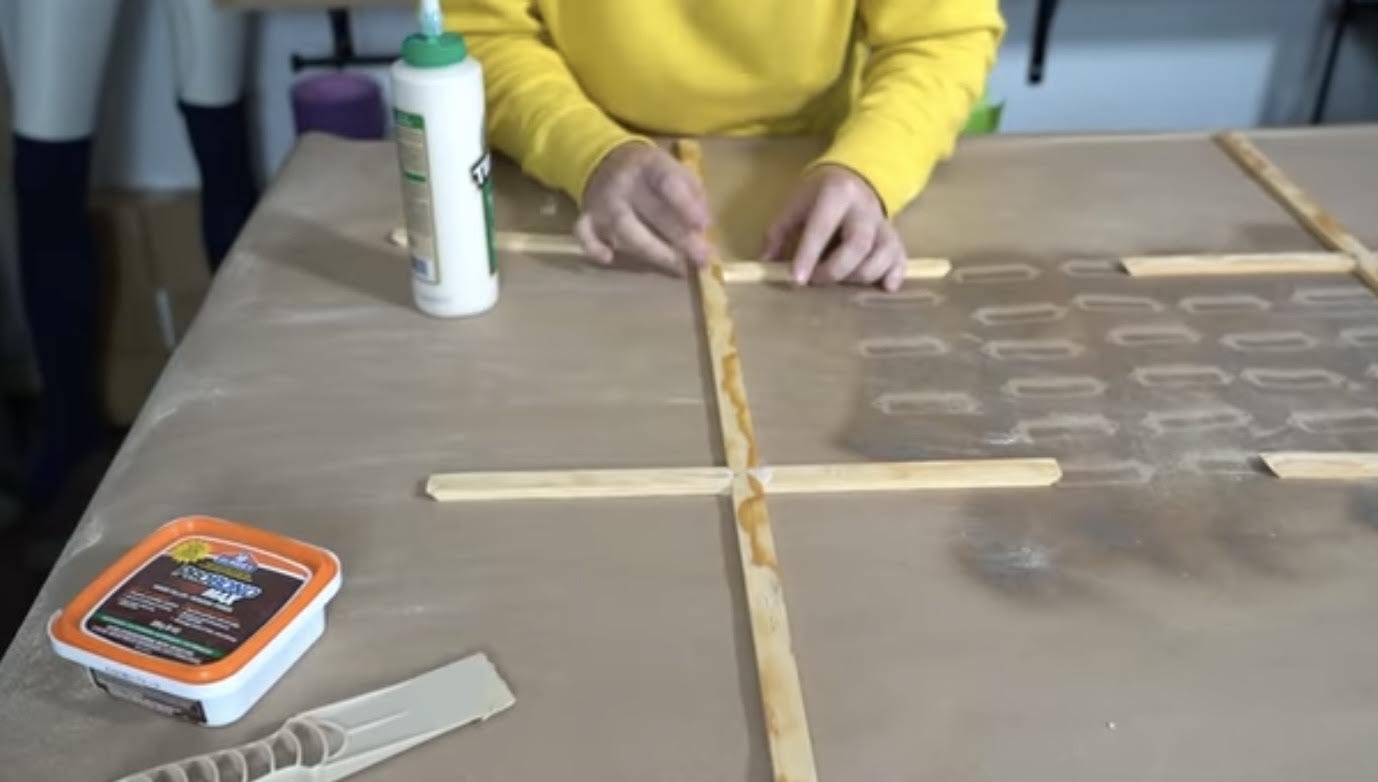
Wood glue and wood filler make the strips for the cabinet look seamless.
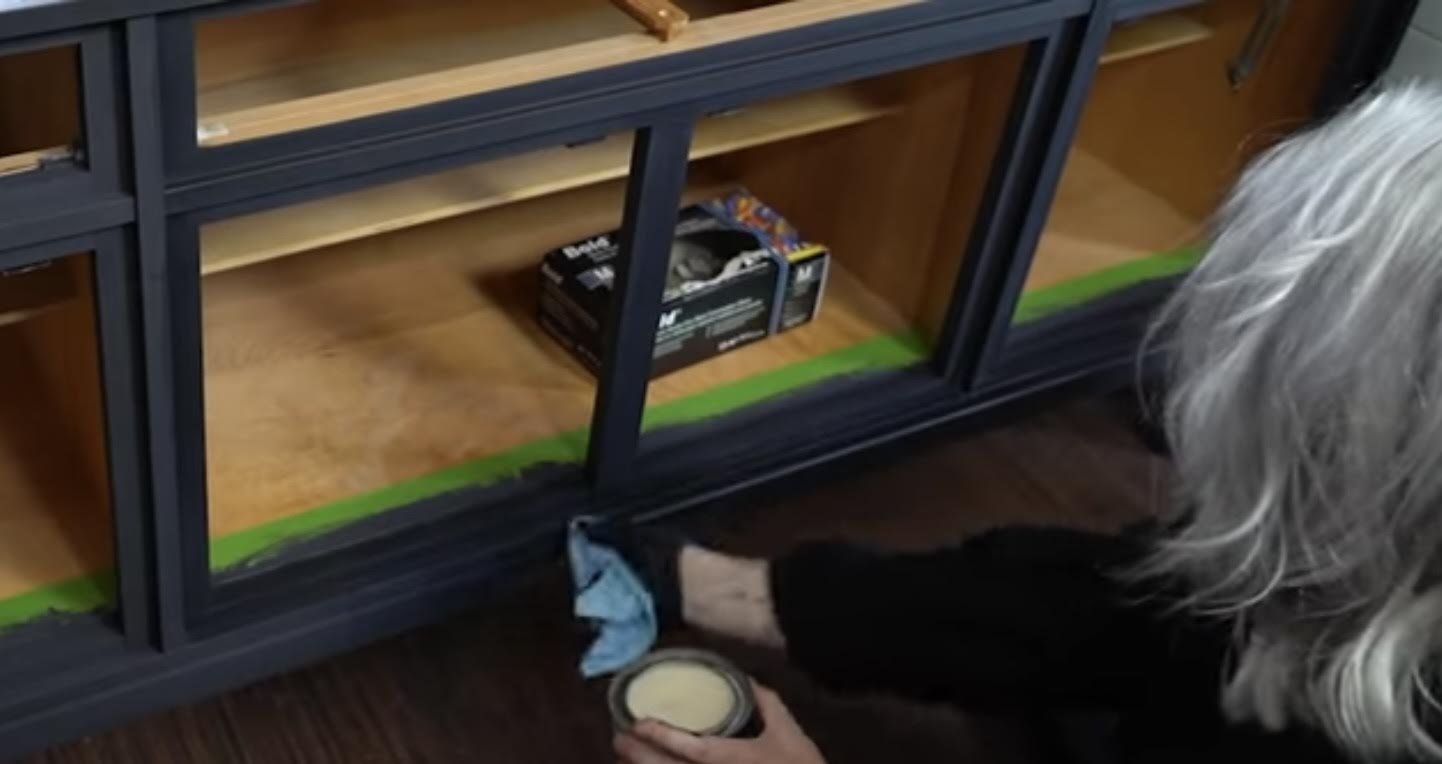
I prepped the entire piece with a light sand using a 220-grit sandpaper. From there, I painted the entire cabinet using Behr chalk paint in a custom created black! I really enjoy using Behr Chalk Paint as it’s pretty affordable, easily accessible and they can customize the colour to your liking.
After the entire piece received two coats, I then rubbed it down with clear wax to give it more lustre and protection.
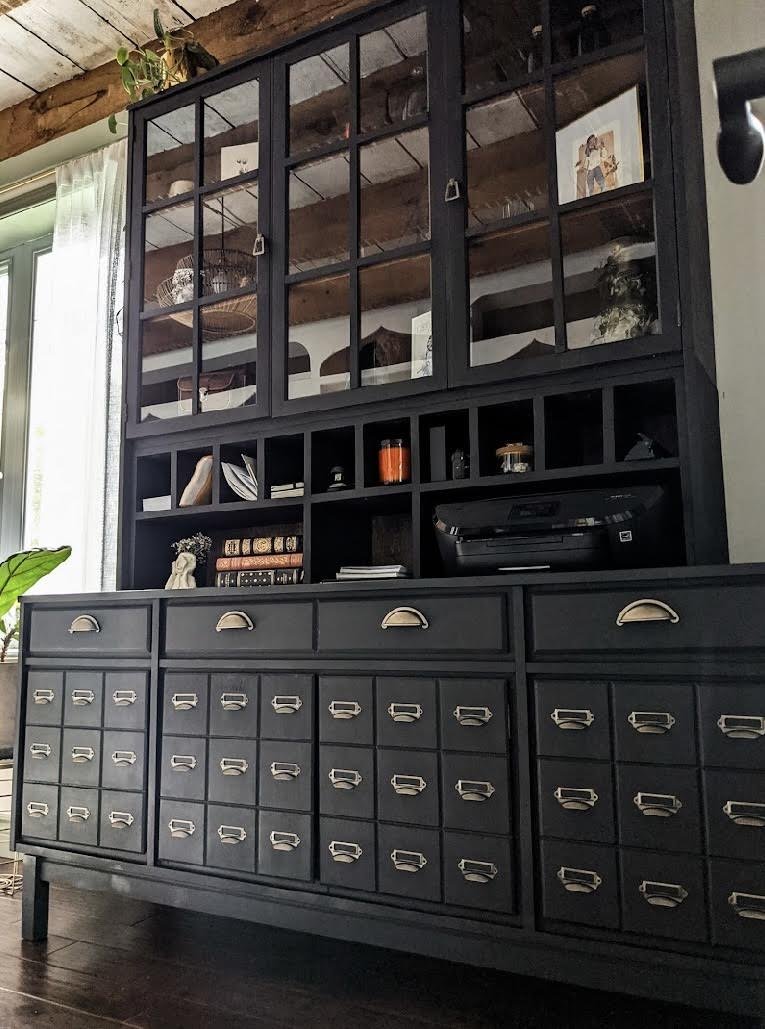
Finally, I added 36 antique drawers pulls to my faux drawer fronts to give it that “apothecary vibe”.

And there you have it! The thrift flip Apothecary Cabinet of my dreams!
DIY MATERIAL LIST PROJECT TOOLS
Thrifted Hutch Drill
1 Sheet 3/4" Plywood Square
2x4 Sheet 1/4" Plywood Circular Saw
Wood Stain Kreg Jig Circular Saw Guide
Trim Brad Nailer
Drawer Label Hardware Router
Drawer Pulls Miter Saw
Antique Brass Spray Paint Kreg Jig Pocket Hole
Black Chalk Paint 1/2-inch Tipped V Grooved
Pocket Hole Screws
1 1/4" Wood Screws