DIY Curved Rustic Bench
Have you ever been scrolling through Pinterest and you so happen to come upon a photo that stops you in your tracks? Suddenly your heart starts racing and the motivation of, “I gotta make that” kicks in! Well that’s what happened when I found this photo that included a curved bench from a company called The Future Kept based in the UK. They offer beautiful and thoughtful primitive design home goods but it was the bench I had my eyes on!

Photo Taken from The Future Kept Pinterest.
To begin the process, I always like to sketch out my design. This allows me to plan out the exact size and dimensions for my projects. Most architects, designers and builders will create a model. Whether it be miniature or to scale, this allows you to get the full effect and tweak anything before you start cutting into costly materials.

THE CUT LIST
A - (x4) - 26” x 9 3/8”
B - (x8) - 1 1/2” x 14” (see * below for optional build plans)
C - (x6) - 4 3/4” x 4 1/2”
D - (x2) - D - 14” x 14 1/4”
E- (x6) - 4” x 1” (*OPTIONAL)
F - (x1) - Measure Plywood base last and adjust accordingly to your bench dimensions
G - (x2) 17 1/4 x 1 1/2
*Note: the design plans of my bench changed during the build. I only needed (x6 ) B pieces and I did not need any E pieces. If you wish to make the photo to the left, follow the cut guide above.
THE PROTOTYPE

The bench material I used for this was a beautiful rough maple lumber that I planed ahead of time. I bought it rough to keep the cost down, but this comes with the territory of rough edges or “non-square” edges. Instead of letting this feature work against me and trying to square it up, I decided to lean into the woods features to give the bench some rustic personality!

Taking apart my model allowed me to use it as a stencil and trace onto the hardwood.
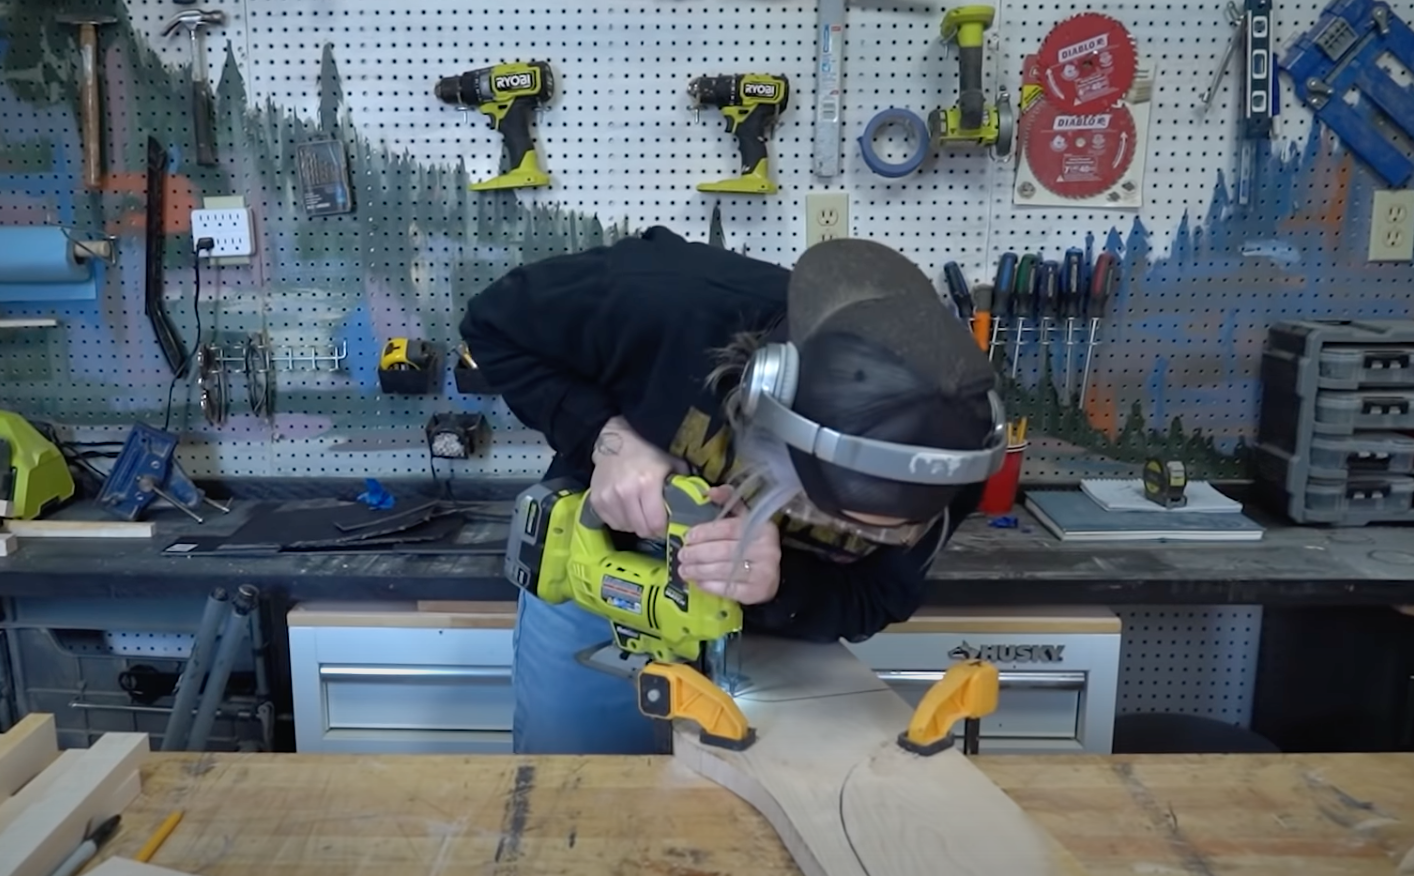
I used a jigsaw to cut this out but a bandsaw would allow for a more precise cut (if you got one!).
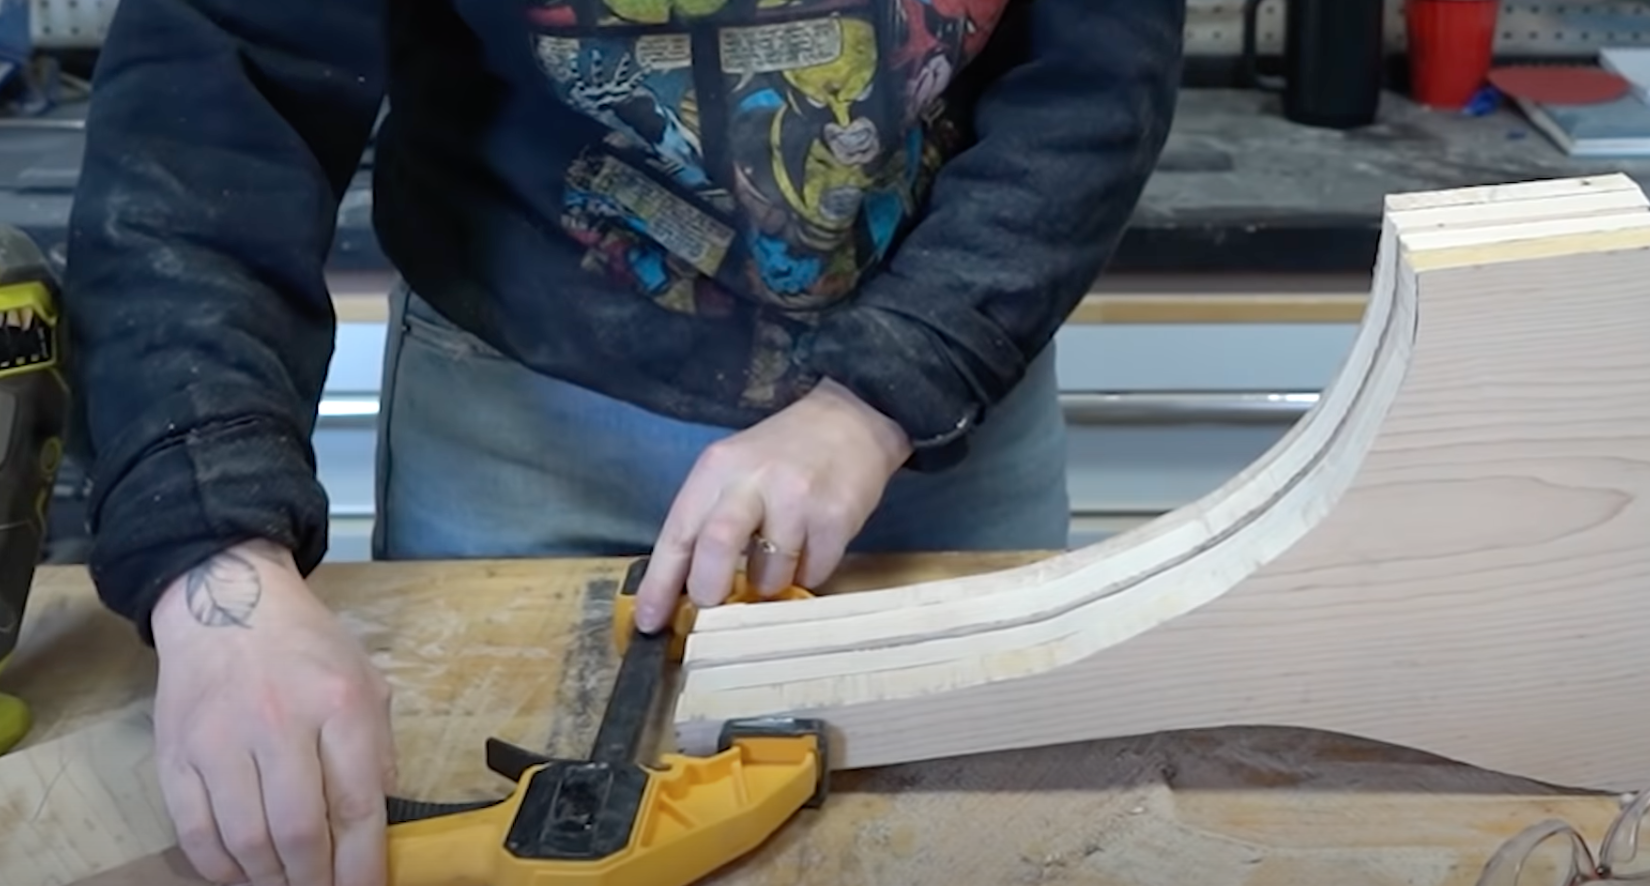
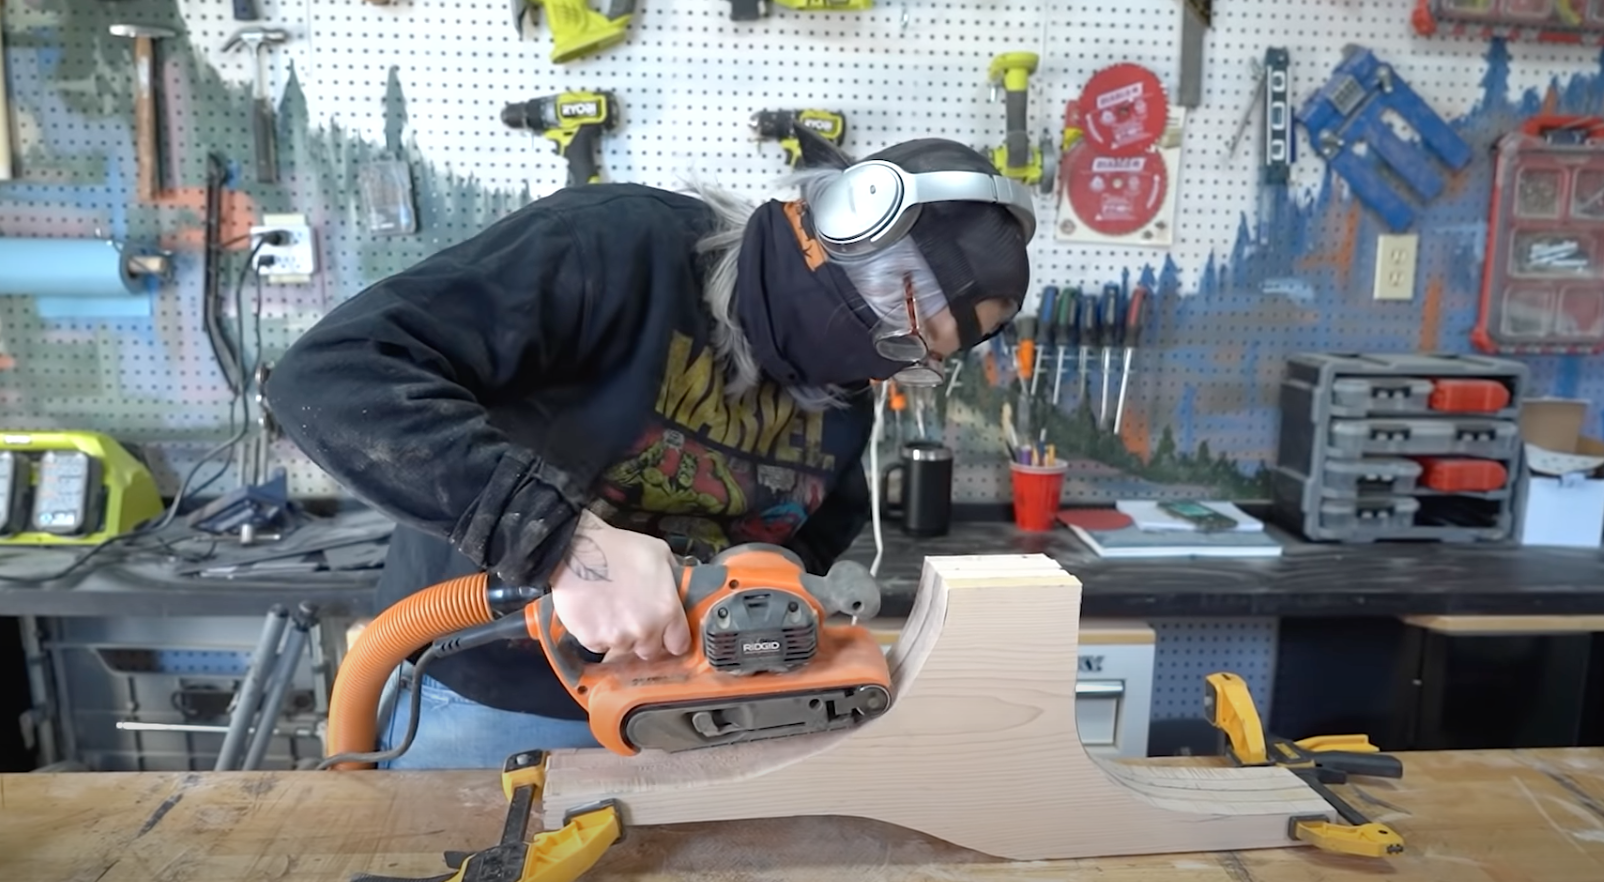
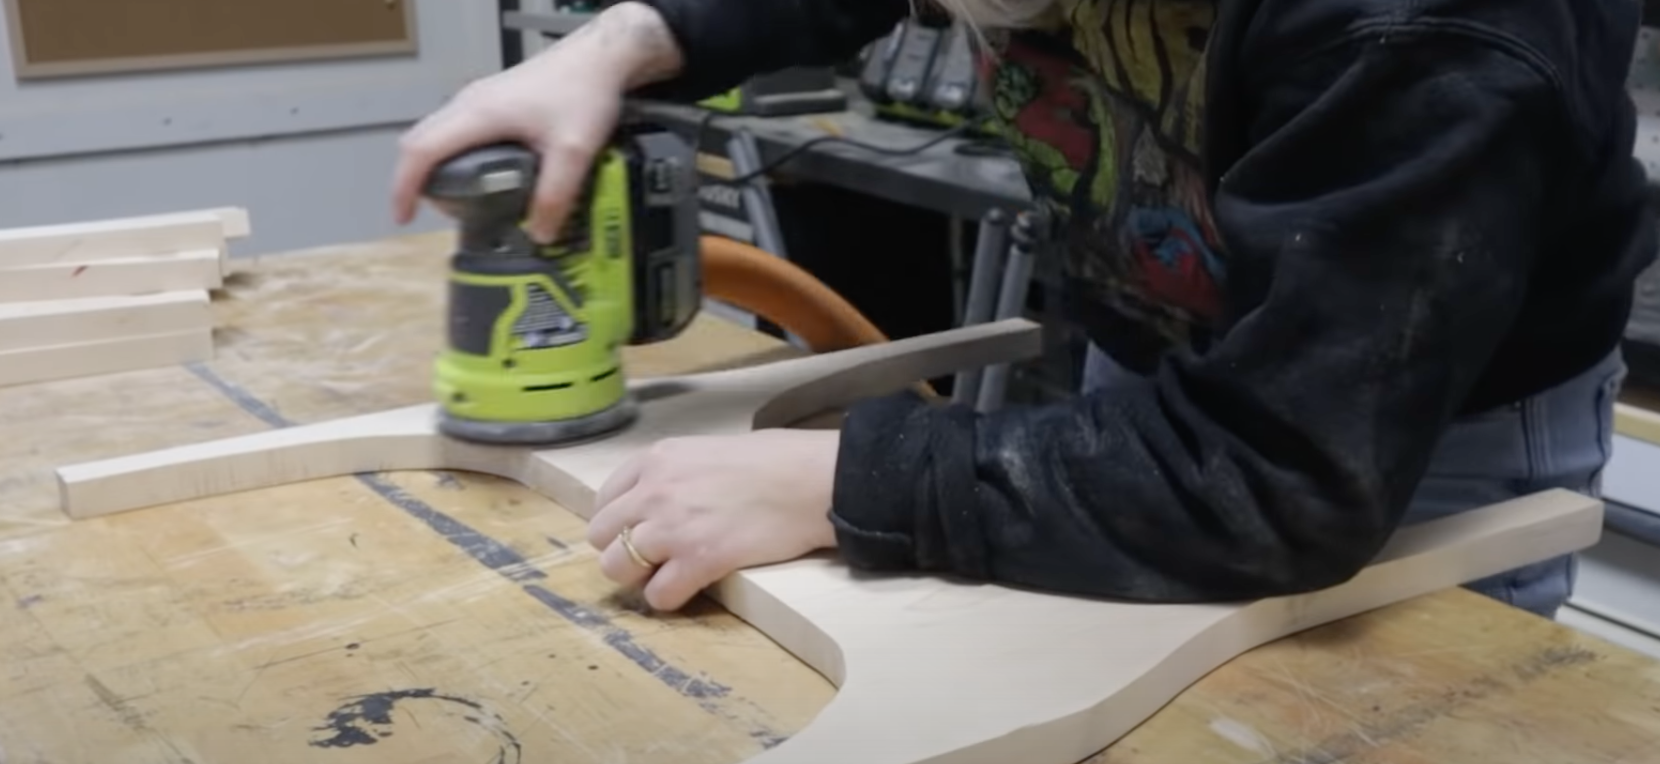
To make sure all the legs matched (somewhat), I layered all the legs and clamped them together. This allowed me to use the belt sander to shape them as evenly as I could get them. A little imperfection is usually forgivable as your eye wont pick up on small inconsistencies.
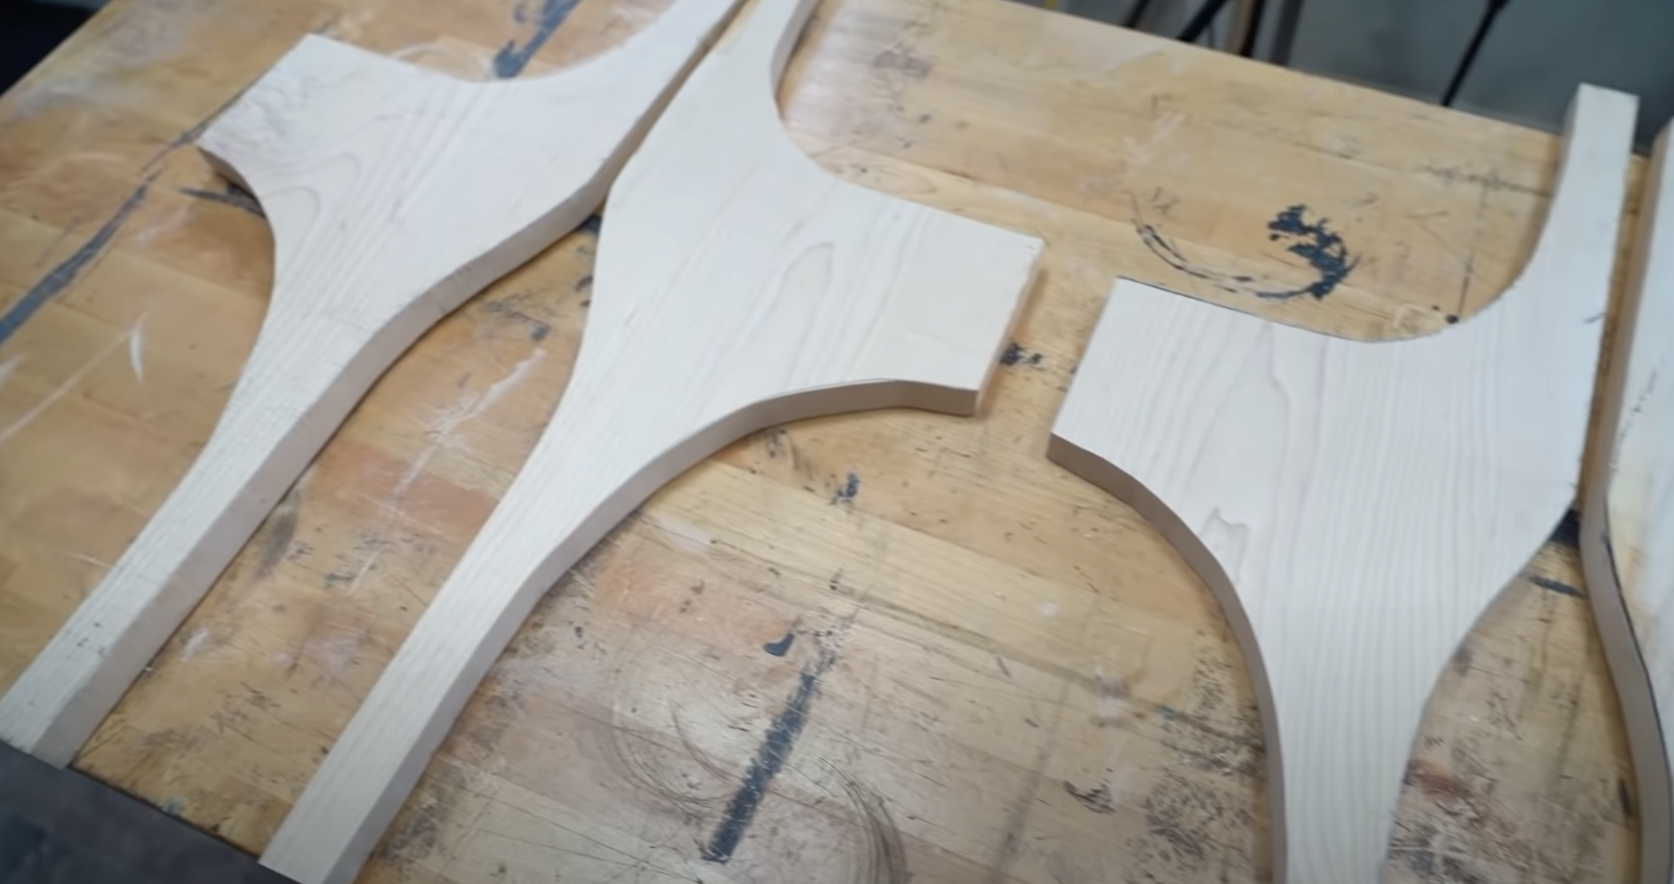
My lumber wasn’t wide enough to allow each leg to be one singular piece, so I had to create each side in three separate pieces. The two legs and a small piece in the middle to connect them. The middle section was connected with pocket holes (as I could hide them later). I used sawdust scraps and wood glue to fill any small gaps that presented itself. Once each leg was secured together, I used an orbital sander with 80 , 120 and 220 grit sandpaper, then touched it up with a hand sanding after.
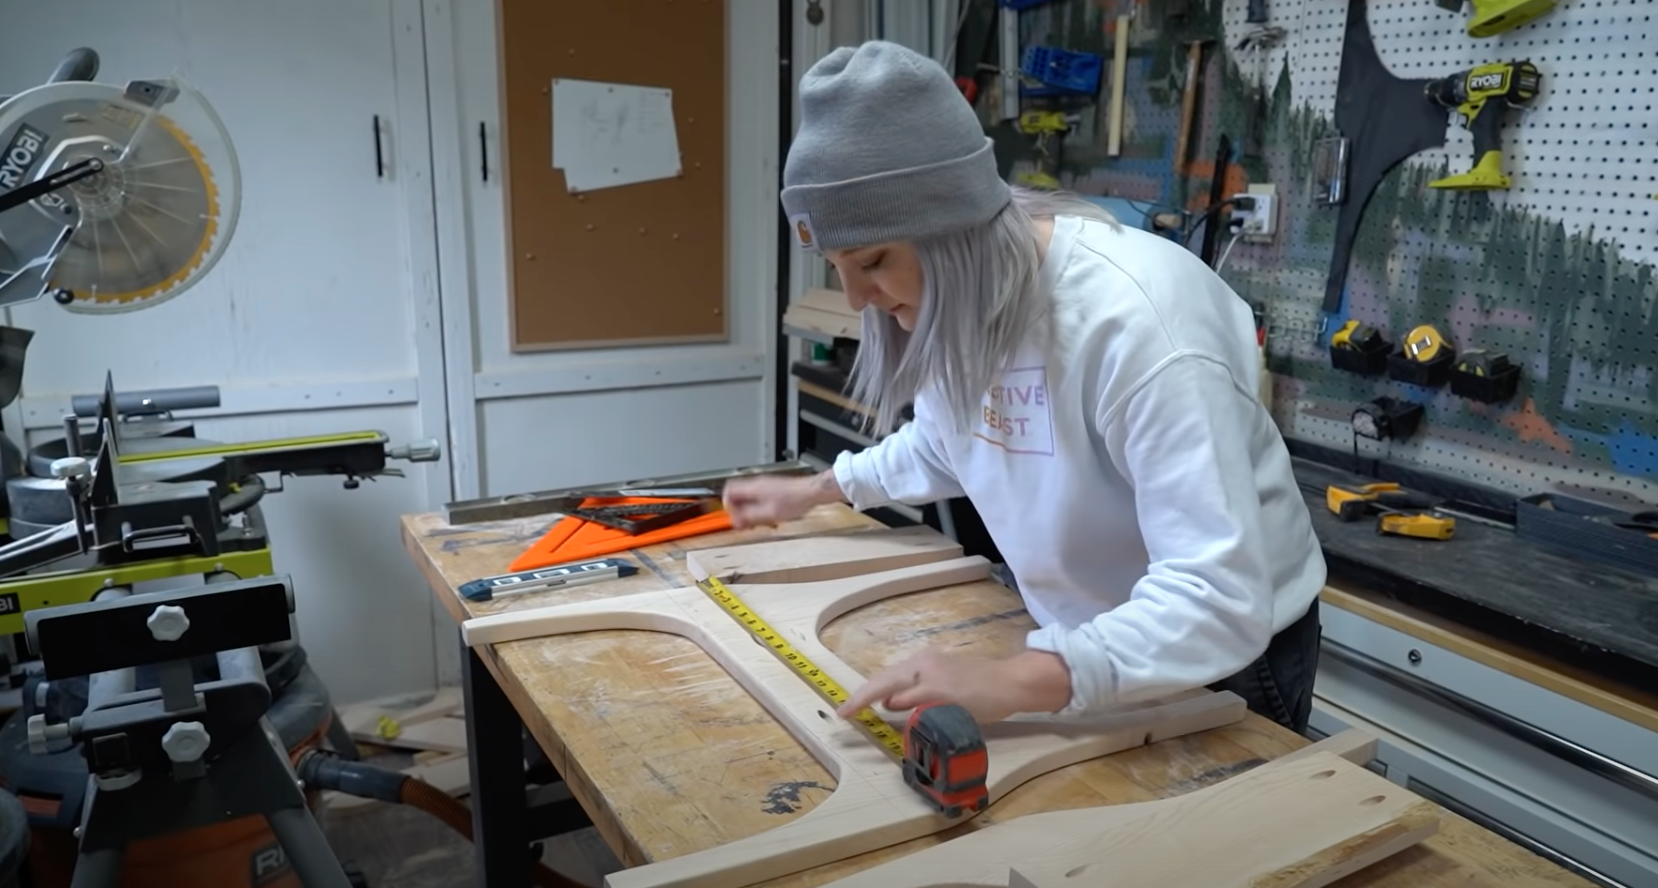
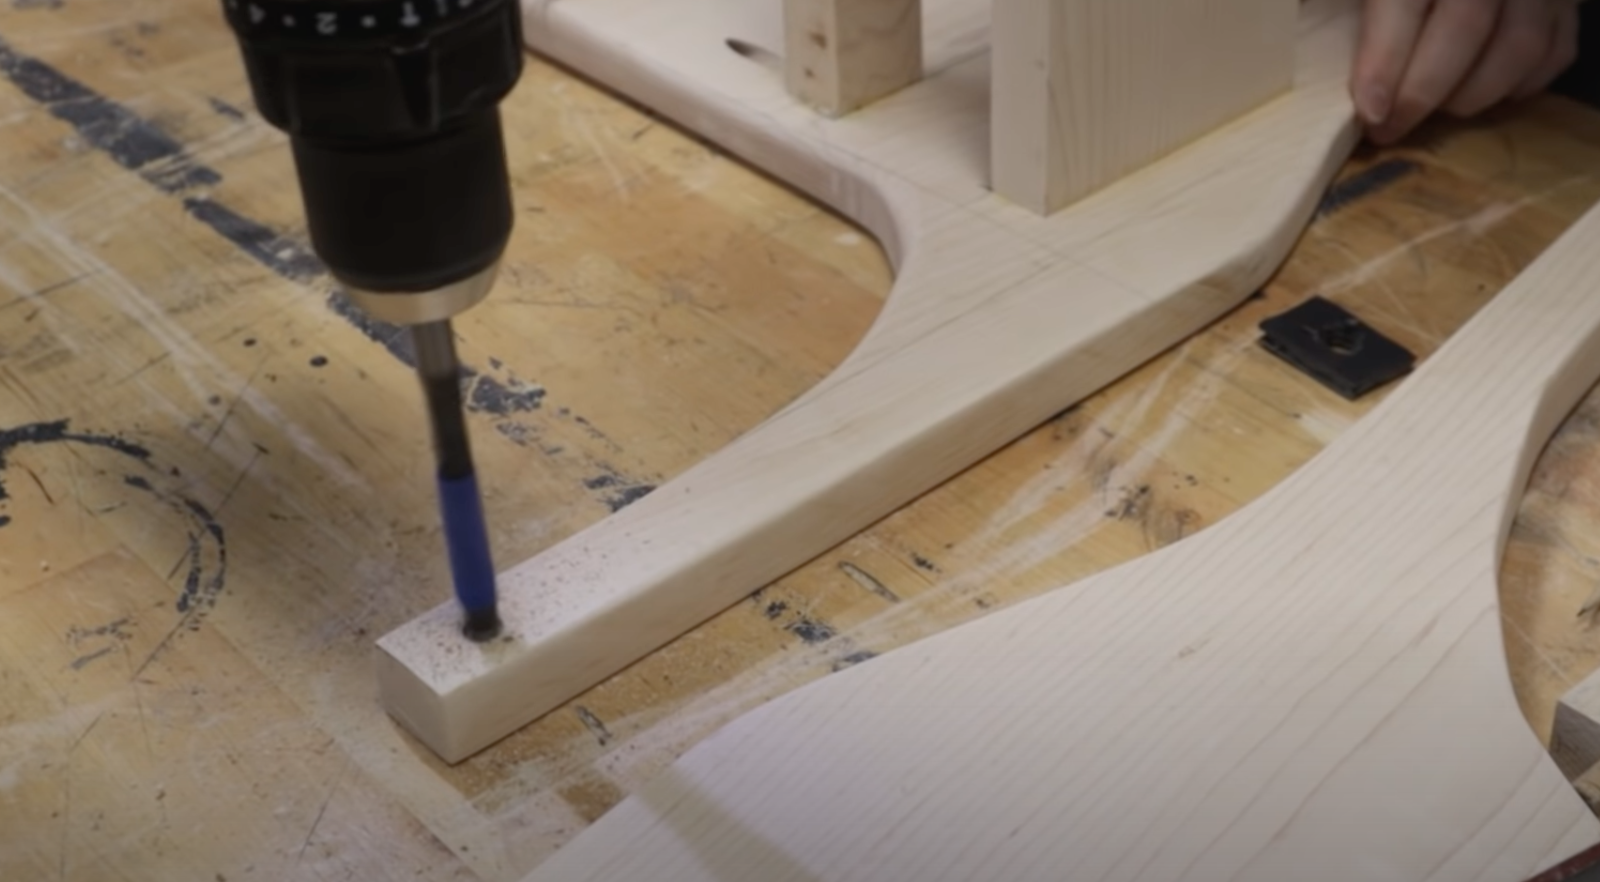
Now that I had my two legs, It was time to add my cross pieces. I measured across each leg and mapped out where each leg would start. Due to the curved sides, I had to square off each side and use this as my guide for accurate measuring. A speed square is a great tool for this! Remember to measure down the thickness of your plywood base so that the seat will sit flush with the bench top later.
Once I was happy with my placement and measurements, I first screwed in my two sides (D) using pocket holes and wood glue.

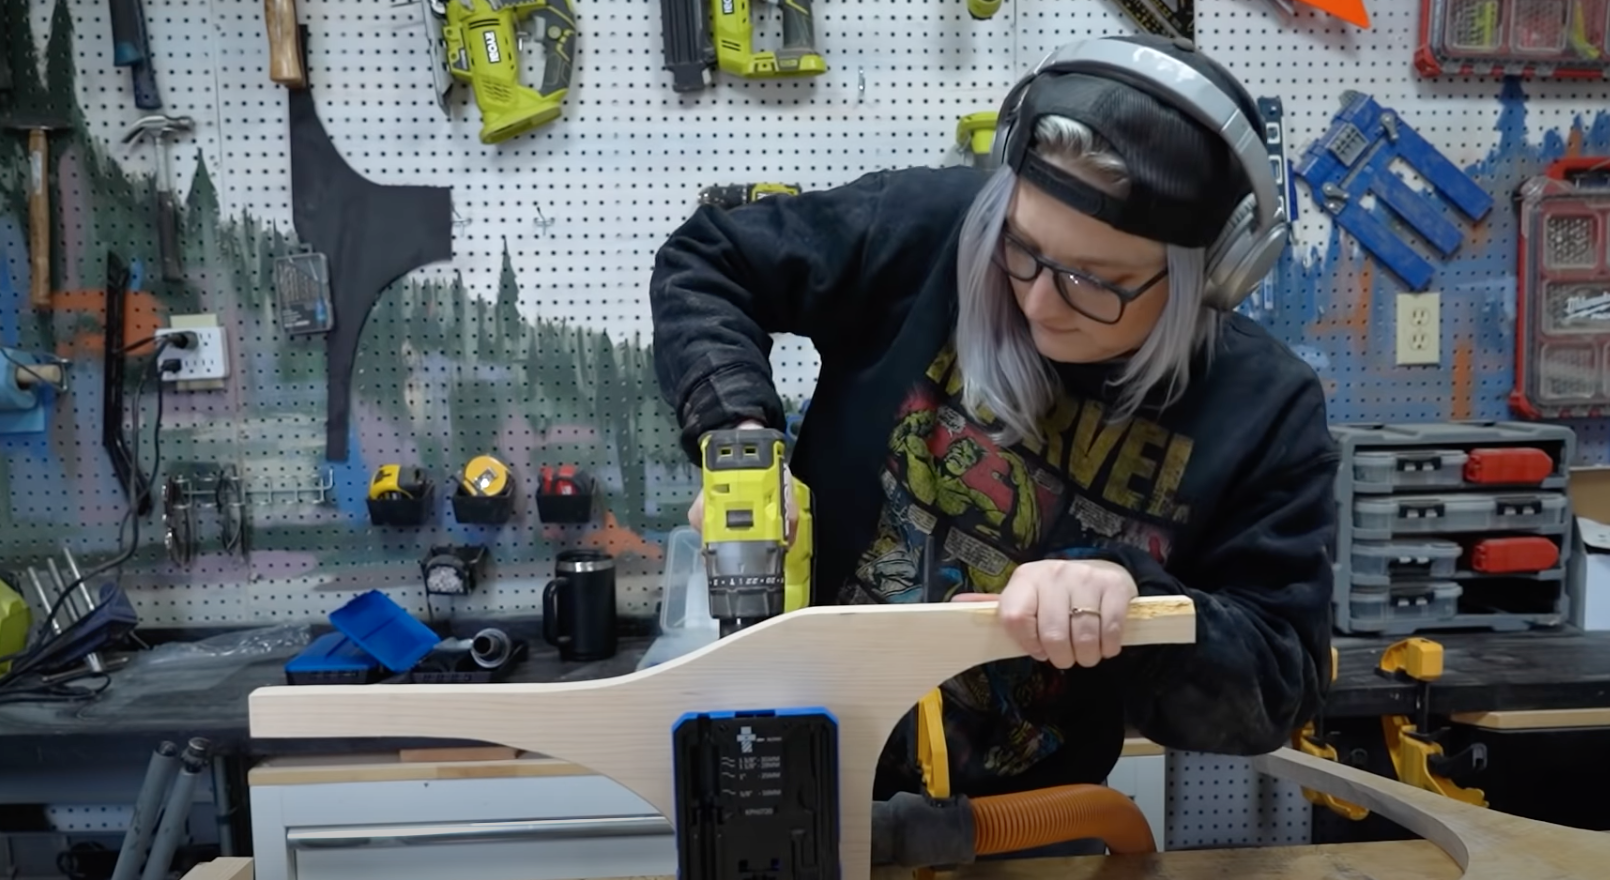
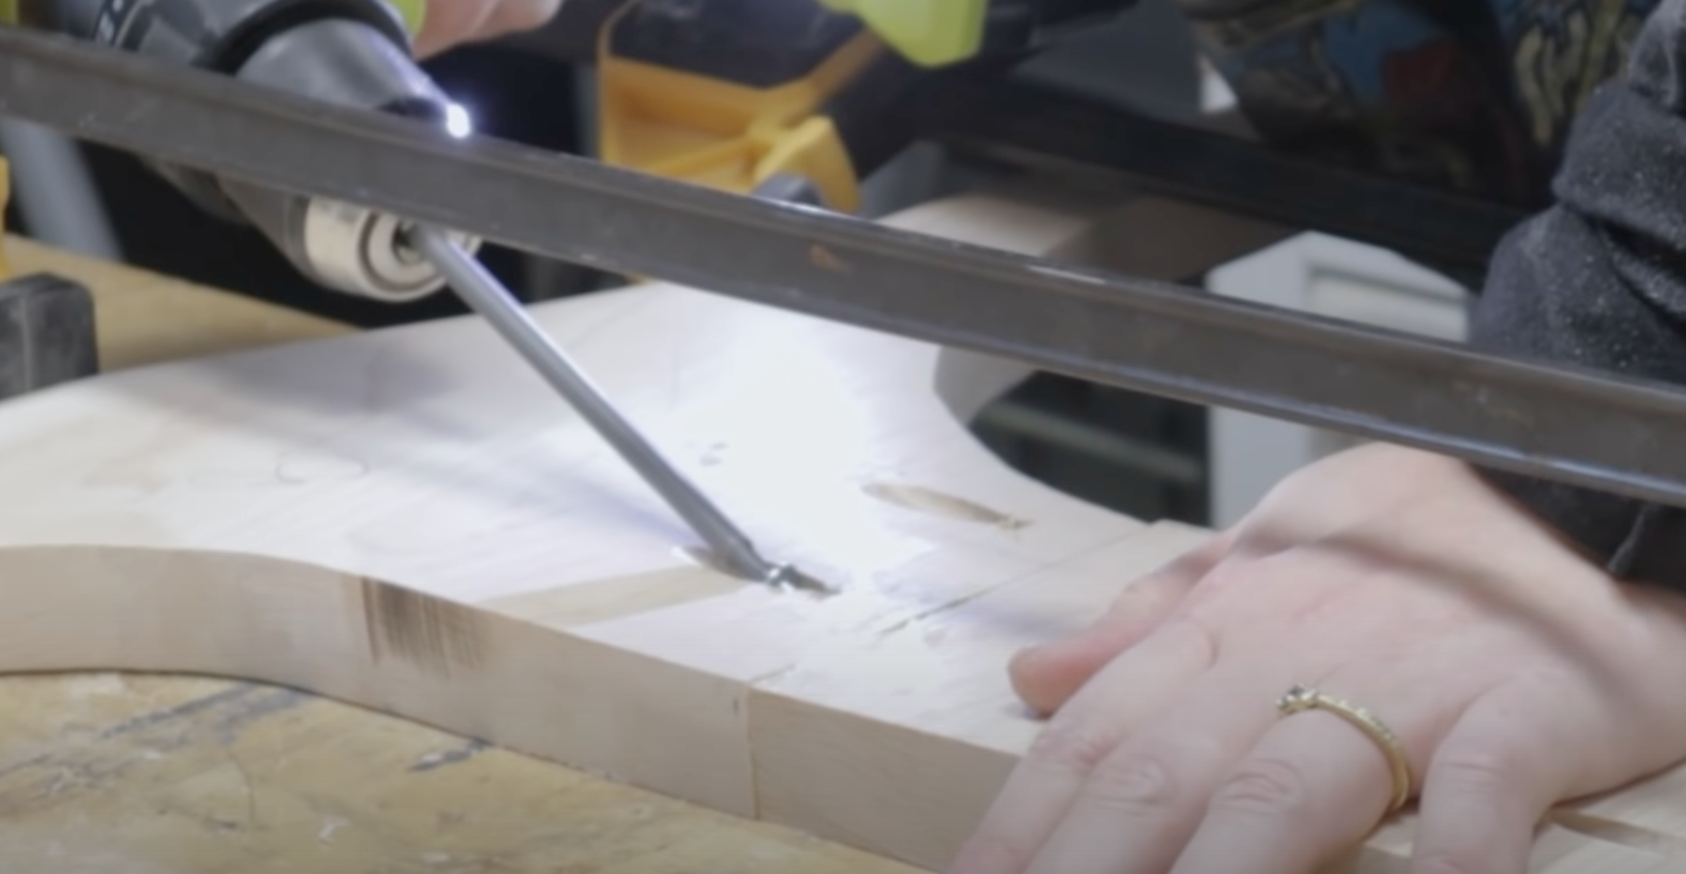
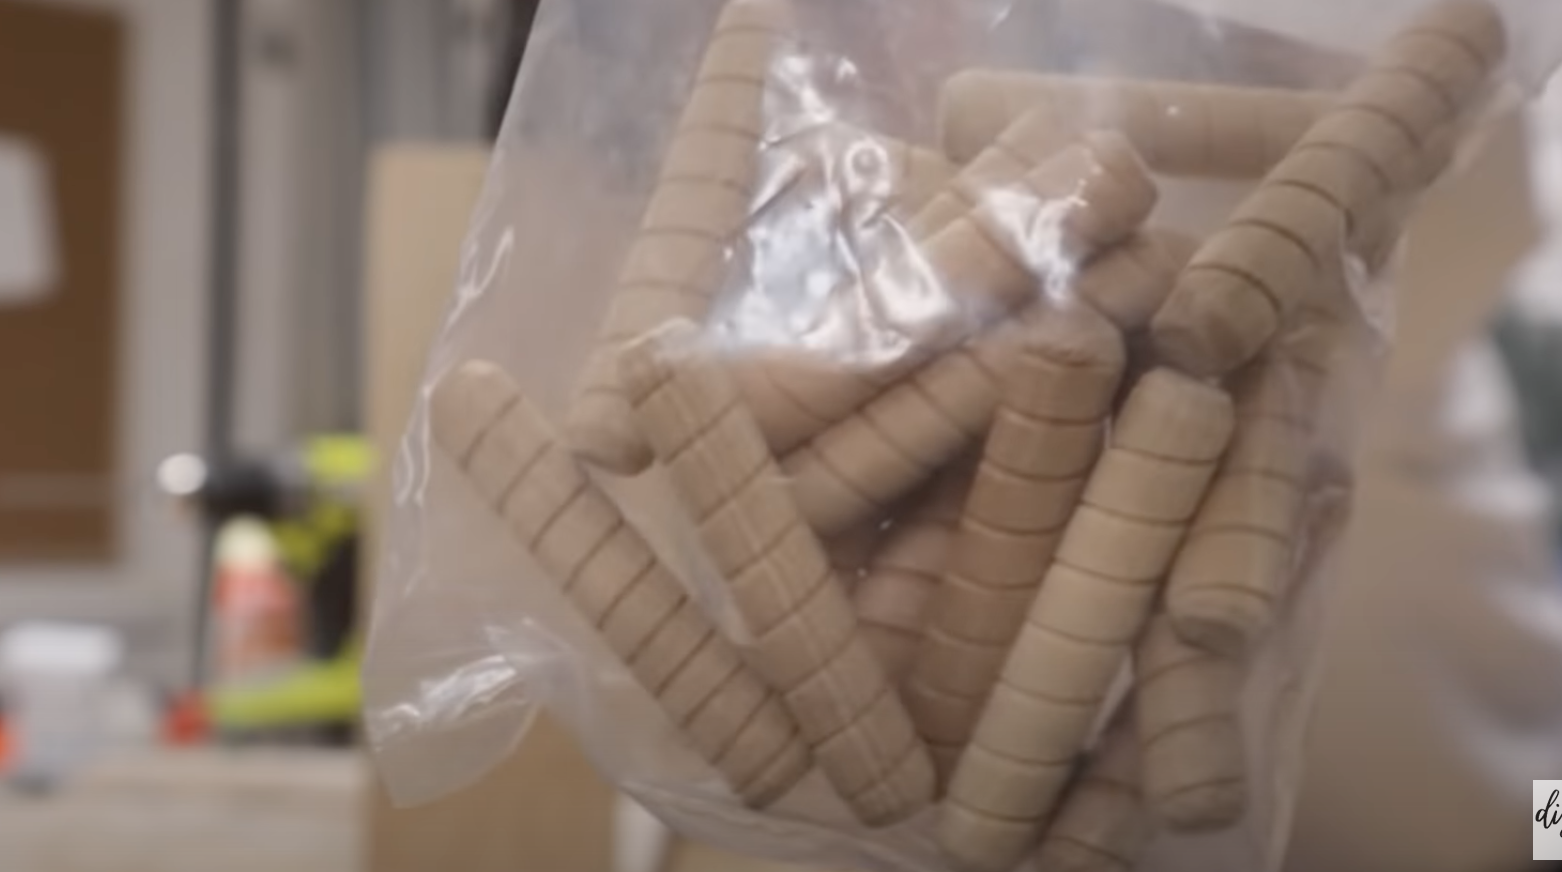
Next, I created a foam template to help guide me with dowelling all my (B) cross pieces . All these pieces would be on display, so dowelling was the best option to properly secure the joint and keep it hidden! The dowel template made sure I place the dowel in the correct place on the bench and in the cross piece to line up properly.
I applied tape on my drill bit to ensure I did not drill down too deep.
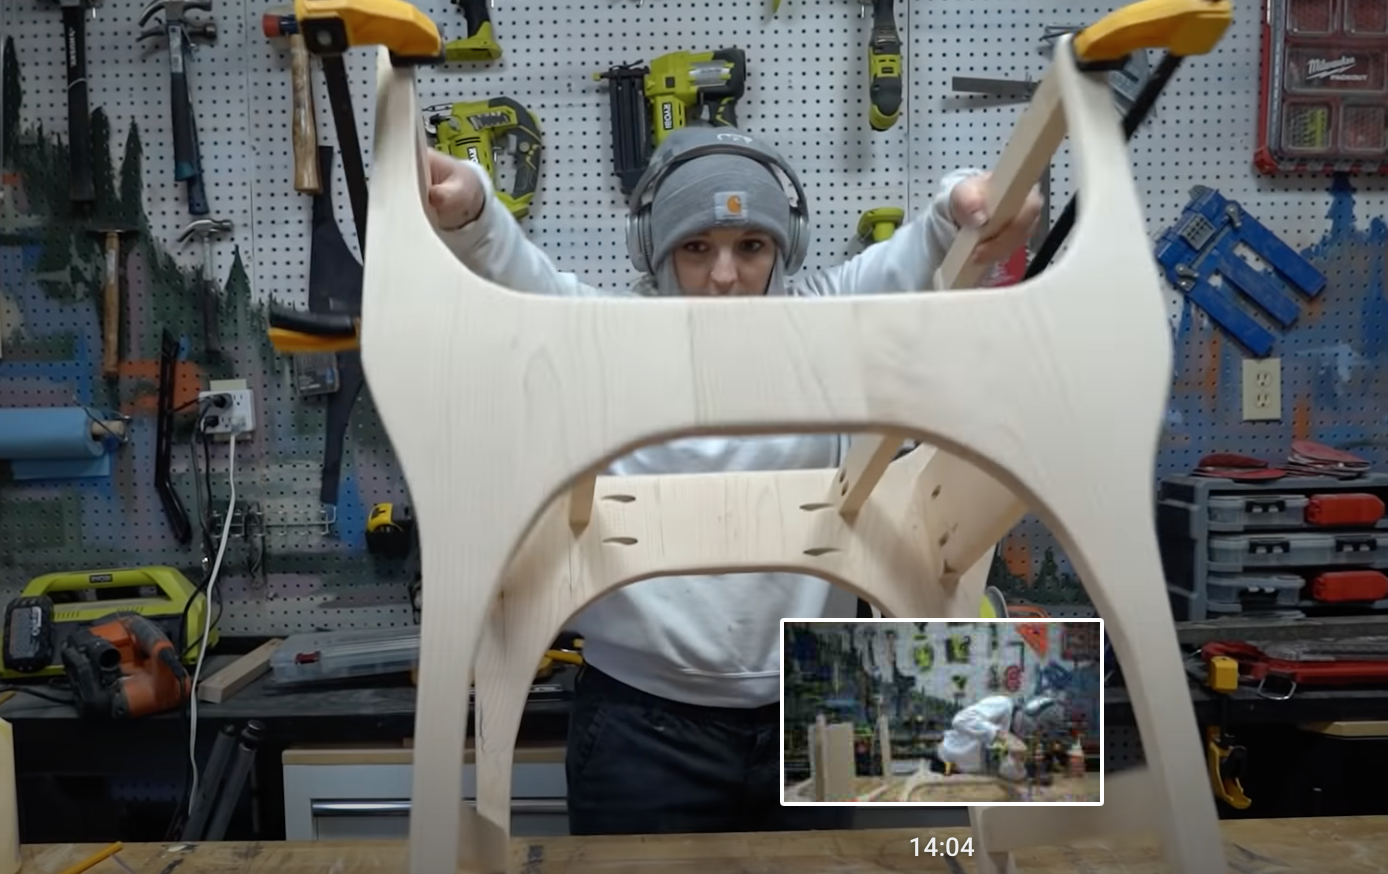
Once I was happy with one second side, I added wood glue to the remaining dowel holes and clamped both sides together.
With the clamps in place, this allowed me to set my bench up straight and screw in the remaining pocket holes for the two (D) pieces.

Once your bench is screwed together, remove the clamps and add the top bars (G). I attached them with wood glue and my brad nailer.
lastly, I measured my bench interior and cut a piece of 1/2 plywood to create the base for the upholstered seat.


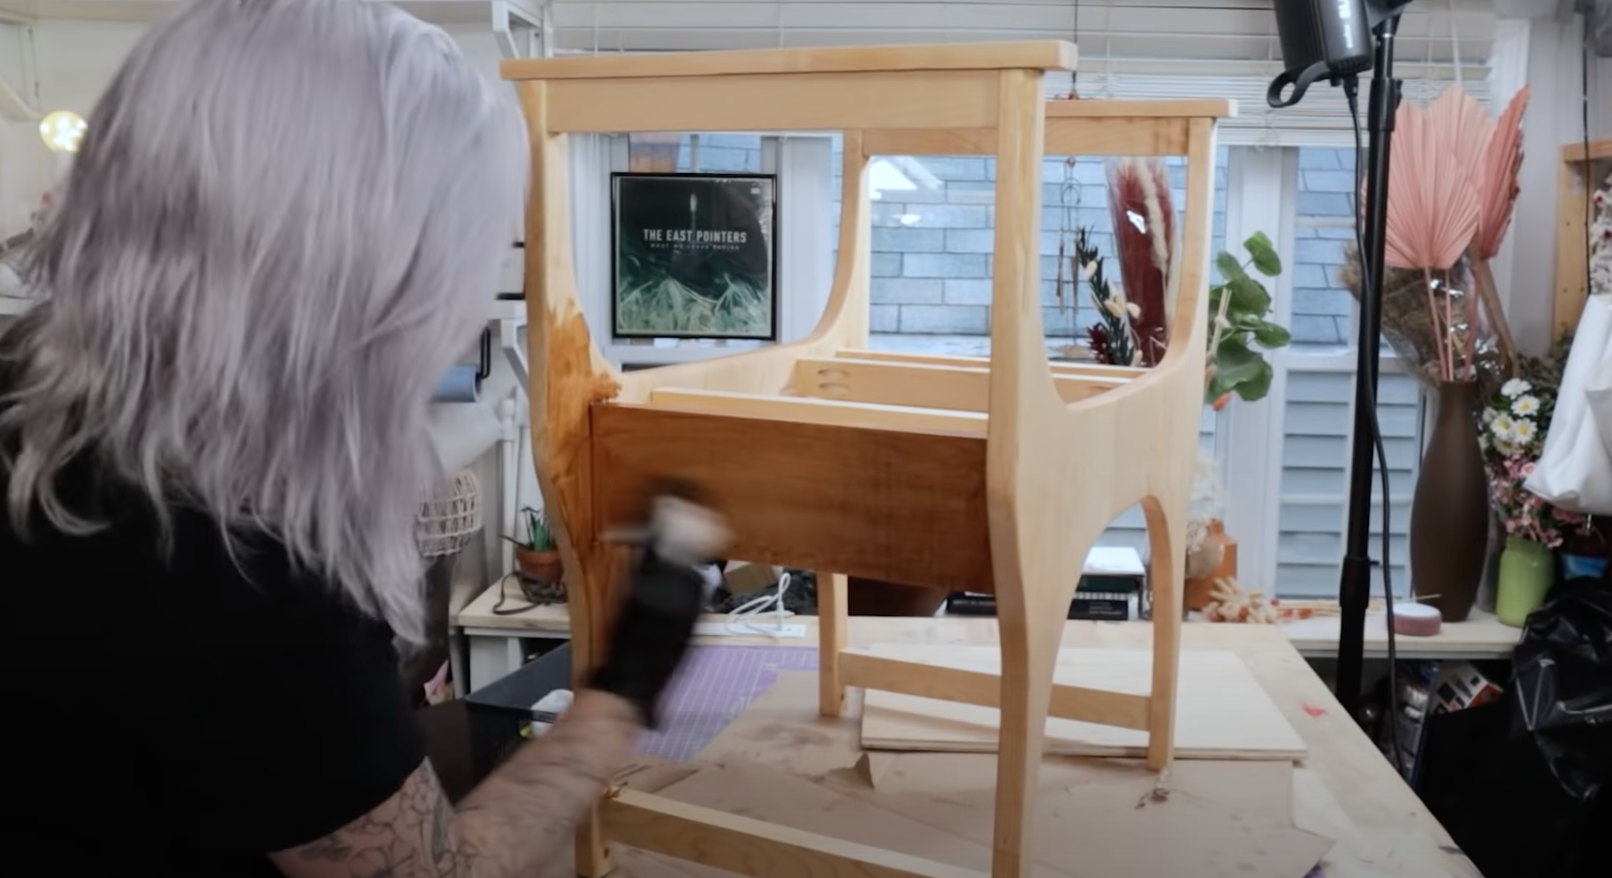
Maple wood can be quite porous so I highly recommend using a wood conditioner before staining. After applying product, wait 30 minutes (or product recommended time frame) before you begin to stain.
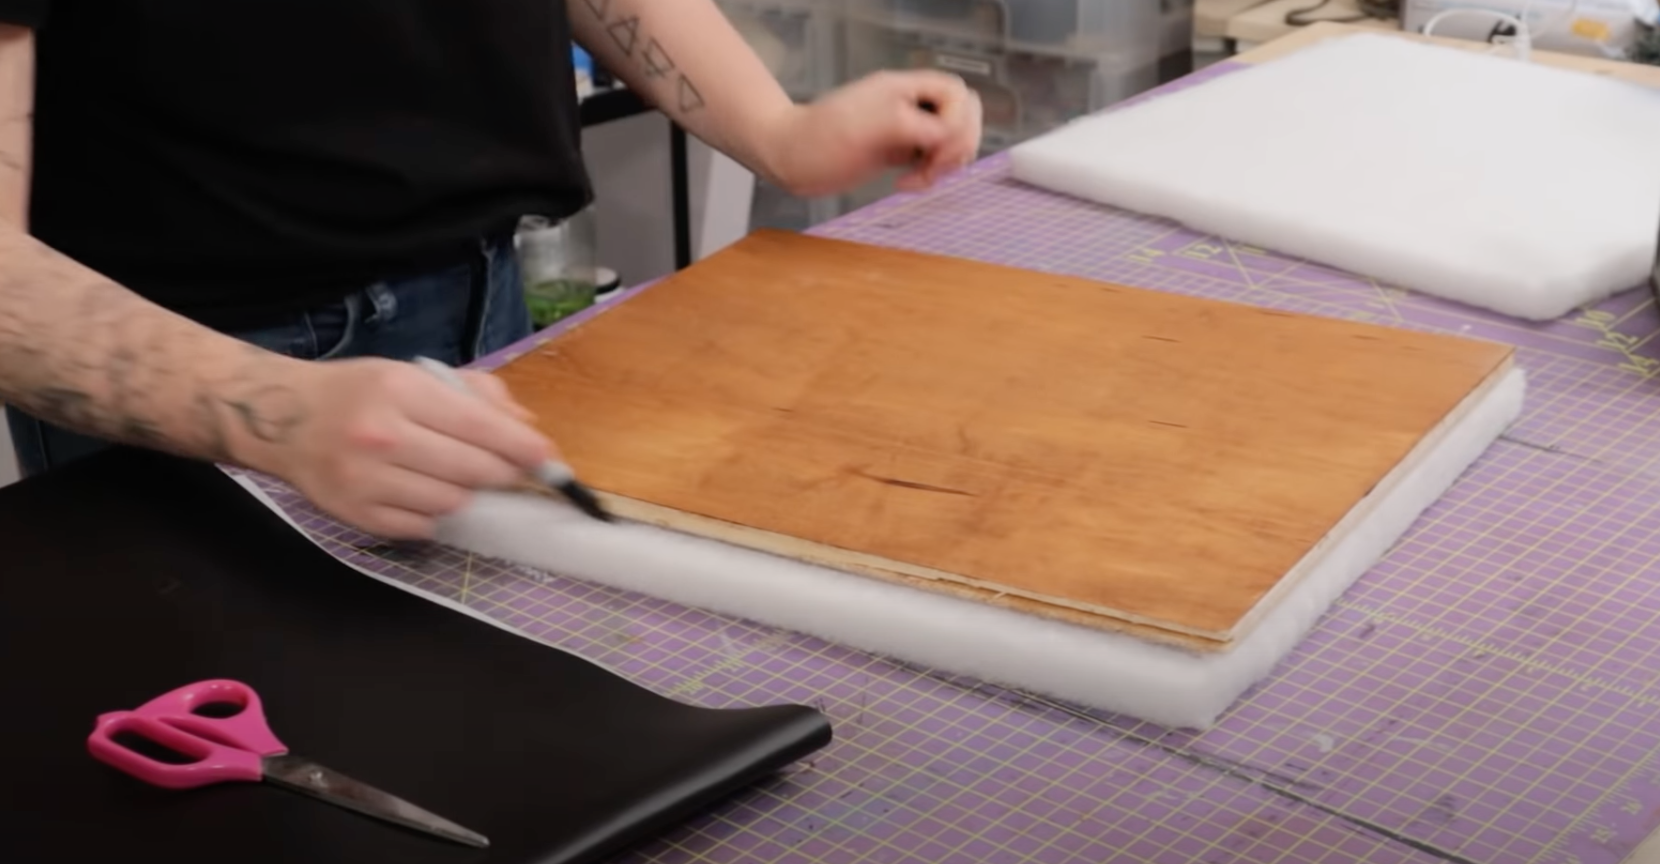
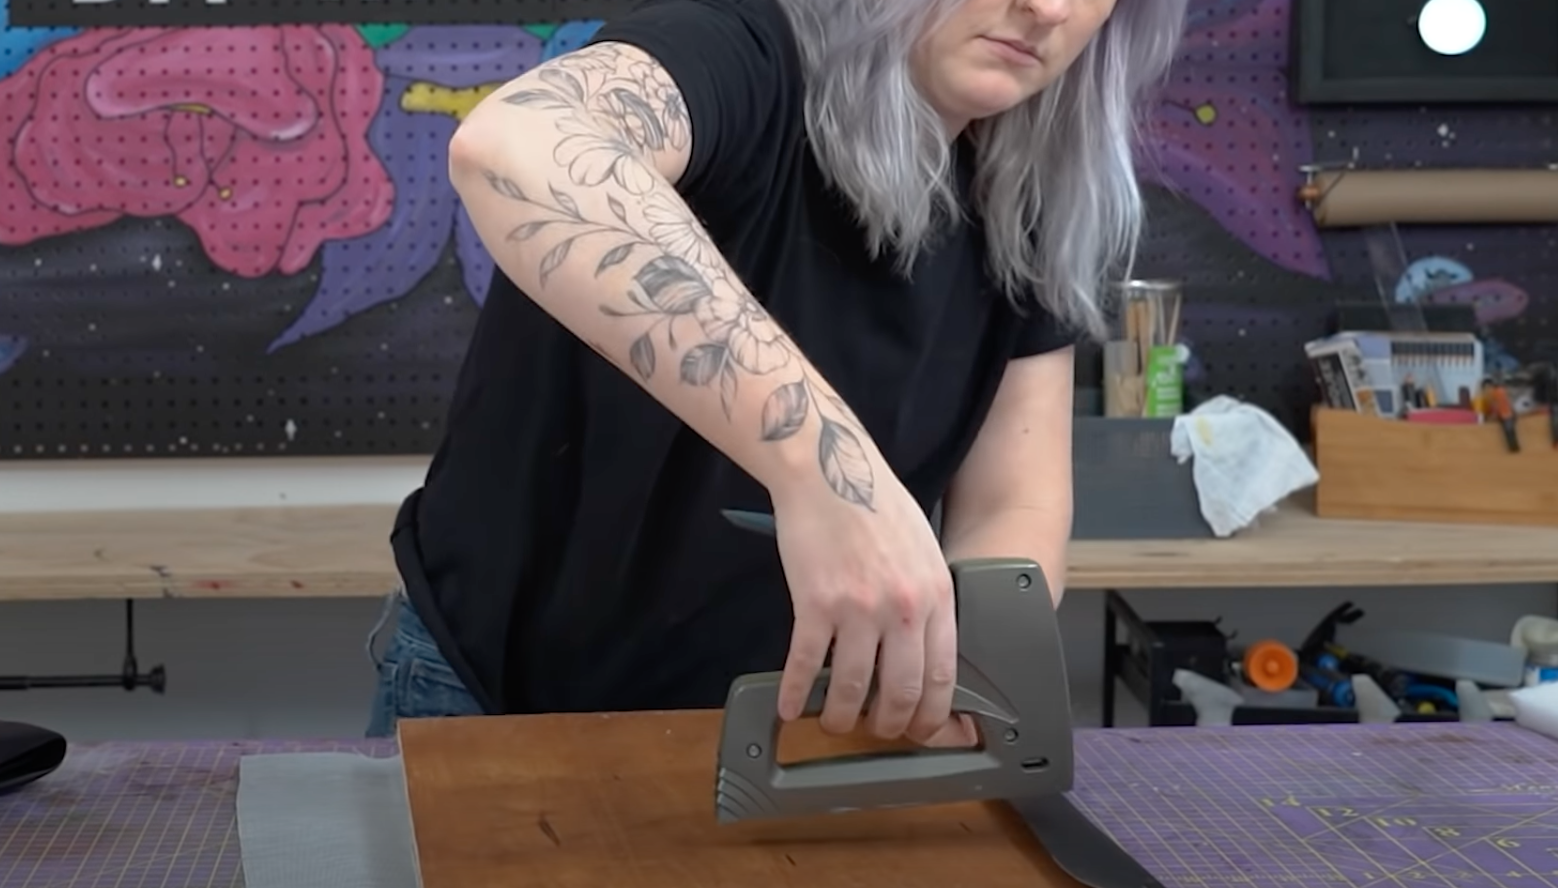
To stain my bench, I used the stain colour EARLY AMERICAN by Varathane. While I waited for my stain to dry, I started working on upholstering the bench seat. For the seat I used faux black leather and 1-inch fibre foam, which I attached by using Gorilla spray glue. I cut my leather to size leaving about two inches of extra fabric on each side. Using a staple gun, I pulled the fabric as snug as possible, stapled it in place and cut off the excess fabric.
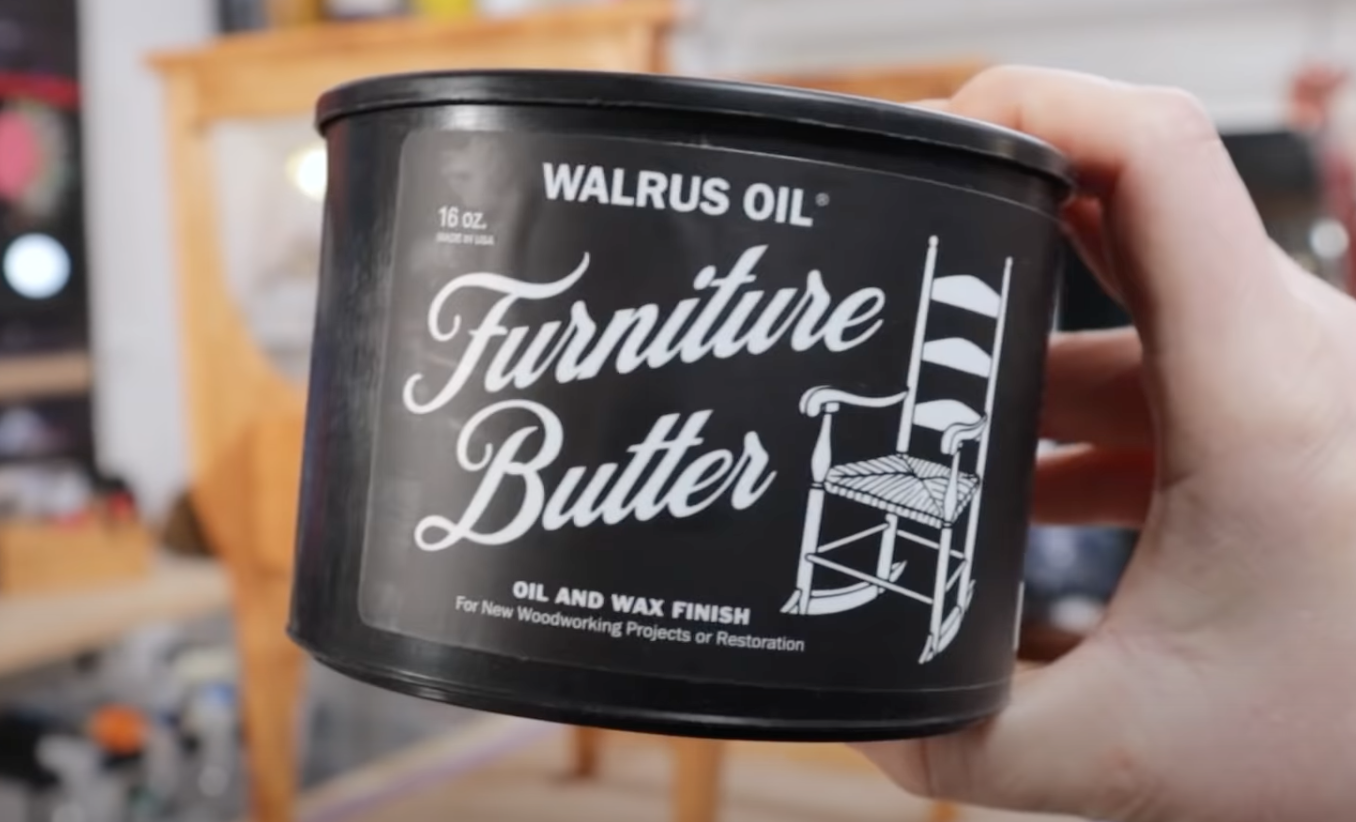
Once the stain was dry, I added a protective finish with a product called Walrus Furniture Butter, an oil and wax that gives extra durability and water protection to your furniture. This needed to sit for 24hrs and then I buffed away any excess. NOTE: Please be careful when using this product - used rags have been known to spontaneously combust if left in unfavourable conditions afterwards. Please discard as indicated on the packing.


