DIY *SMALL SPACE* OFFICE (IKEA HACK!)

I love small space challenges!
My 20’s were spent in basements or teeny-tiny apartments with ZERO storage. I would search for solutions in stores, but each space was so unique that they didn’t exist! Items were too big, too small or not the right shape! I was forced to get creative or live in chaos.
In today’s landscape, small homes are even more challenging to design with work asking us to create full-time dedicated offices.
My friend Jes lived in a small one-bedroom apartment. She needed a diy solution for an office area that also provided lots of storage. She loved MCM furniture and showed me the following photo as inspiration. With this idea in mind we had a great place to start! IKEA HACK to the rescue!

DIY MCM SIDEBOARD IKEA HACK
MATERIALS:
(x3) Large IVAR Cabinets - https://www.ikea.com/ca/en/p/ivar-cab...
(4) Pull Knobs - https://amzn.to/3mBw7YJ *AF
(2) Tapered Wood Feet Sets- https://amzn.to/3jkicEi *AF
Dark Walnut Stain - https://amzn.to/3krVVnA *AF
Pine Shop Shelving Wood - https://bit.ly/3kth1Sr
(1) - 3/4-inch x 20-inch x 72-inch
(2) - 3/4-inch x 20-inch x 96-inch
TOOLS:
Brad Nailer - http://bit.ly/2IrkwpZ
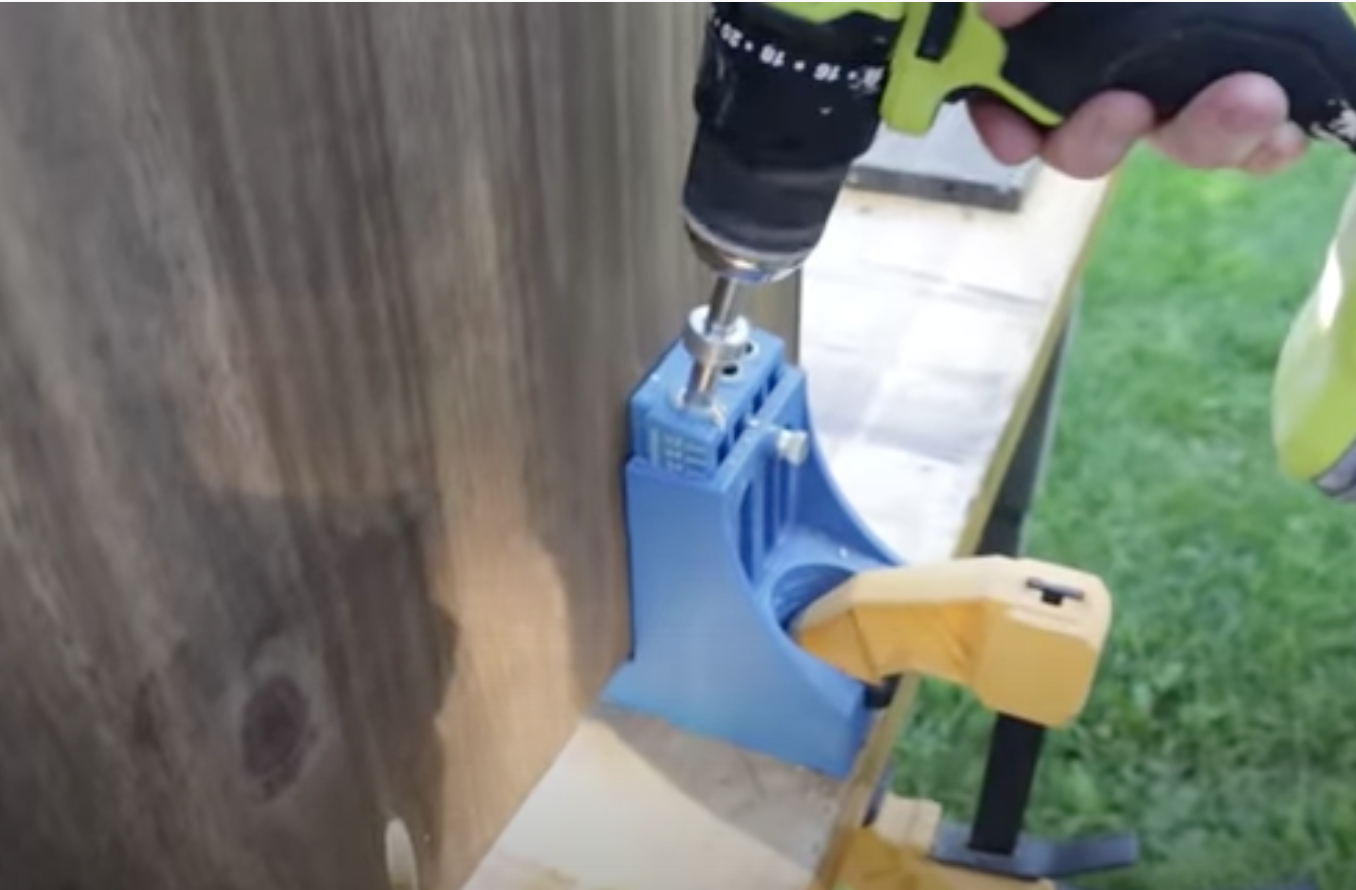
Kreg Jig Pocket Hole Jig - https://bit.ly/39Vhnhc
Drill - https://bit.ly/3b2IJ2q
Table Saw - https://bit.ly/3zlBgYF
Circular Saw - http://bit.ly/2T2yH9O
Kreg Jig Rip-Cut Circular Saw Guide - https://amzn.to/3gB4V8N *AF
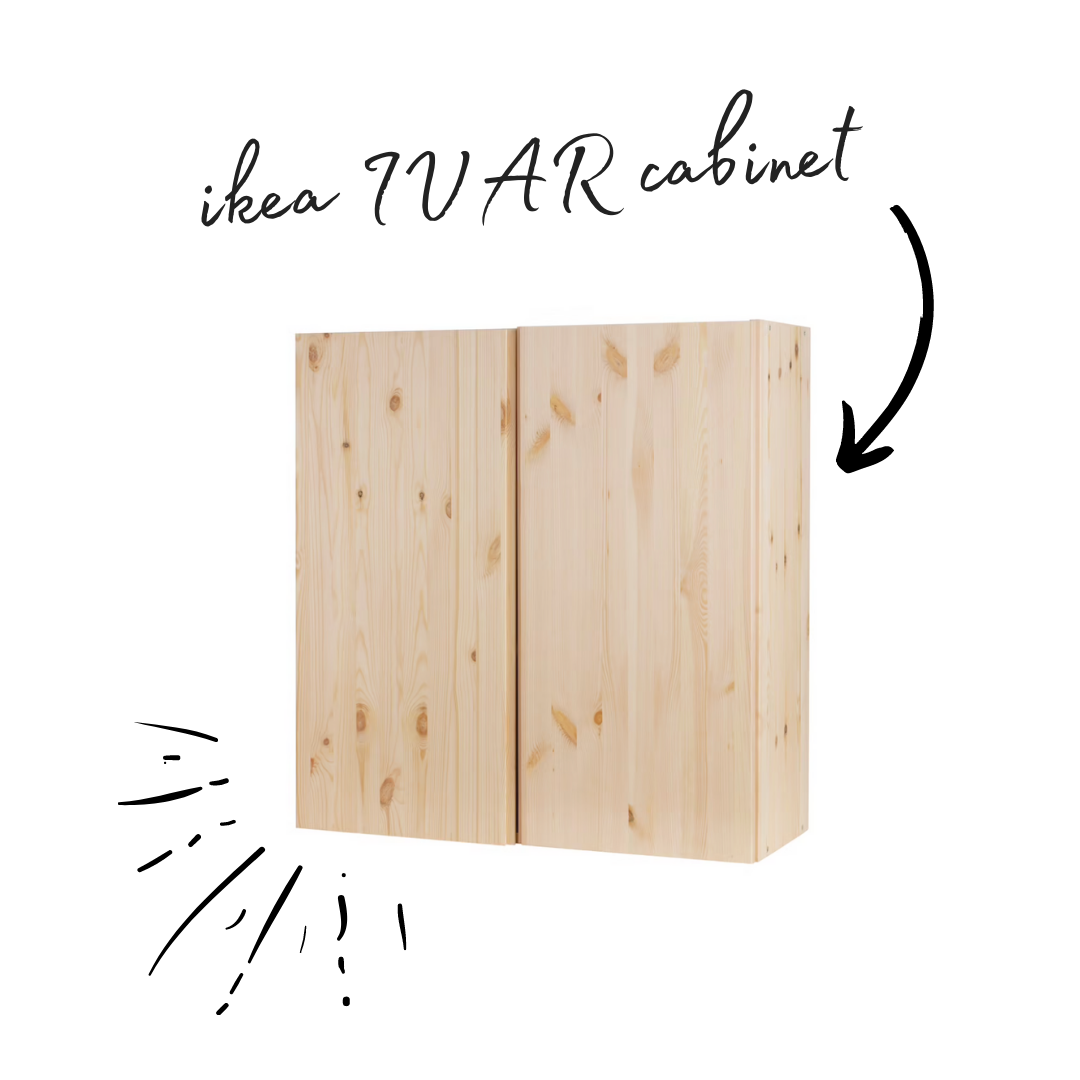
We hacked the large Ikea IVAR cabinets for this project. They are affordable, durable and made of solid pine. Due to its untreated nature - it can be painted, oiled or stained according to your preferences.
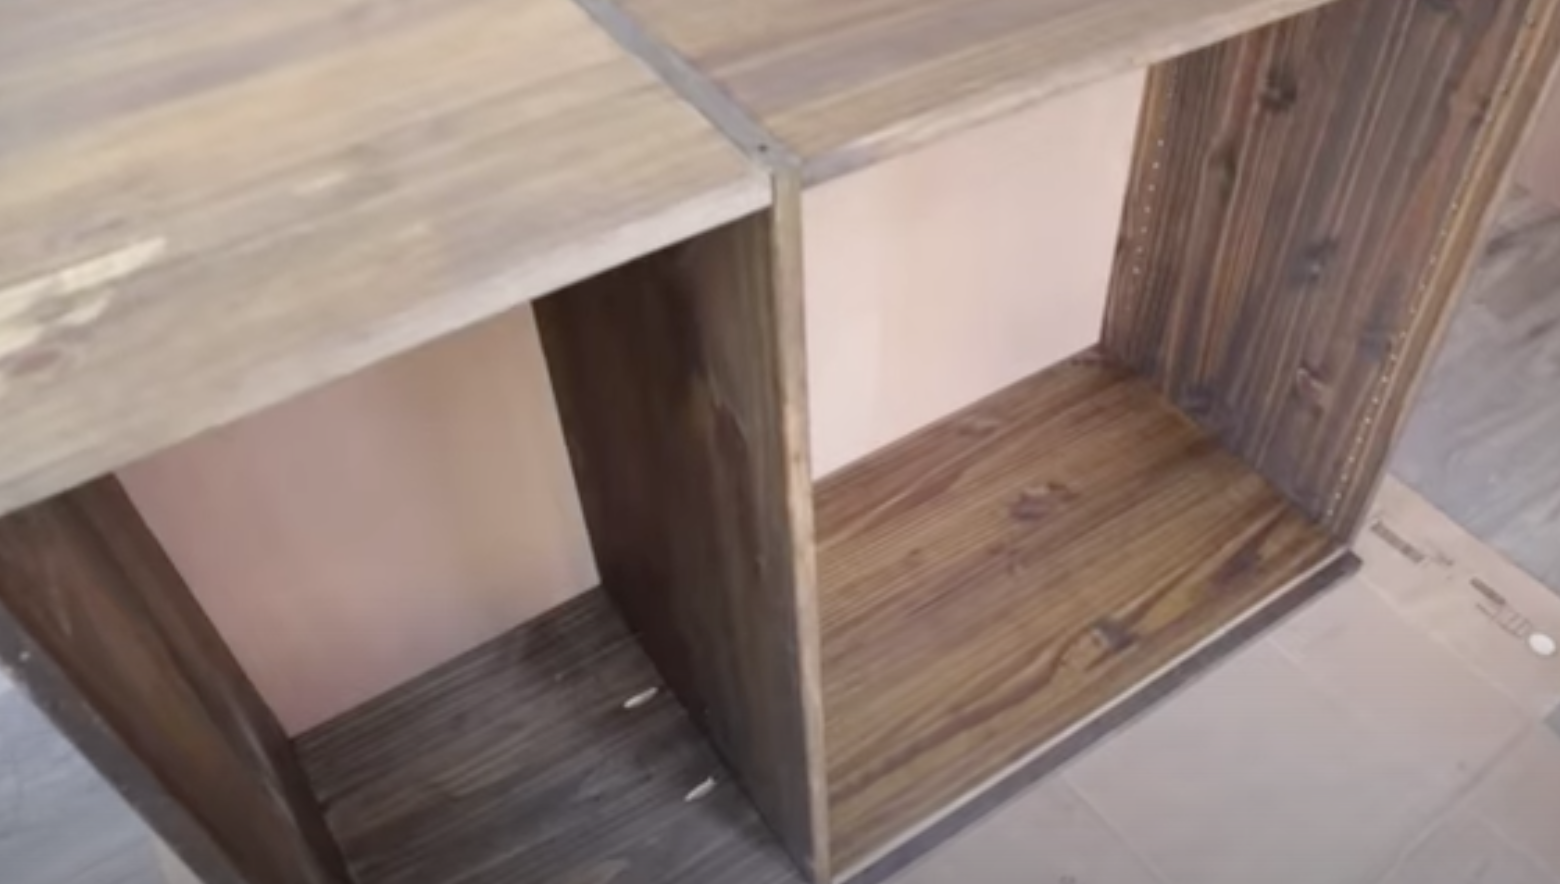
We purchased 3 in total. Two were used on each end and one was cut in half to become open shelving attachments on each side. The middle would then work as a desk.
MY SKETCH
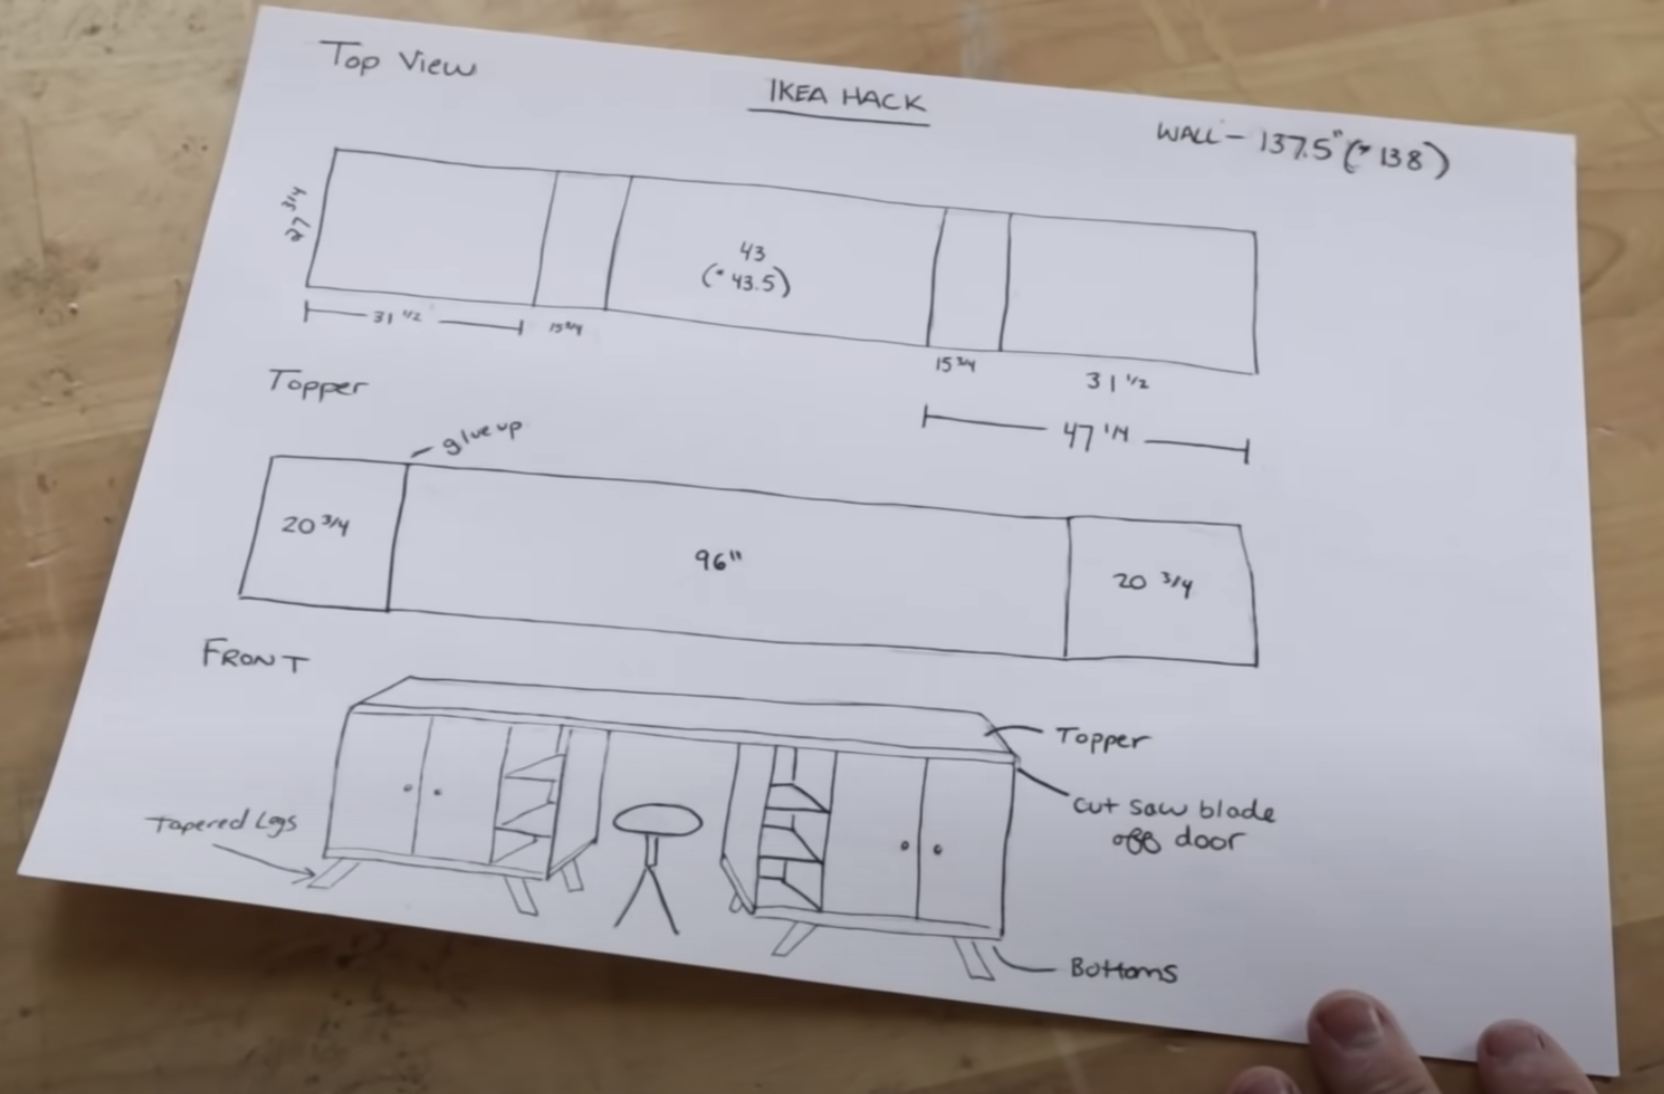
CUT LIST
Laminated Boards:
(2) 20.75” x 20”
(2) 47.25” x 20”
(1) 96” x 20”
IVAR Cabinet # 1/2:
(4) Doors - Remove 1” from inside lip
IVAR CABINET #3:
(2) Doors - Cut (4) 1” strips from outside to glue up to IVAR 1/2 Doors
(2) Shelves - Cut both shelves in half to create 4 pieces
Top and Bottom - Cut into (4) 15.75” pieces
Back board - Cut in half.
STEPS
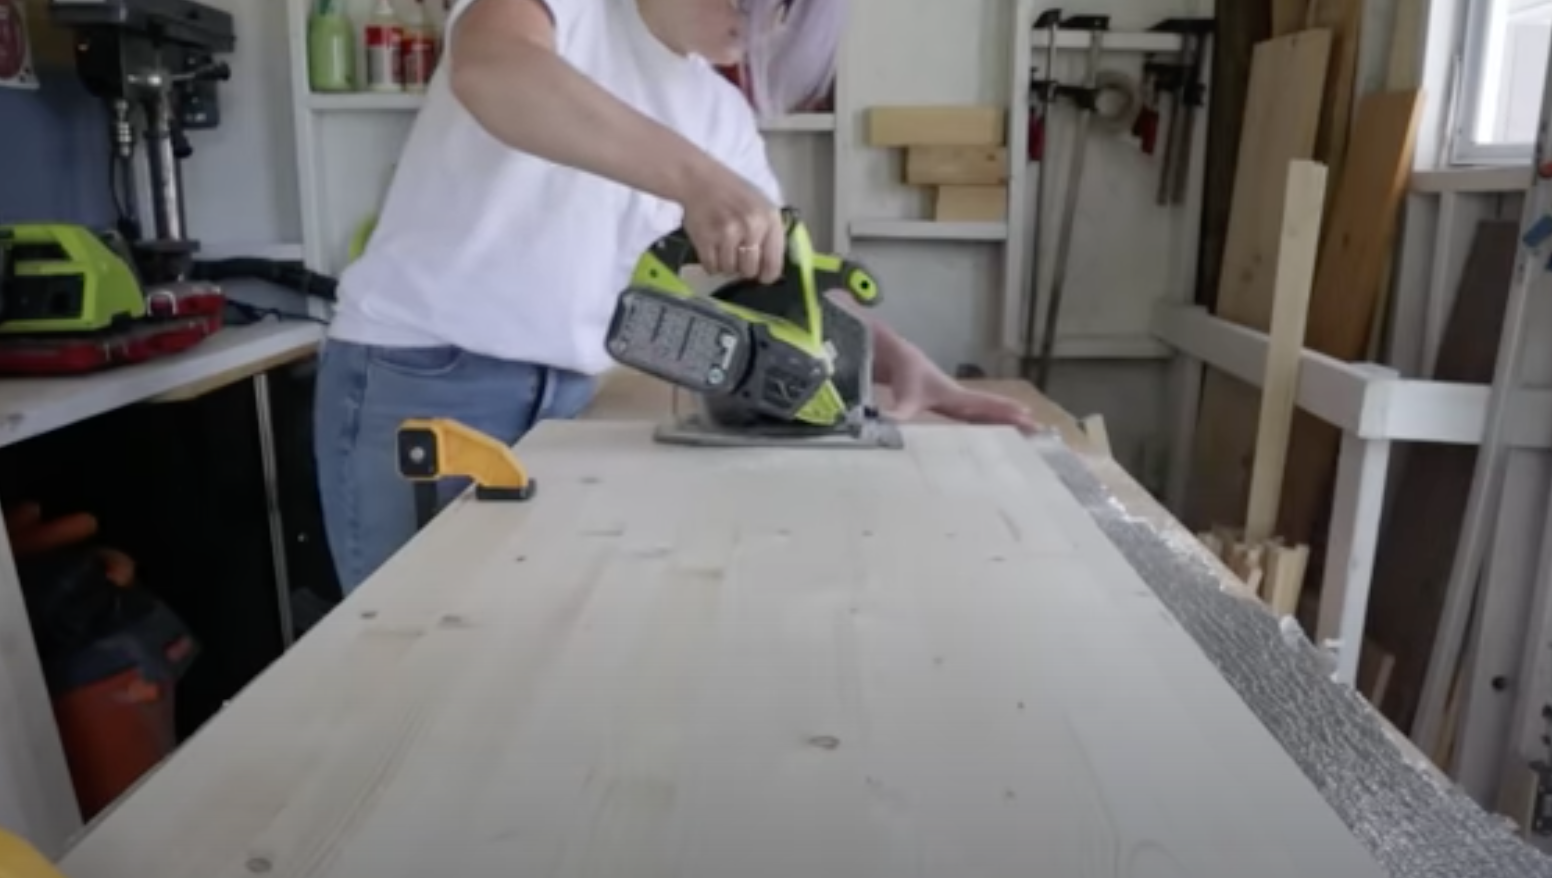
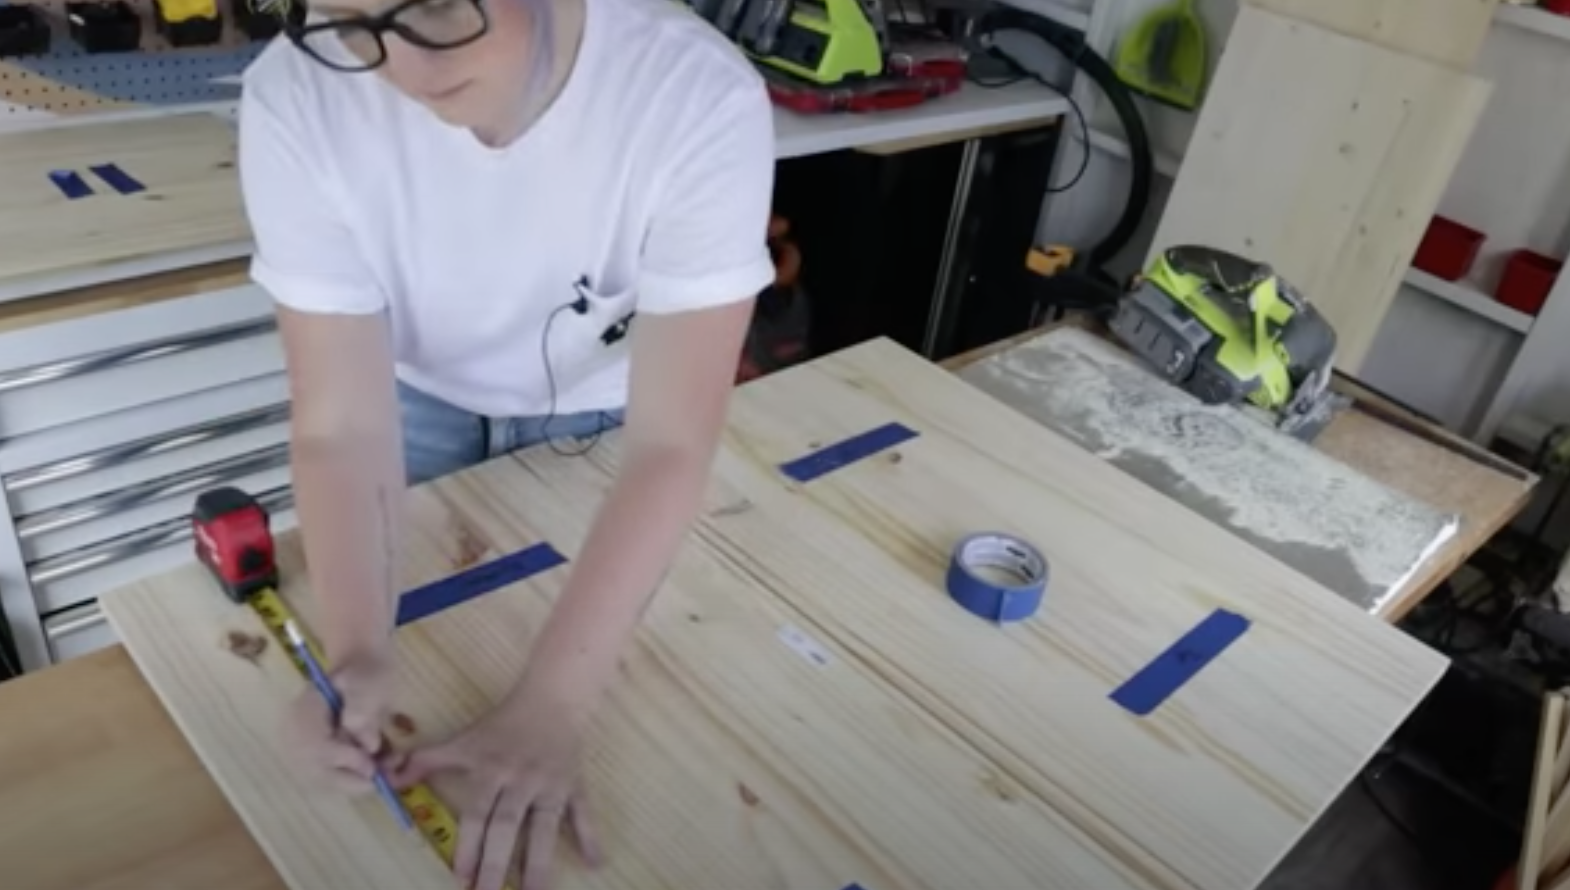
Cut all laminated pieces to according to cut list
Cut Ivar Cabinet #1/2 doors according to cut list
Cut Ivar Cabinet #3 according to cut list
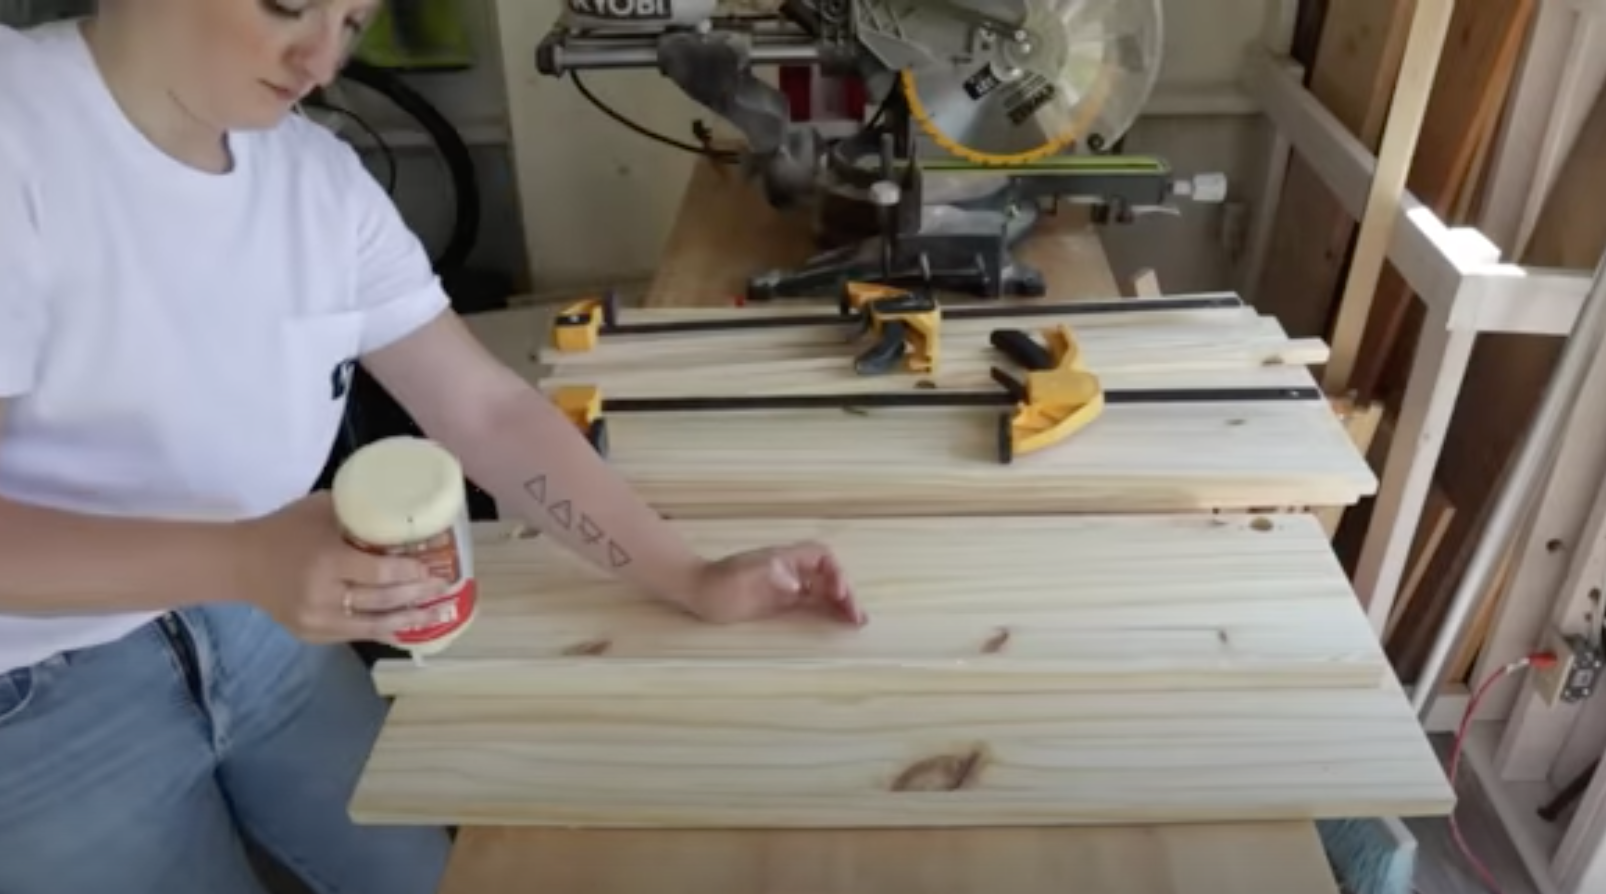
Using wood glue and clamps - clamp and glue all 1” pieces taken from #3 cabinet door to each door on cabinets # 1/2. TIP: Use wood glue and saw dust mixed together to fill any holes or gaps once wood glue is dry from your glue up.
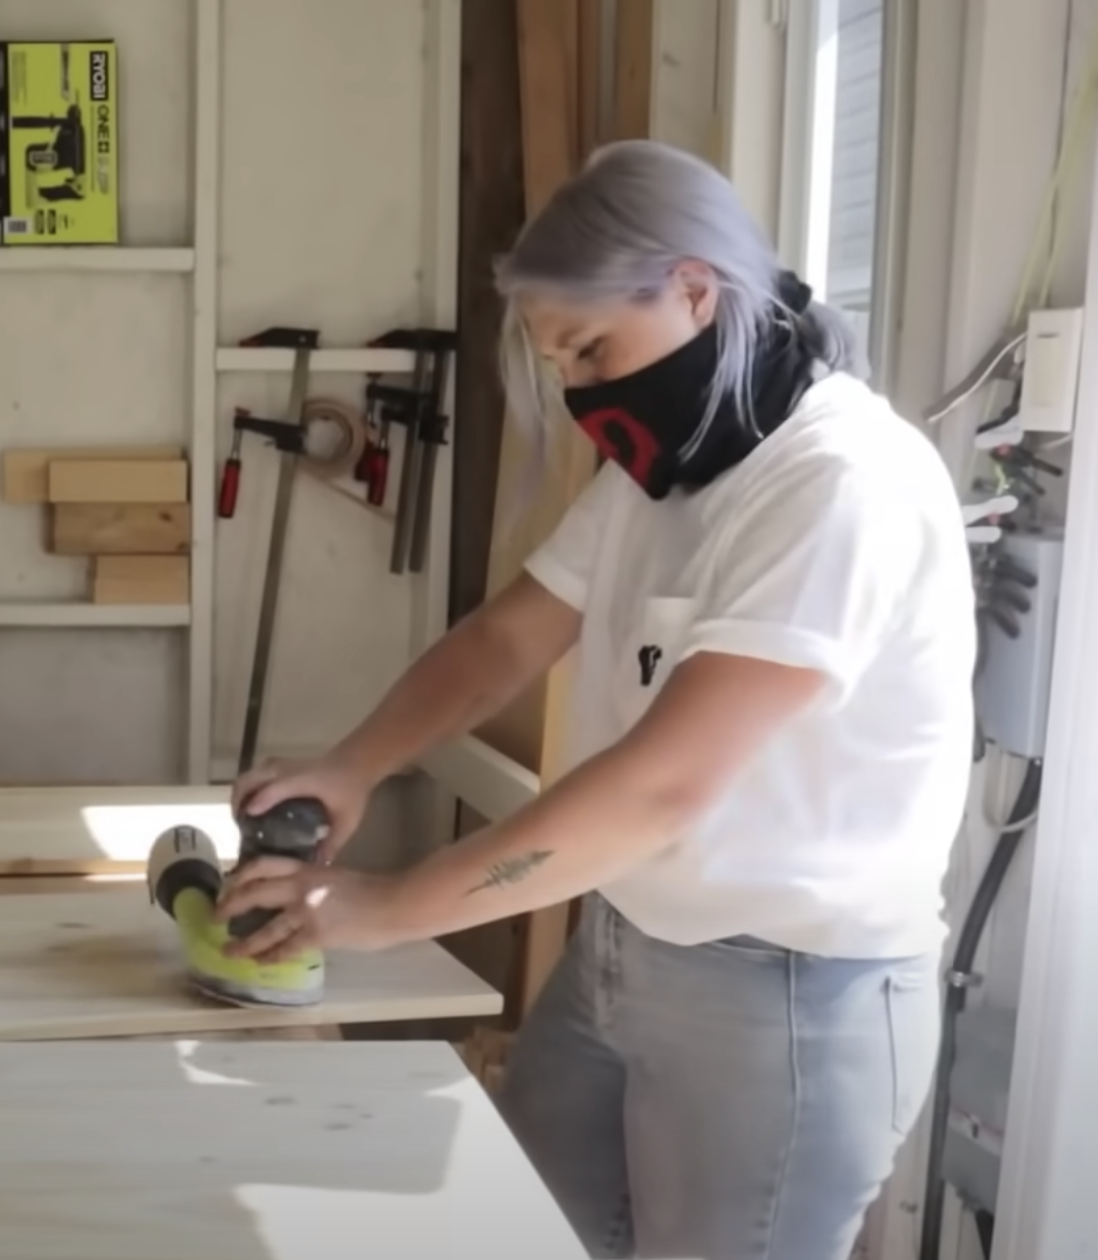
Sand all wood cuts and prep for staining using 220 grit sandpaper
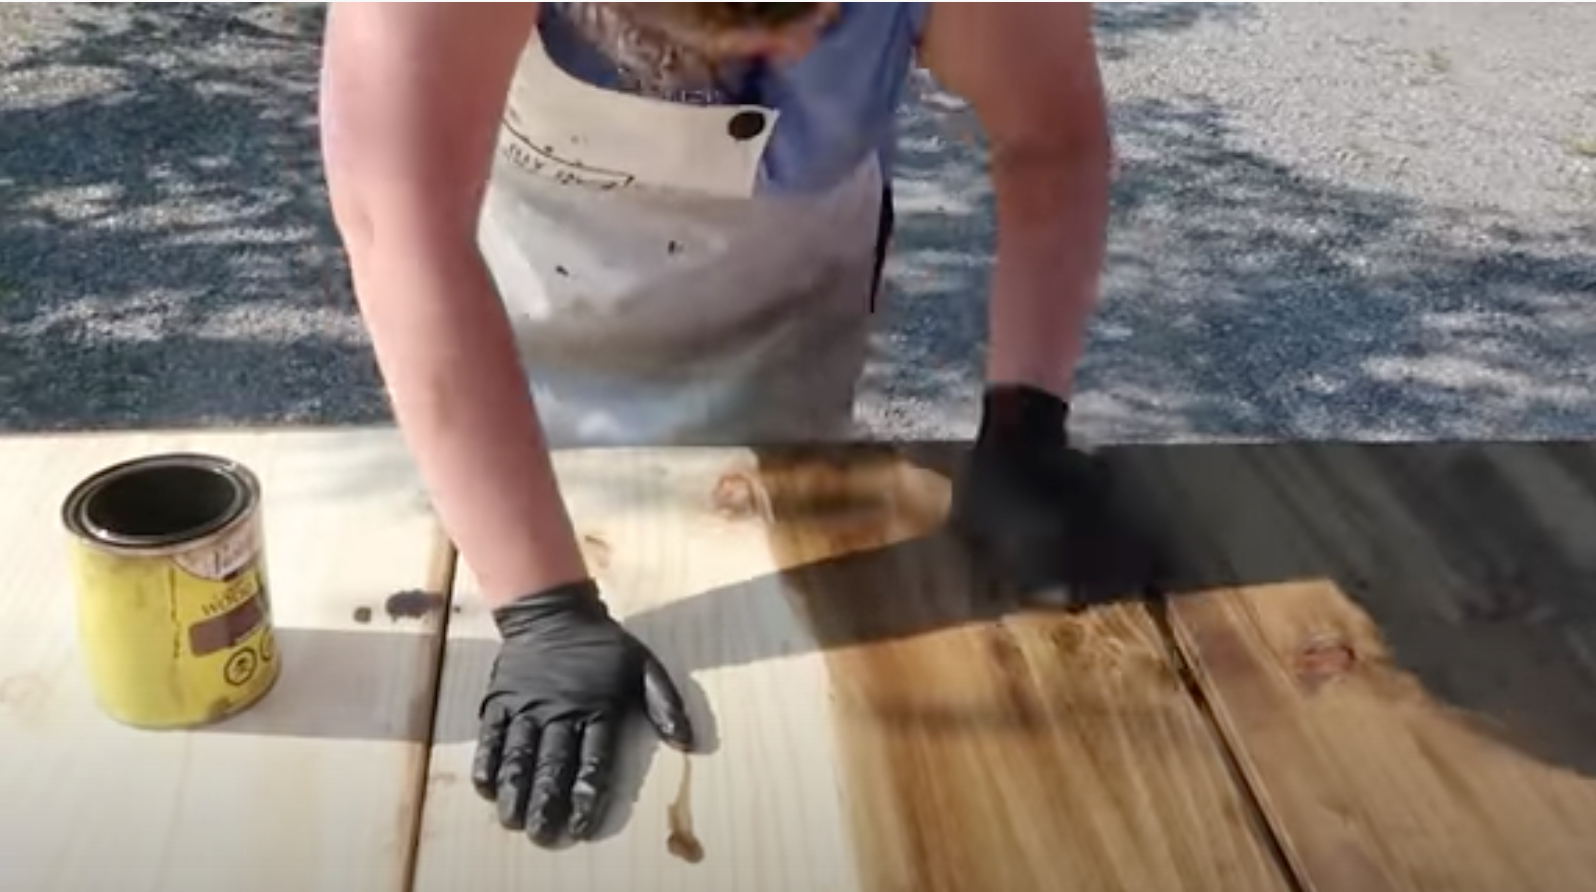
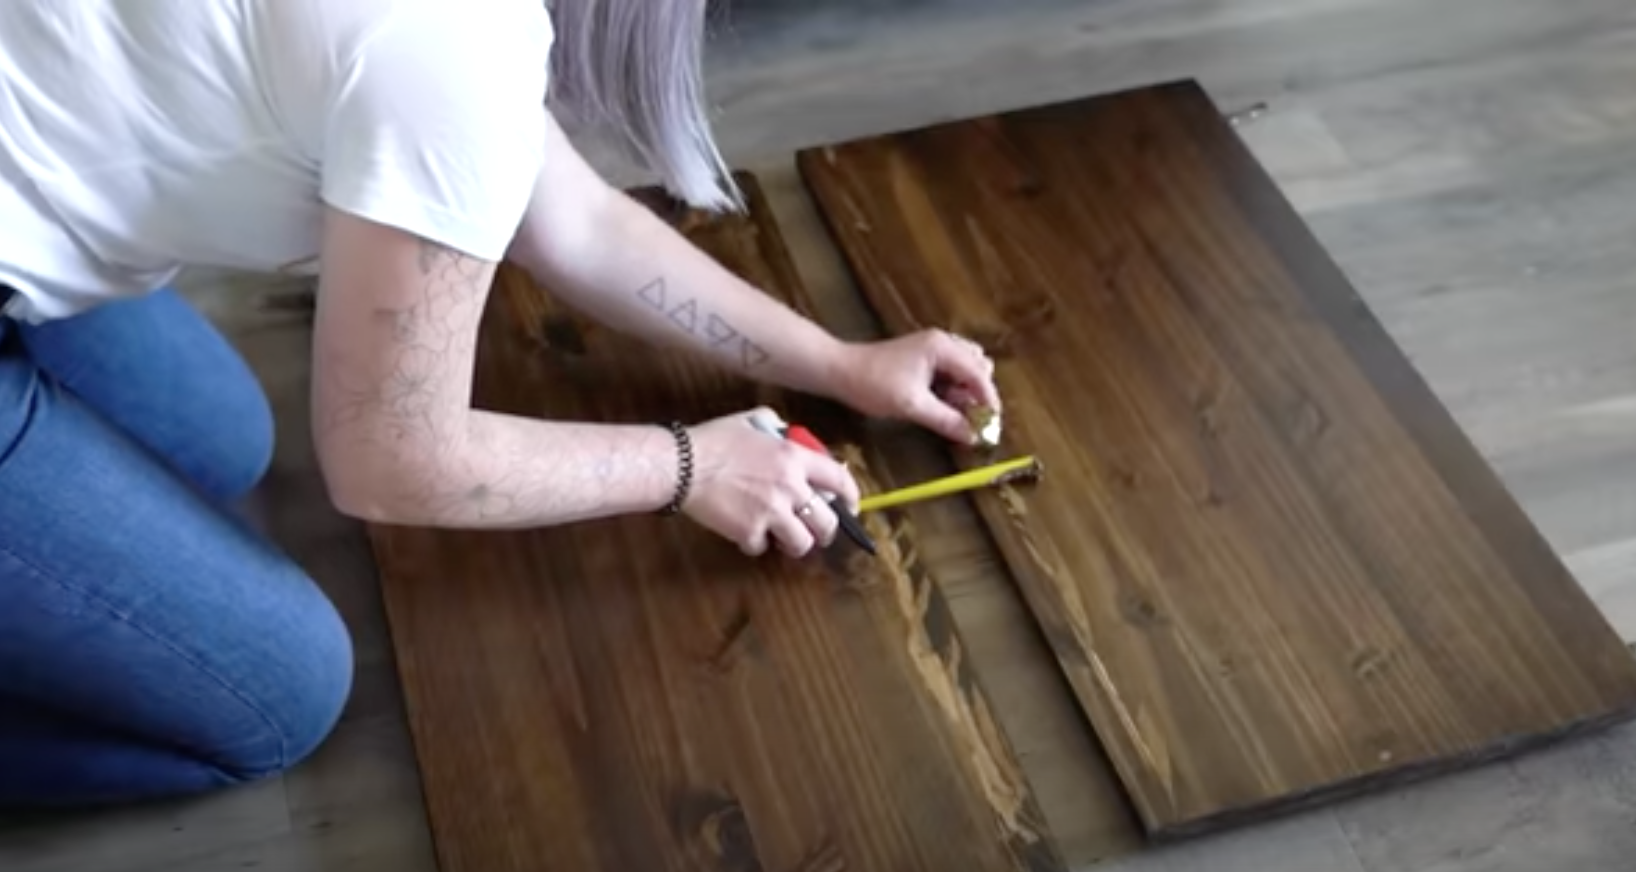
Stain all the wood pieces using your stain colour of choice
Once dry - build both ivar cabinets 1 & 2 in full.
Add pocket holes to both top and bottom pieces for cabinet # 3 - (at this point you should have two of everything - one for left and right side). Be careful to only place pocket holes on the underside of each board and keep the holes to the side that will face into the cabinets 1/2. You don’t need pocket holes on the other side as you will use the intended IKEA hardware to build half the cabinet. The pocket holes will allow you to secure the other side to the full ivar cabinet.
Use the intended IKEA hardware to build each half of your cabinet # 3.
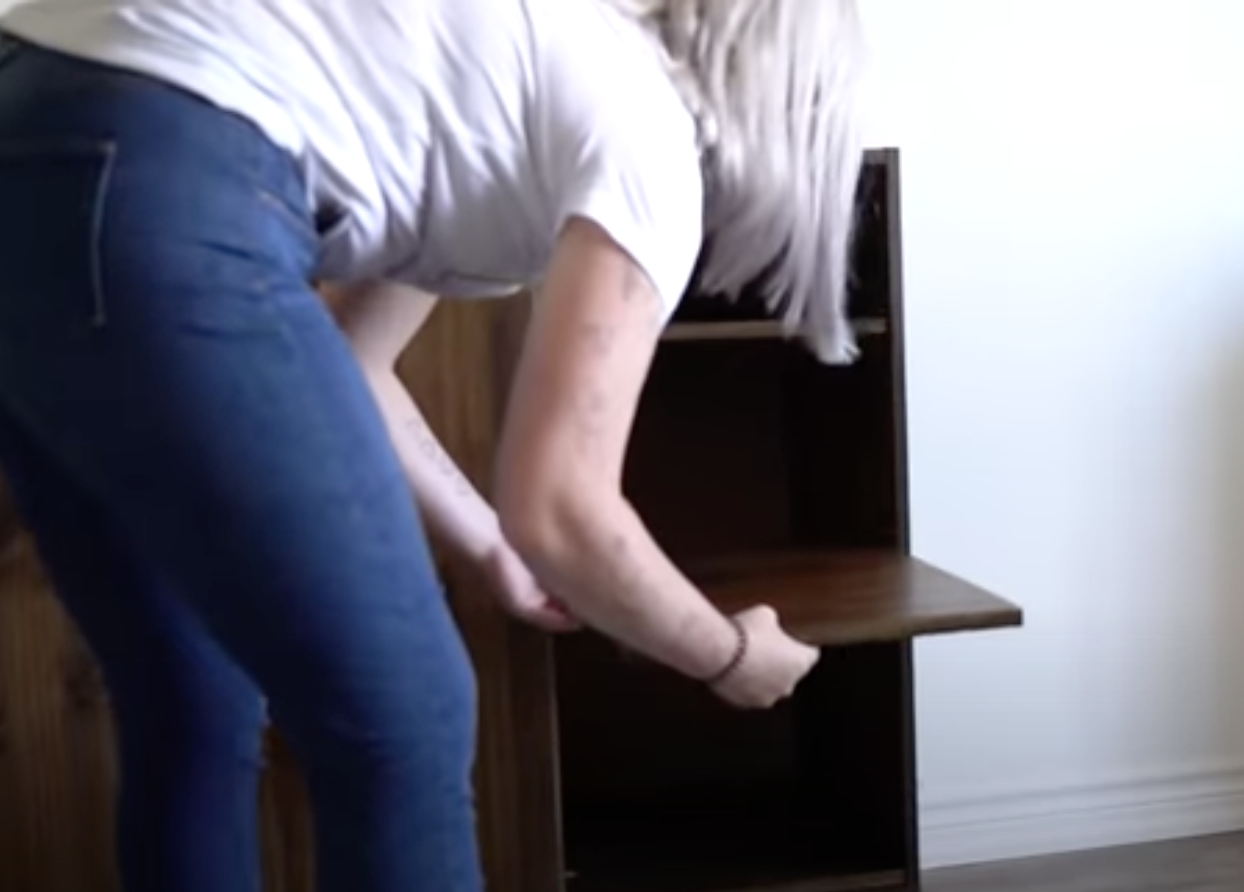
Line up and secure the bottom of IVAR cabinet 1 to the edge of (1) 47.25 laminated wood piece using 1 .25” wood screws.
Add your built half-shelf to the remaining section but push it forward so that the front lines up with the front of your laminated board.
Secure your half shelf in place and screw in your pocket holes into cabinet #1.
Repeat steps 10-12 for the other side.
Determine where your shelves will go in the open shelving area. Level and drill holes inside to fit the intended metal brackets that will hold the shelves up.
Add wood finish to both cabinets/doors to ensure durability. Let dry.
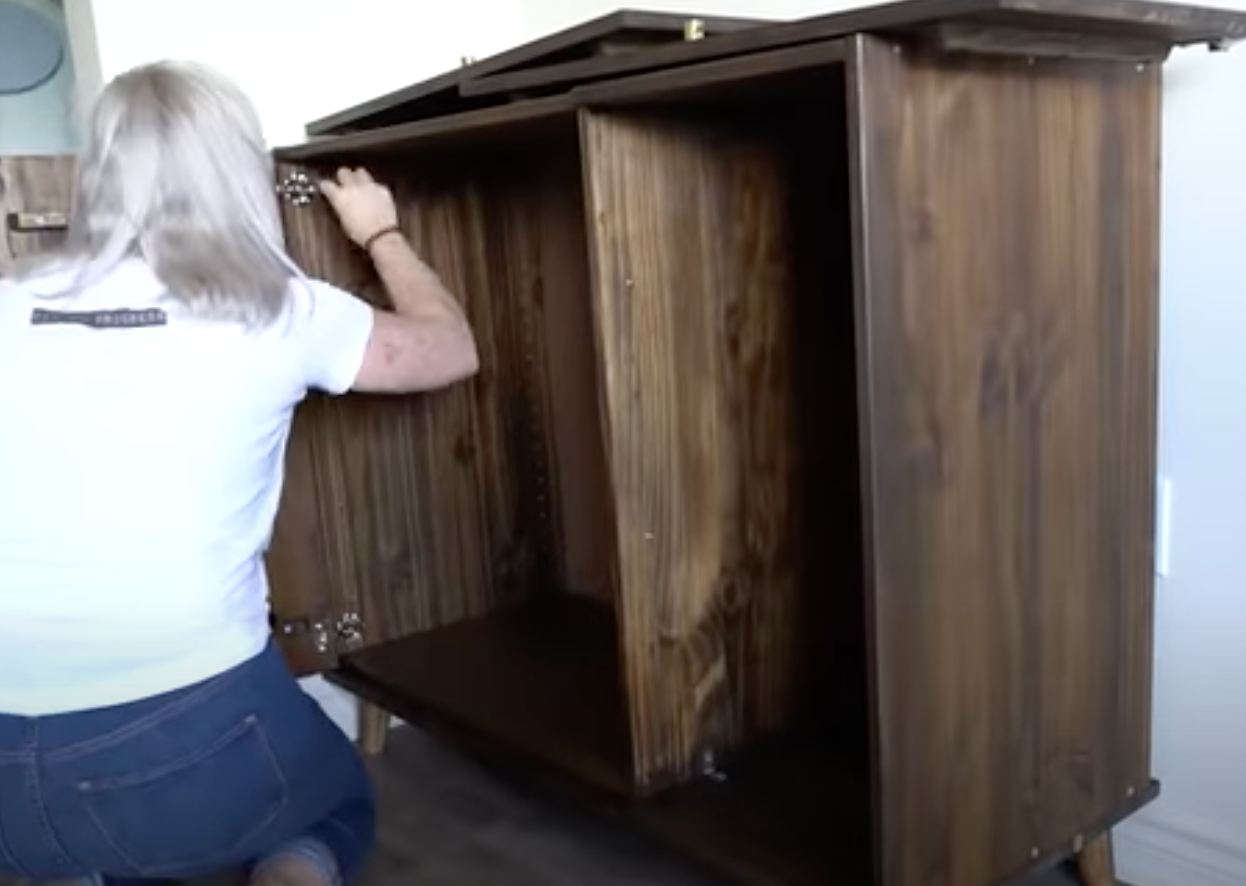
place both cabinets into place.
Add tapered feet to bottom of cabinets.
Add new hardware pulls to doors.
Add doors to IVAR cabinets 1/2.
Add desktop and secure in place using brad nails or screws.
enjoy!


For the mid-century modern look we used Varathane dark walnut stain and stained the exterior and interior of the entire sideboard. Although, from more recent DIY pieces, I believe a more accurate MCN look is to use EARLY AMERICAN wood stain.
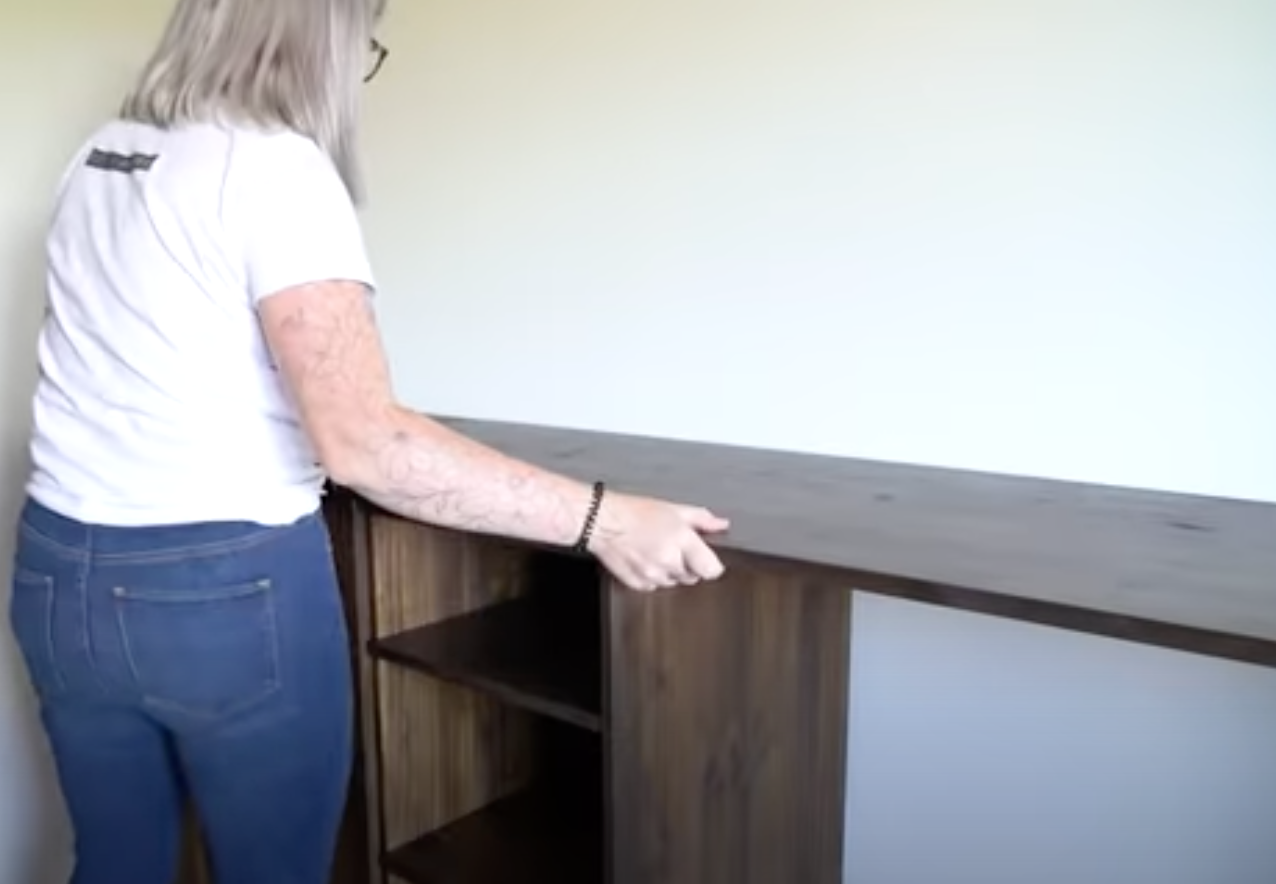
THE FINAL REVEAL!
And there you have it friends! A complete functional mid-century inspired workspace for Jes! If you are looking for the nitty gritty details check out the full video on my YouTube channel (see the link below).


