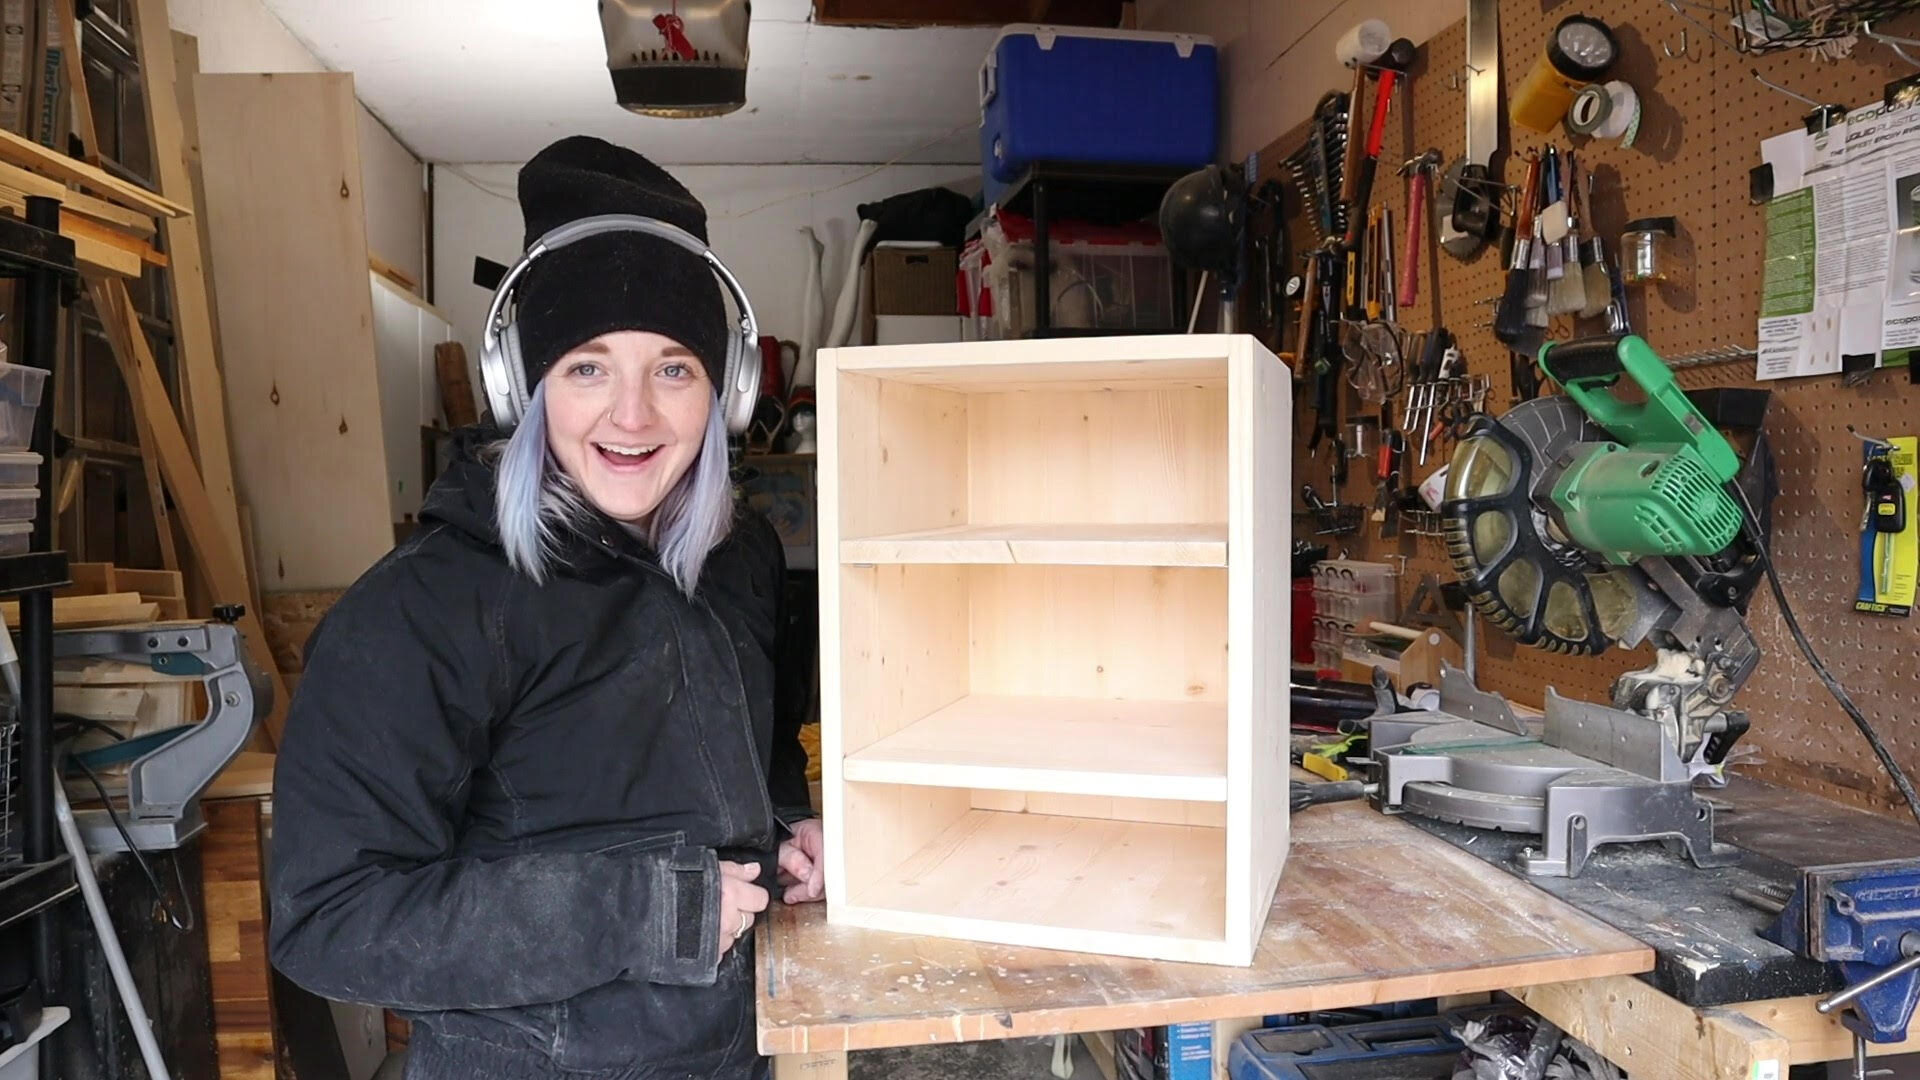
Adjustable Open Shelf Cabinet
There is nothing more rewarding than creating a DIY furniture piece that resembles the function and look of any store bought item! While this might not be a huge accomplishment for a common carpenter, I was pretty darn proud of myself as a "diy in progress" gal! This DIY Adjustable Shelving Unit was such a fun piece to make and wasn't difficult to build either!
If you have some basic tools around your home, I know you'll be able to build this awesome adjustable shelf too!

Materials:
Laminated Paneling or similar wood (ply etc) Dimensions are based on 3/4’’ thickness.
1 1/4’’ - 1 1/2’’ wood screws
1’ of 1/4’’ steel or aluminum rod
stain and finish of your choice
wood glue
wood filler
Tools:
measuring tape
drill
1/4’’ drill bit
countersink bit (optional)
clamps (optional but helpful)
masking or painters tape (optional to mark drill depth)
saw of your choice (hand, circular)
sandpaper (60-220 grit)
hack saw with metal blade
Optional *Pocket hole Jig + Screws
Cuts
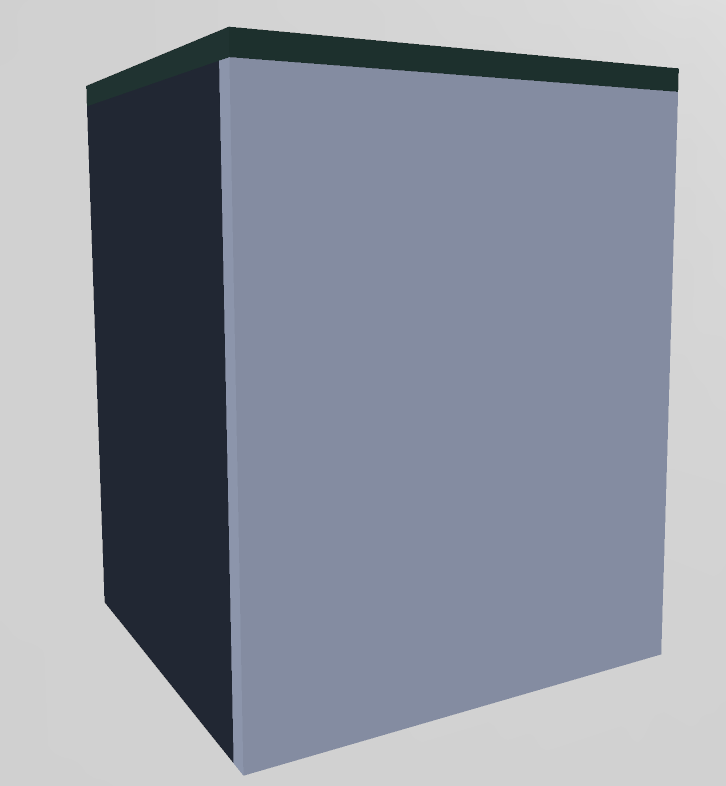
1. Make the appropriate wood cuts listed below, sand the pieces lightly to smooth any rough edges. Below are models to reference the cuts by colour:
Wood cuts:
· Bottom (GREY): 14’’ x 14’’

· Sides (BLUE x 2): 19.25’’ x 14’’

· Top (GREEN): 15.5 ‘’ x 14.75’’
· Shelves (PINK): 14’’ x 14’’ (you may want to slightly under size these for ease of fitment)

· Back (LAVENDER): 19.25’’ x 14.75’’
2. Drill holes to house the pins shelf support pins. On the side panels, draw lines from the top to the bottom of the panel, 1.25’’ from the front and back. Mark at regular intervals, greater than or equal to 2’’. Drill ¼’’ diameter, ½’’ deep, blind holes at each mark. Remove your markings with sandpaper once complete.

TIP: make sure your hole depth is correct by using tape on the drill-bit or setting the plunge depth appropriately on your drill press.
Assemble the box.
3. Pre-drill, glue and screw the side and back panels onto the bottom panel. Consider using a countersink bit for a cleaner look. Alternatively, you can use pocket holes on the underside of the bottom panel.
4. Fasten the sides to the back panel. Drill, glue and screw through the back panel, into the side panels. 2-3 locations on each side.
5. Attach the top panel to the cabinet. Glue and 1.5-2’’ brad nails works for a clean finish. If the cabinet top will not be visible, using screws, same as the previous panels, works great too.
Finish:
6. (Optional) Stain the cabinet and the shelves. Apply a protective finish topcoat according to product instructions and targeted appearance.
7. Cut 12, 1’’ pieces of ¼’’ steel or aluminum rod with a hack saw. Clean up rough edges with sandpaper. Tap into the appropriate pin holes to support the shelves at the desired levels.
8. Rest the shelves on the support pins and you’re all finished 😊.