
Easy DIY Kids Art Display Racks
If you have creative kids who love to paint, draw and colour, there's no doubt they're always whipping up new masterpieces to display on the fridge! However, it doesn't take long before a few adorable art pieces on display, start too create the look of clutter and disarray! (Wait - Did that rhyme? )
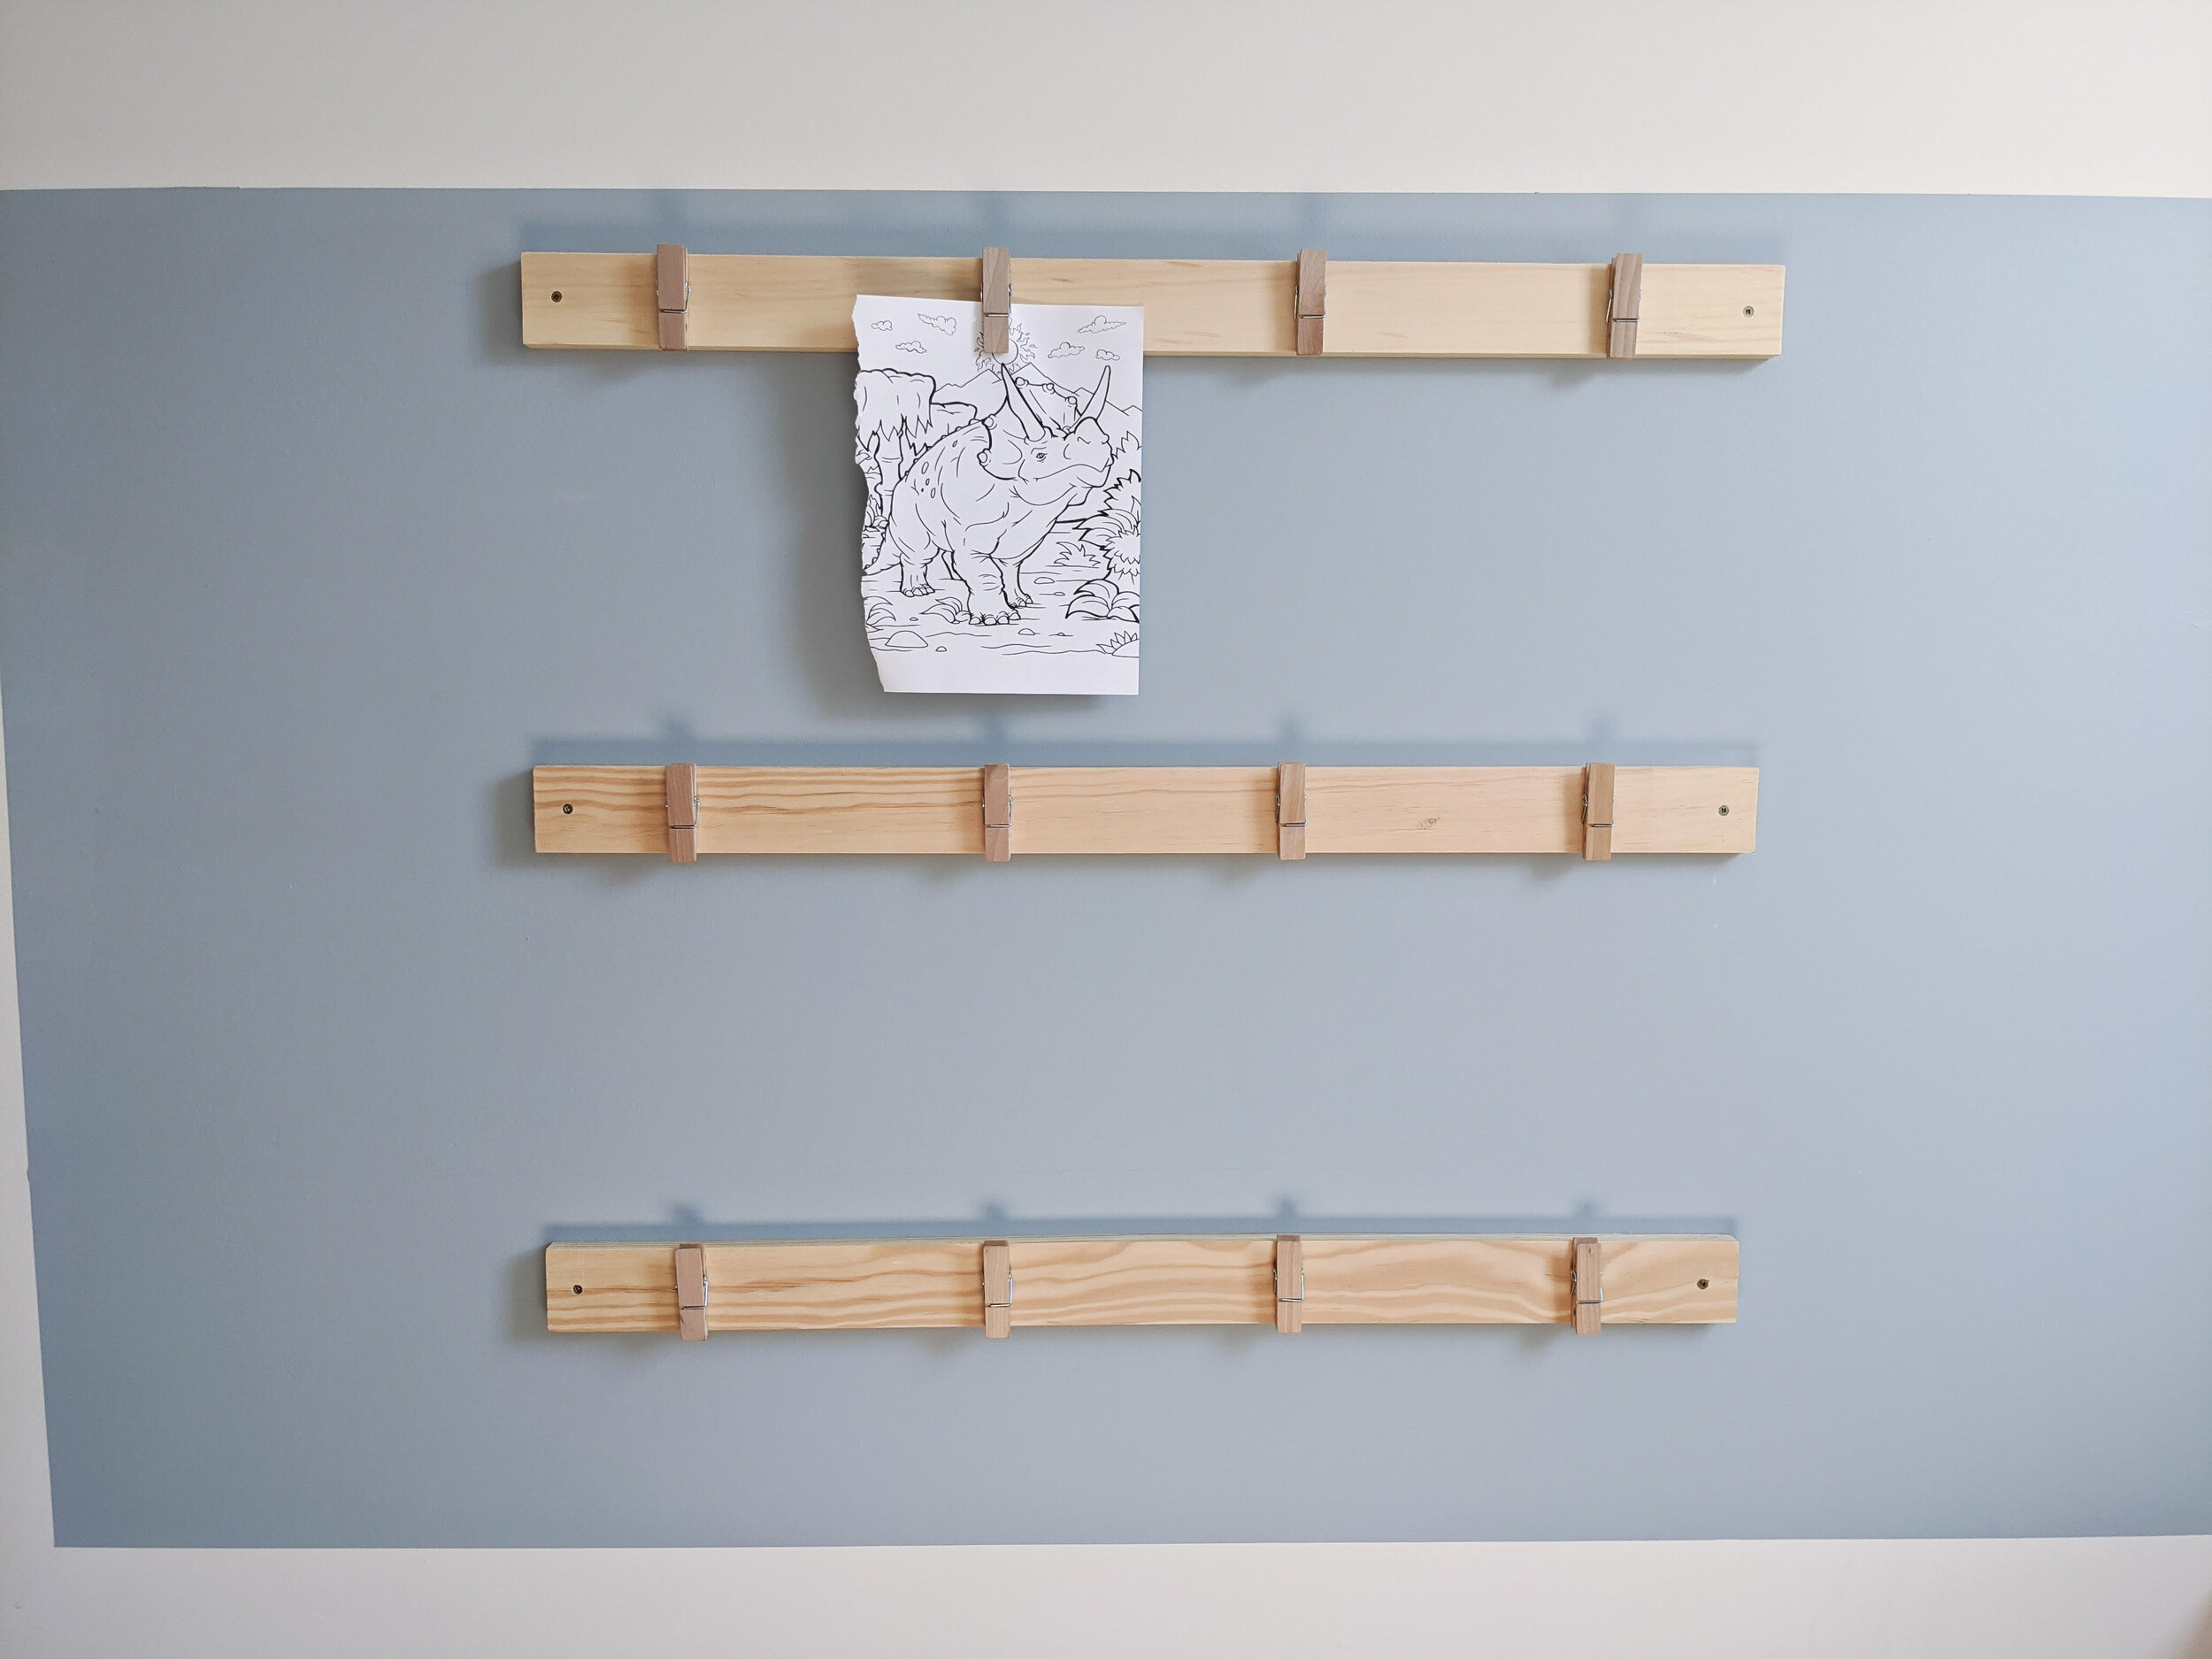
Let's free the fridge clutter and create a place to display all their favourite art pieces with these REALLY simple + beautiful DIY Art Display Racks!
Materials

1’’ x 4’’ lumber (Length of your choice)
extra wide wooden cloths pins, link in picture caption
Industrial glue
stain and finish of your choice (optional)
Tools
Drill
1/8’’ drill bit or as appropriate for your mounting hardware (I used #8 screws)
sandpaper (80-220 grit by choice for finish)
countersink bit (optional)
BUILD
1. Cut a 1’’ x 4’’ piece of lumber to 36’’ (or adjust to sizing of your choosing)
2. Pre-drill and countersink mounting holes on both ends of the board, in the middle, approximately 1’’ from the edge.
3. Glue 8 large wooden clothes pins at regular intervals, across the board.
Mark the center with a line to ensure consistency. I used an industrial strength hot glue gun, but other glue options should be strong enough, heavy items should not be hung from the pegs.
4. Sand any rough edges and remove markings.
5. Apply a stain and finish according to your preference.
