
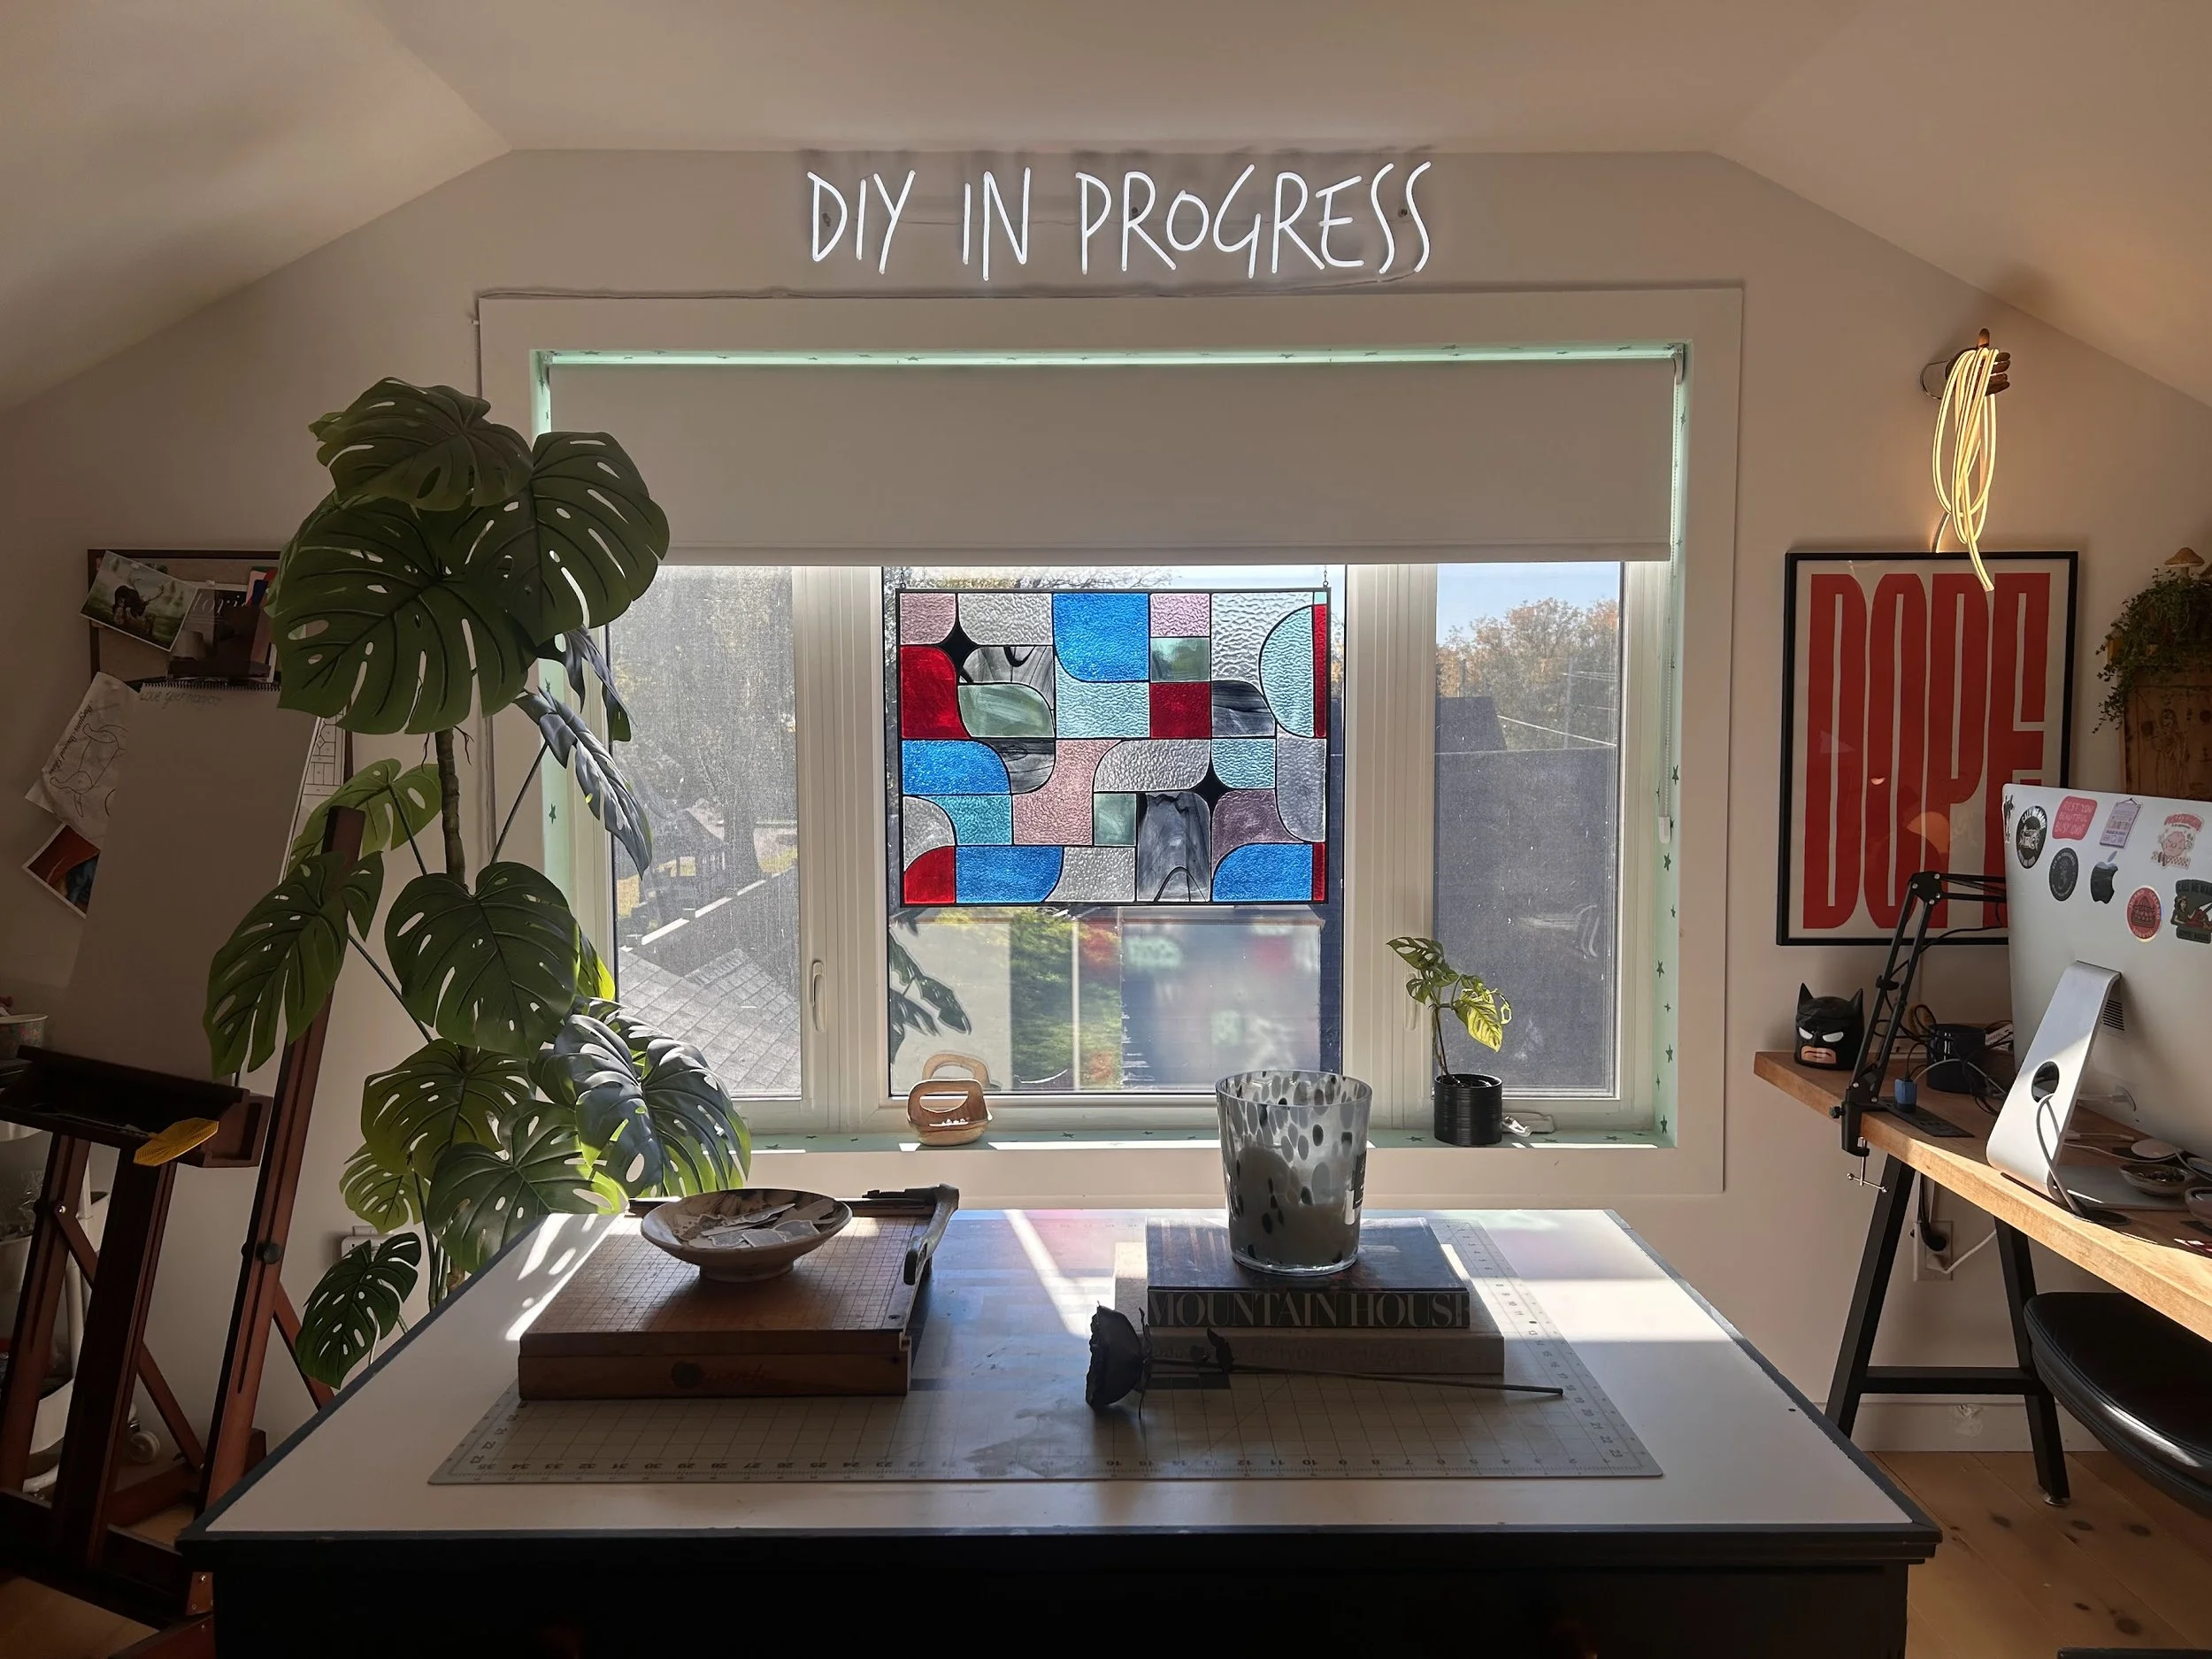
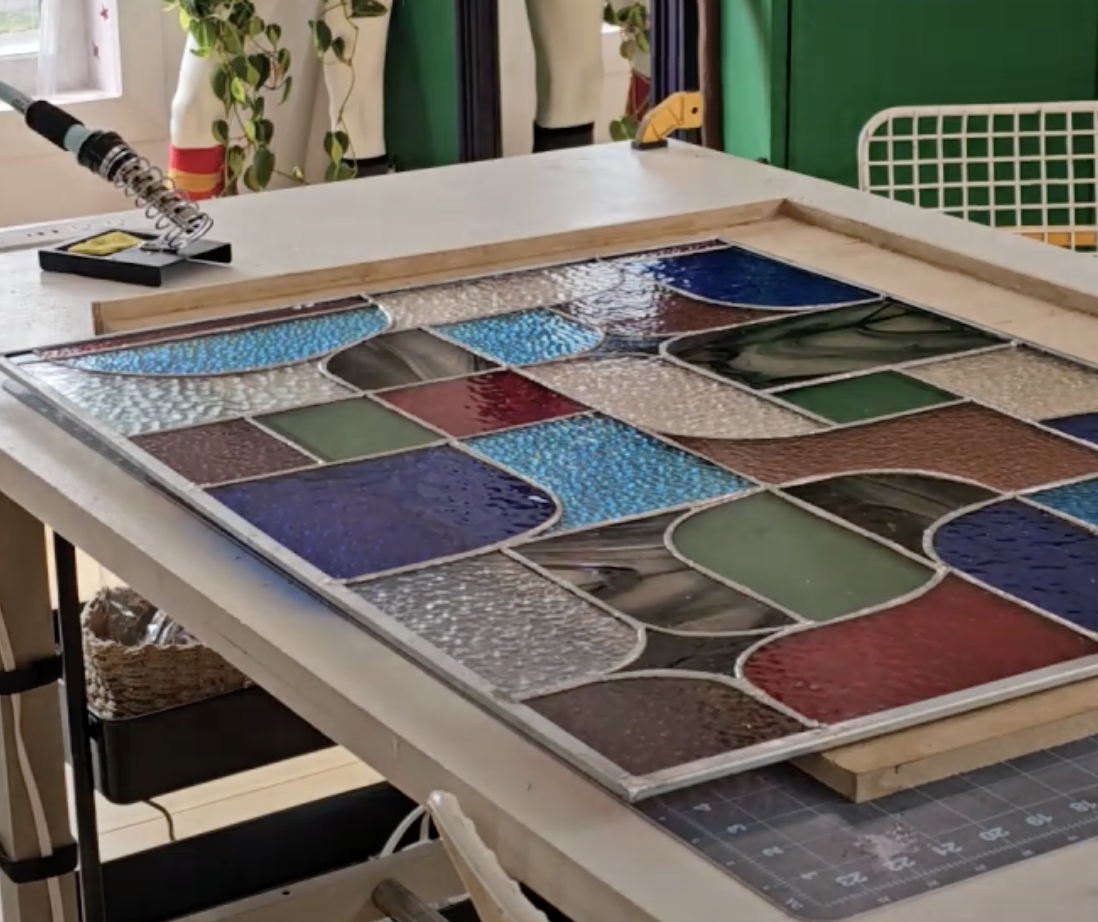
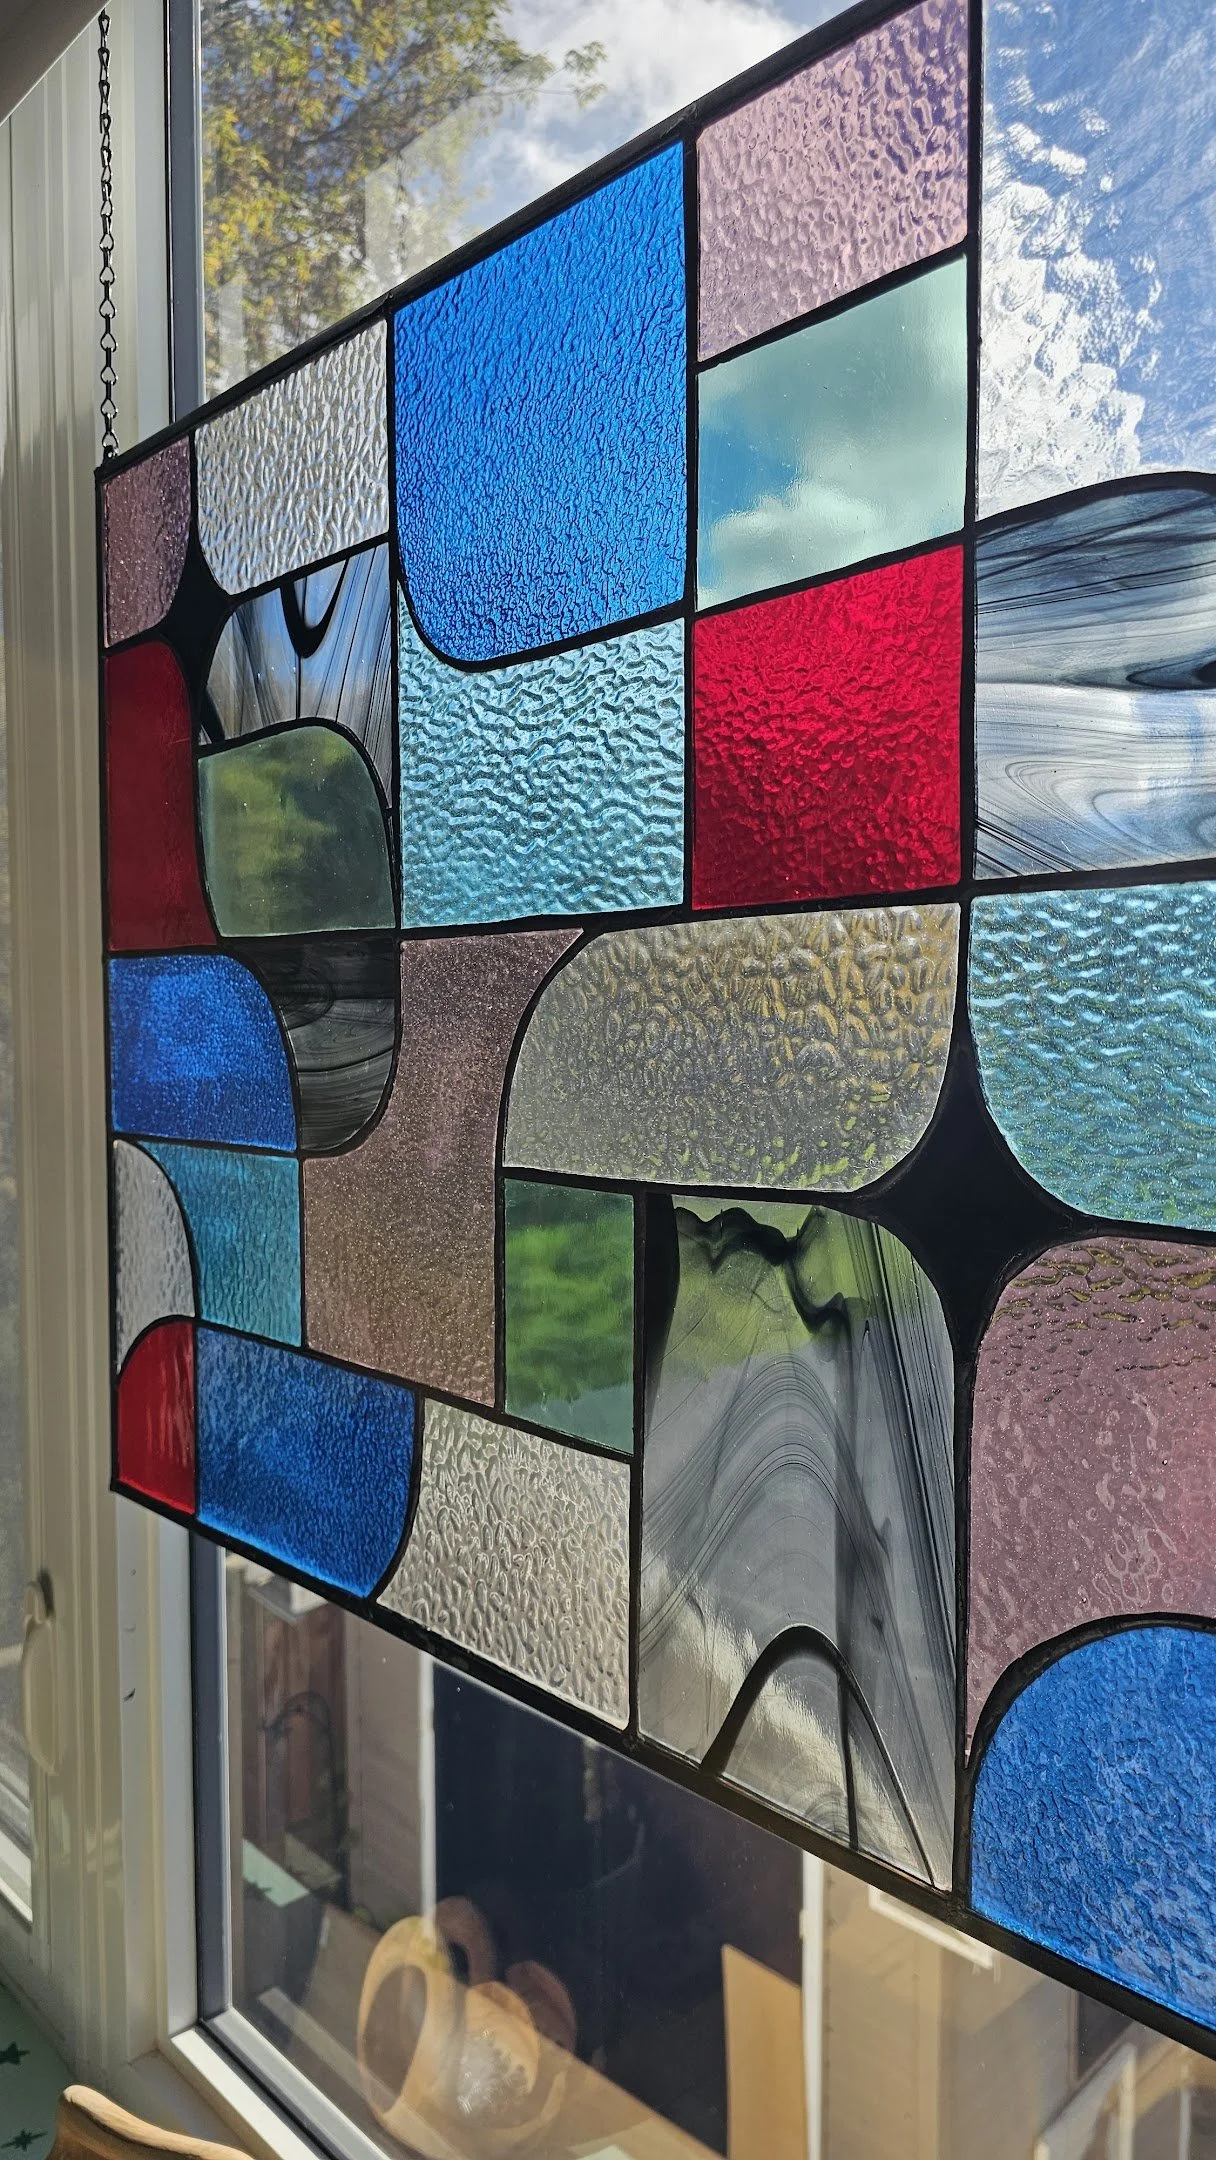
My First Stained Glass Window Panel!
If you’ve ever admired the dreamy glow of stained glass and thought, “could I make that?!” The answer is absolutely yes. Stained glass has quickly become one of my favourite creative mediums because it mixes art, structure, colour, and just a touch of magic. And today, I’m walking you through how to make your very own stained glass hanging panel from scratch.
Whether you want to display it in a sunny window, gift it to someone special, or simply try a new craft, this project is completely doable for beginners. Just take your time, follow the steps, and let curiosity lead the way.
Let’s get into it!
Materials You’ll Need
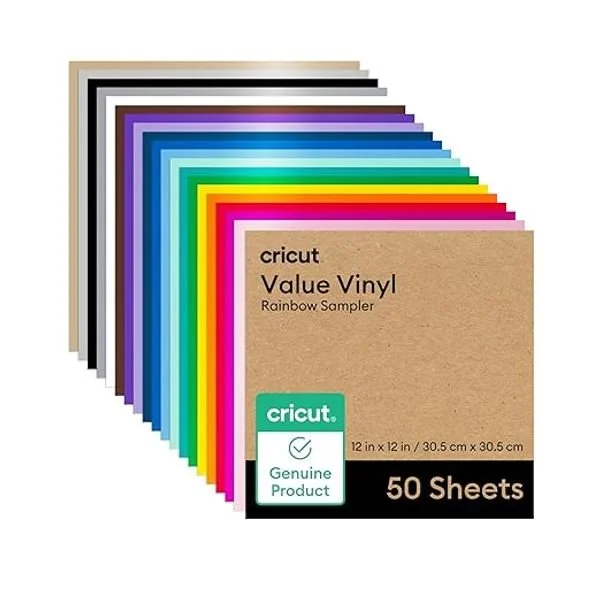
Permanent cricut vinyl sheet or strong adhesive paper
Printed template
Fine-tip marker
Resin or copper hanging rings
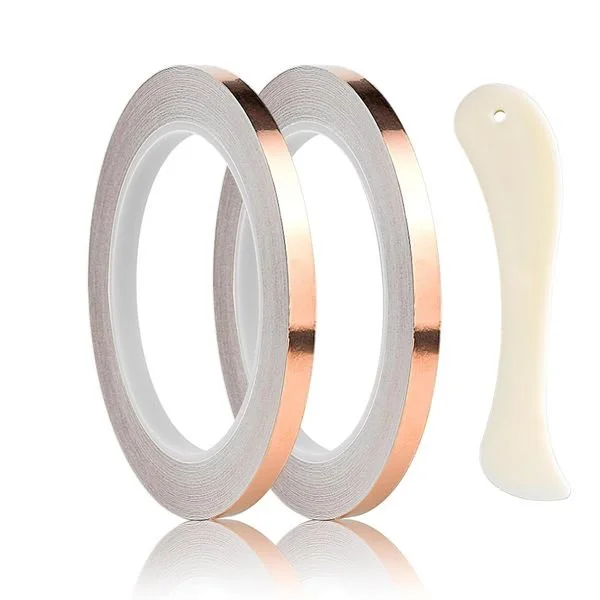
Copper wire (for mounting)
Microfiber cloths


1. Start with Your Design
Stained glass starts long before you touch a piece of glass — and that’s with a great template. You can draw your own design digitally (Procreate works beautifully), sketch on paper, or start with inspiration from Pinterest or etsy.
Once your design is ready, print it at full size (i always print two - one for cutting and one for reference). This will become your cutting guide later.
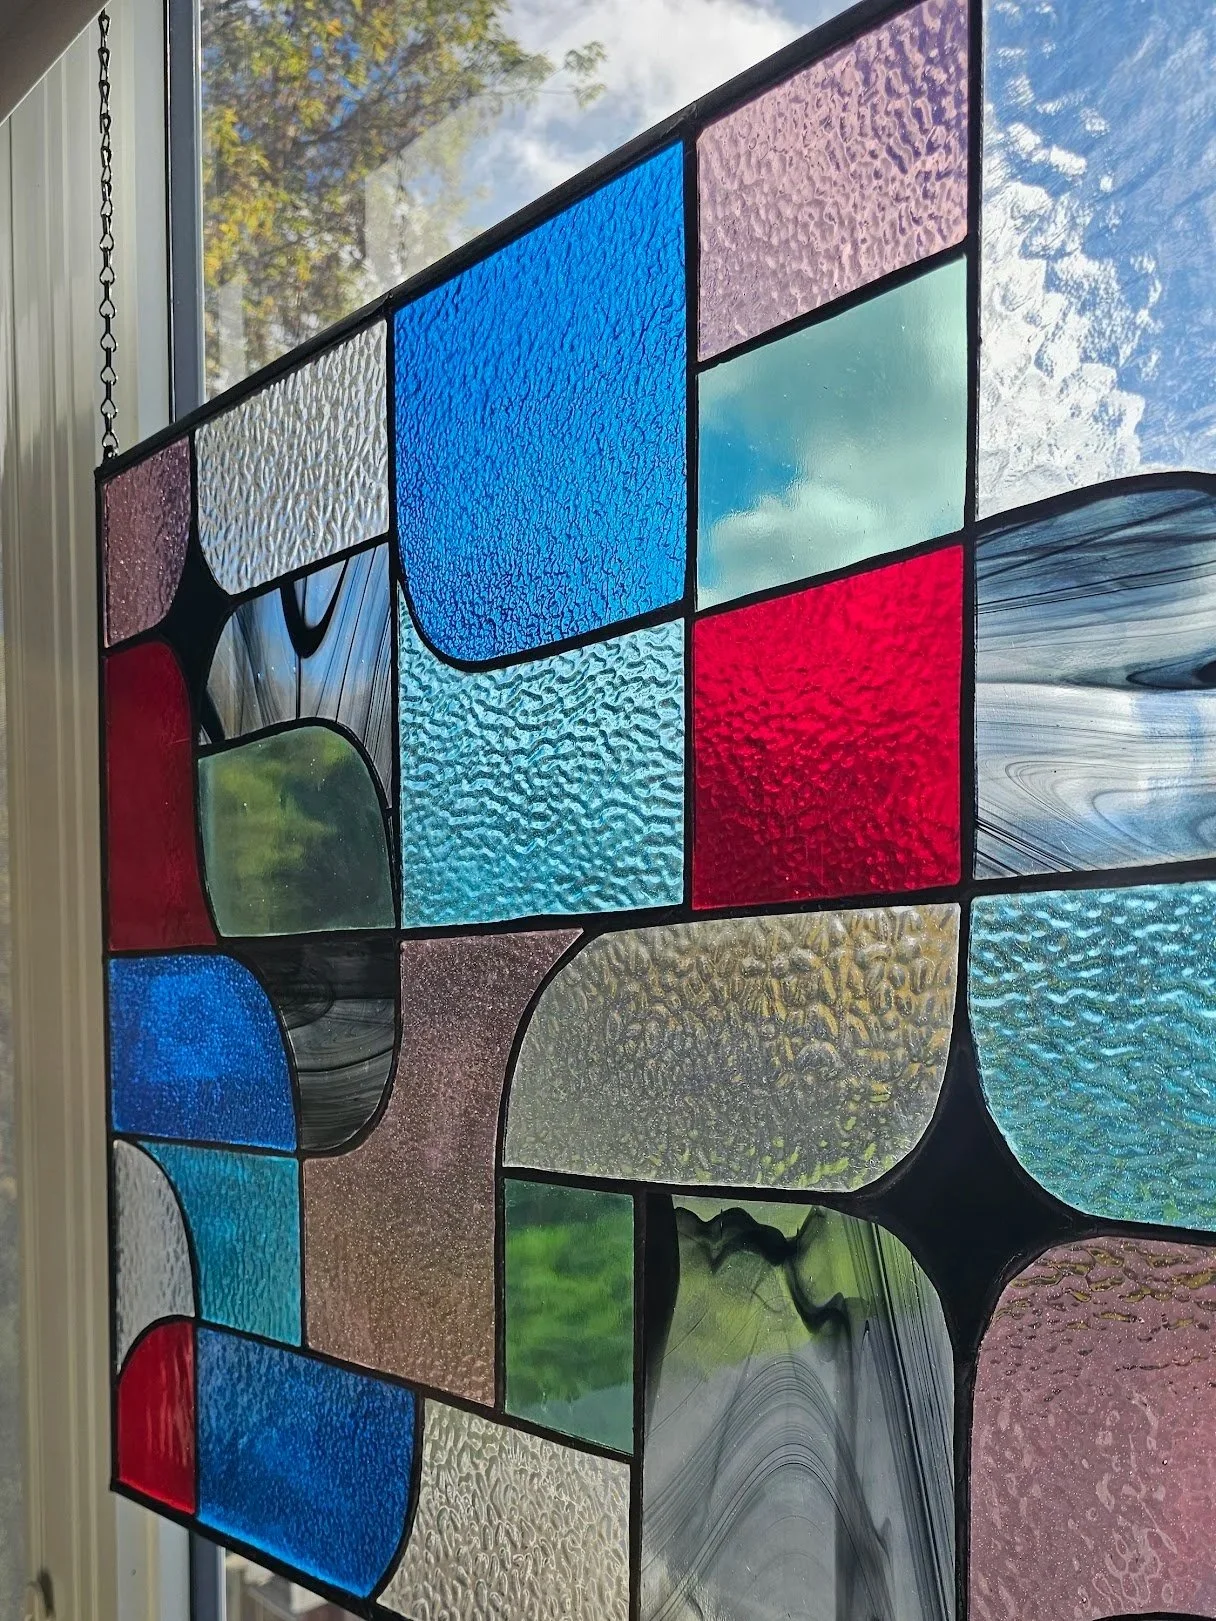
Tip: Choose one or two “hero” colours to anchor the design, and build your palette around them for a cohesive look.
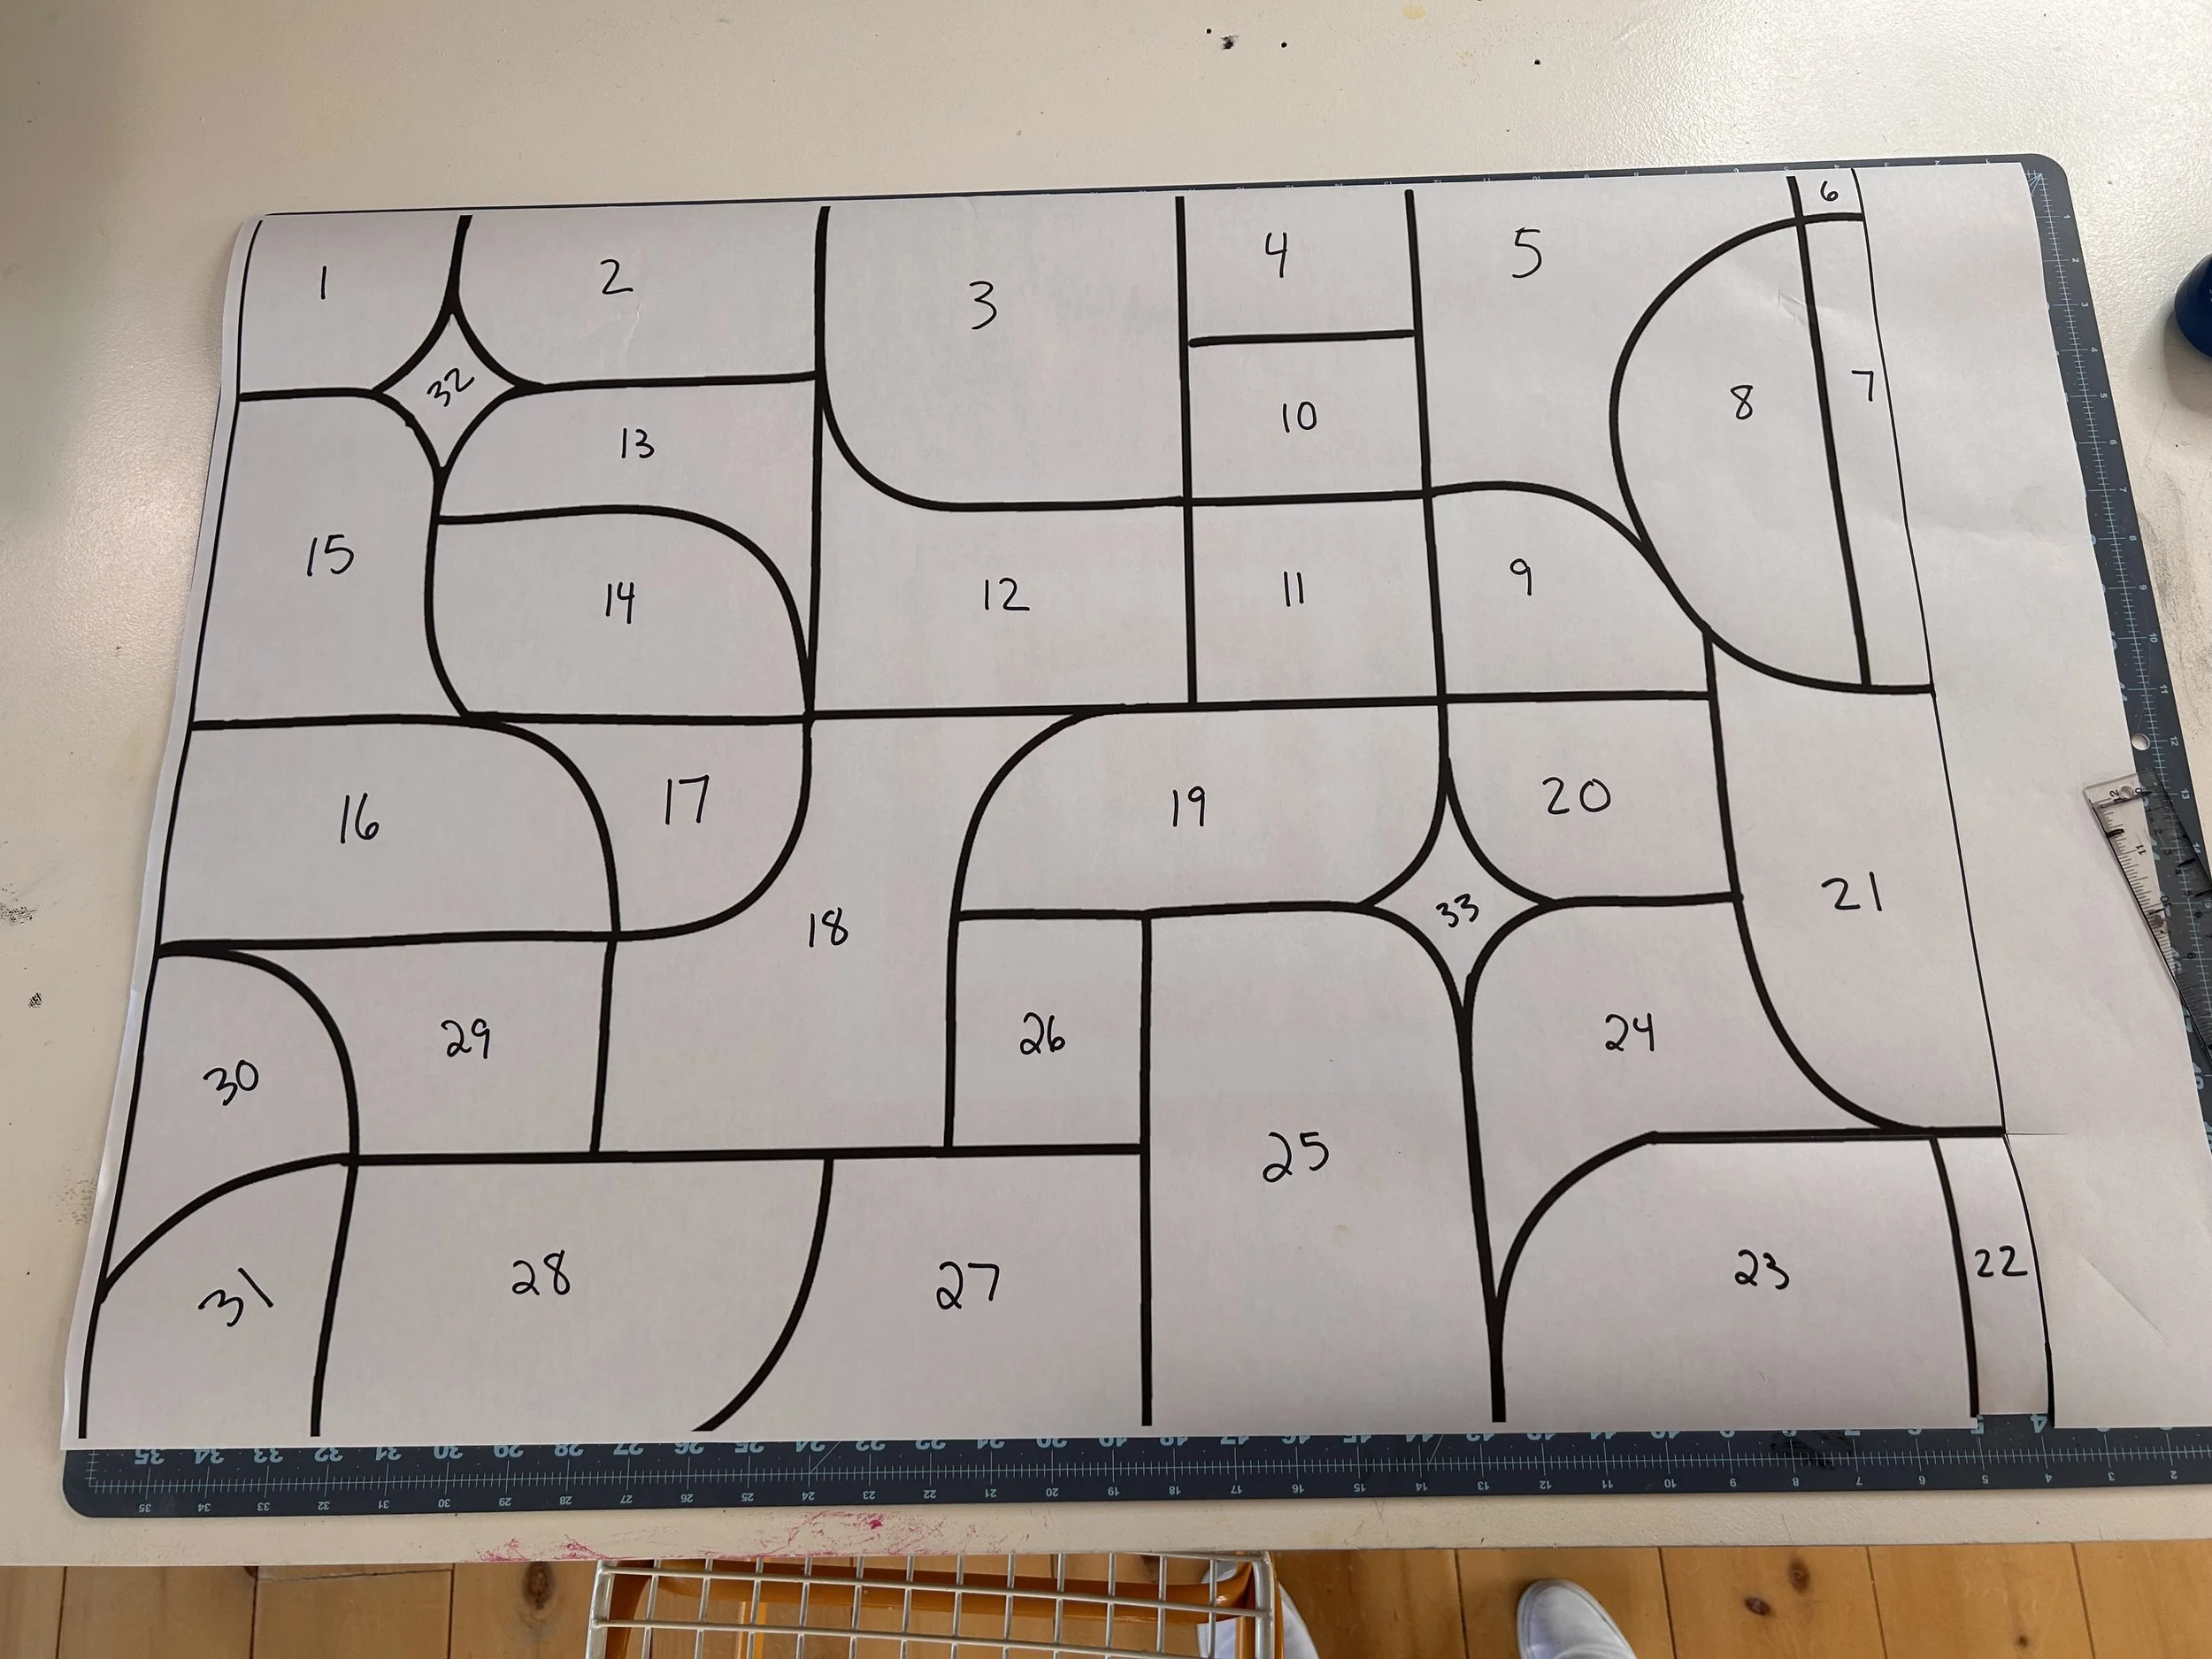
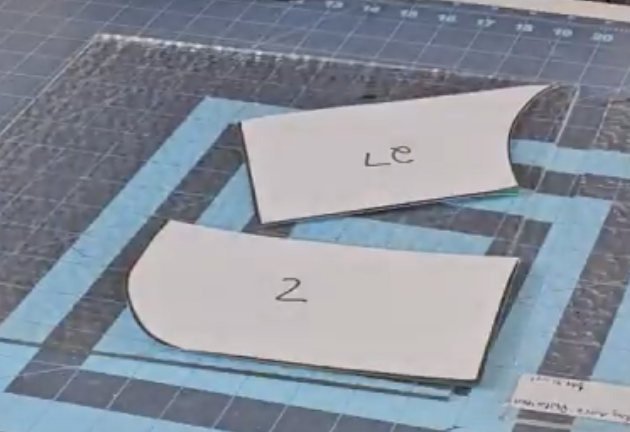
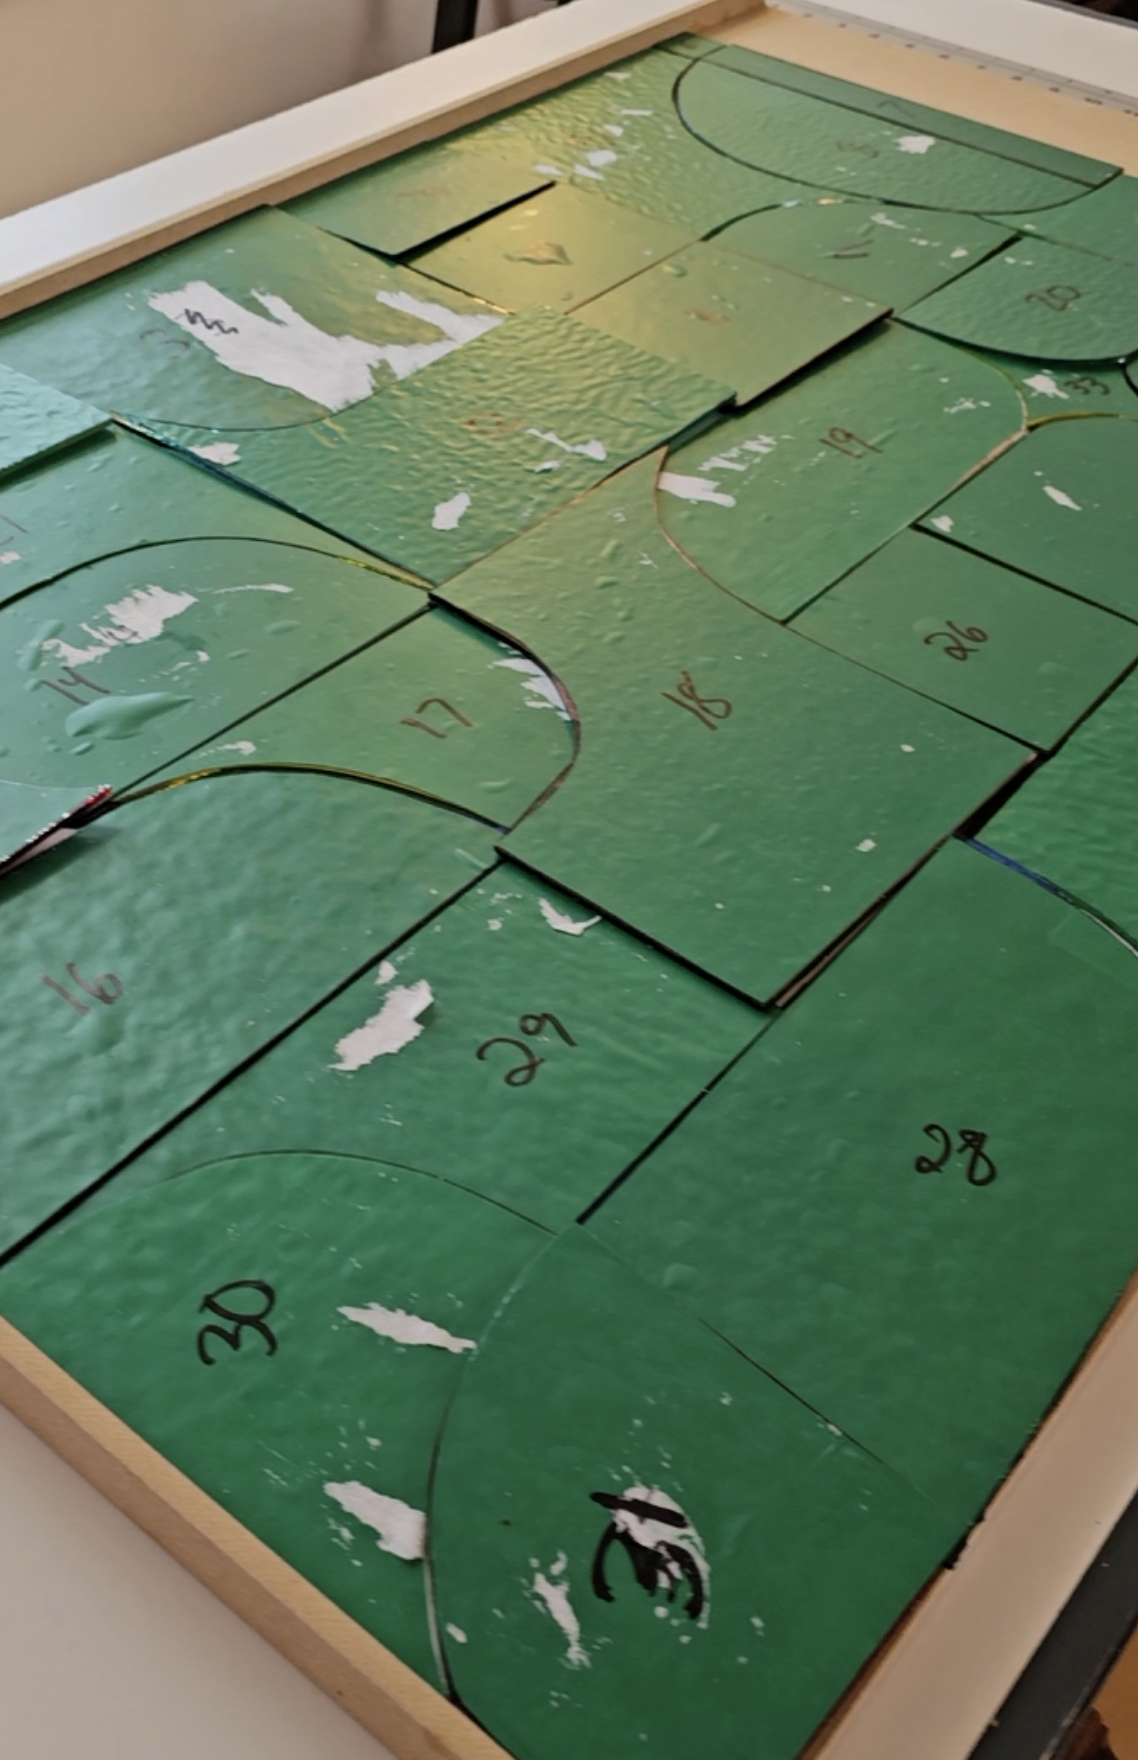
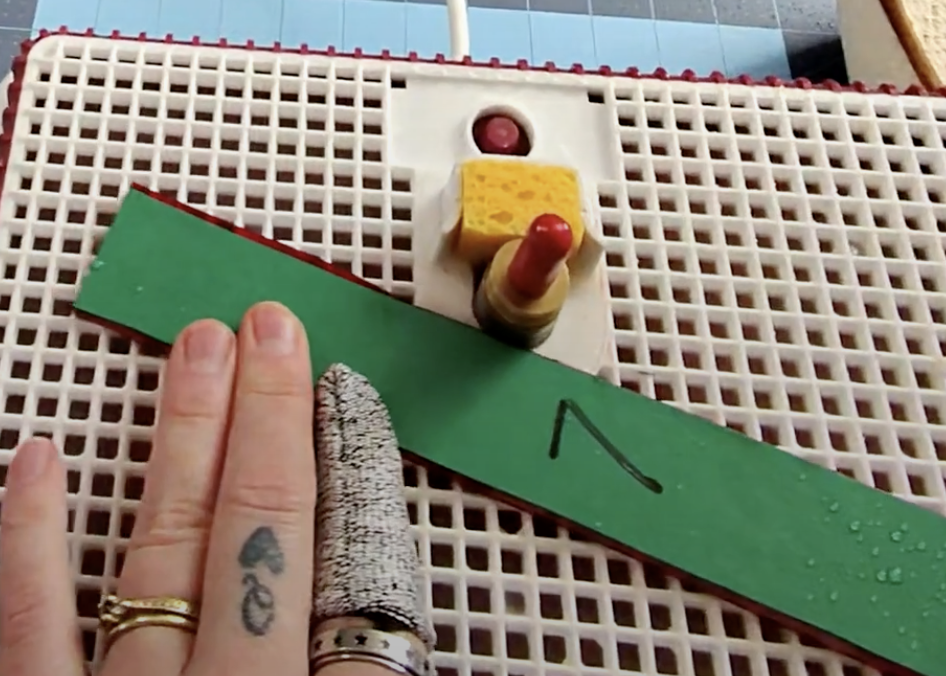
2. Number and Prepare Your Template
With your printed design laid out, number each individual shape. These numbers will help you keep track of pieces later, especially when colour placement matters.
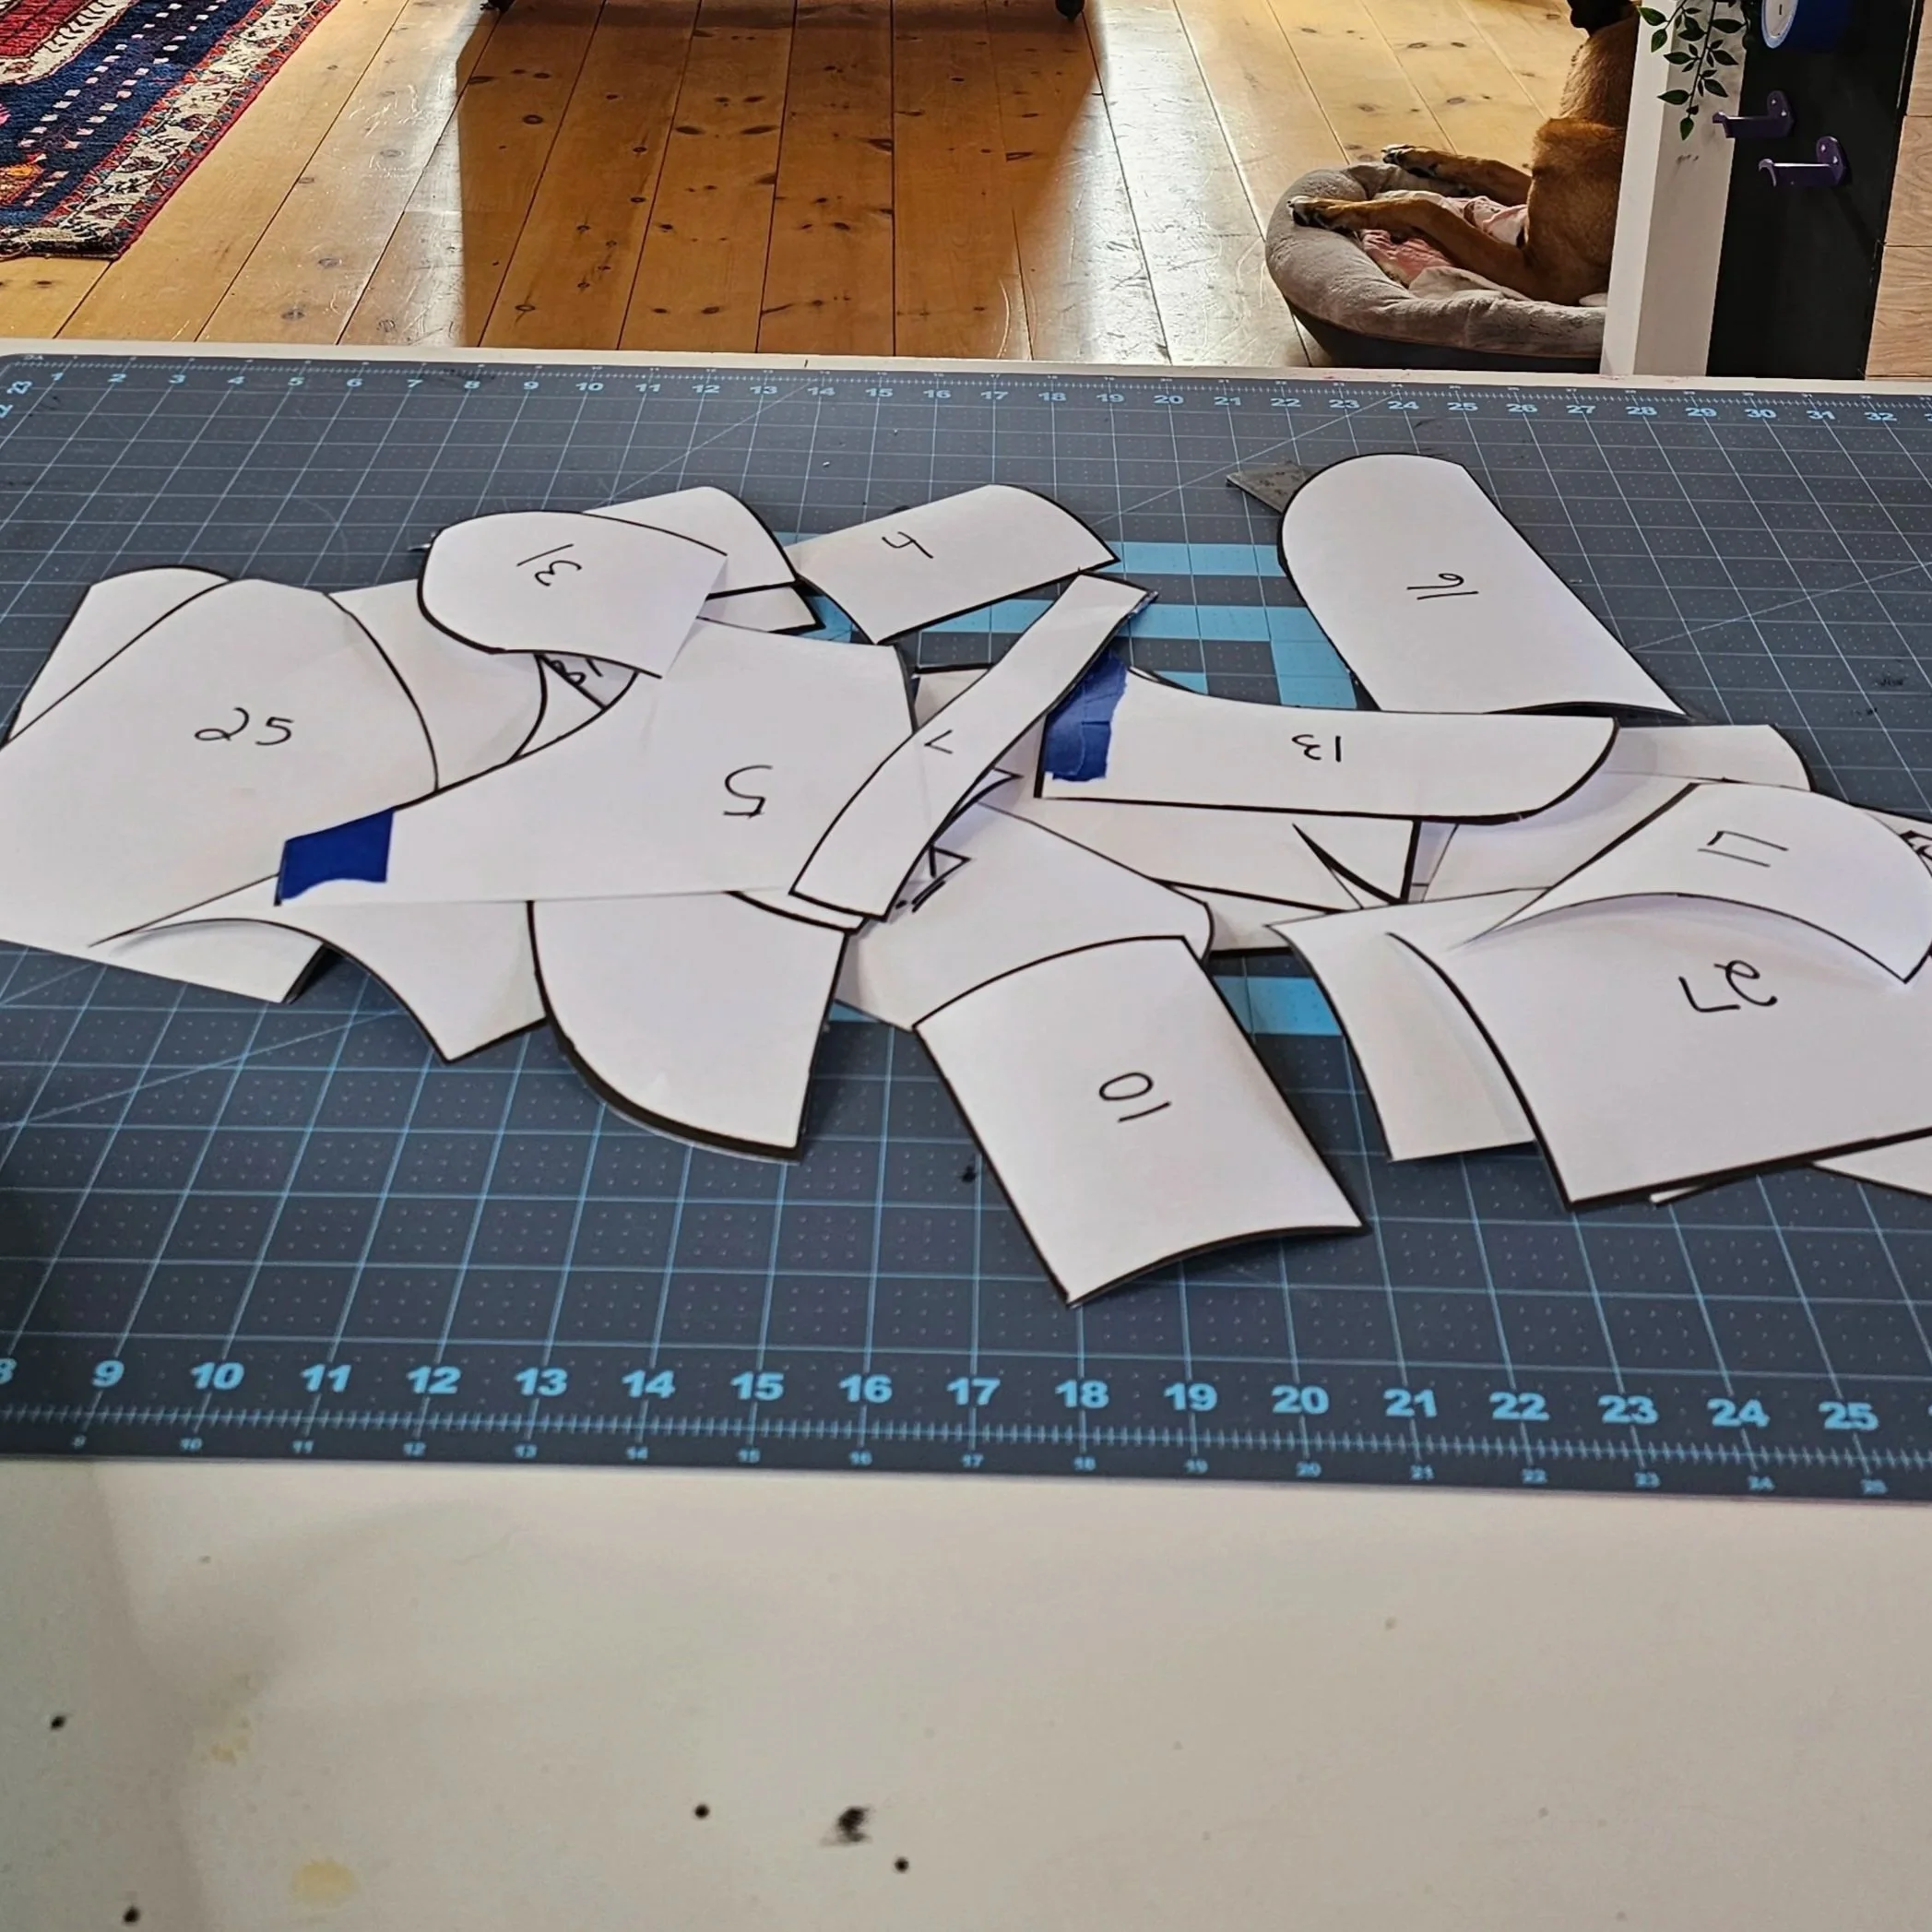
Cut out each piece of the template carefully. These become your physical guides for cutting the glass.
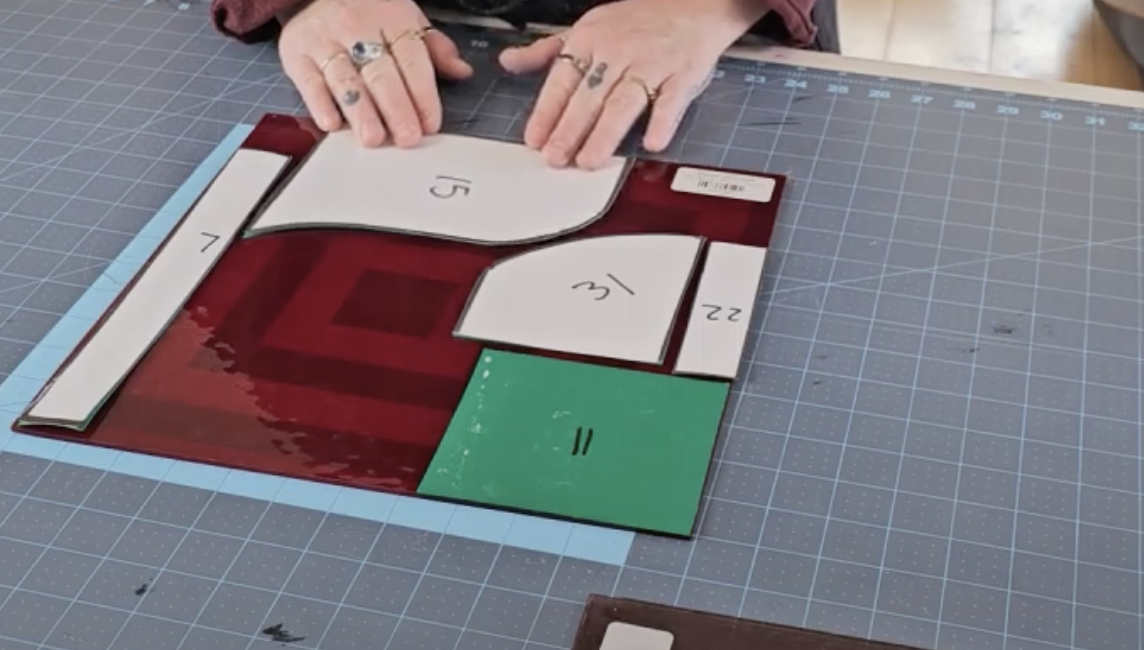
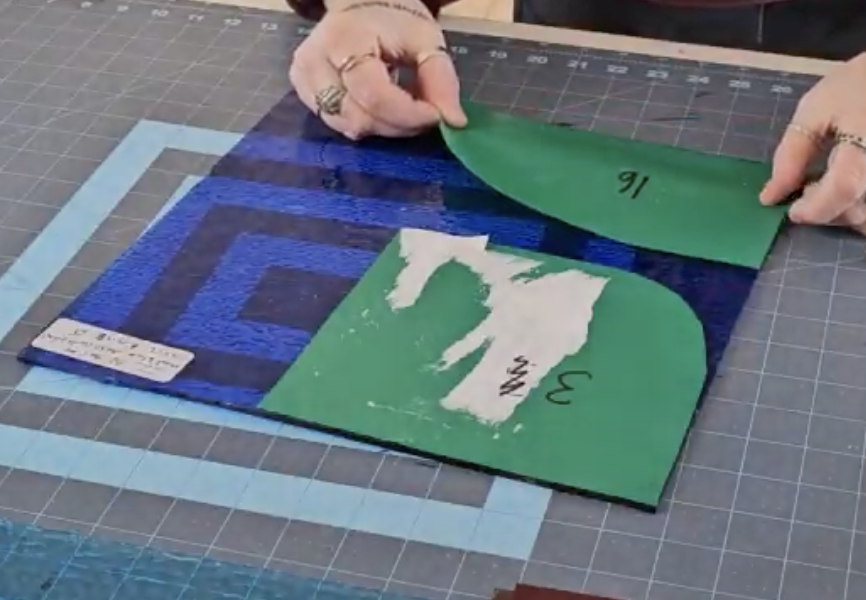
3. Transfer the Template Using Vinyl
Instead of gluing paper directly onto glass, I prefer sticking my template onto permanent vinyl first. I find it easier to cut and grind the glass later because the permanent vinyl stays in place until you’re ready to assemble.
If you’re design is too large to cut the vinyl using a smart cutting machine, like a cricut - Simply glue your cut template pieces onto the vinyl and cut them out.

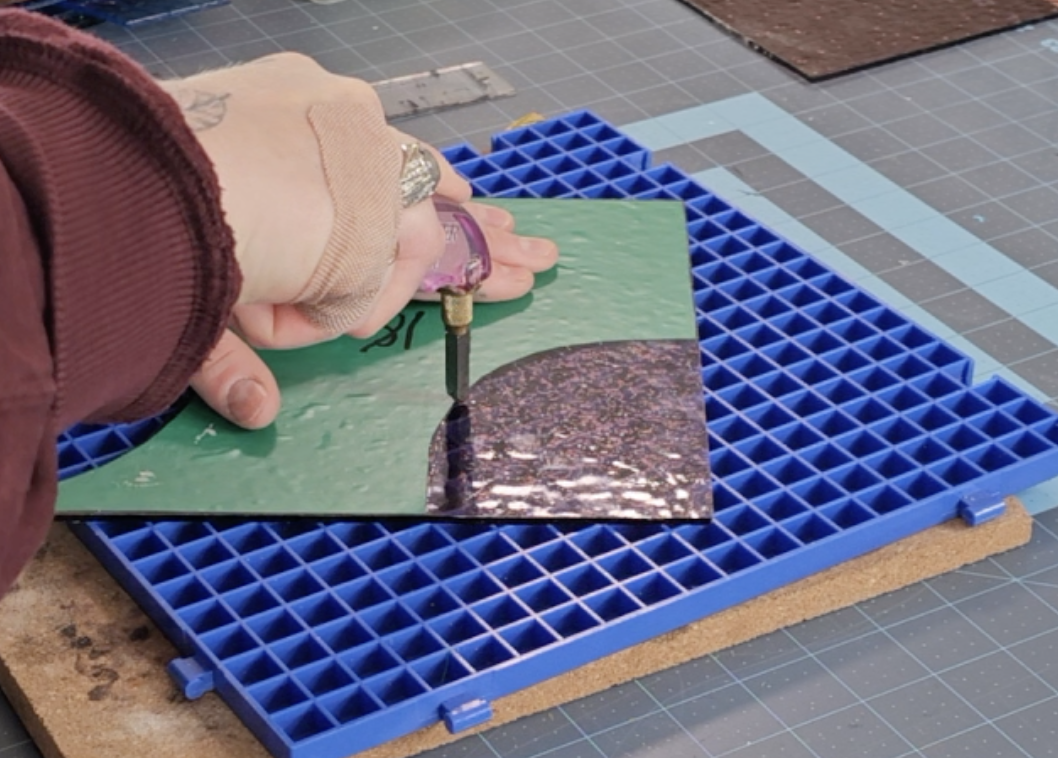
4. Cut Your Stained Glass Pieces
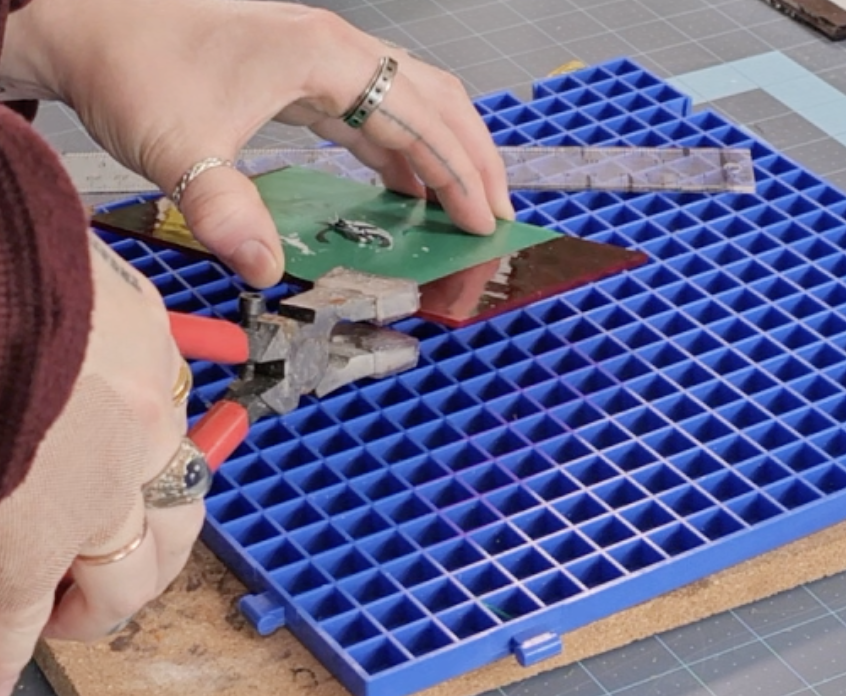
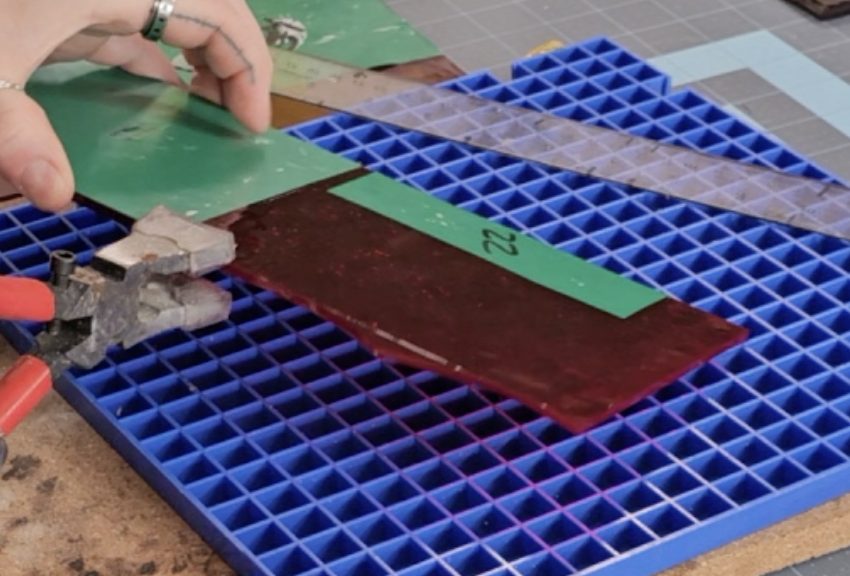
Now the fun (and slightly nerve-wracking!) part: cutting the glass.
Using your glass cutter:
Score in one smooth, continuous line.
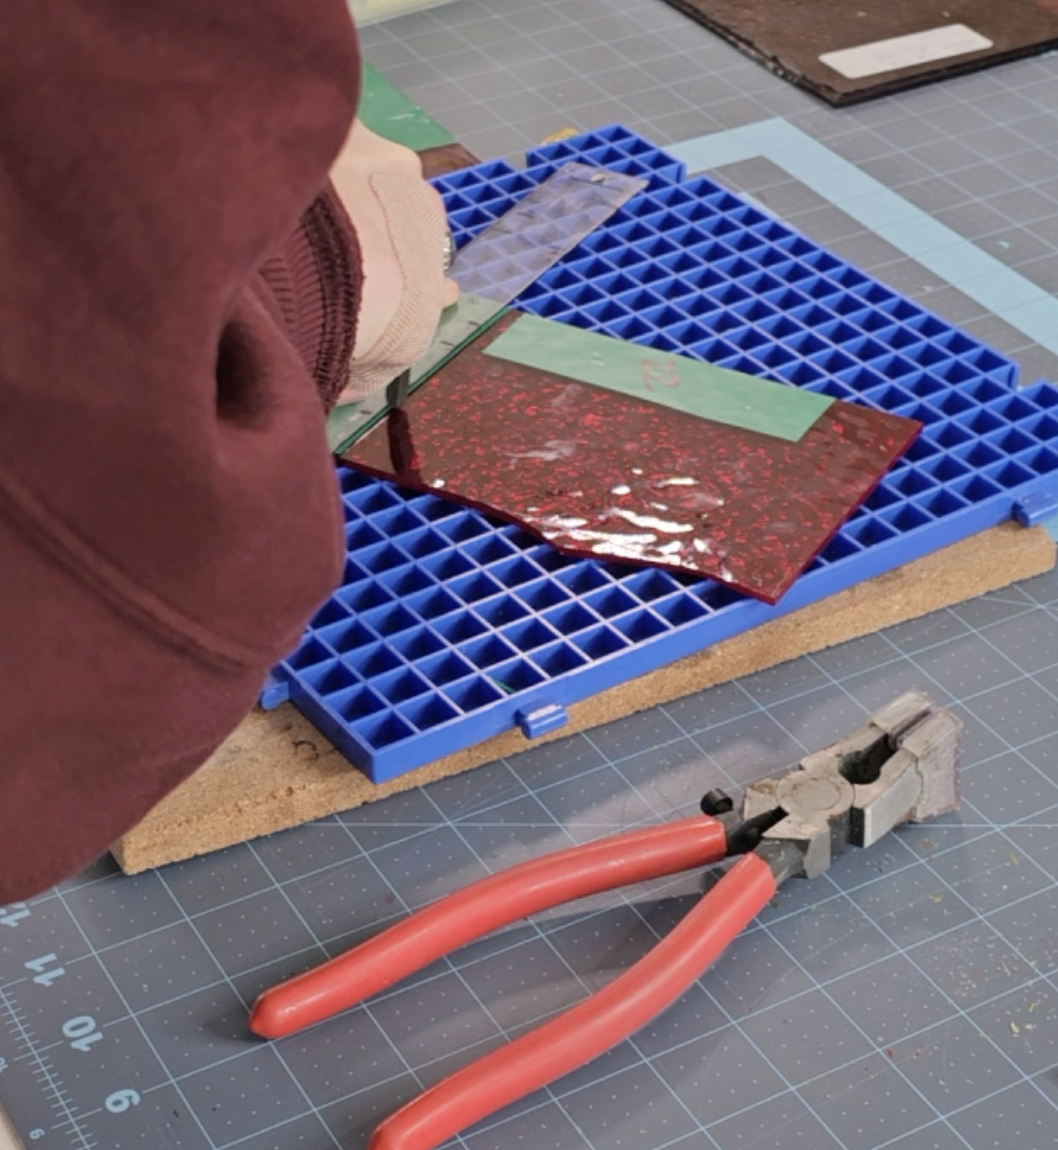
Use running pliers to apply gentle pressure.
Listen for that satisfying pop when it breaks cleanly.
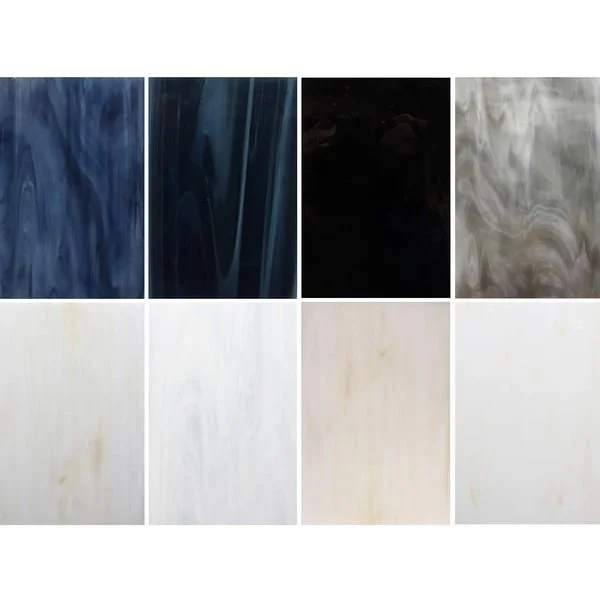
Different glasses behave differently - opalescent glass can be more resistant, while transparent glass usually cuts like a dream. Be patient and methodical with each piece.
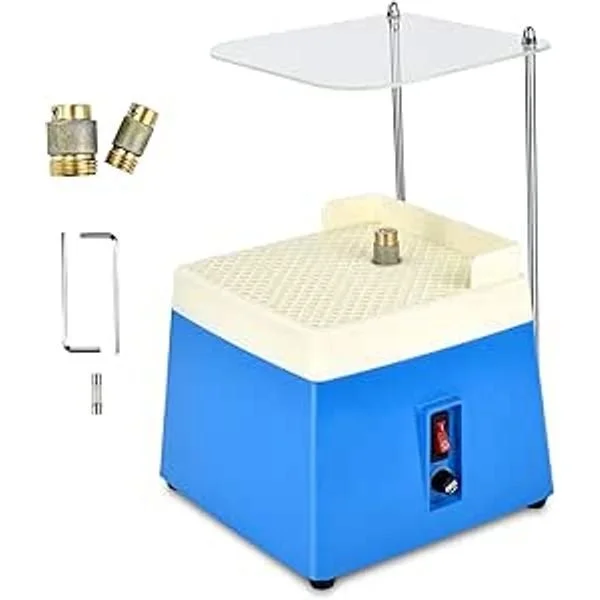
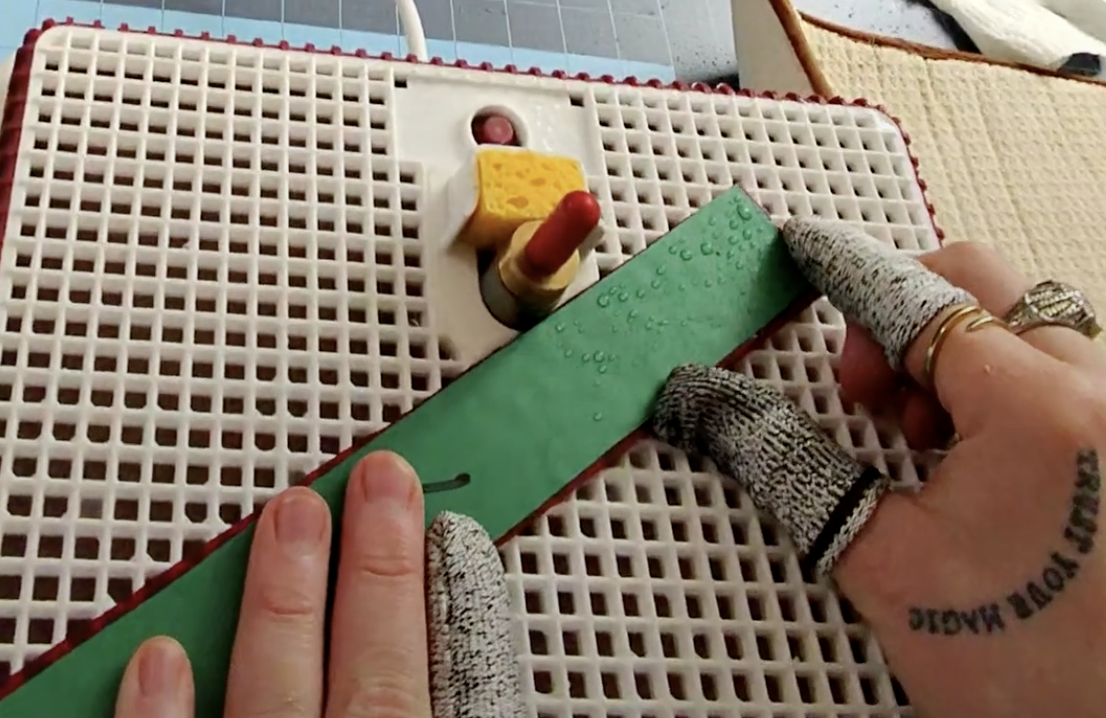
5. Grind the Edges Until They Fit Perfectly
Grinding is the real game-changer in stained glass. It softens sharp edges, refines your shapes, and helps pieces fit snugly together.
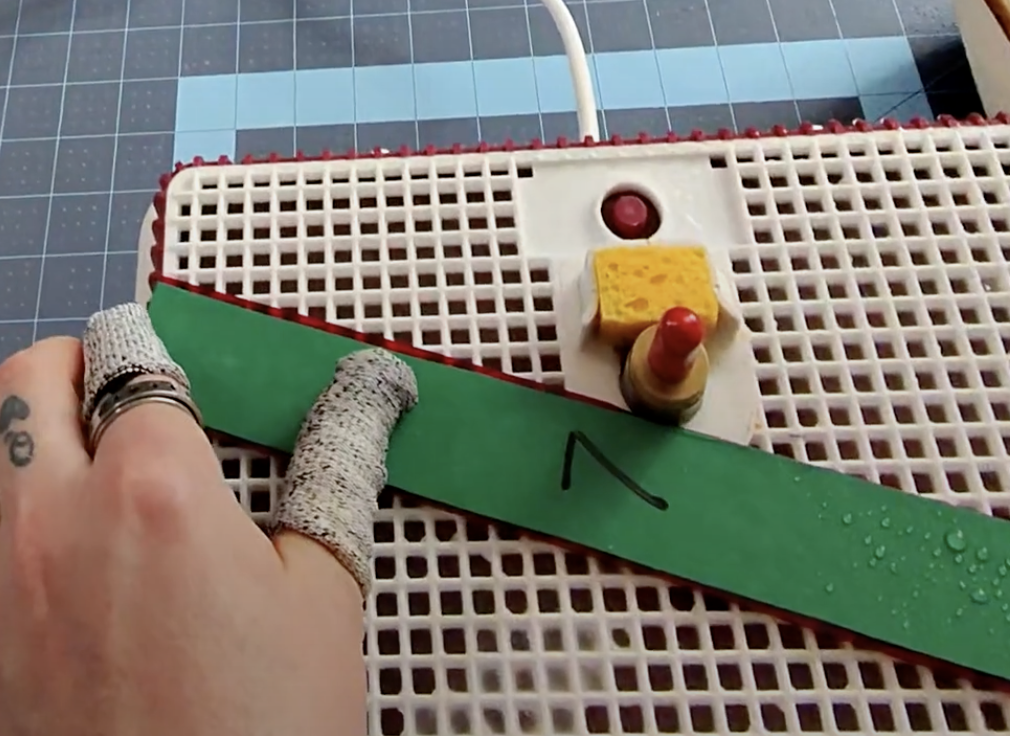
Using your grinder:
Press each piece lightly against the wheel.
Work evenly around the edges
Fit your pieces into the template as you go
Safety first!
Make sure to wear safety glasses, gloves and/or finger covering to avoid cuts during this process!
This step takes time, so throw on a podcast or your favourite playlist. When all your pieces nestle together like a puzzle, you’re ready for the next step.
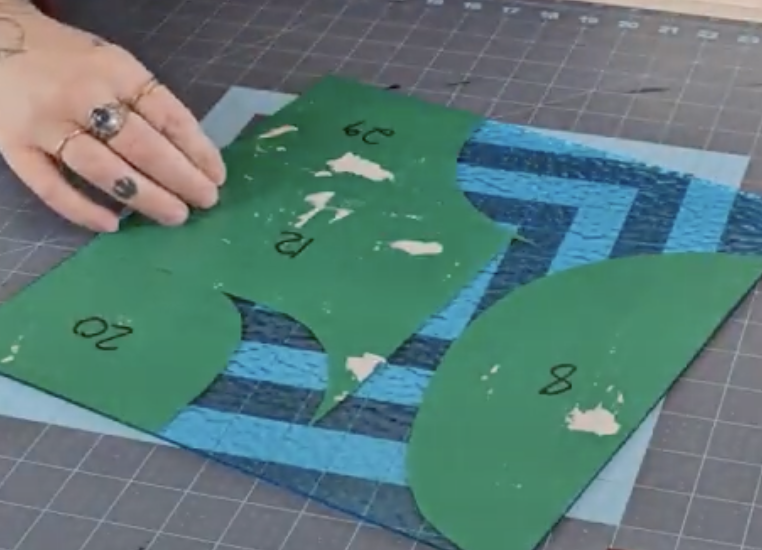
6. Remove the Vinyl and Clean the Surface
Before foiling, peel off the vinyl backing and clean each piece thoroughly. Any residue can interfere with how well the foil sticks, so a good rinse in soapy water with vinegar goes a long way!
7. Apply Copper Foil to Every Piece
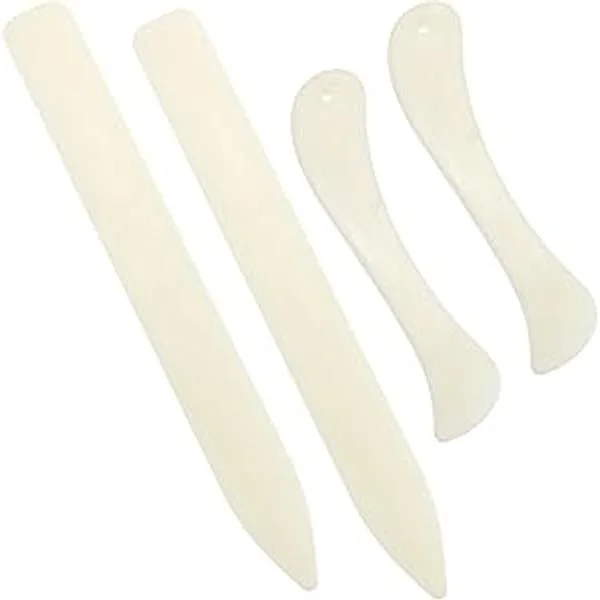
Copper foil is what allows stained glass pieces to be soldered together. Wrap every edge of each glass piece with copper foil, keeping it as centered as possible. Press it down using a burnishing tool.
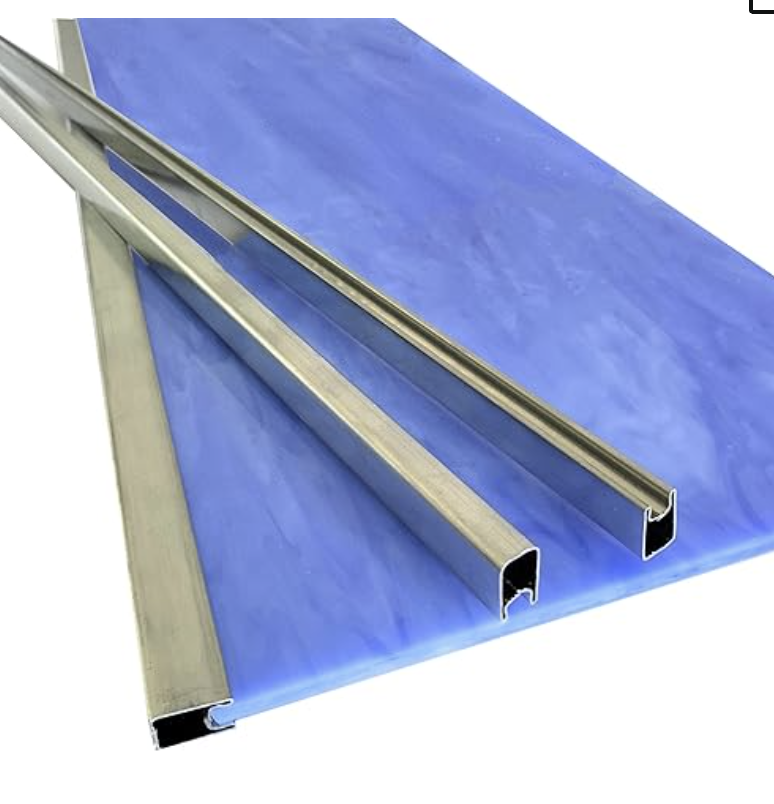
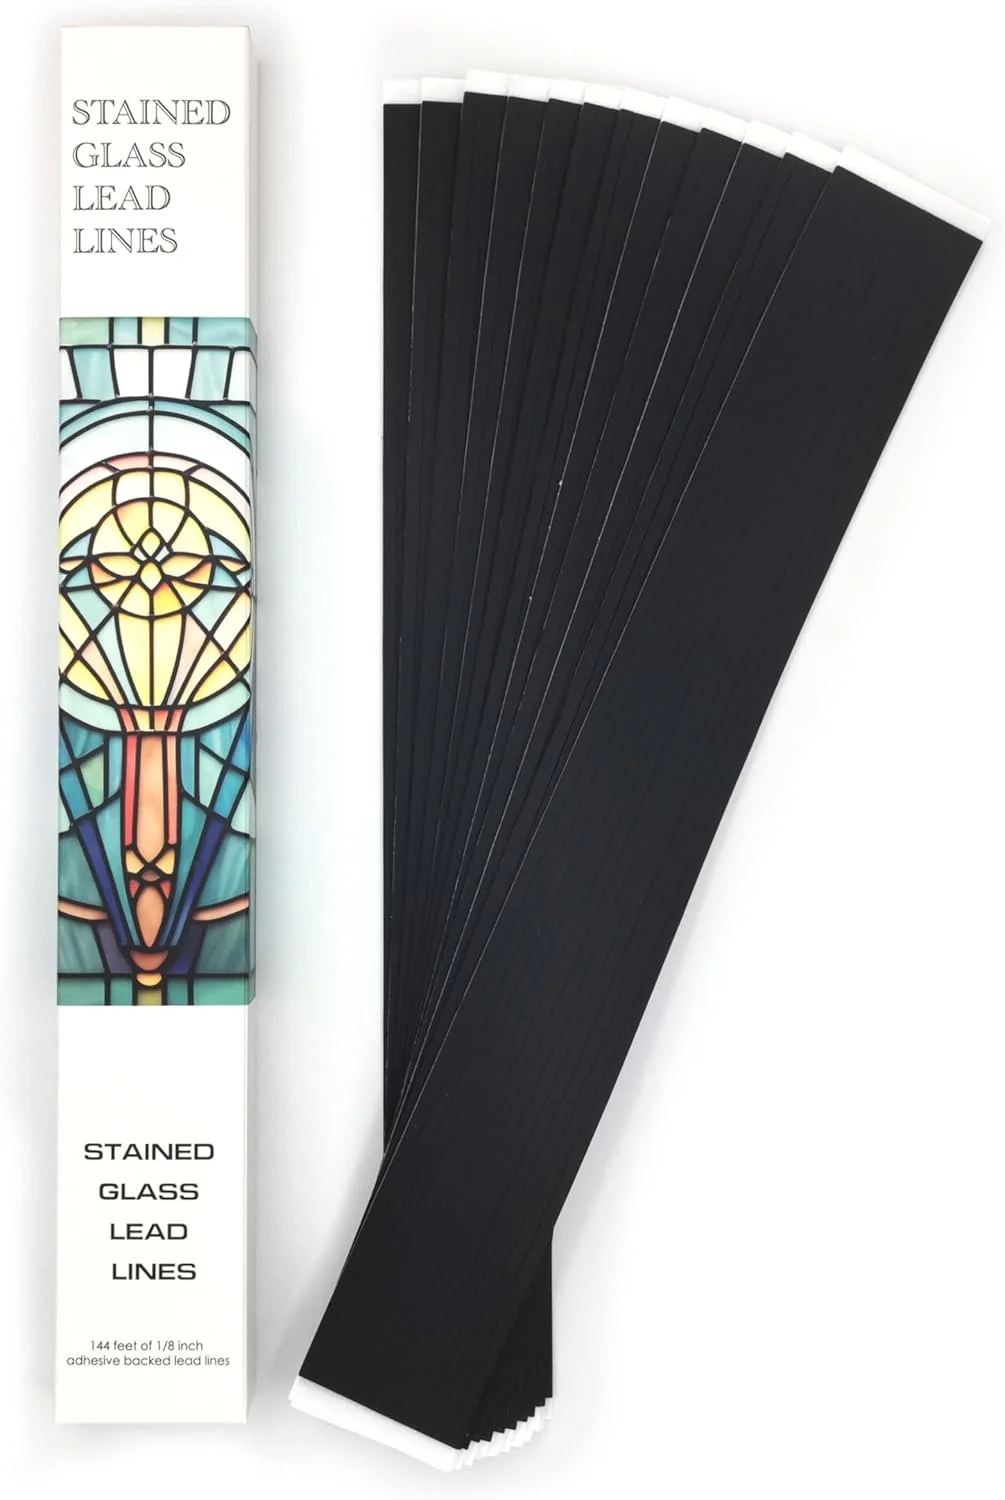
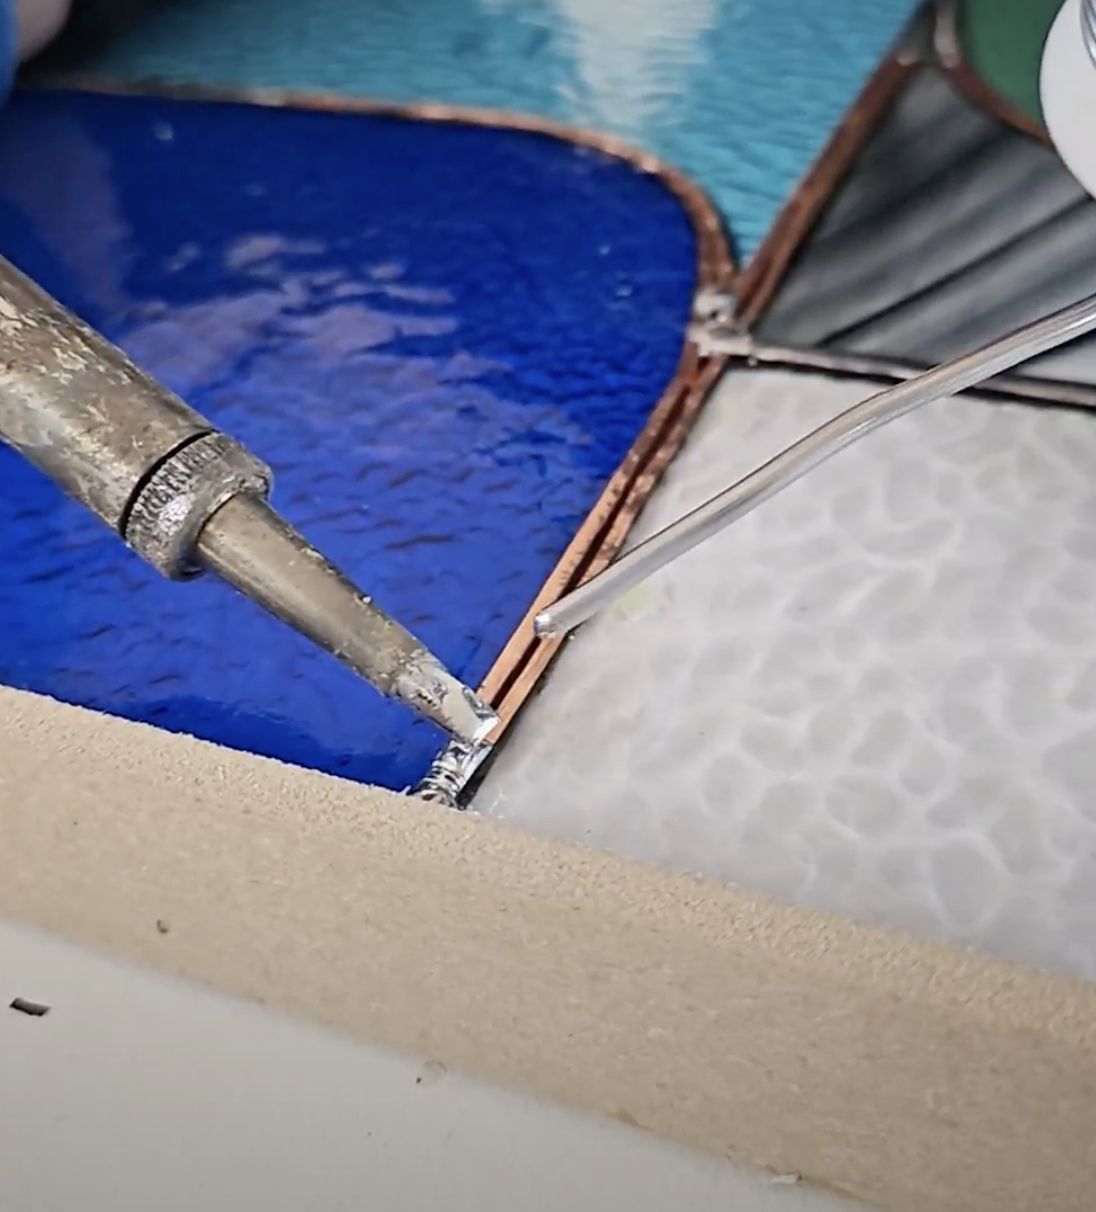
8. Add the Zinc Came Frame
A hanging panel needs structure, and zinc came is what keeps everything sturdy.
Measure and cut the came to fit around your full panel
Slide the panel edges into the U-channel
Solder the corners securely to hold it all together
The came adds a beautiful finished edge and prevents the solder lines from carrying all the weight.

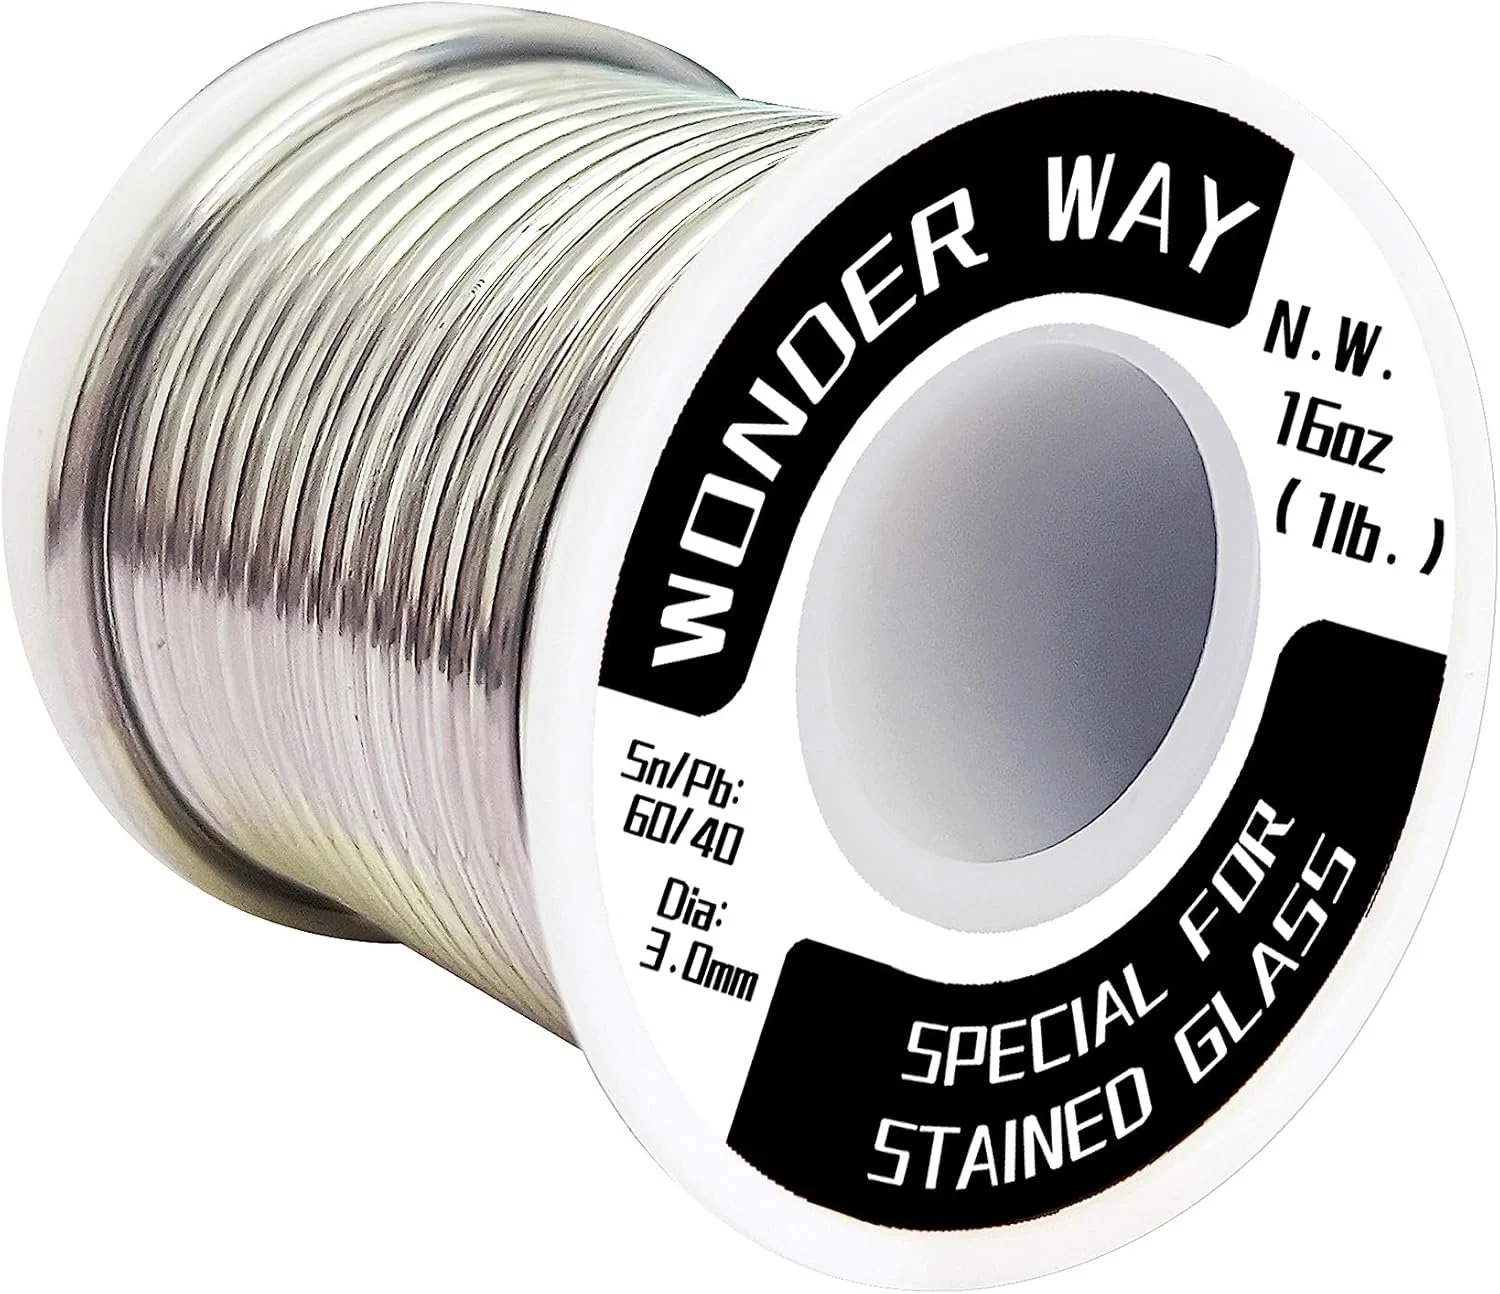
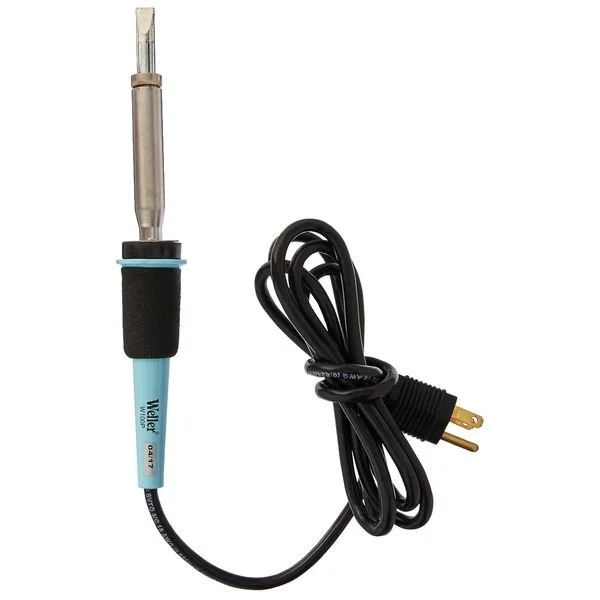
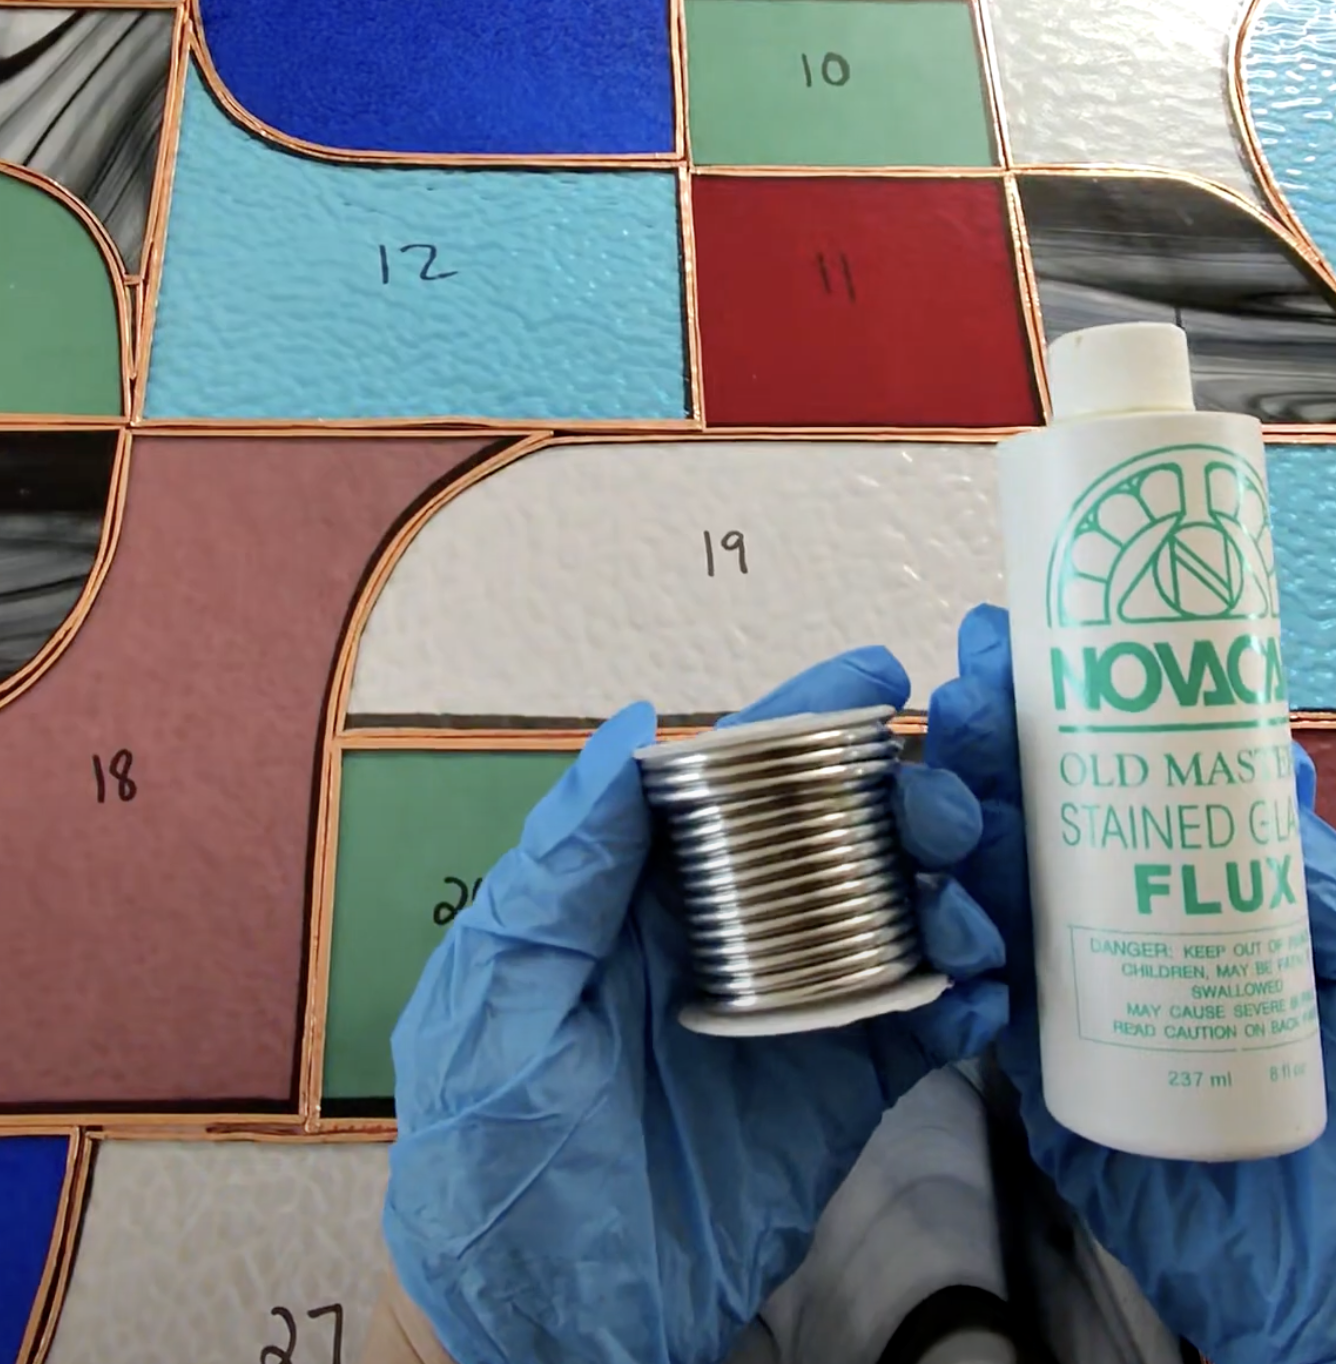
8. Flux and Solder Your Panel Together
Apply flux to the top of each copper foil line
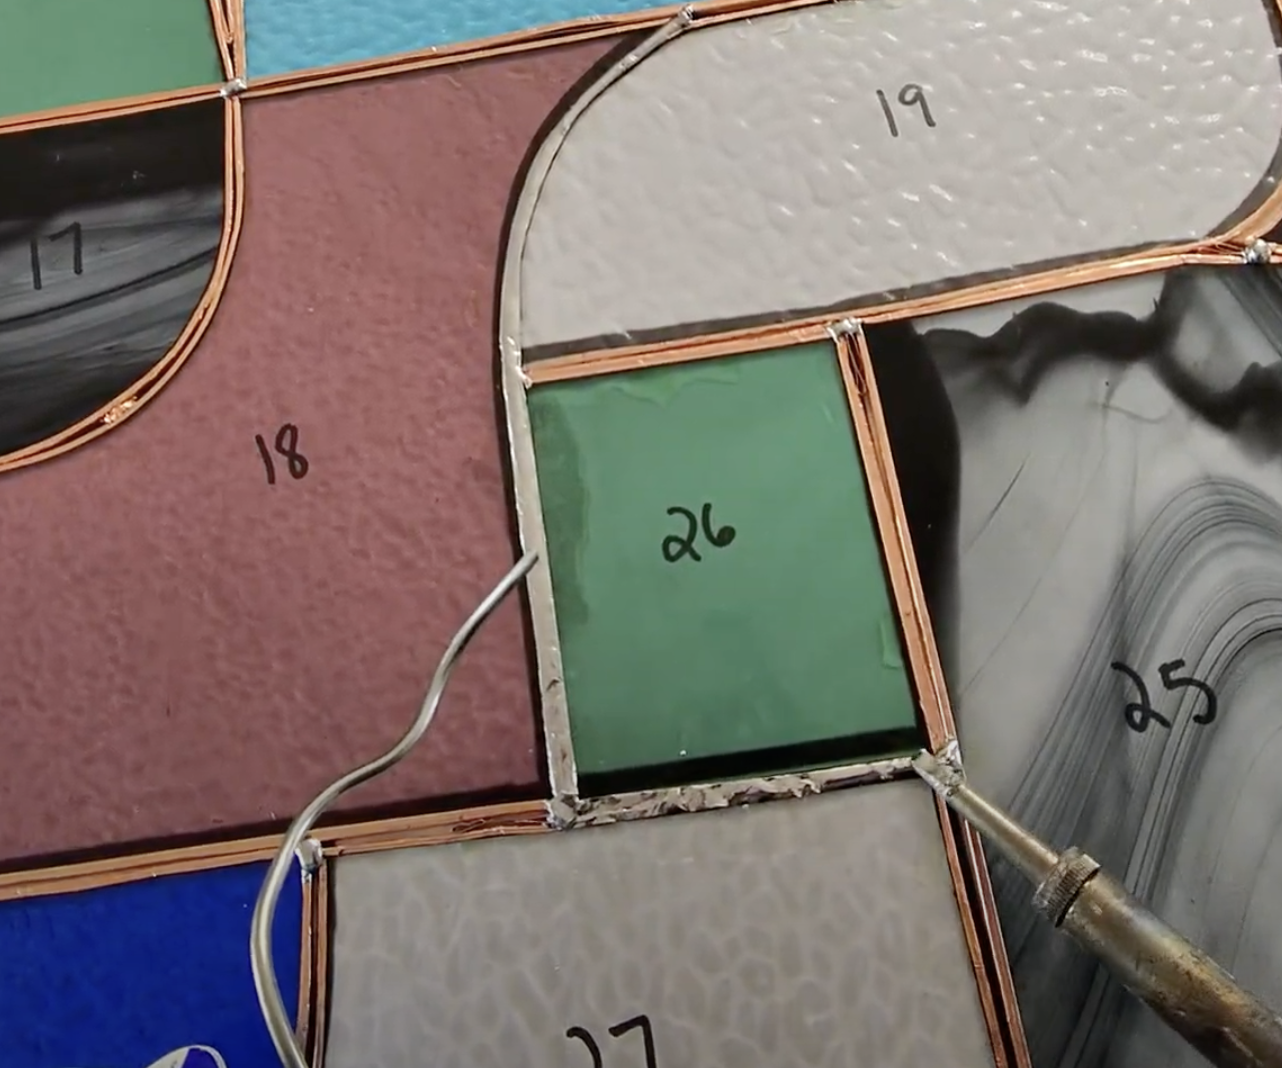
Heat your soldering iron
Using solder, tack each corner to hold your design together.
Begin soldering along all seams, working slowly and evenly.
When the front is fully soldered, carefully flip your panel and repeat on the back. Take your time — smooth solder lines create a polished final look.
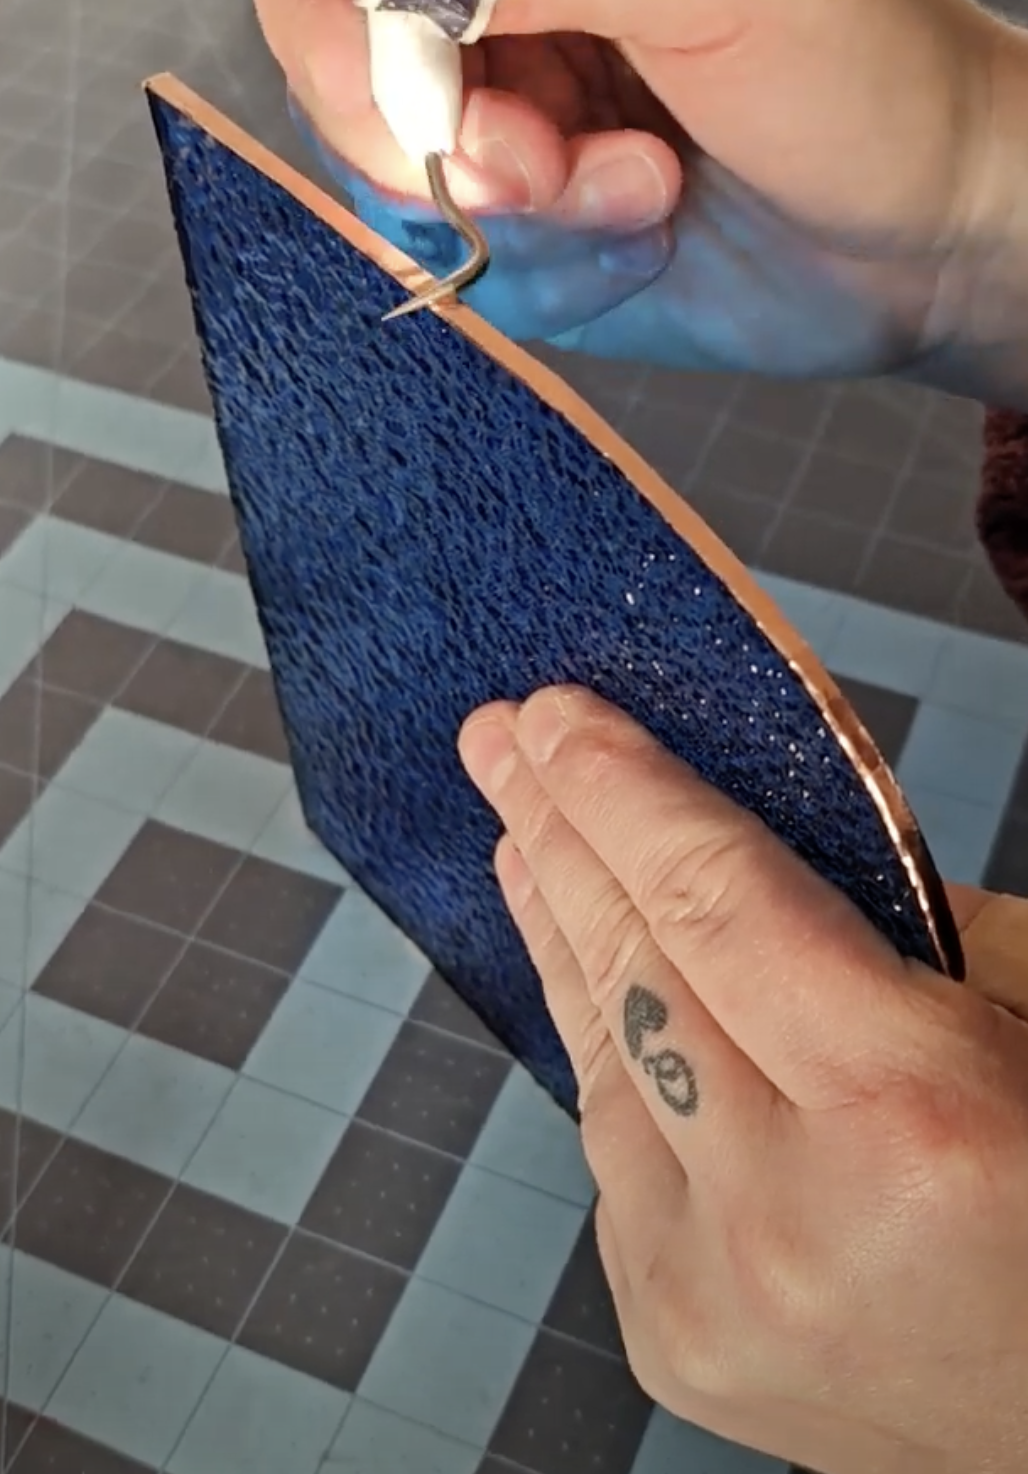
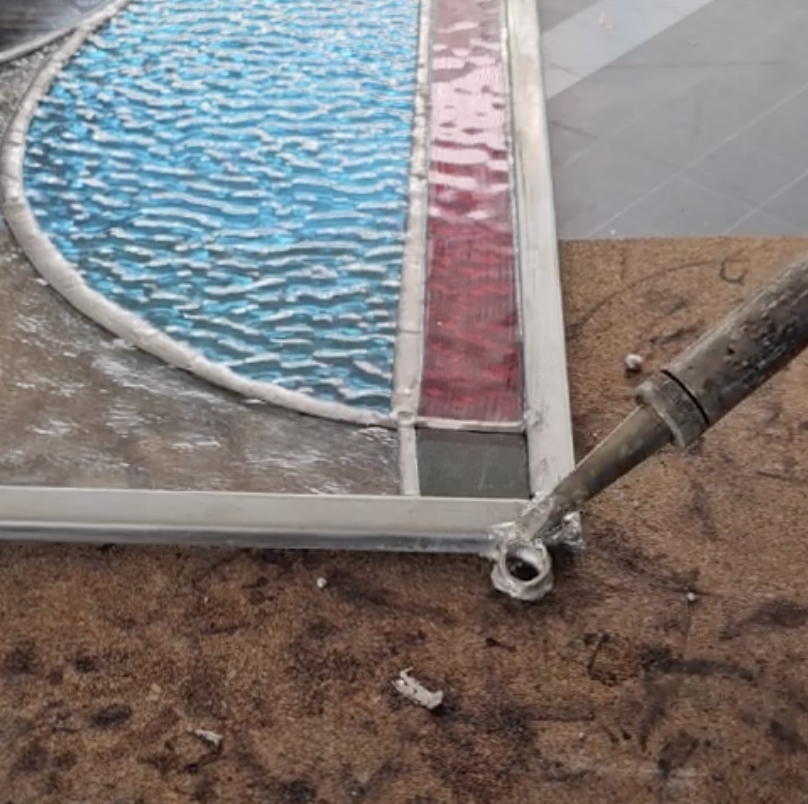
10. Attach Your Hanging Hardware
To turn the panel into a window-ready hanging piece, you’ll need two small rings soldered onto the came.
Here’s how:
Drill a small hole where your rings will sit
Pre-tin the rings with a thin coat of solder
Insert each ring into the hole
Solder it into place, ensuring a strong bond
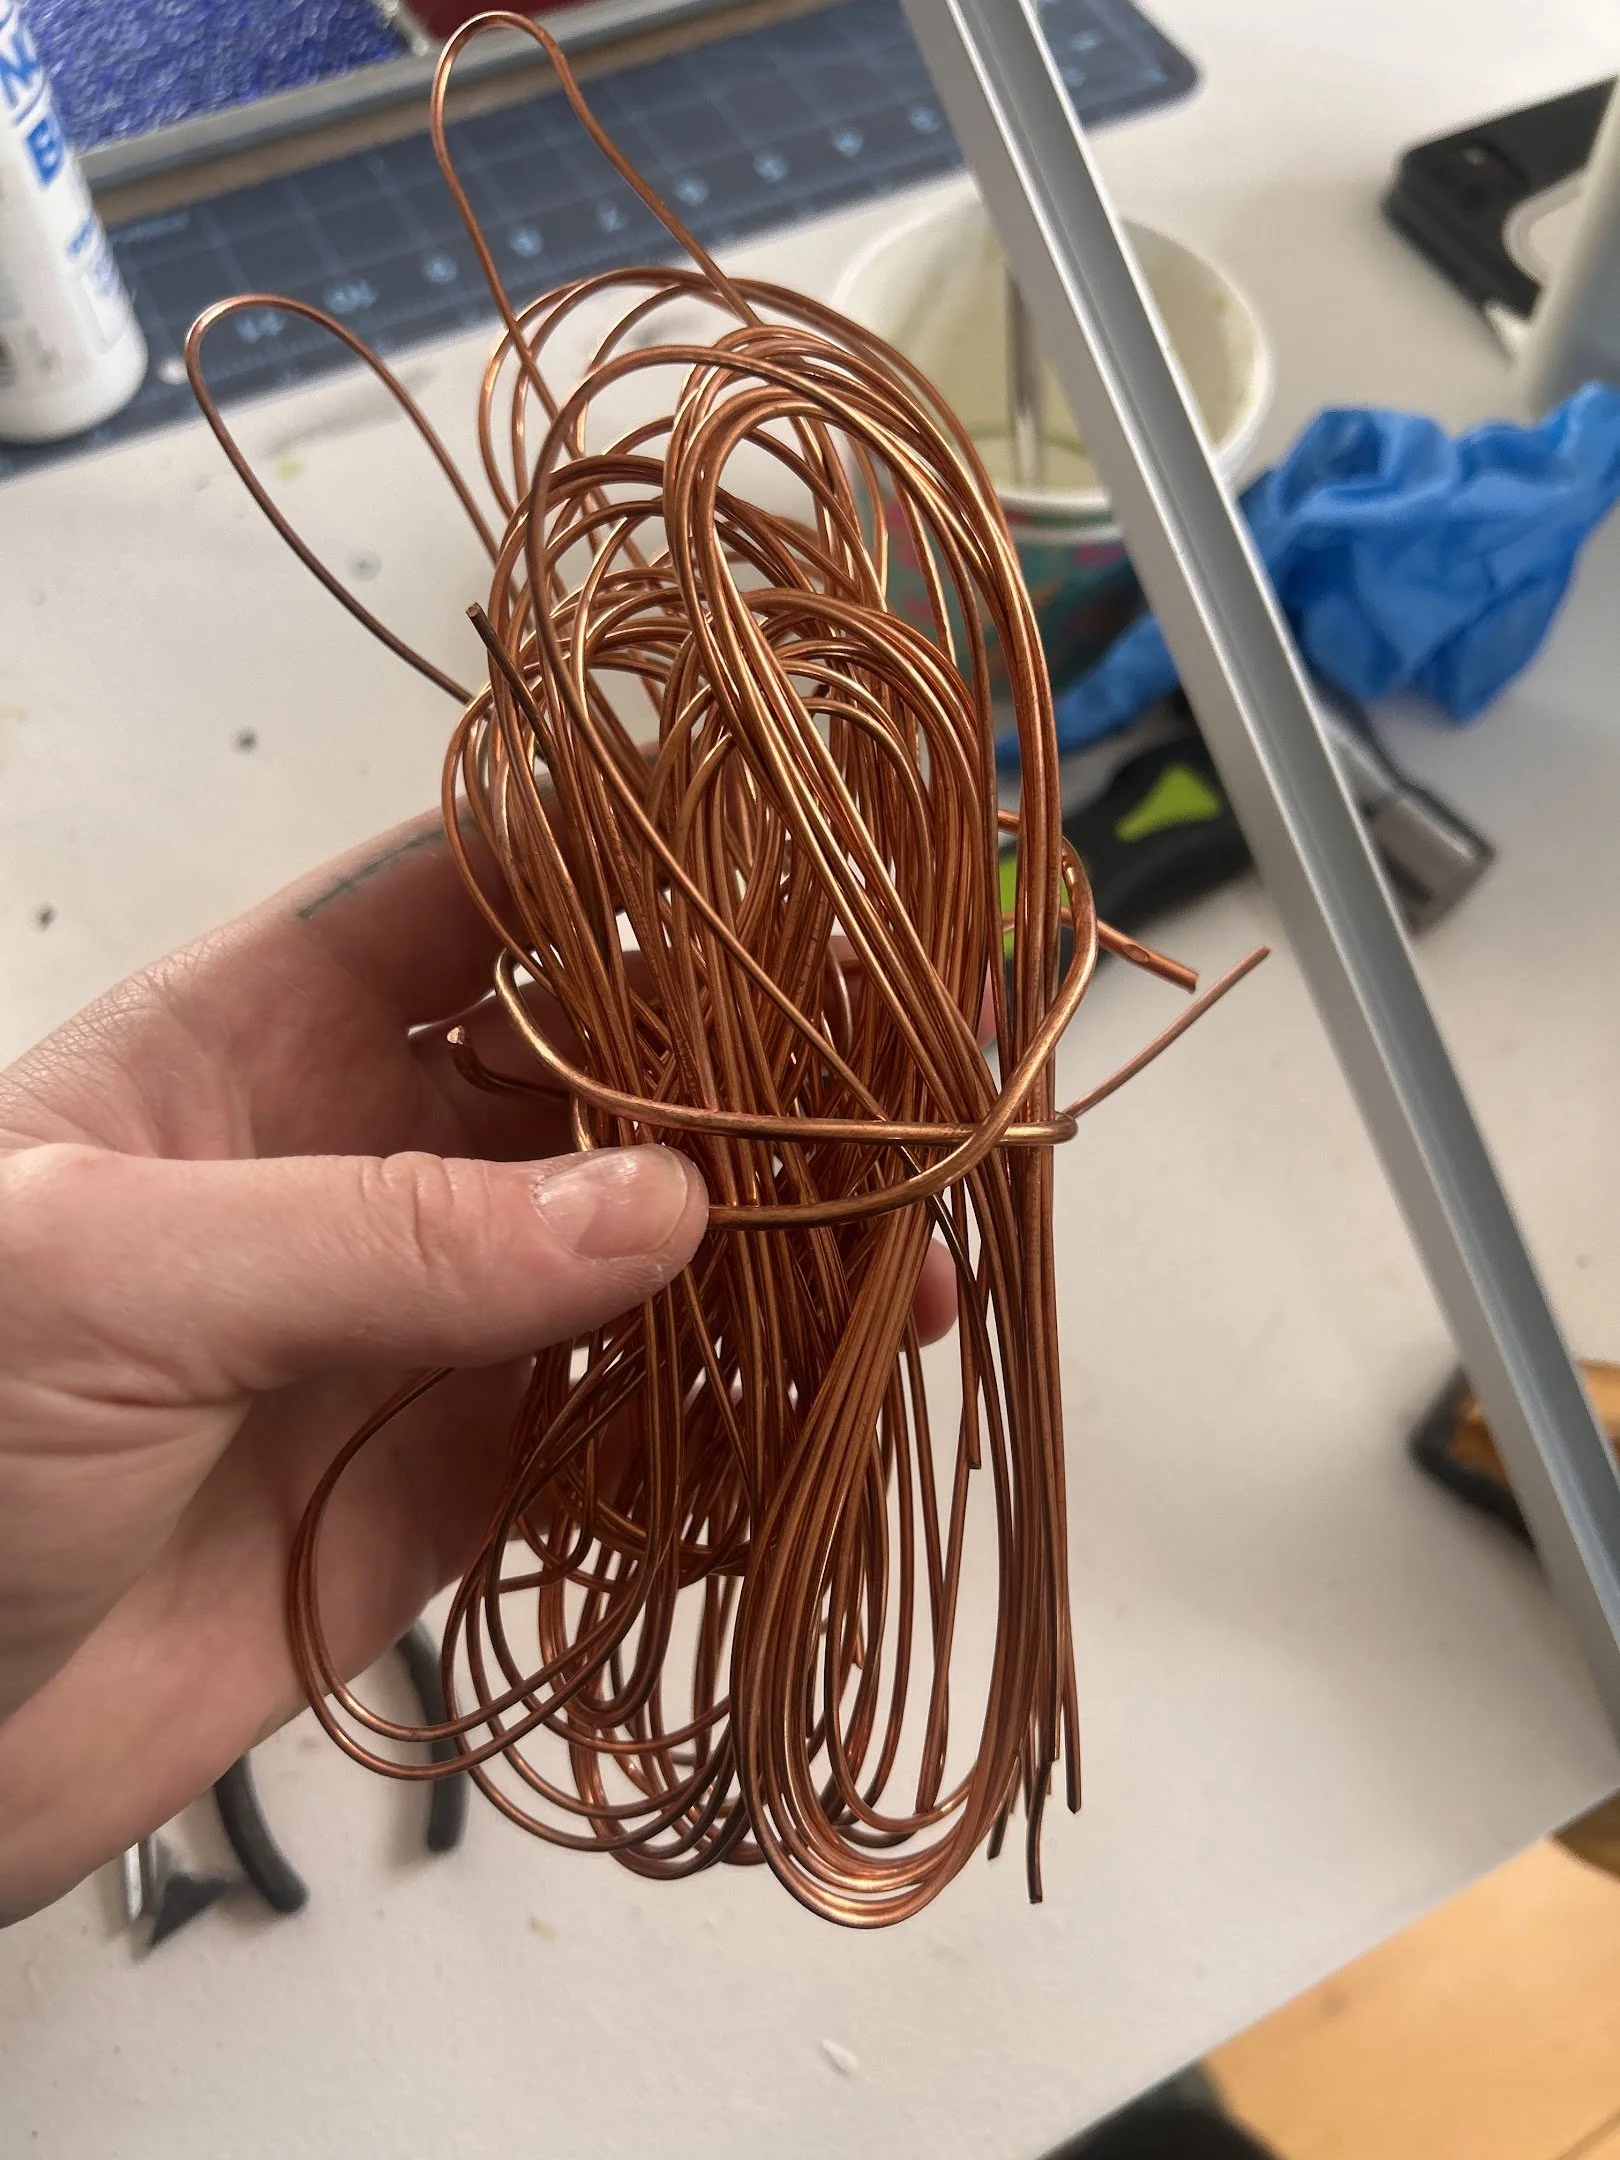
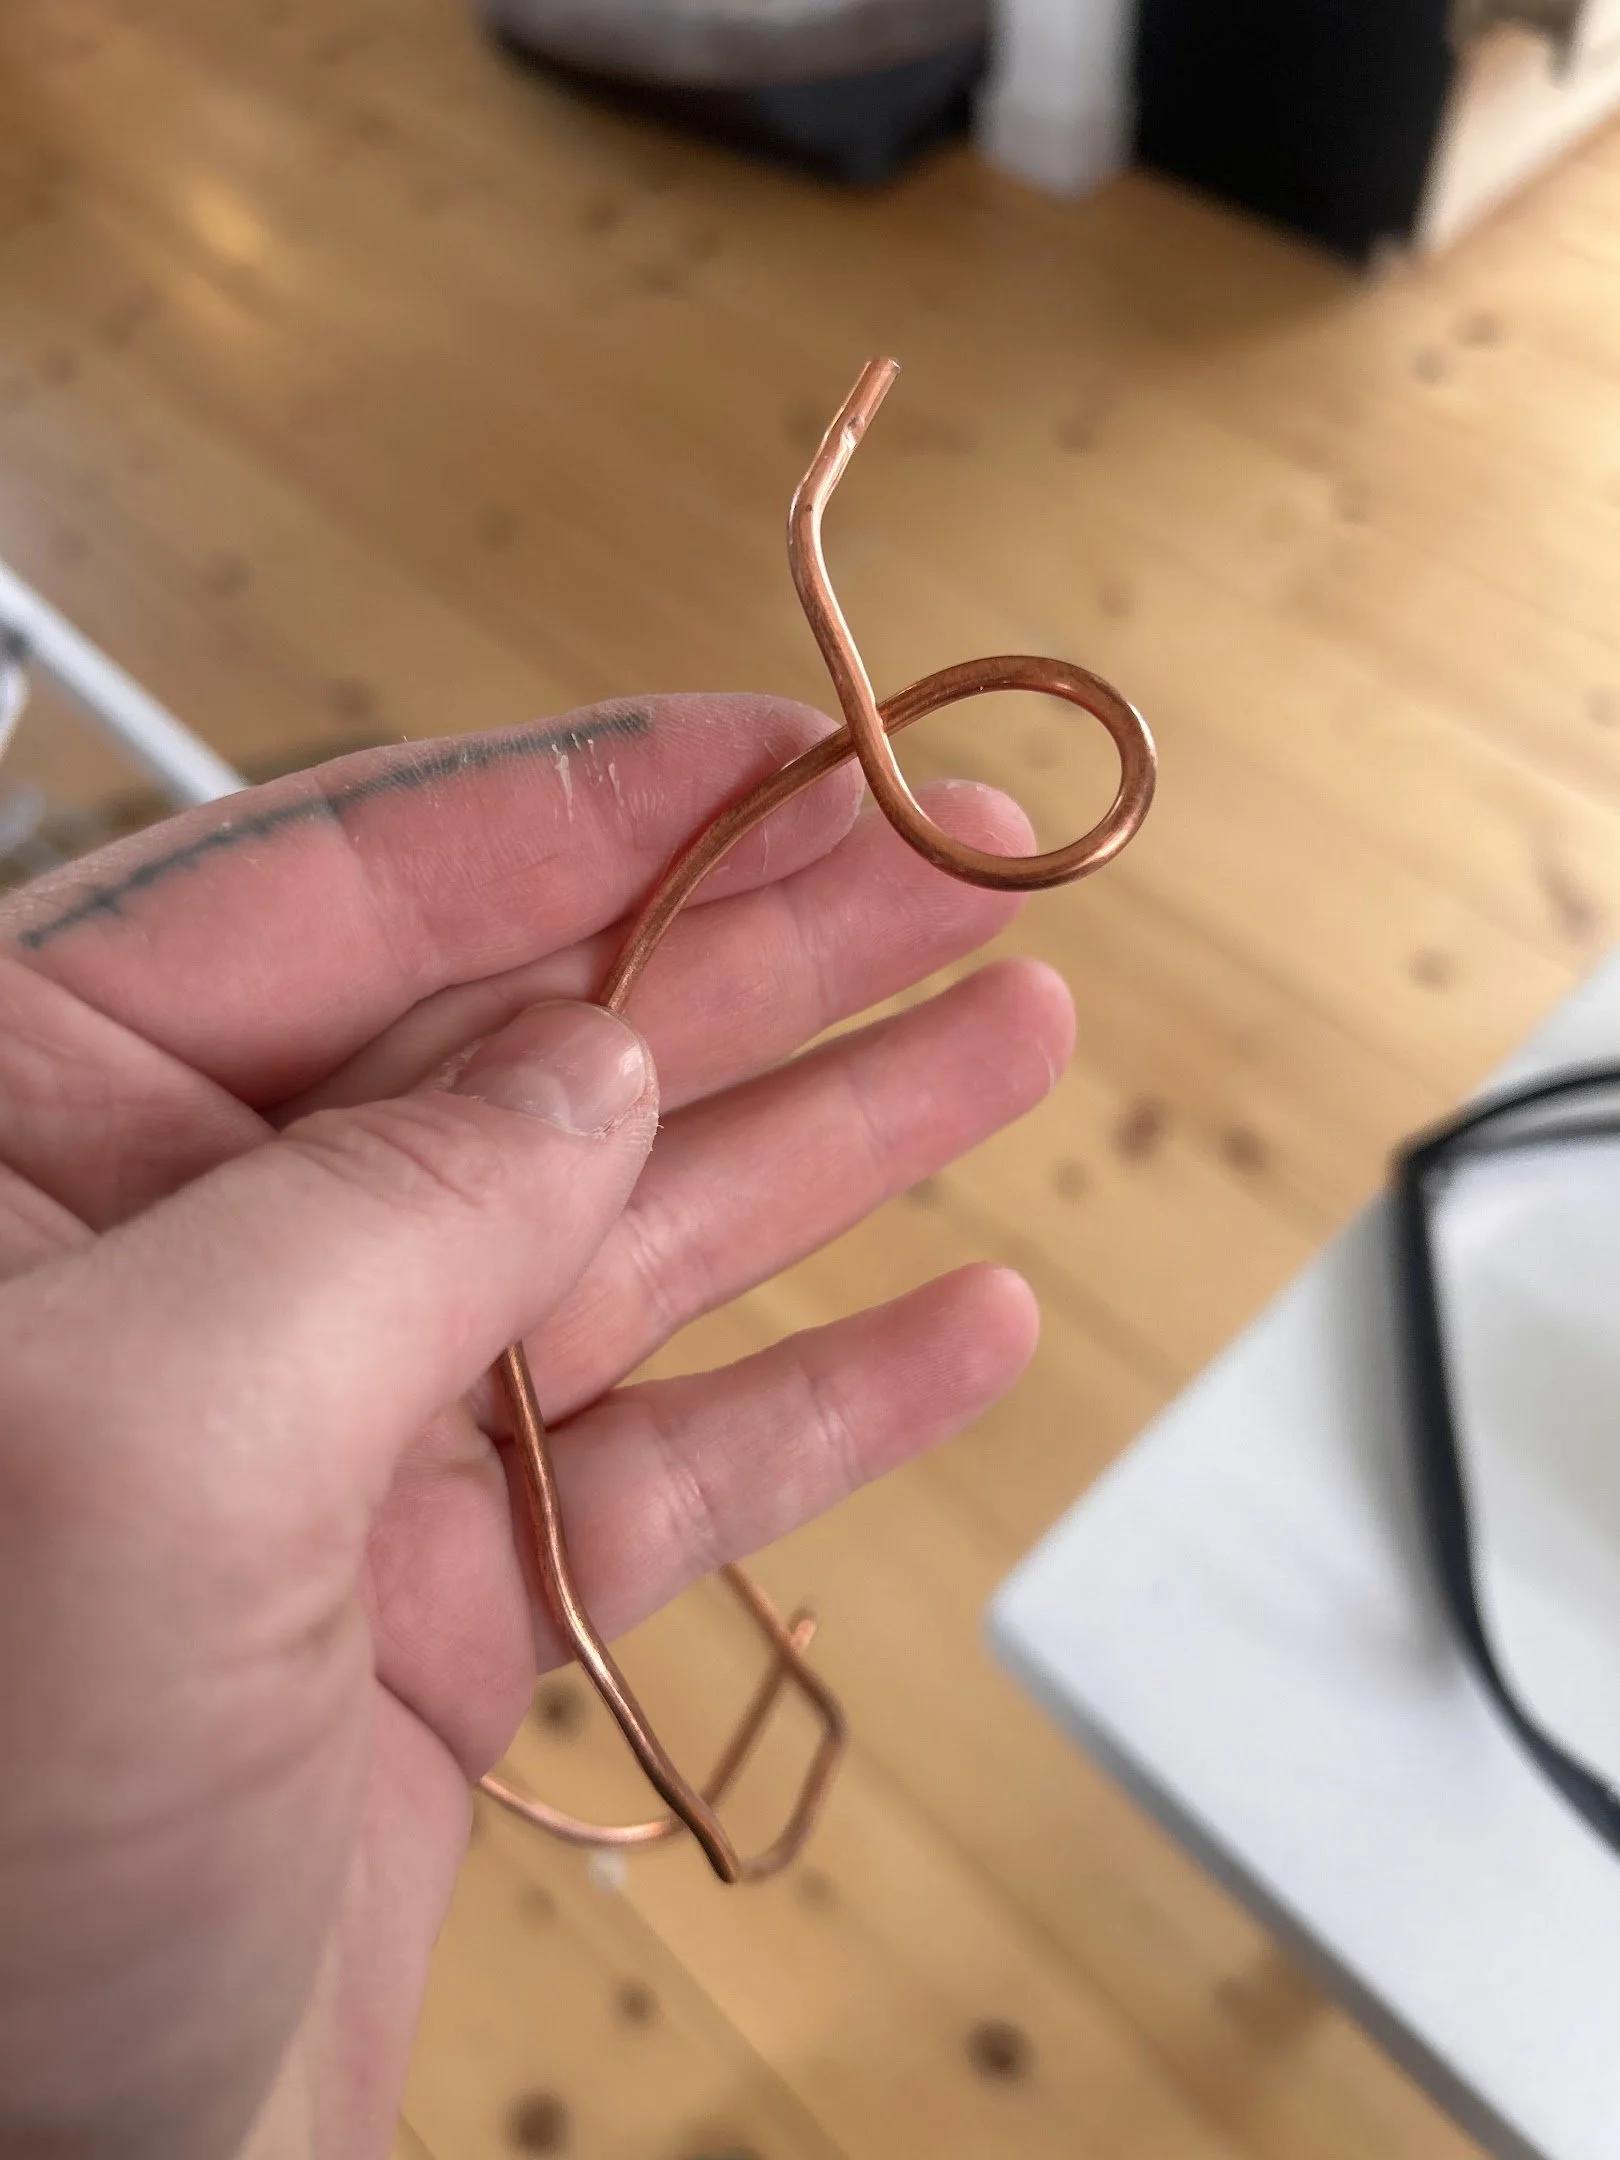
How to make the Ring!
Cut a length of copper wire, twist it around a pencil to make a clean looped design, and attach it between the rings to create your hanging cord.
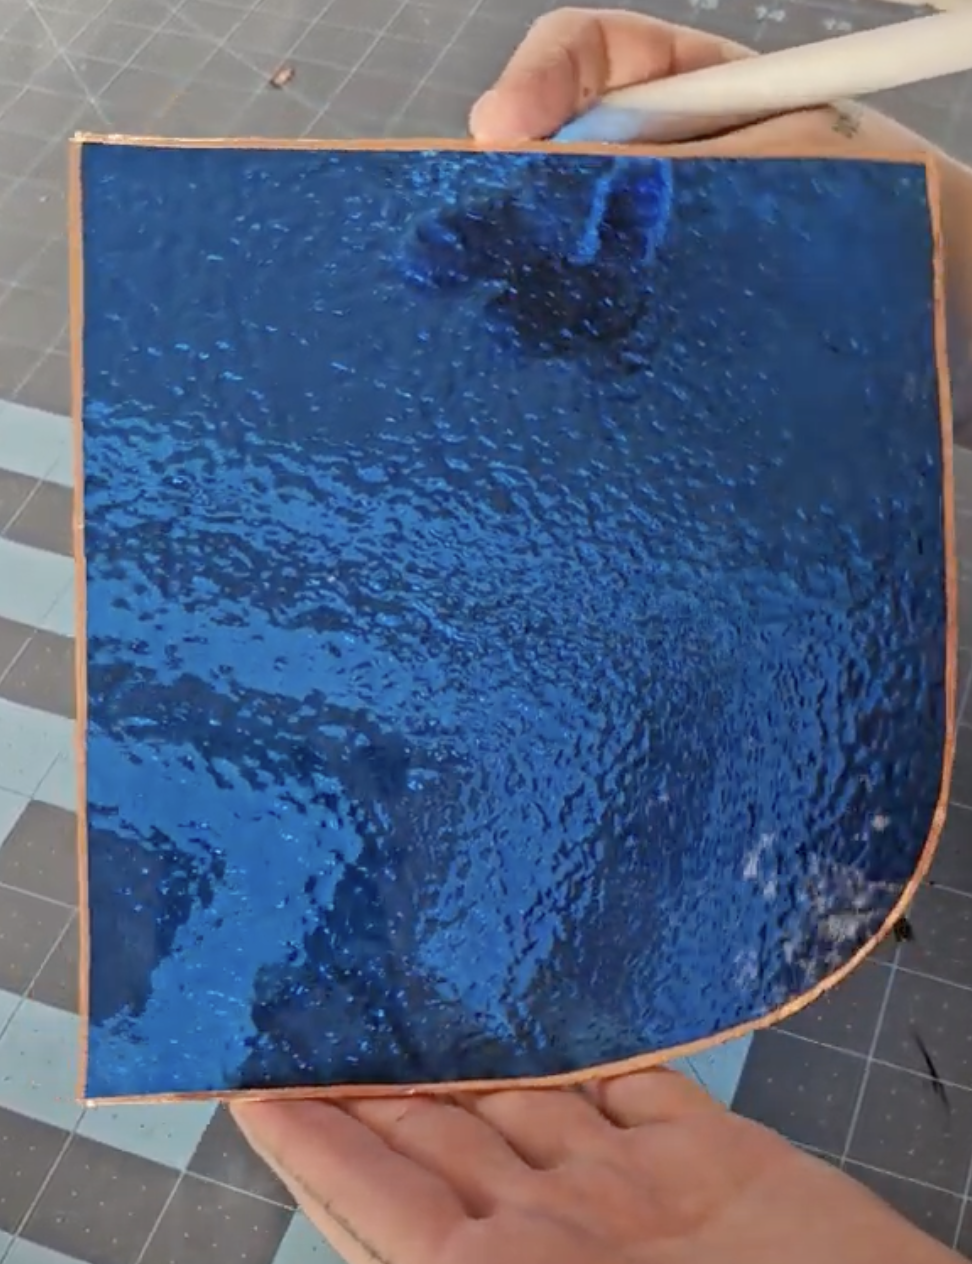
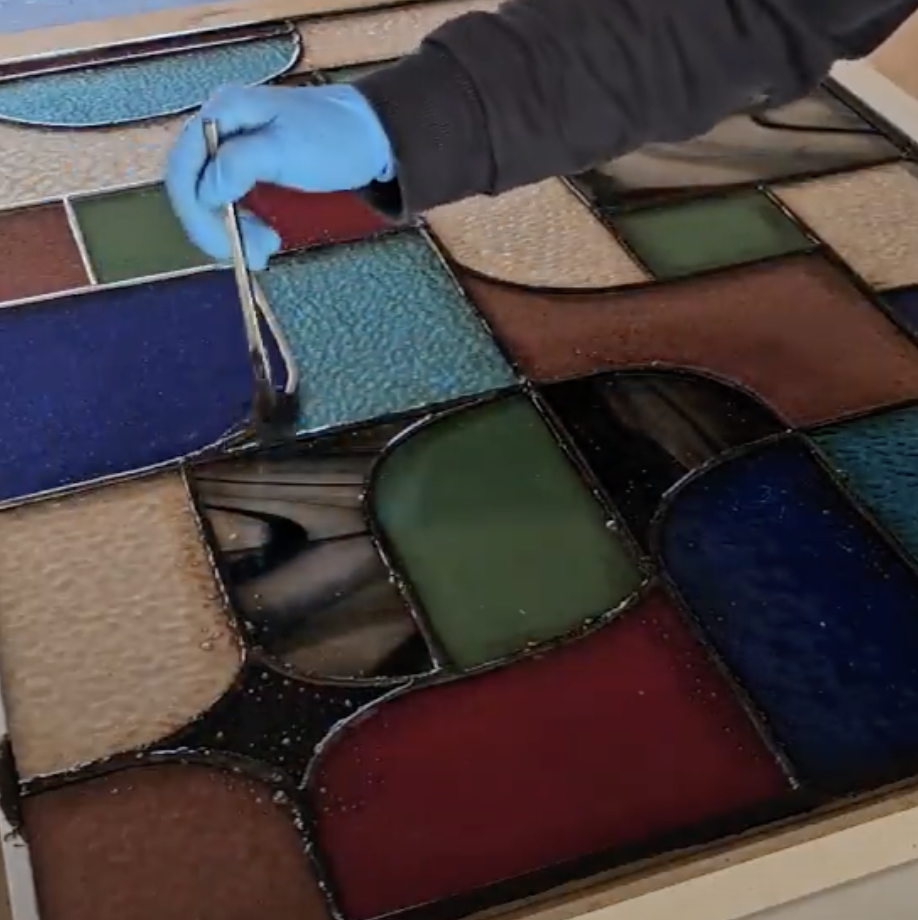
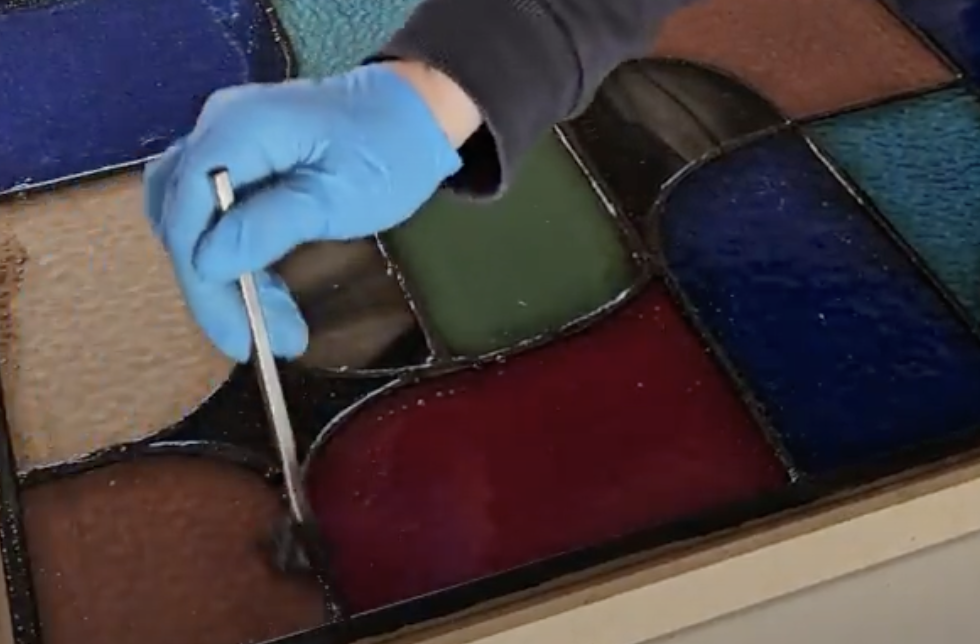
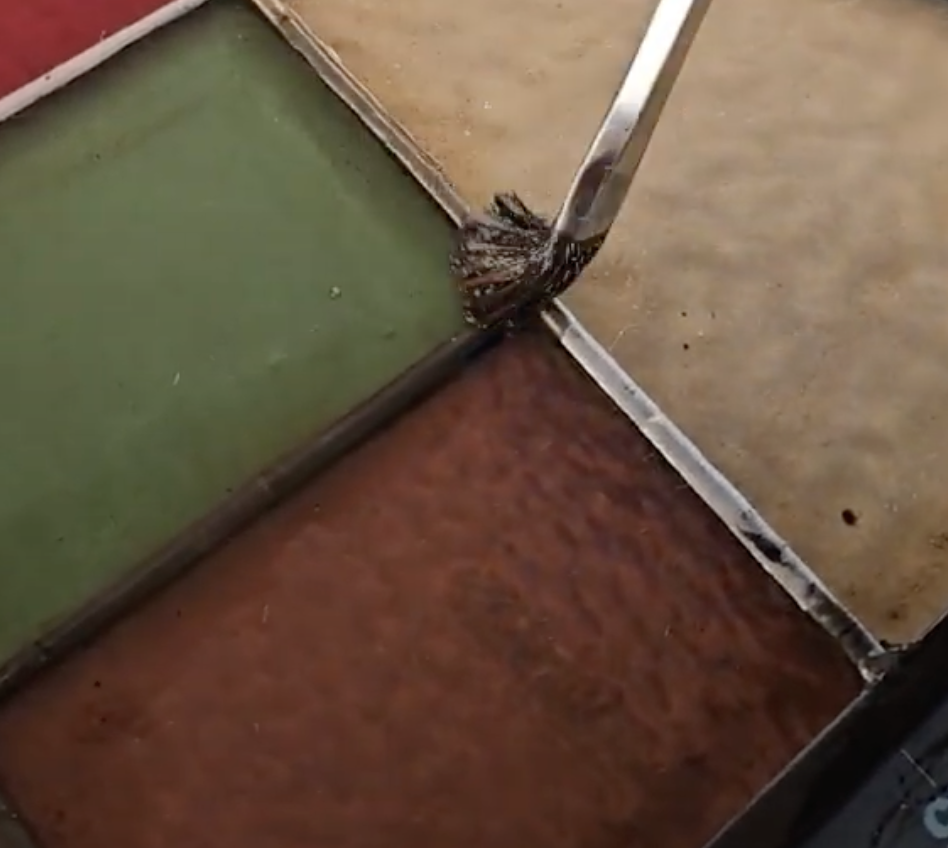
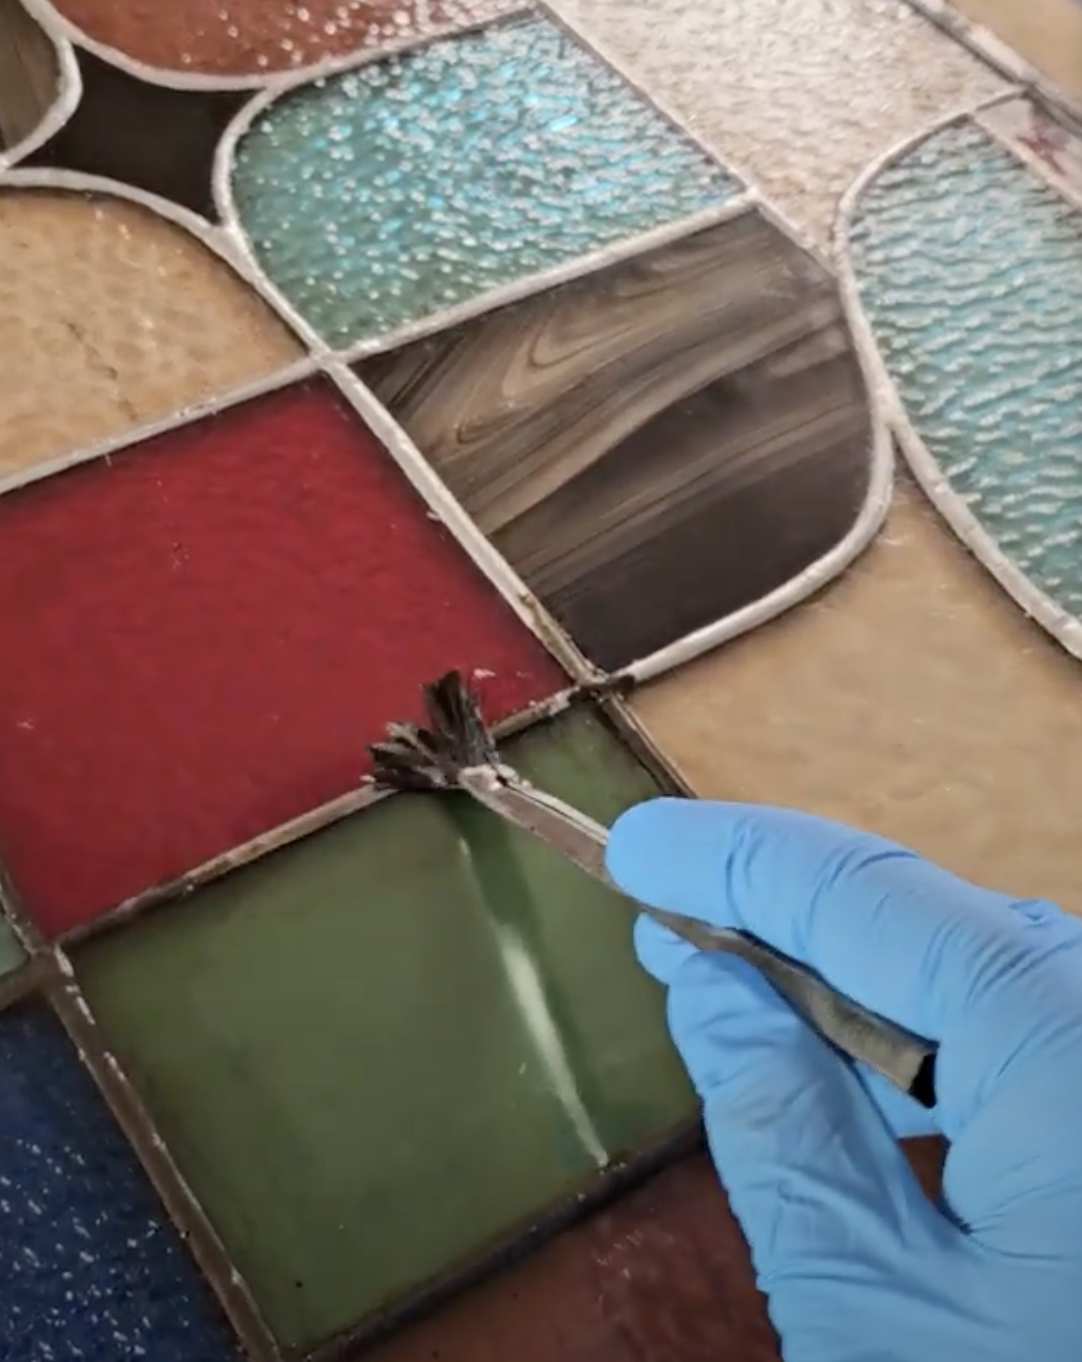
11. Add Patina for a Professional Finish
Patina is one of my favourite steps — it instantly transforms the solder lines.
Black patina creates a bold, modern look, helping the colours pop even more. Simply apply it with a brush, and rinse your piece well afterward. You can choose other coloured patinas as well.

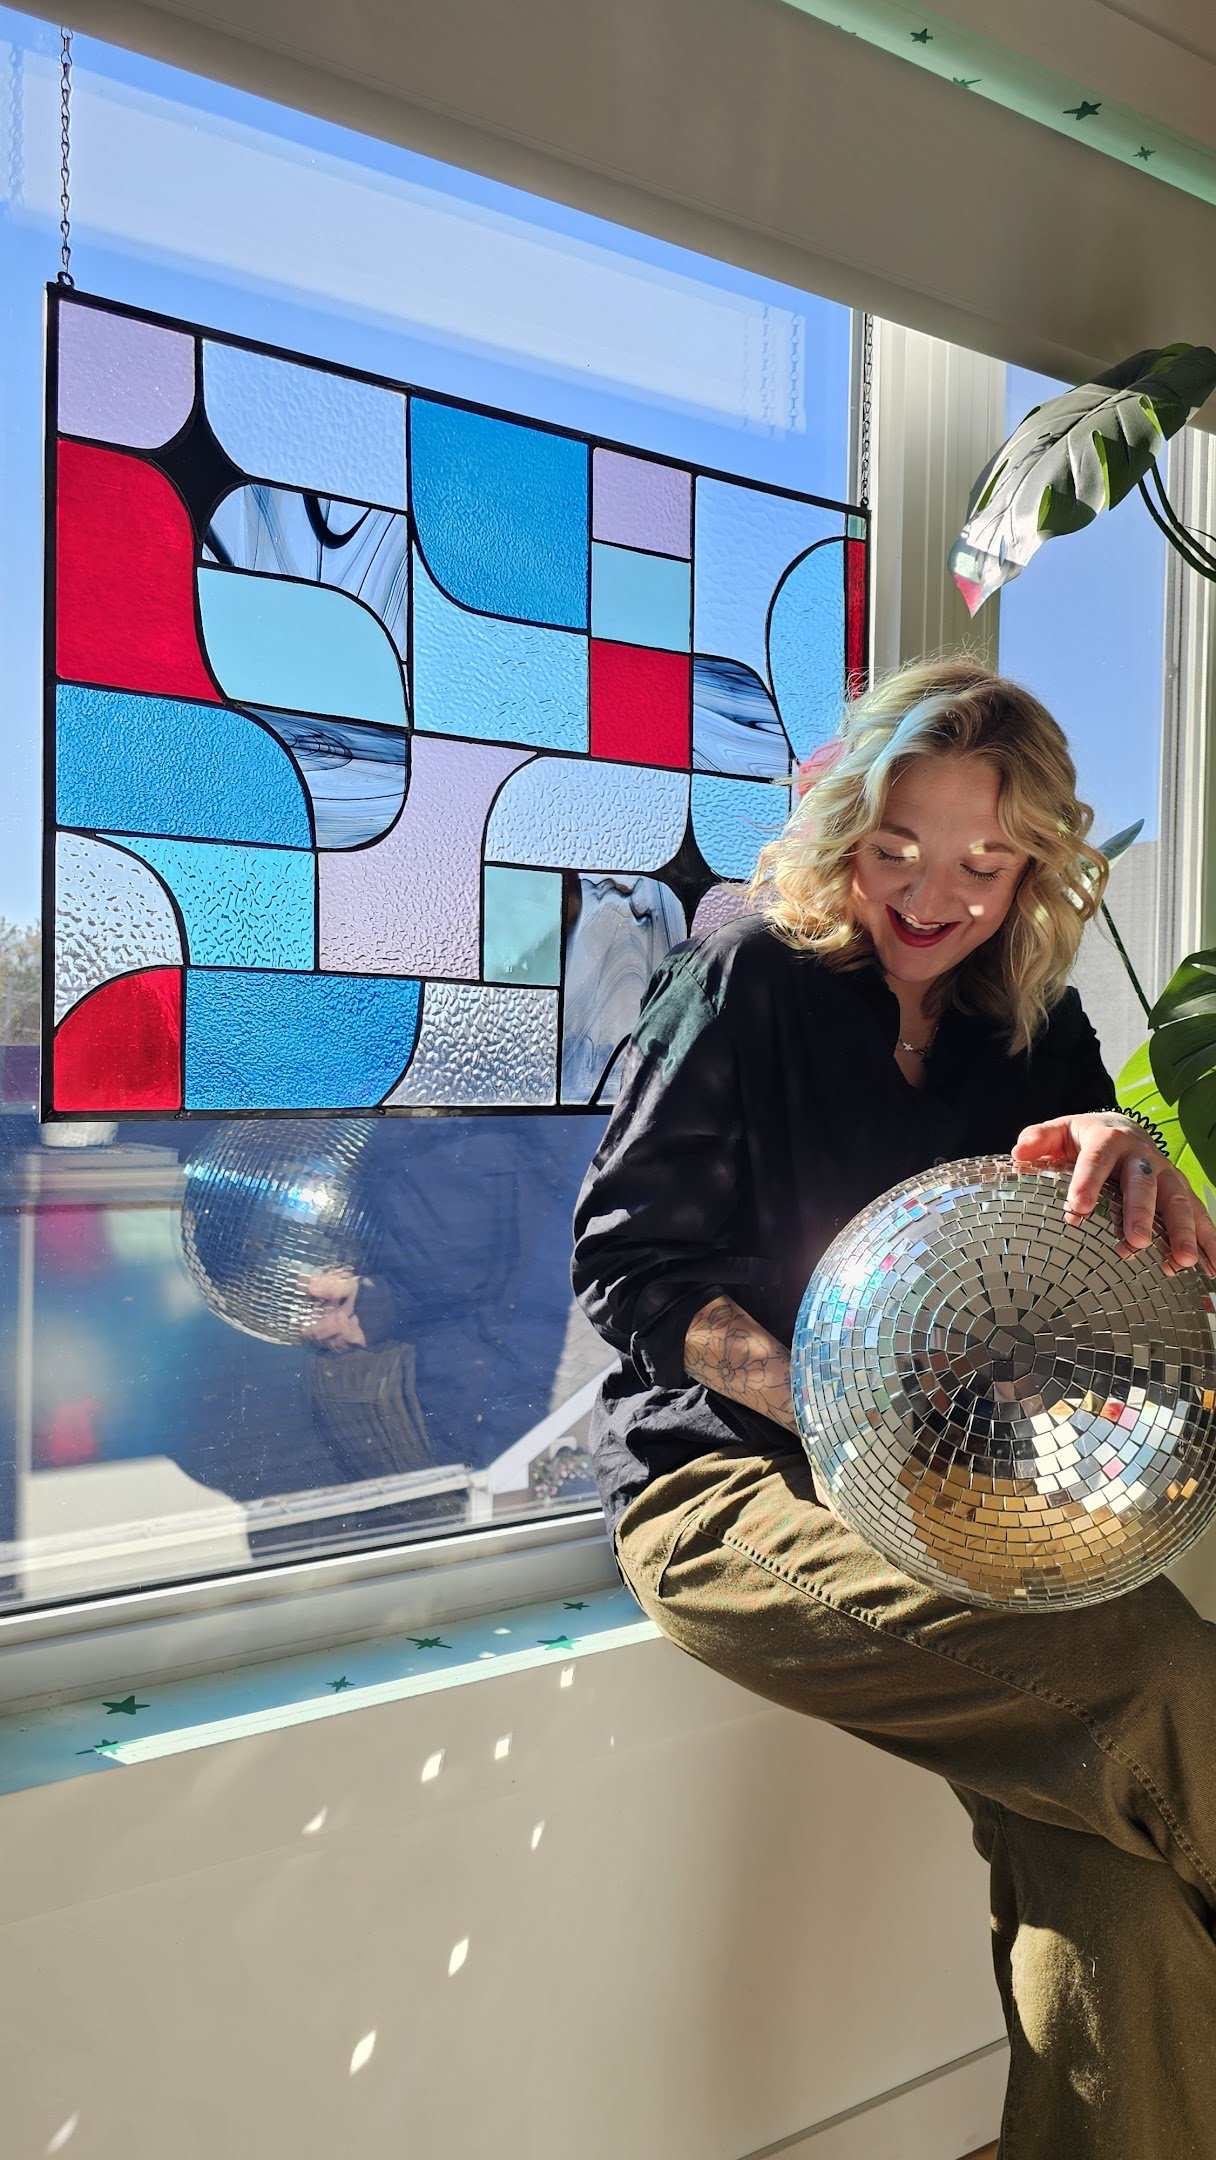
12. Clean, Polish, and Hang Your Artwork
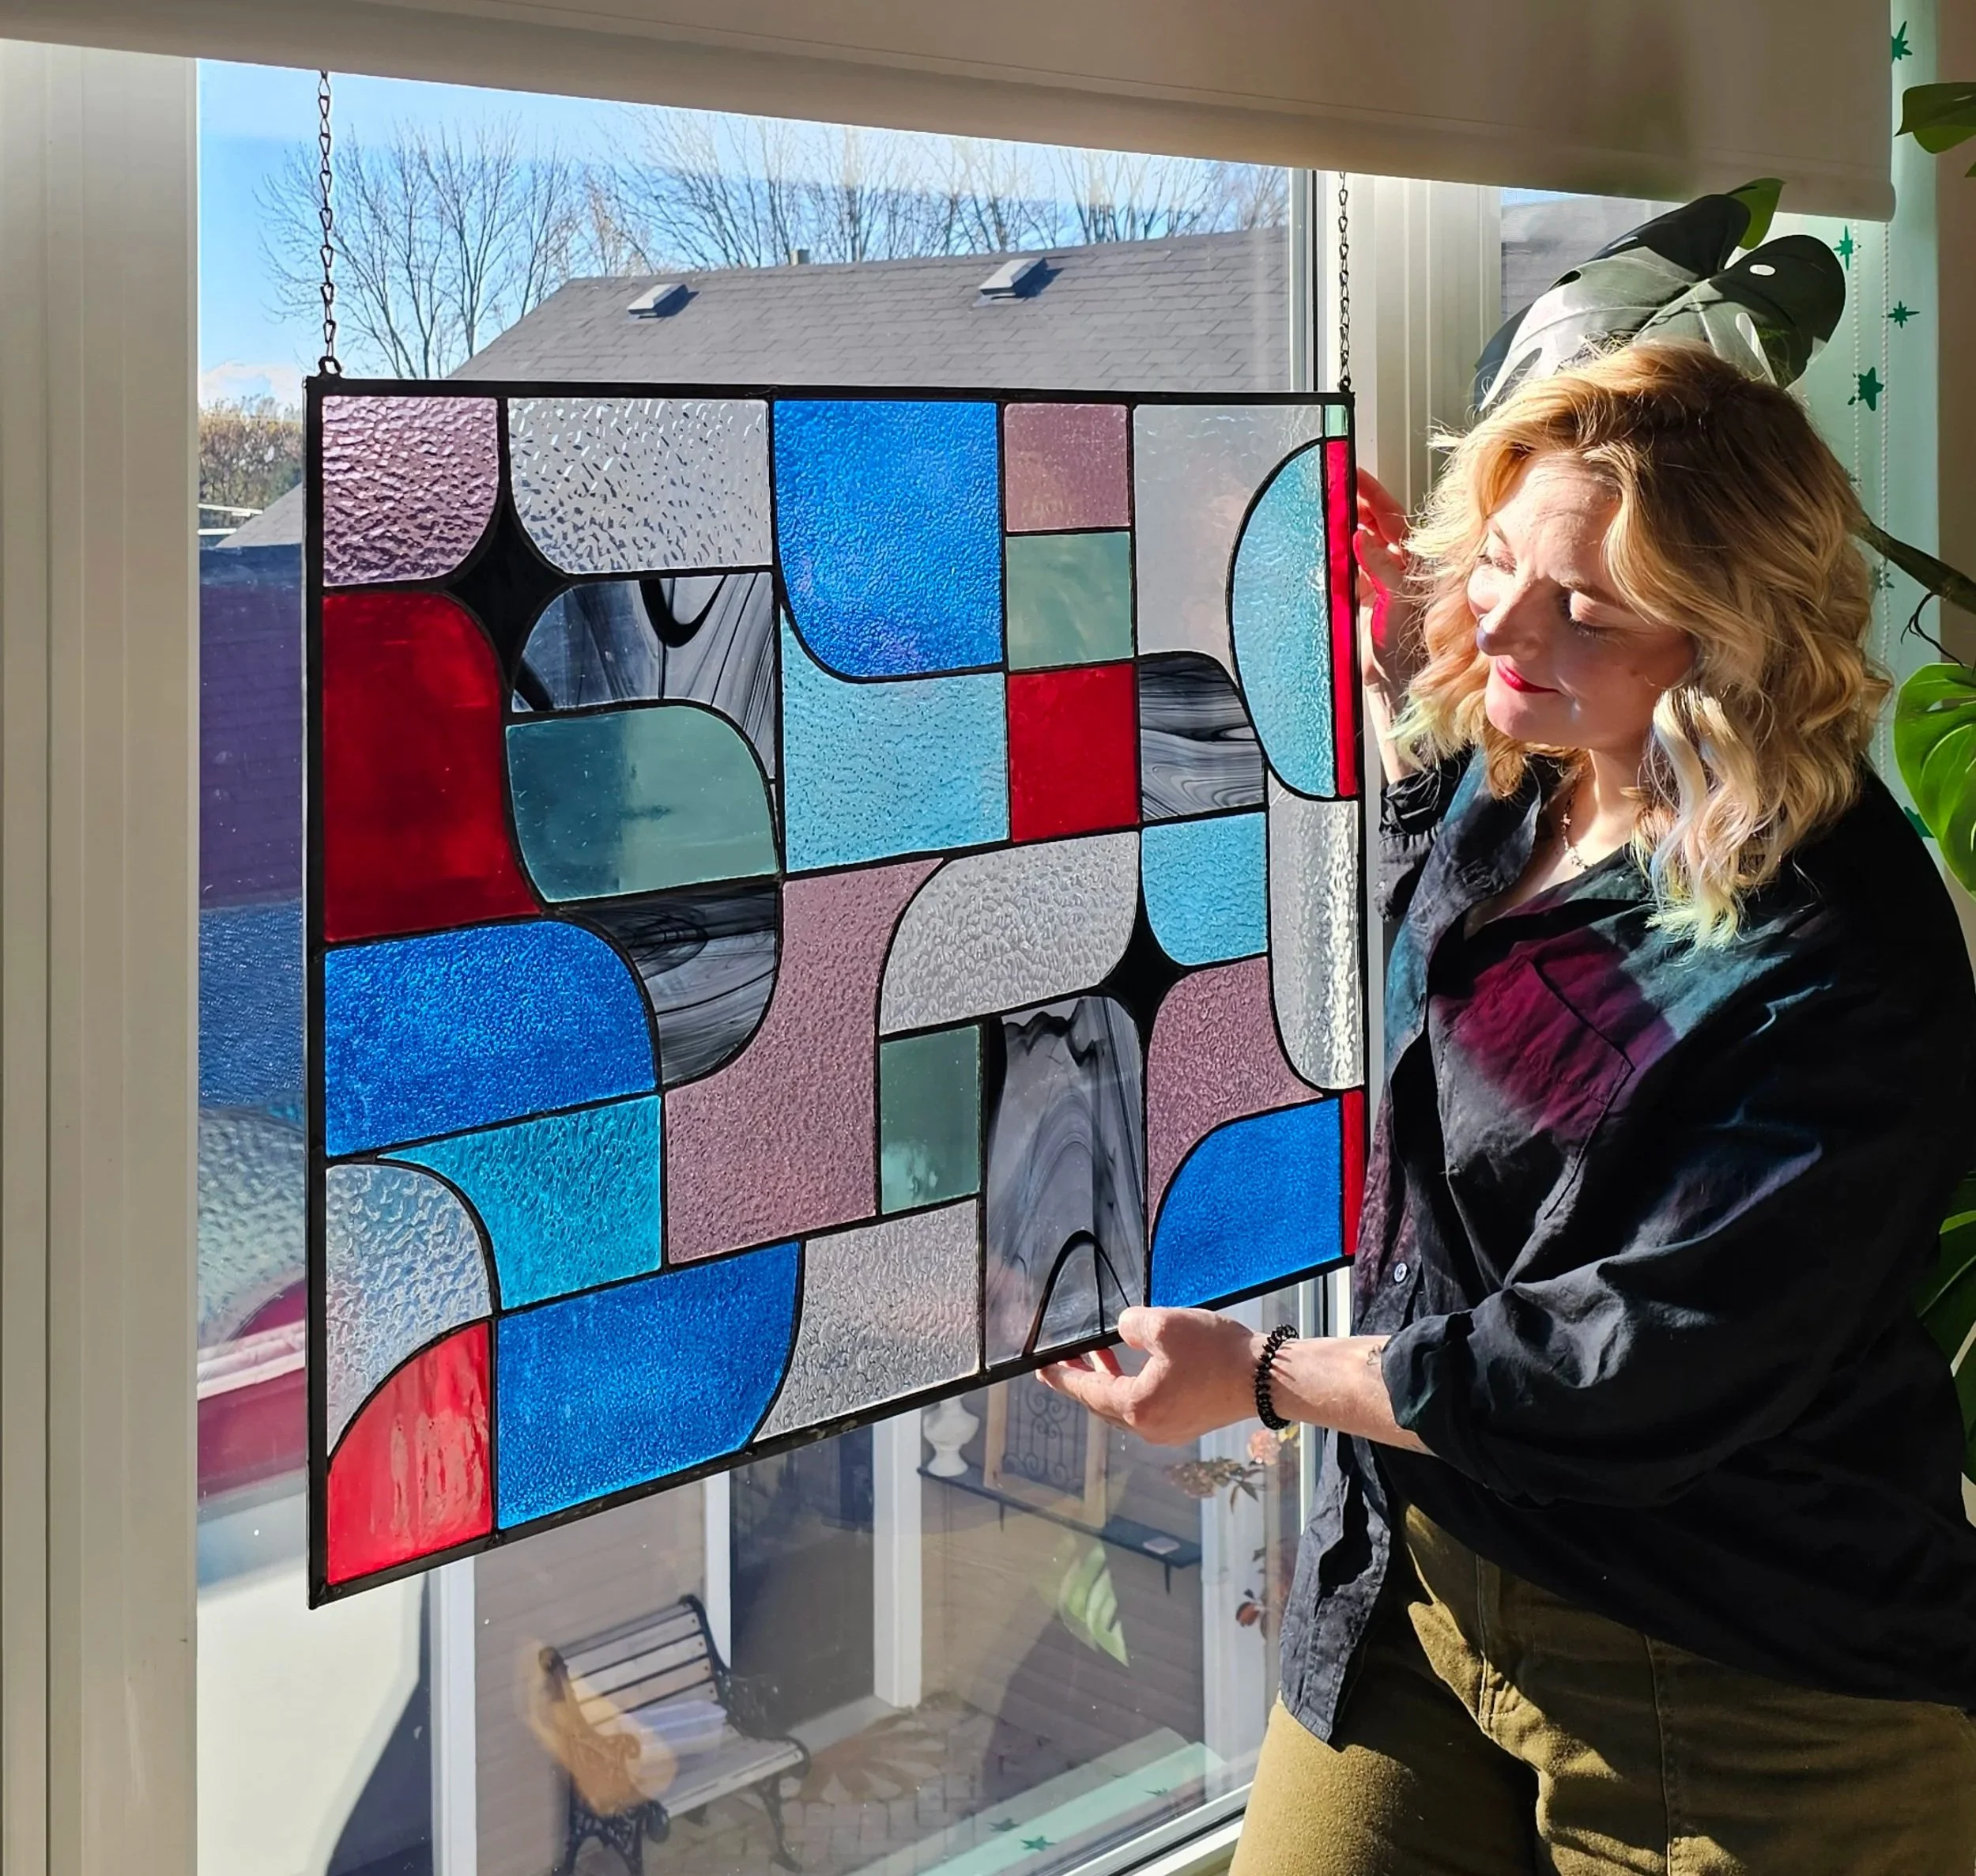
Give your stained glass panel one final wash to remove flux residue and fingerprints. When it’s sparkling clean, hang it in a sunny window and watch your colours come to life.
There’s truly nothing like that moment when the sun hits your piece for the first time — it’s pure magic.
Stained glass is one of those crafts that looks intimidating but becomes incredibly rewarding once you start. With a bit of patience, the right tools, and a design you love, you can absolutely create a stunning hanging panel that feels personal, whimsical, and uniquely you.


Share your journey!
If you give this DIY a try, share your creation with us @diyinprogress_
I always love seeing your projects. And until next time…