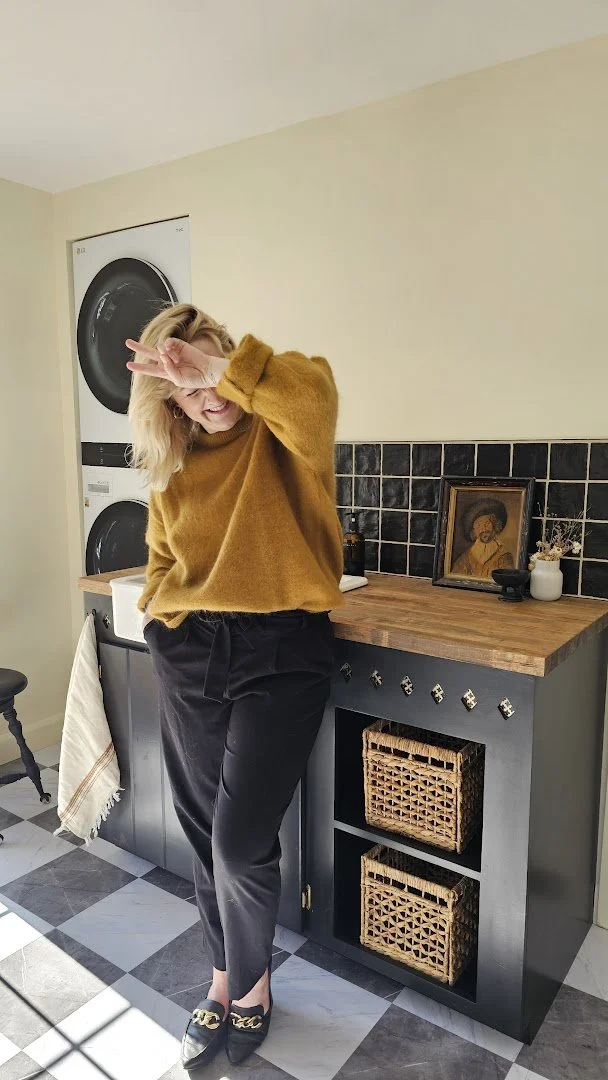
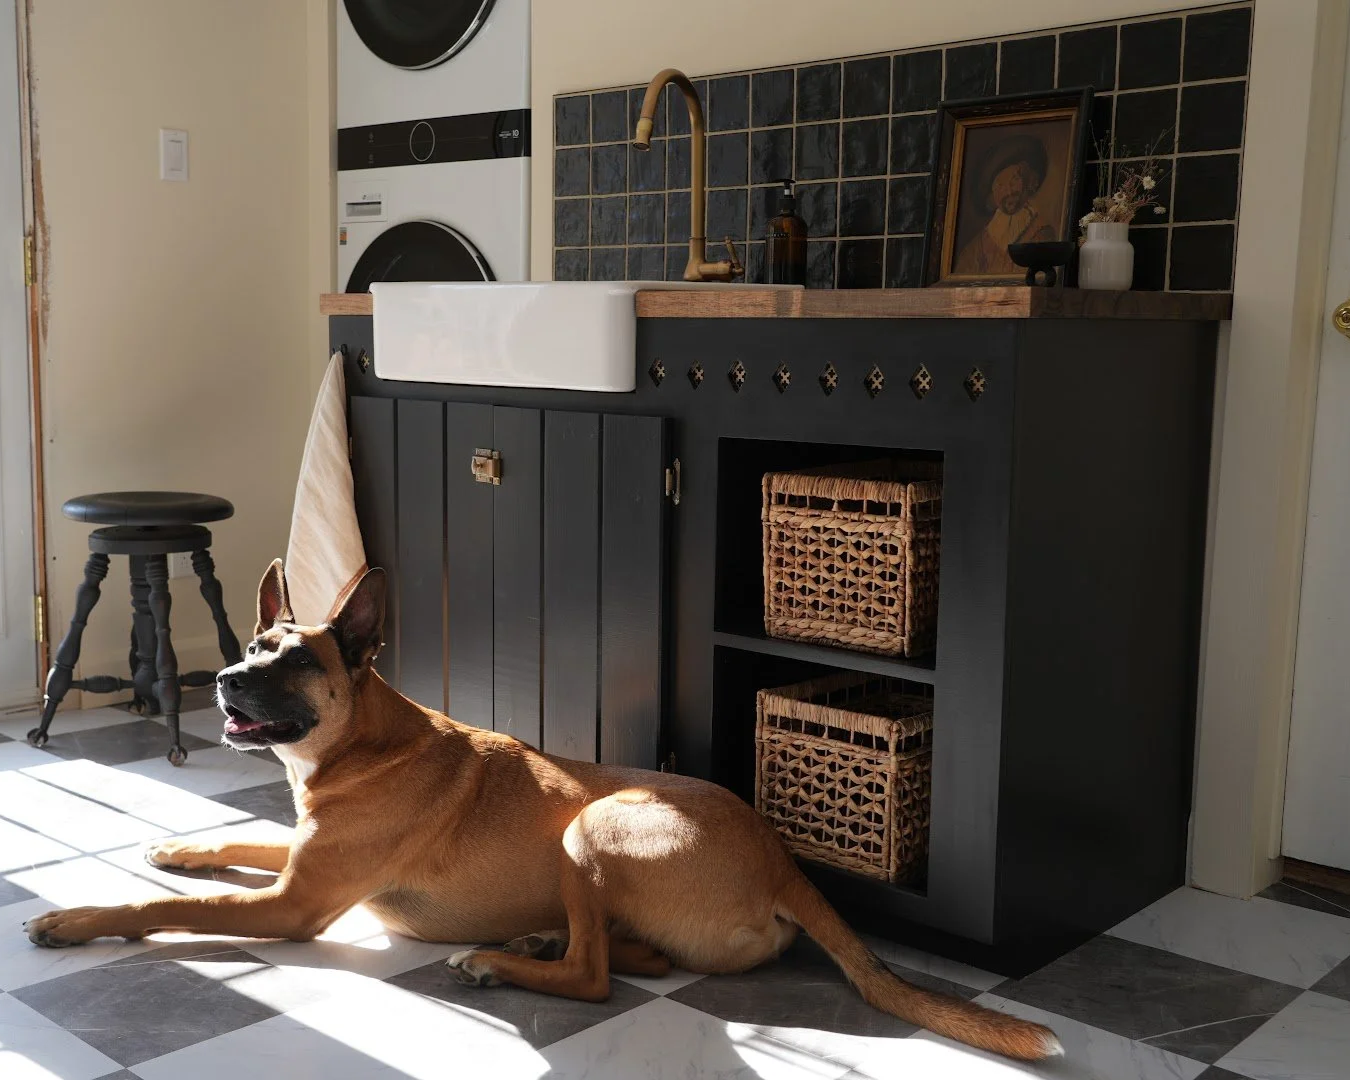
Custom Laundry Cabinet with IKEA Sink for Utility Room
If you’ve ever wanted to elevate an IKEA sink into a full custom vanity moment, here’s exactly how I built mine and what you need to know before diving in.
Materials
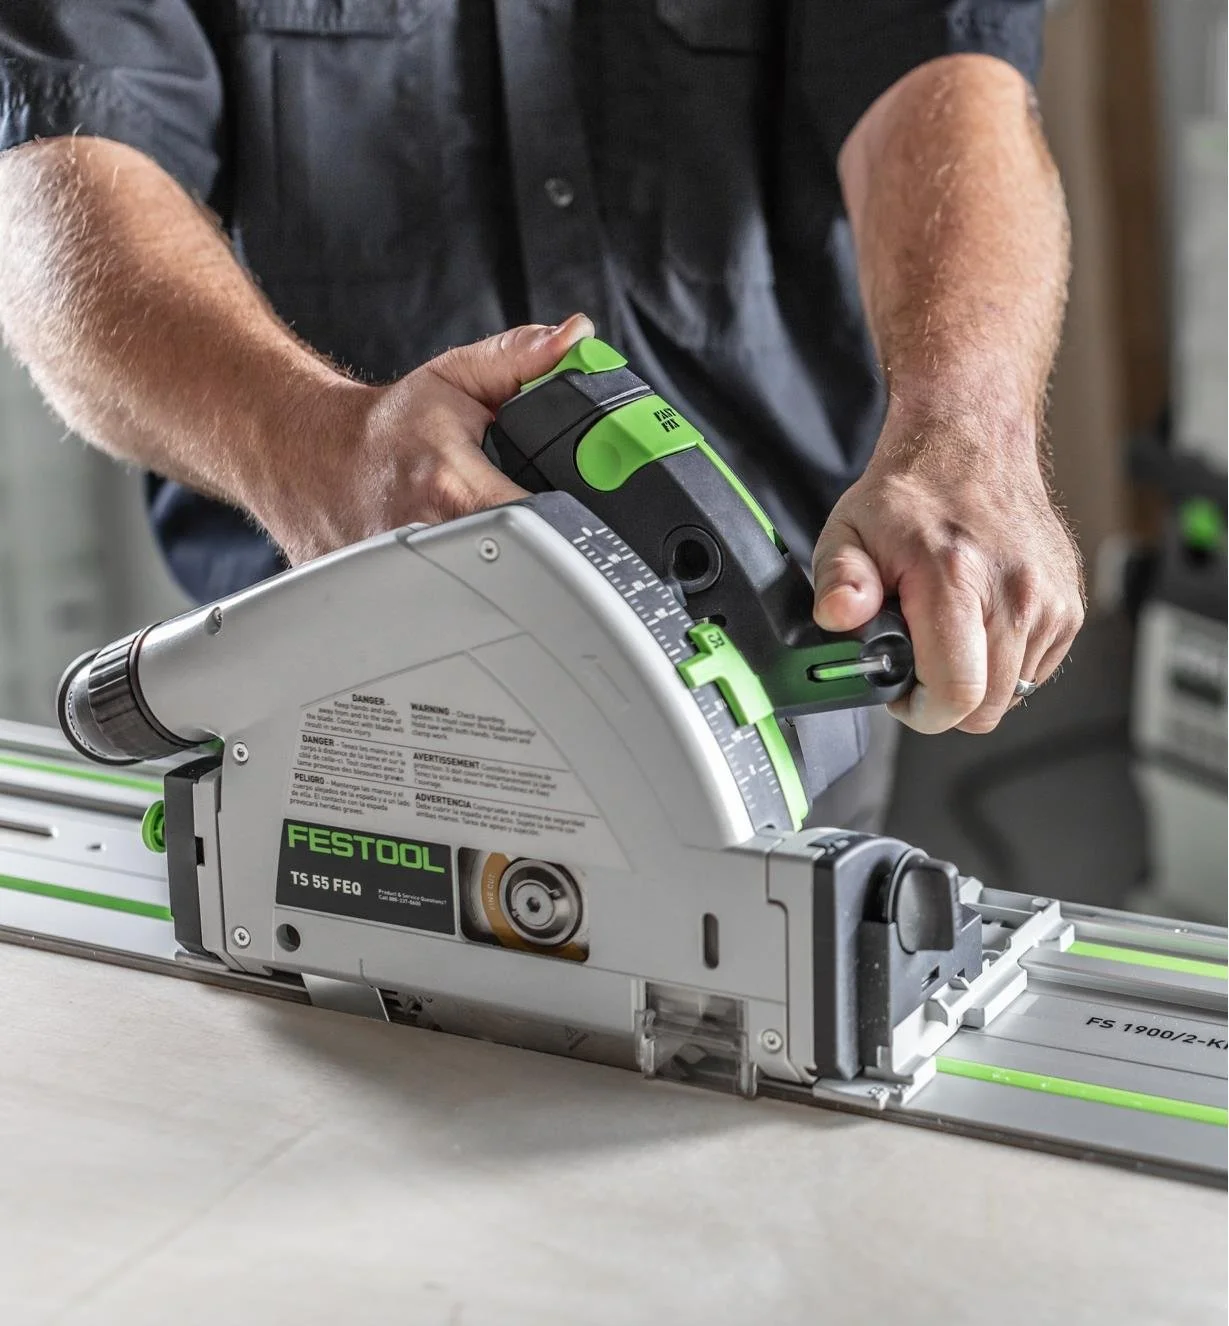
¾” plywood sheets
Speed square + measuring tape
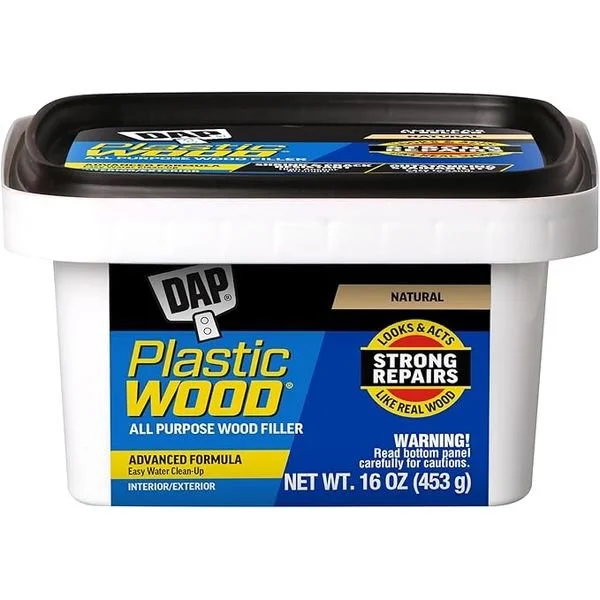
Wood filler + sander
Paint, primer & stain/oil
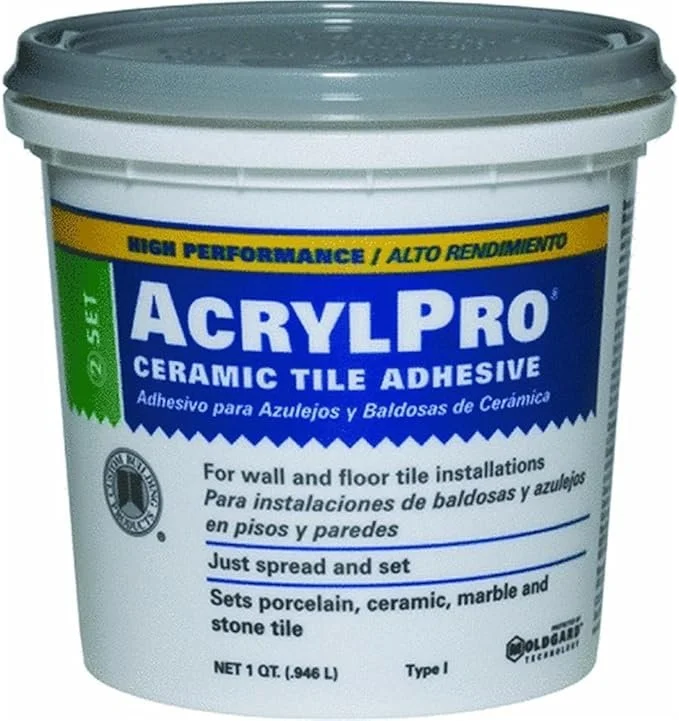
Tile + adhesive (*OPTIONAL - for the backsplash)
Shop this episode


Step 1: Plan Your Sink Cabinet Layout
Every great build starts with a plan—and in this case, a very specific measurement session.
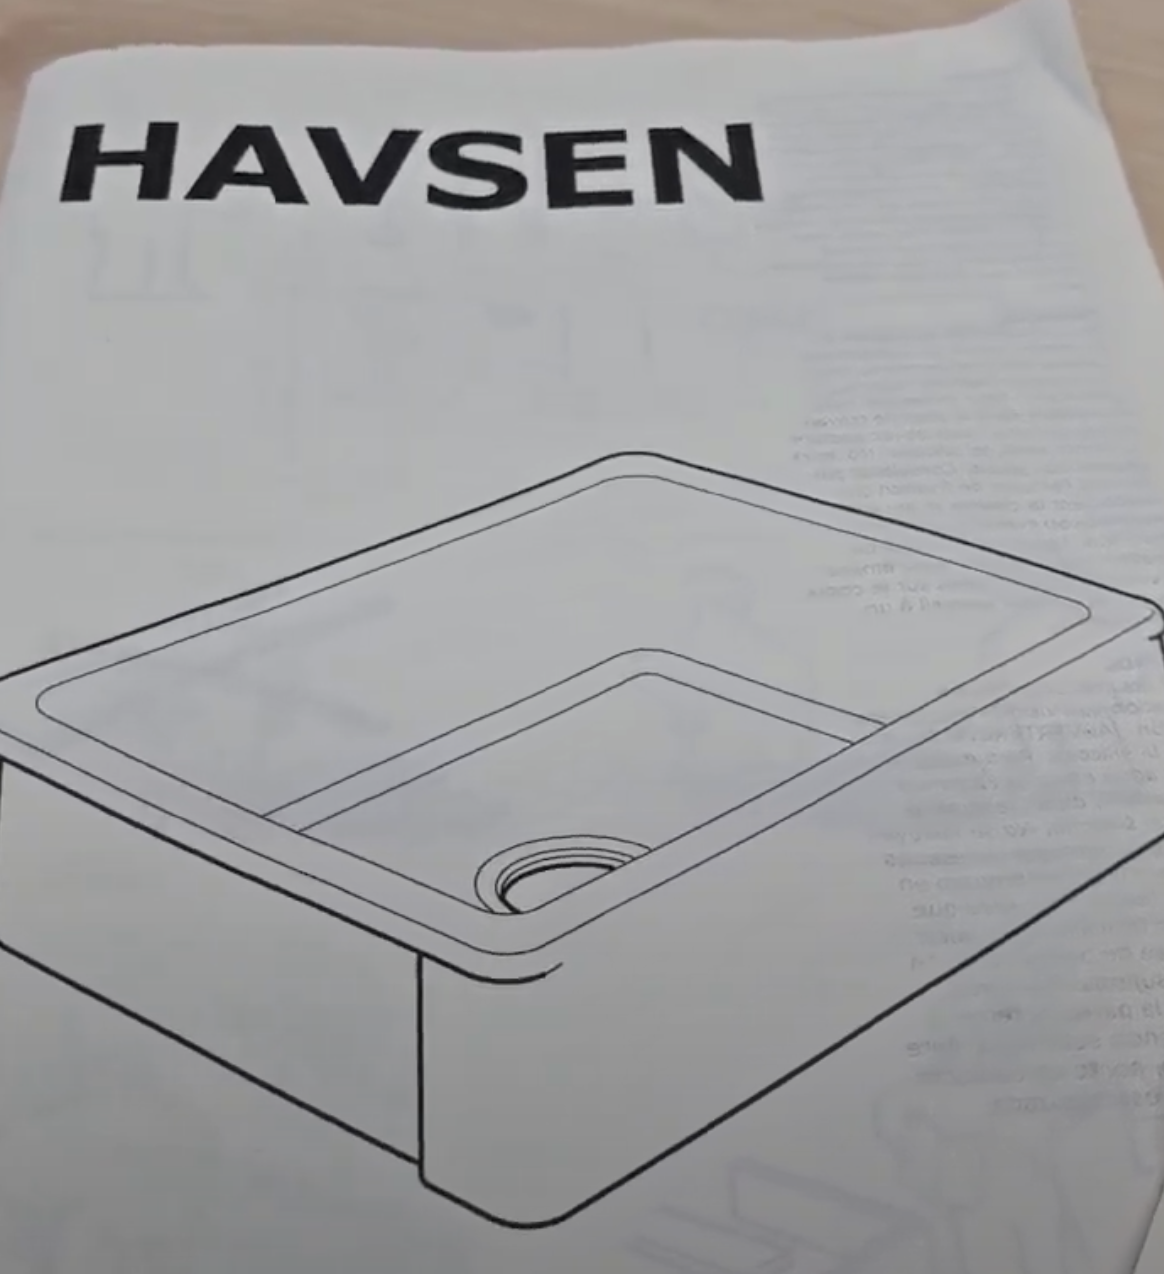
Because farmhouse-style sinks like HAVSEN drop down into the cabinet, double-check:
Final height (including counter)
Sink depth
Overhang and reveal
How much interior structure you may need to trim or reinforce
*NOTE: The IKEA sink instructions provide all the details and cutting information you need before you begin!
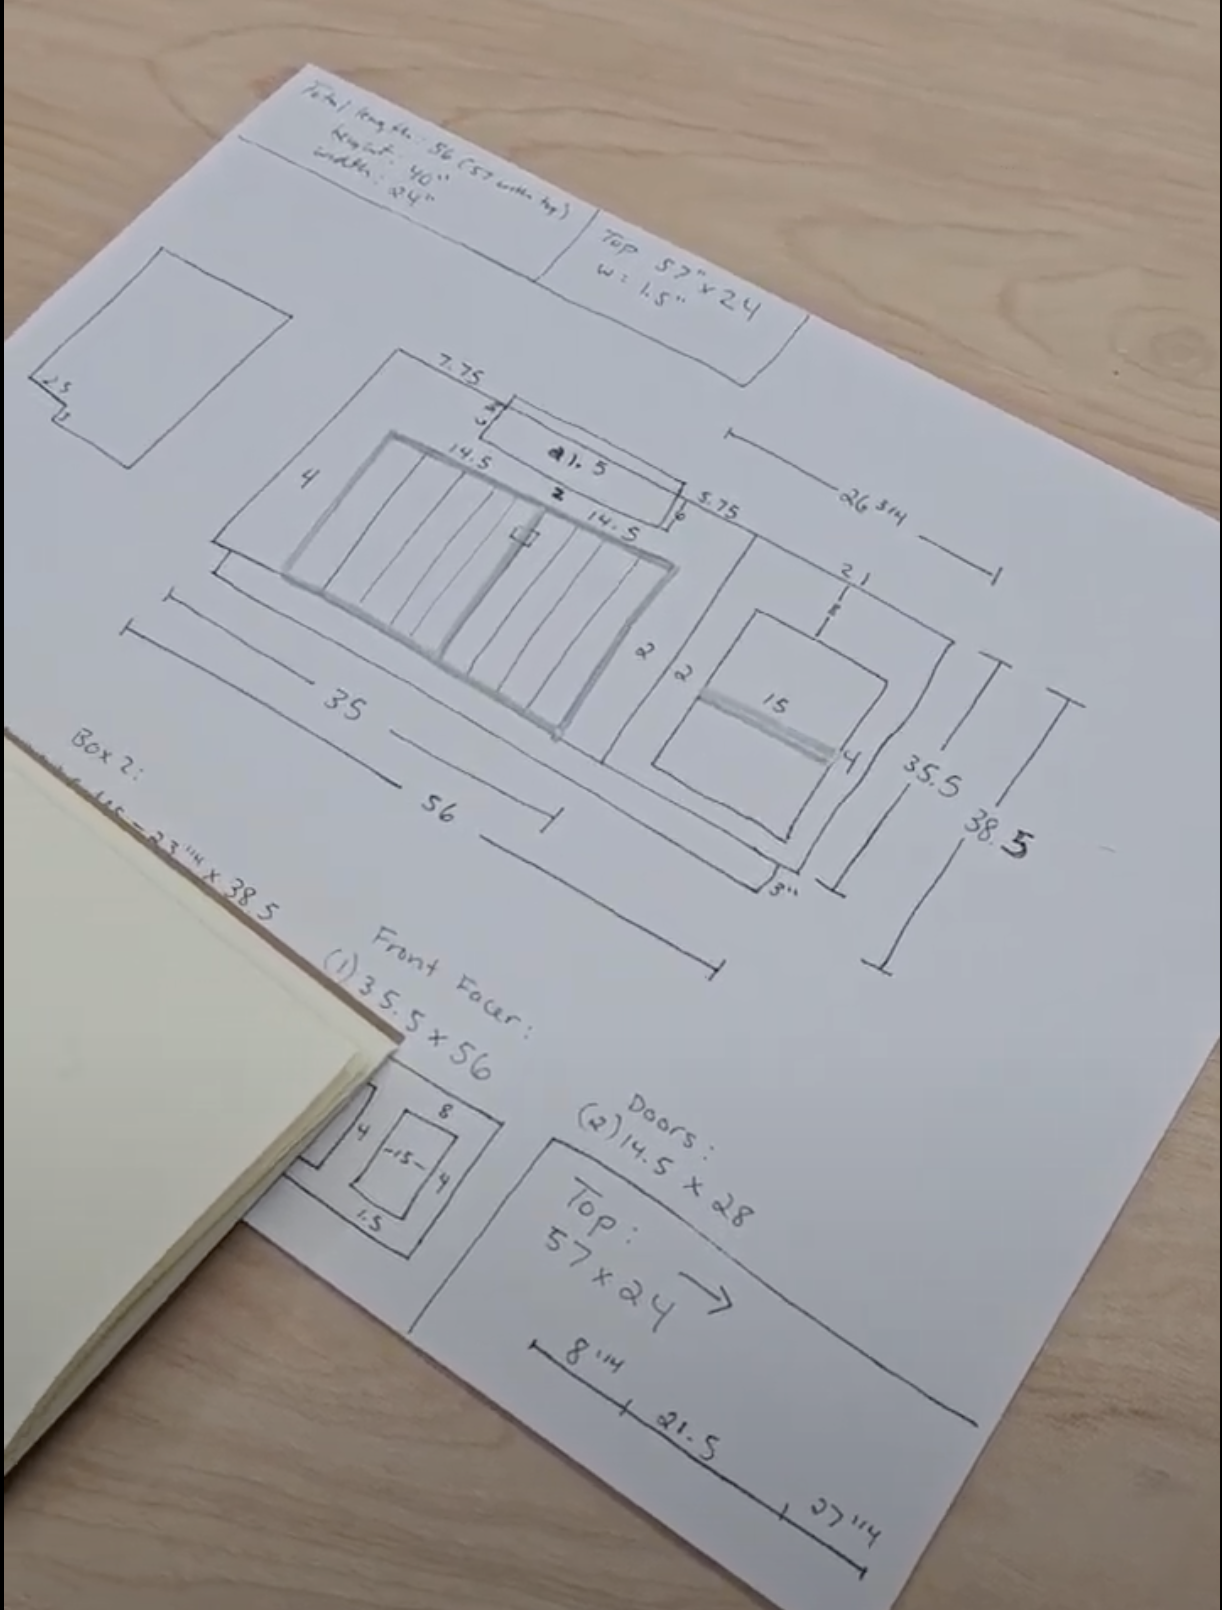
I actually had to adjust my cabinet height mid-build. Measure twice, cut once… and when in doubt, measure again.
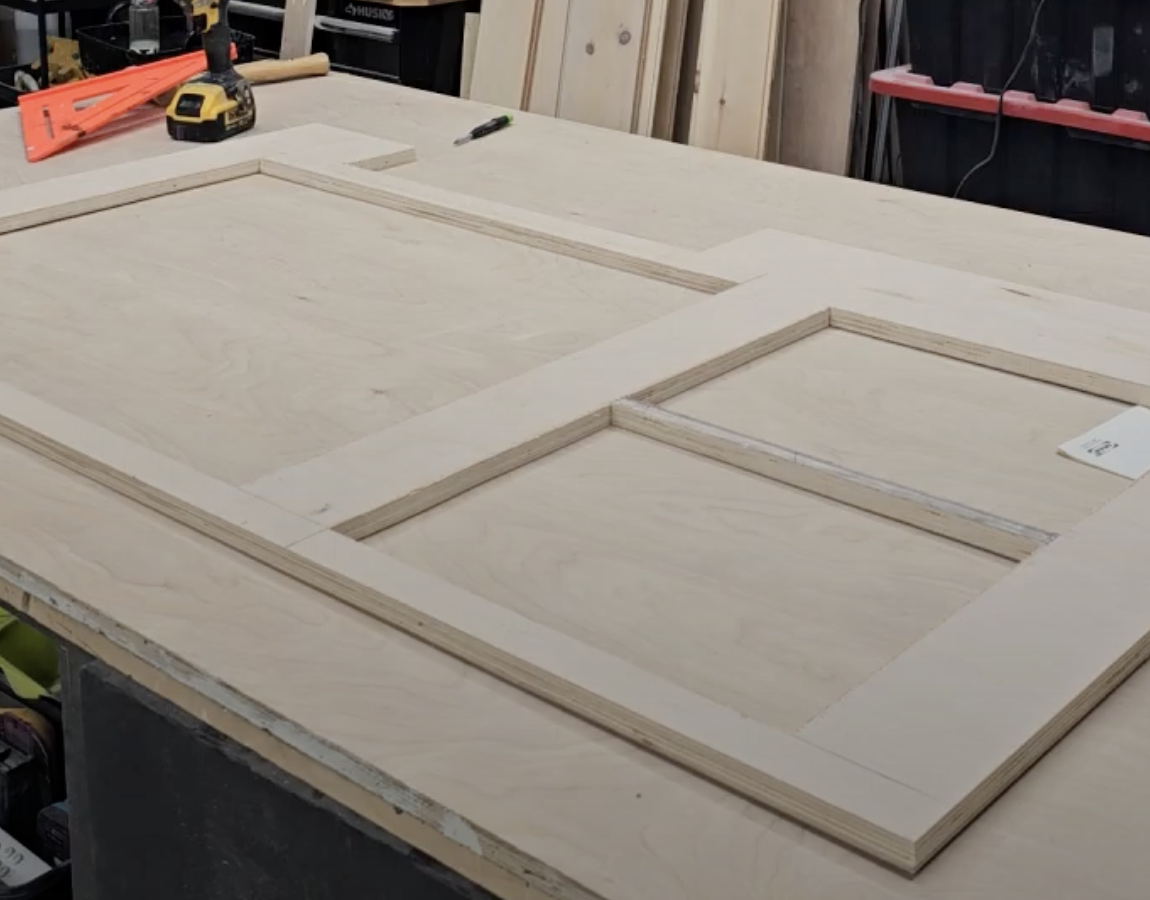
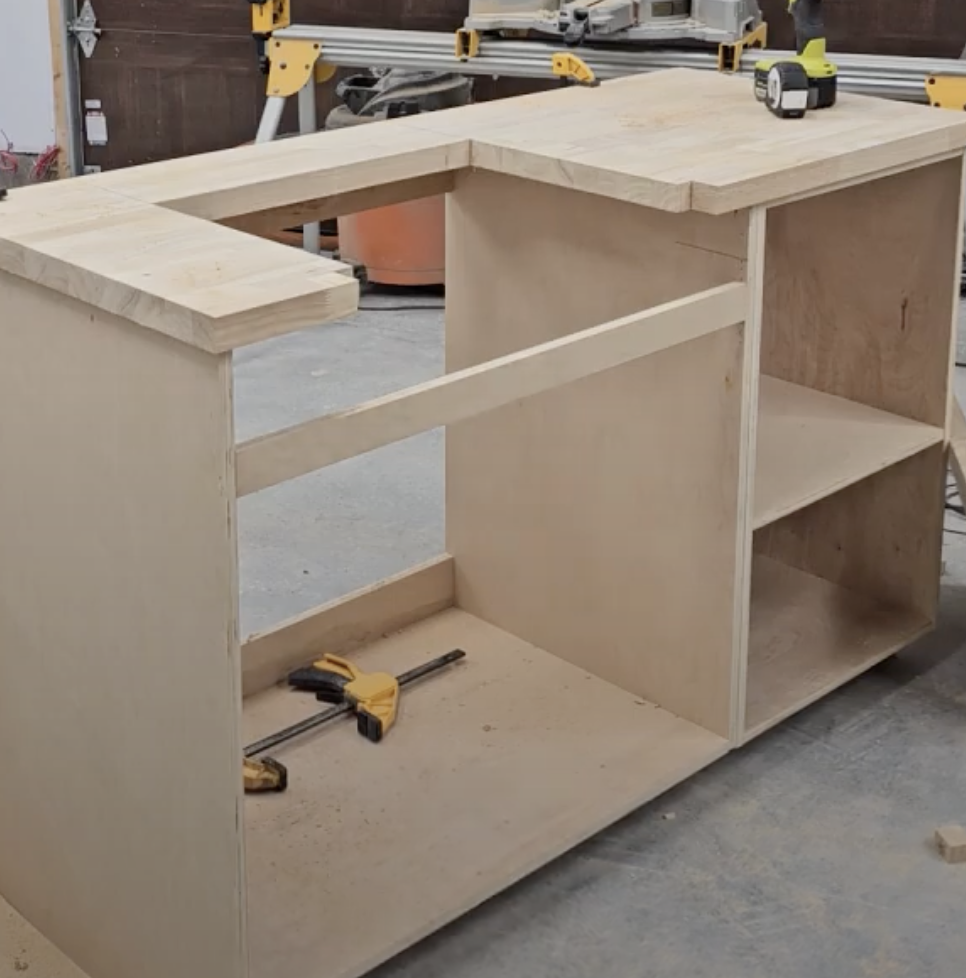
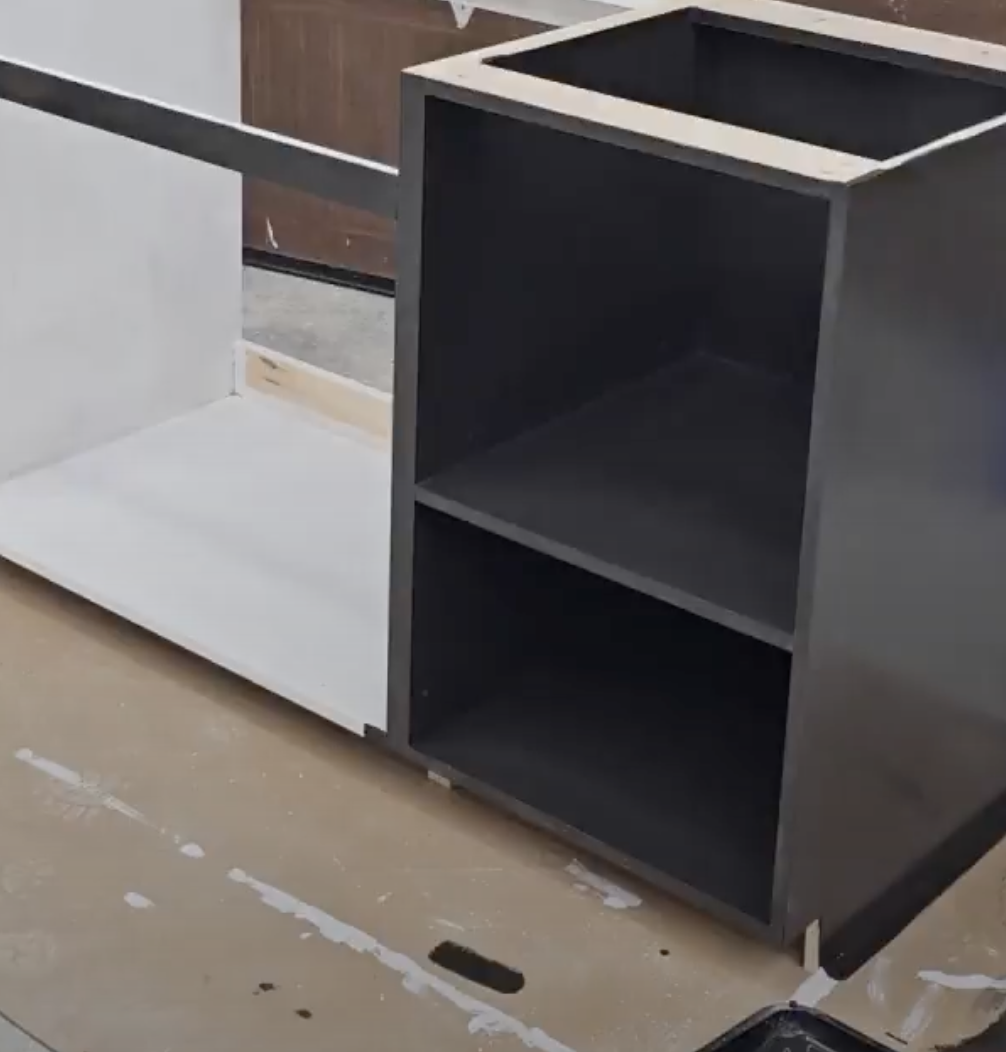
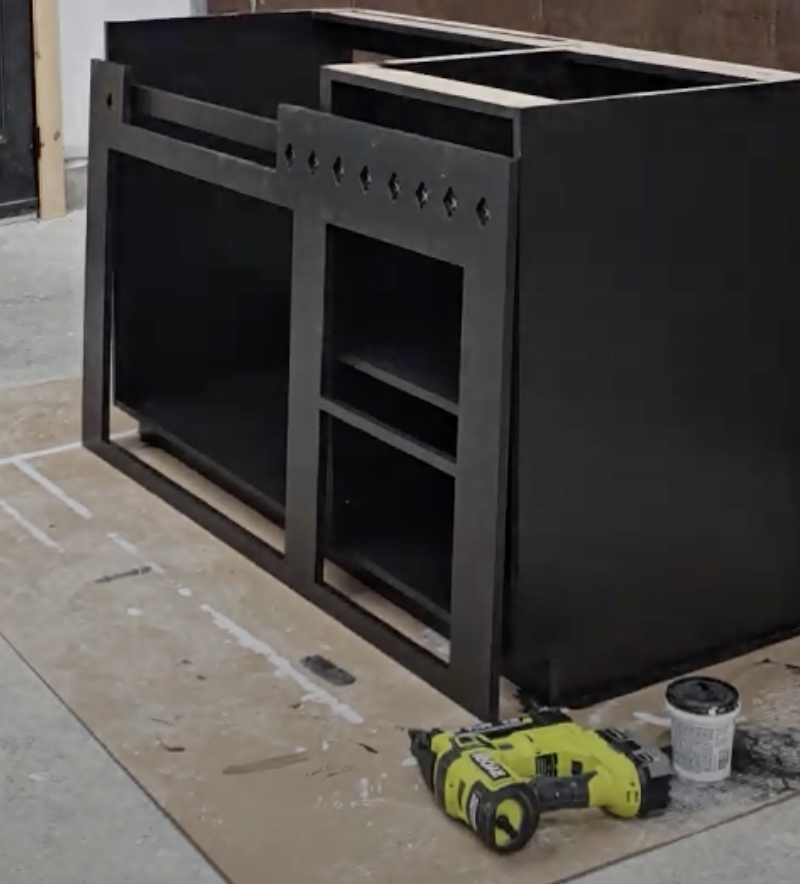
Step 2: Build the Cabinet Boxes
I built two separate cabinet bases out of ¾” plywood:
Cut all sides, bottoms, and braces
Drill pocket holes in necessary connecting points
Assemble using pocket hole screws
Add kick-plate clearance to the bottom front.(i always give 3” clearance from the bottom)
Ensure each box is square—your countertop and sink will thank you later.
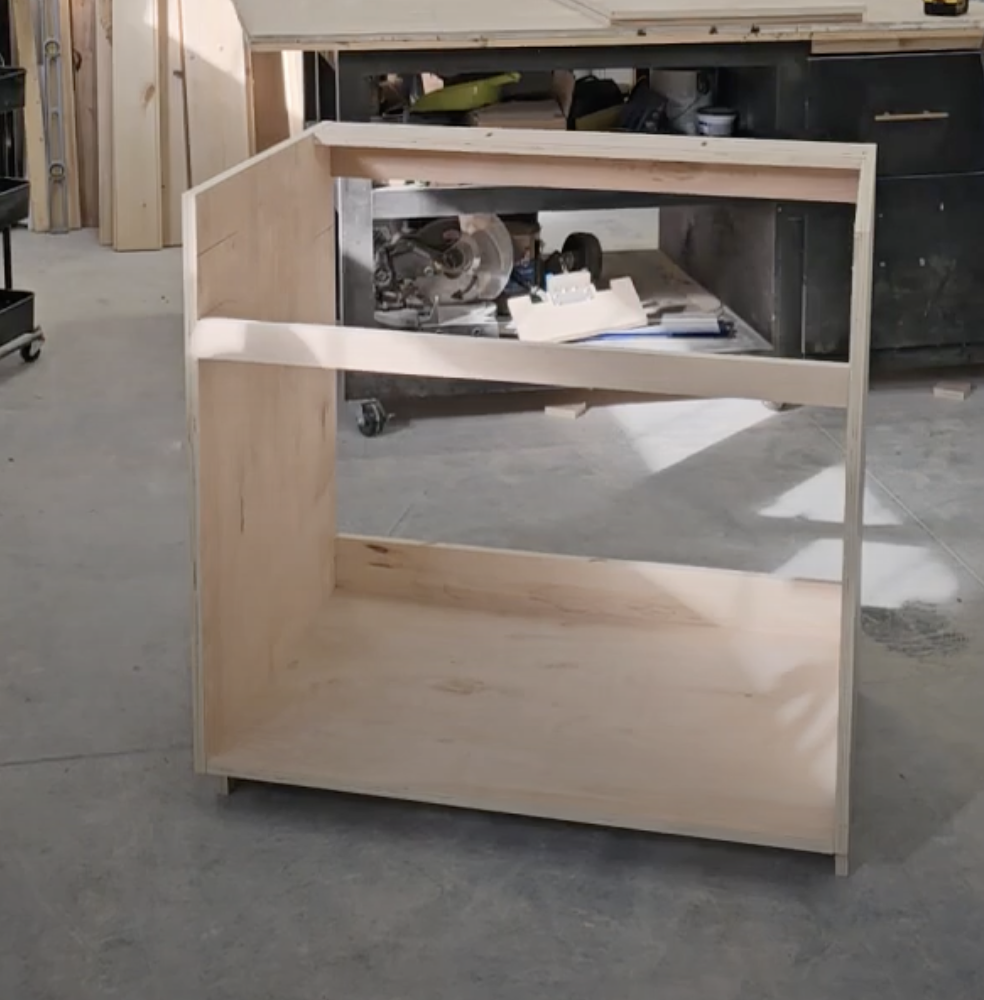
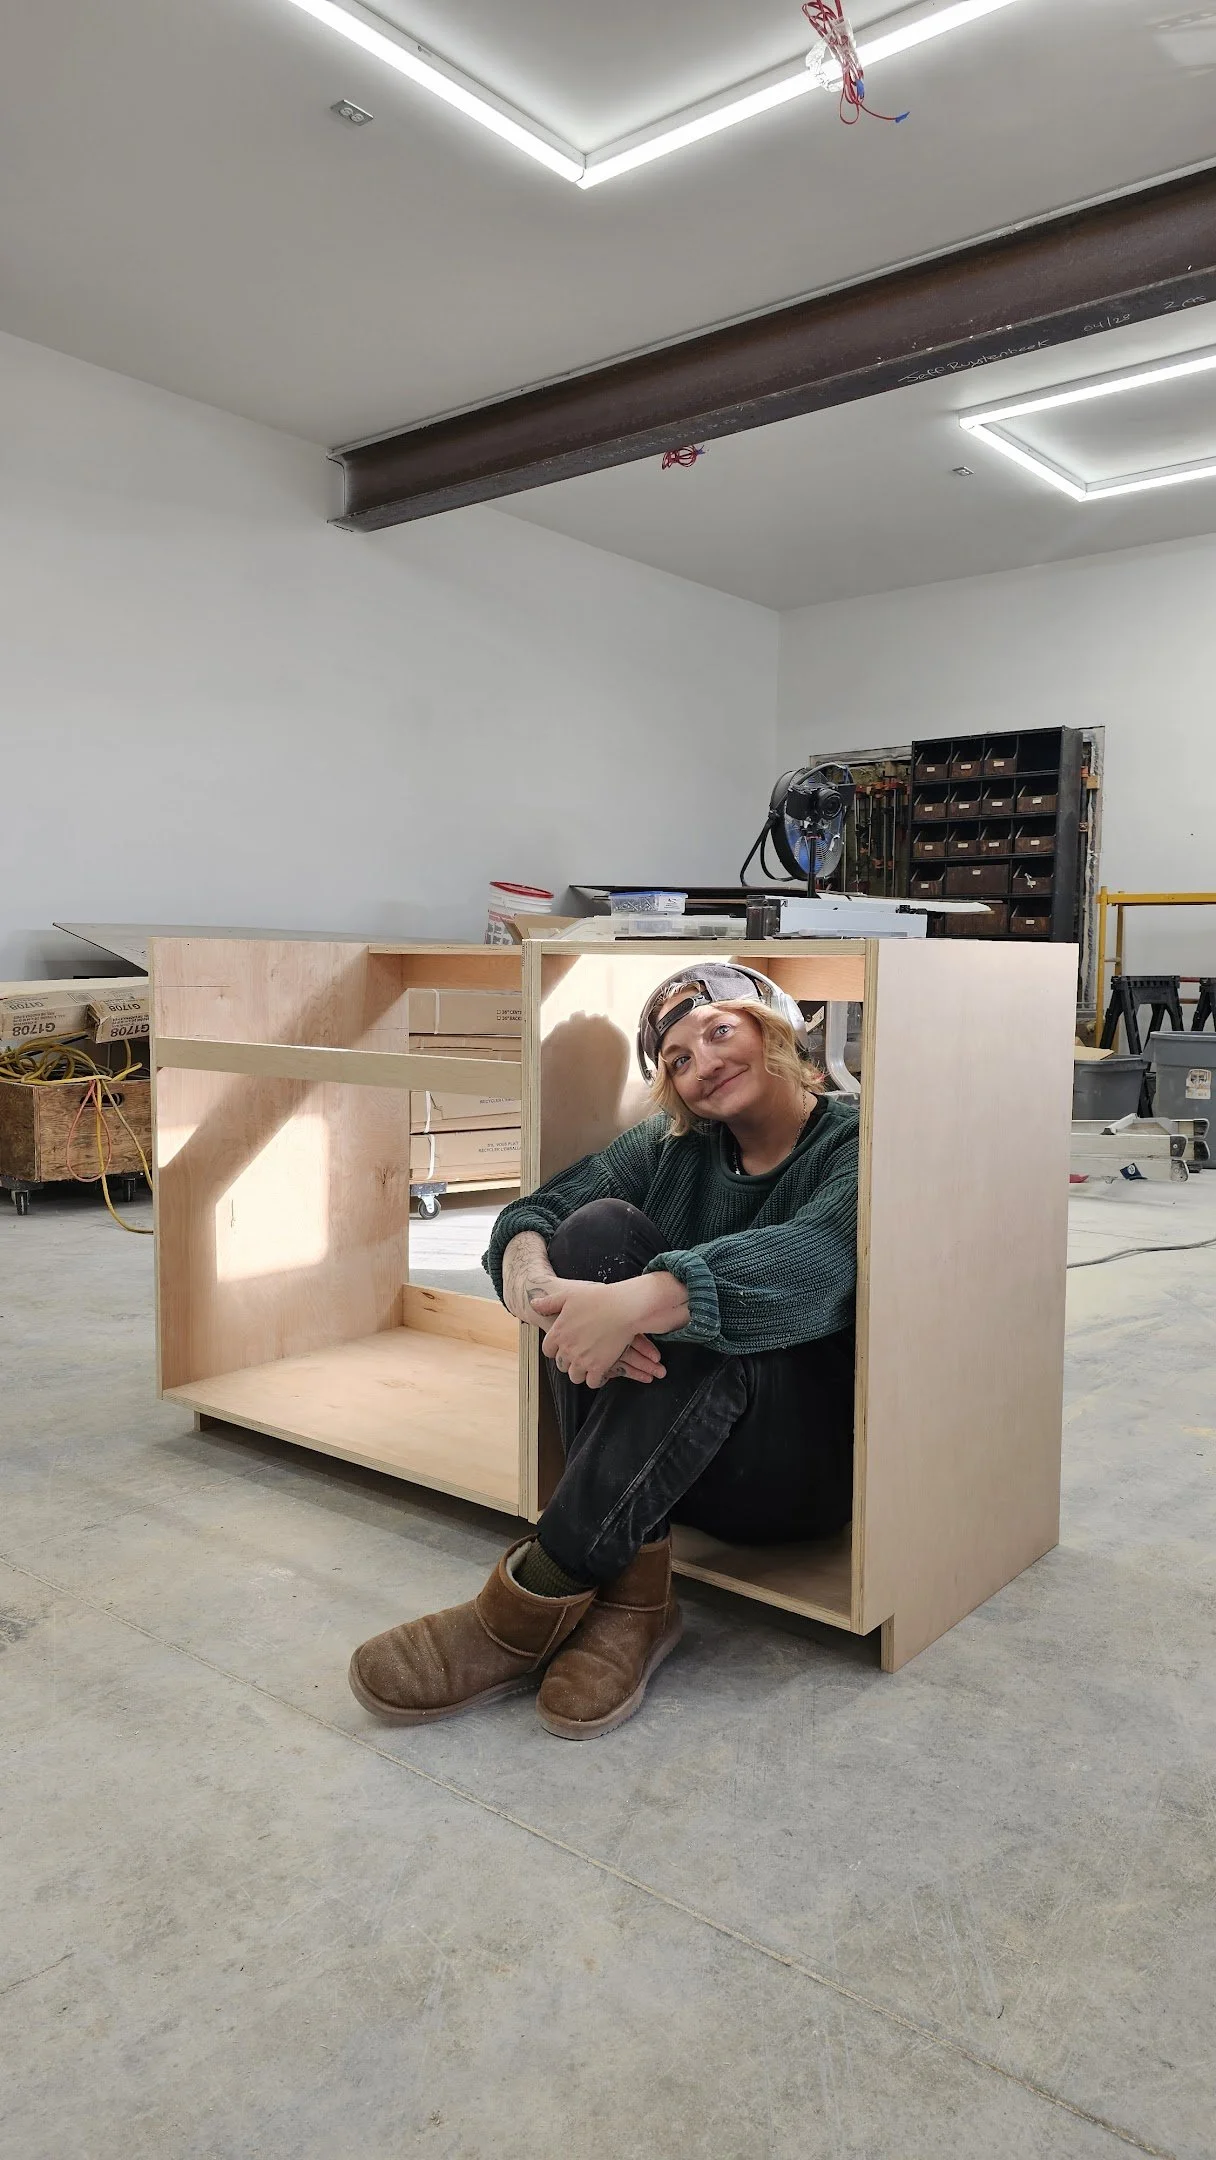
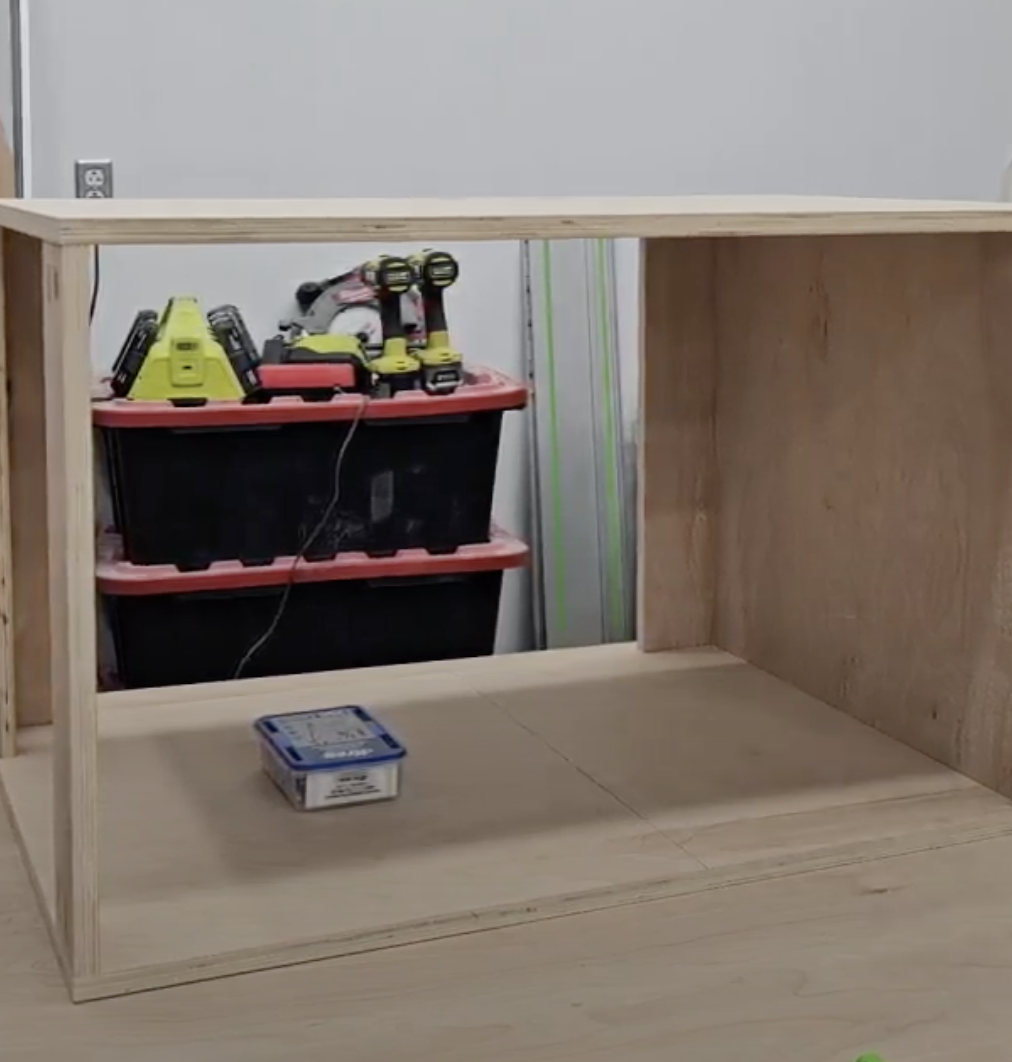
This step includes a lot of cutting, assembling, and checking for square, but it’s the foundation for the custom look.
Step 3: Cut the Decorative Front Panel
Here’s where the cottage-core fun begins.
I wanted this vanity to feel whimsical but still functional, so I first made a one unified front panel that covers both boxes, then added fun diamond cutouts on the front of it.
How to create the diamond design:
Sketch your diamond shapes on the back of your plywood front panel
Drill holes at each corner
Flip over and use a jigsaw to cut out the shape
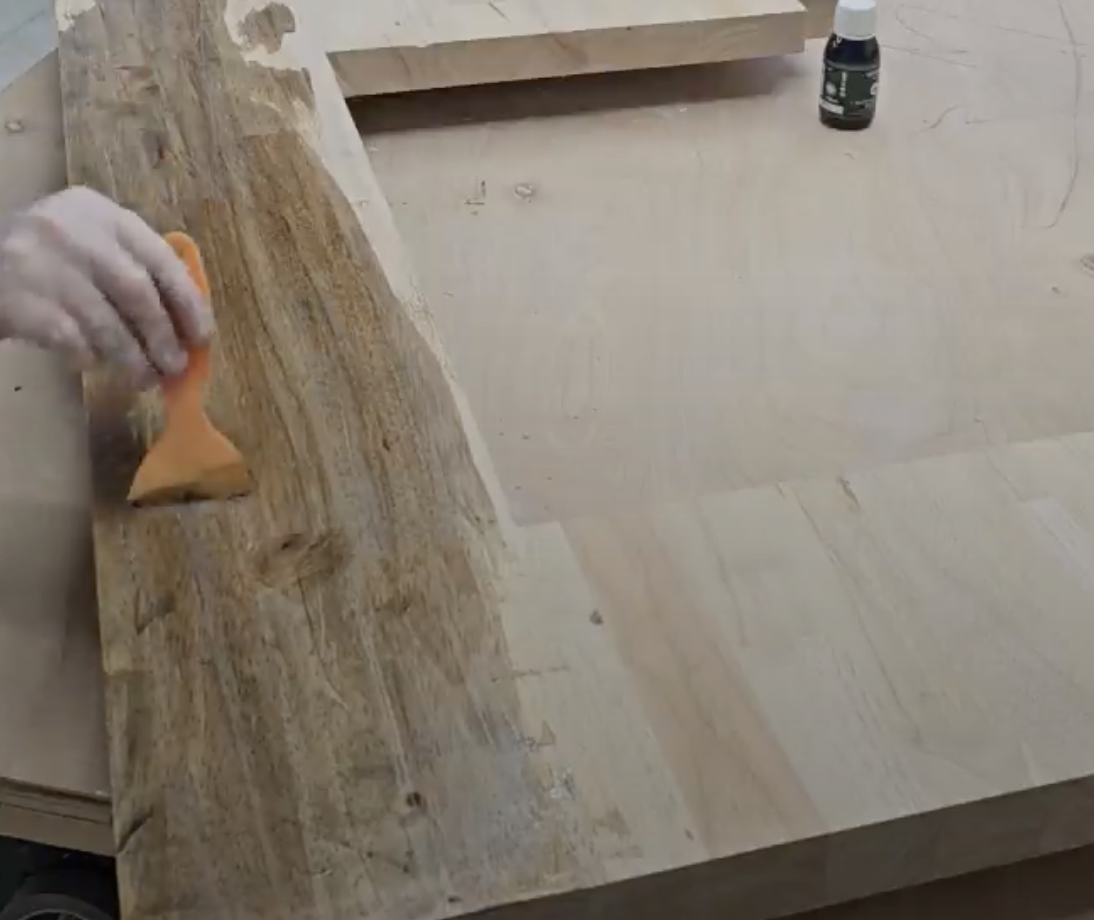
Flip to the front and clean up your lines from the visible side
Add wood filler for crisp, smooth edges
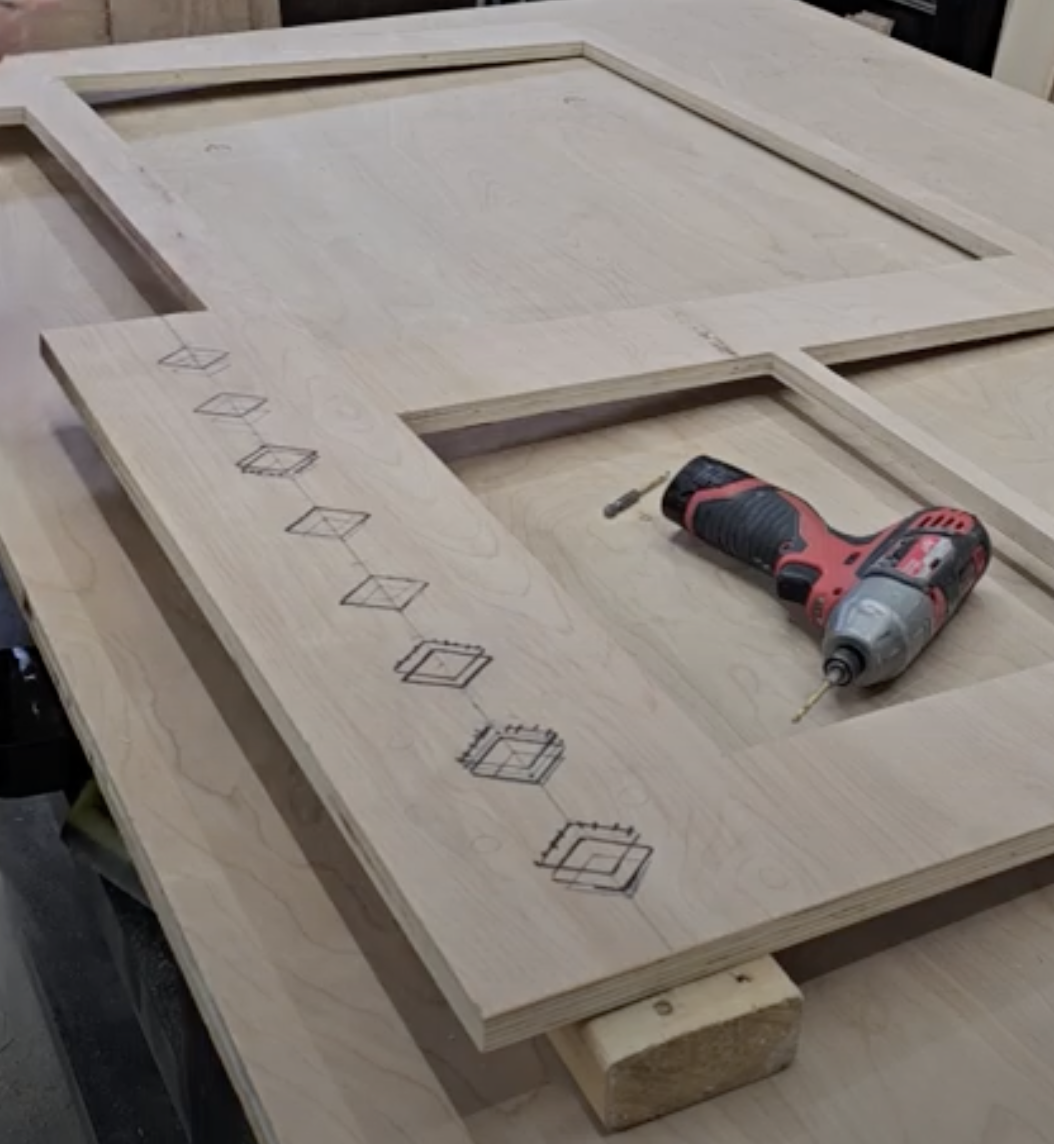
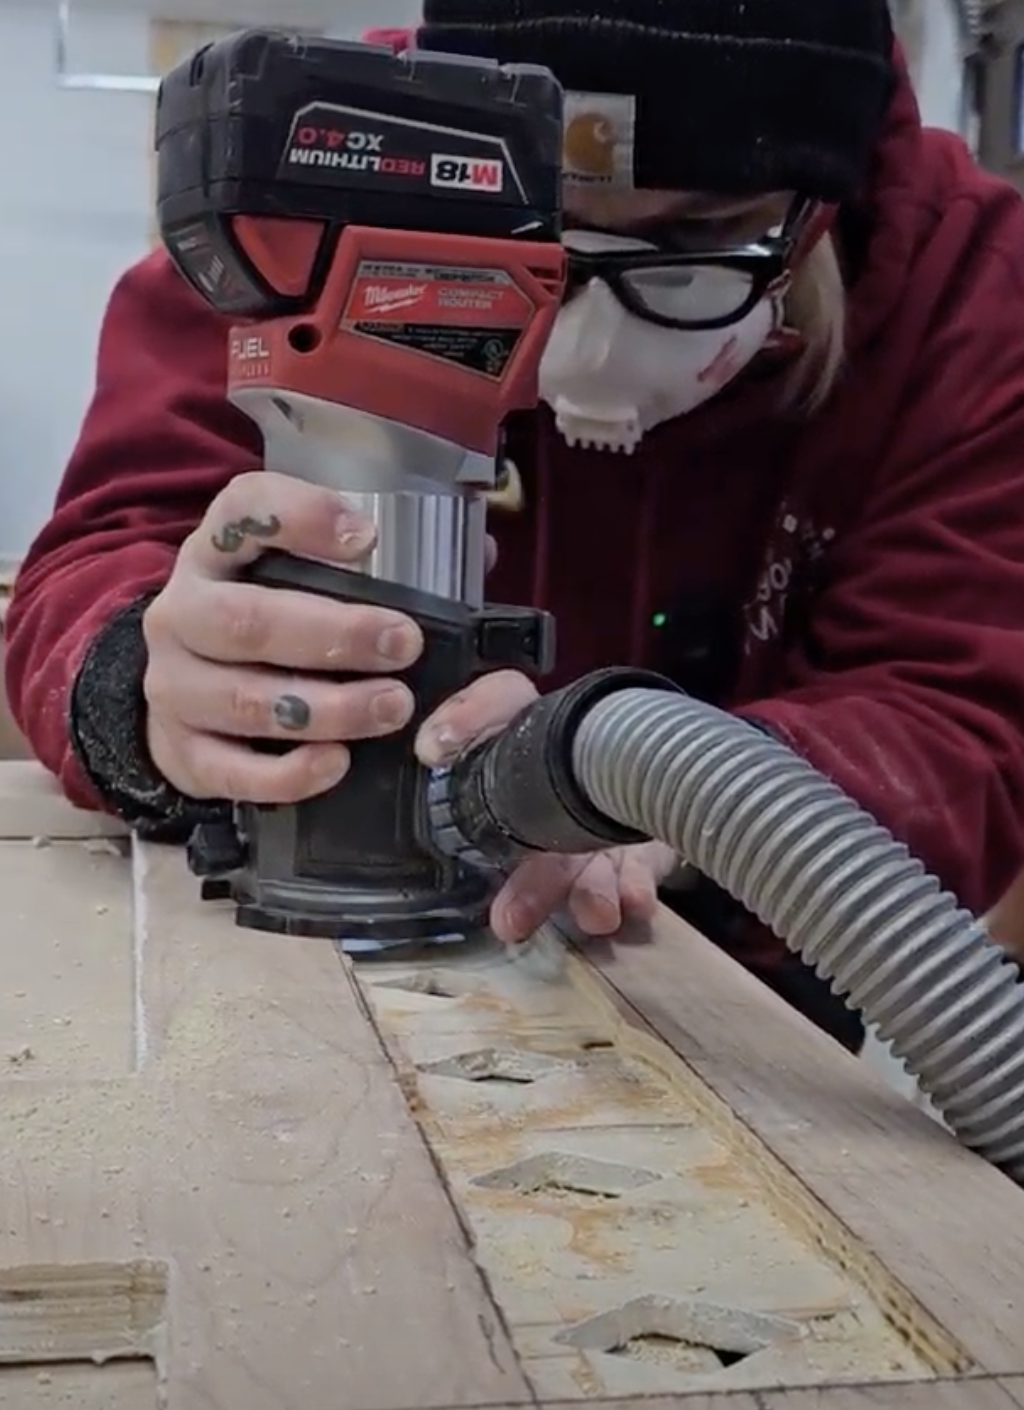
This method lets you be messy on the back while keeping the face clean—10/10 recommend.
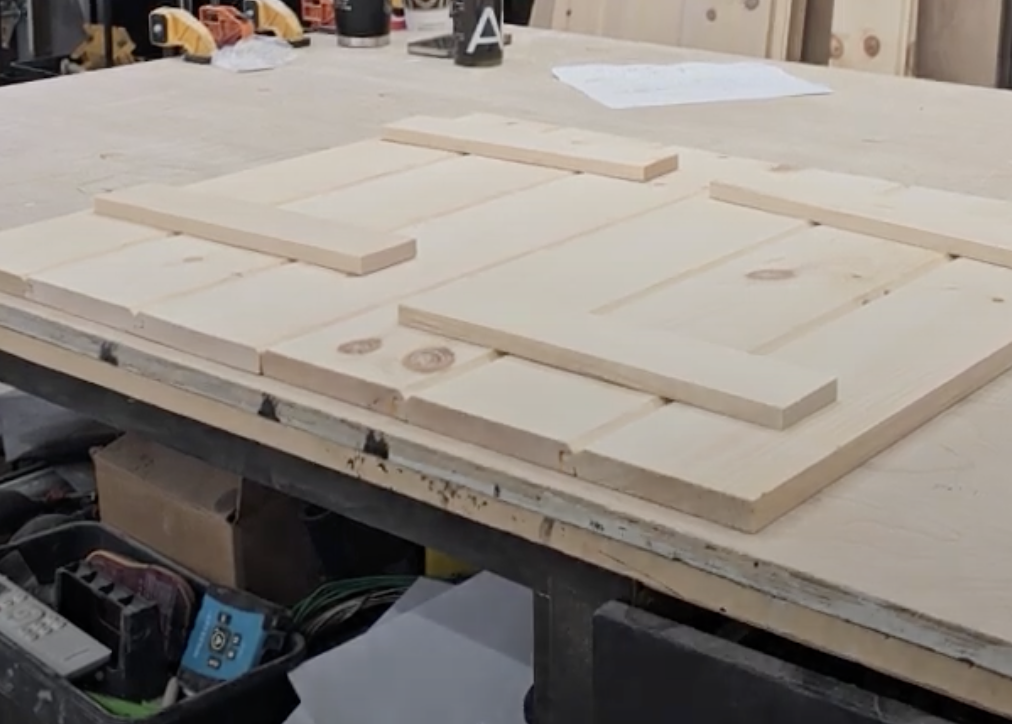
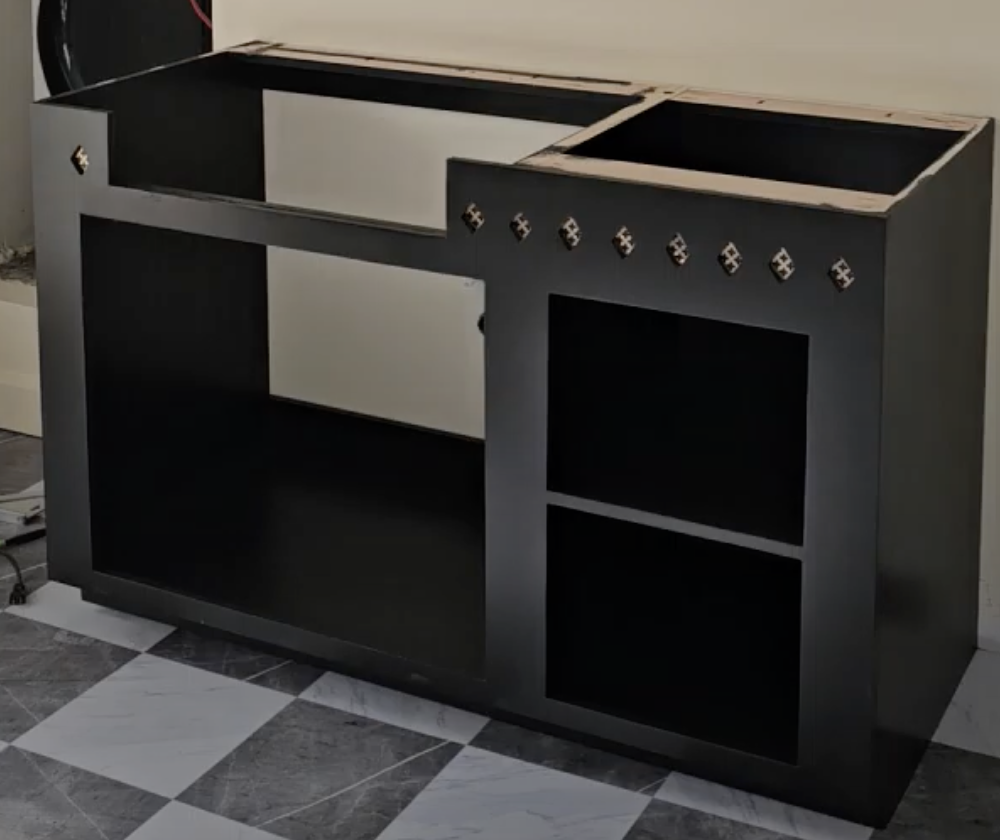
Step 4: Build Shelf and Doors
Inside the cabinet, I added a full interior shelf:
Measure and mark your shelf height
Drill pocket holes along the underside
Install with supports or pocket screws
Re-check for square
To make the cabinet doors, I opted to use pine t&G v-joint floorboards to give the piece a rustic cottage-core feel. I glued the T&G boards together first, let it dry overnight then cut to the required size once dry. For added rigidity, I added two 1/2 boards on the top of bottom of each door.
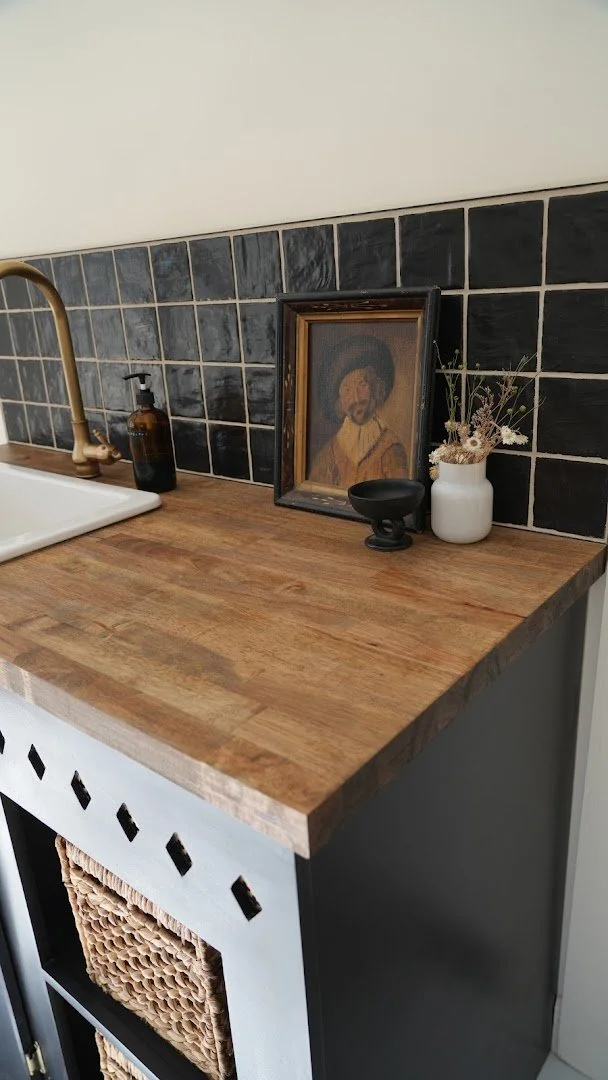
Step 5: Prepare the Wood Countertop
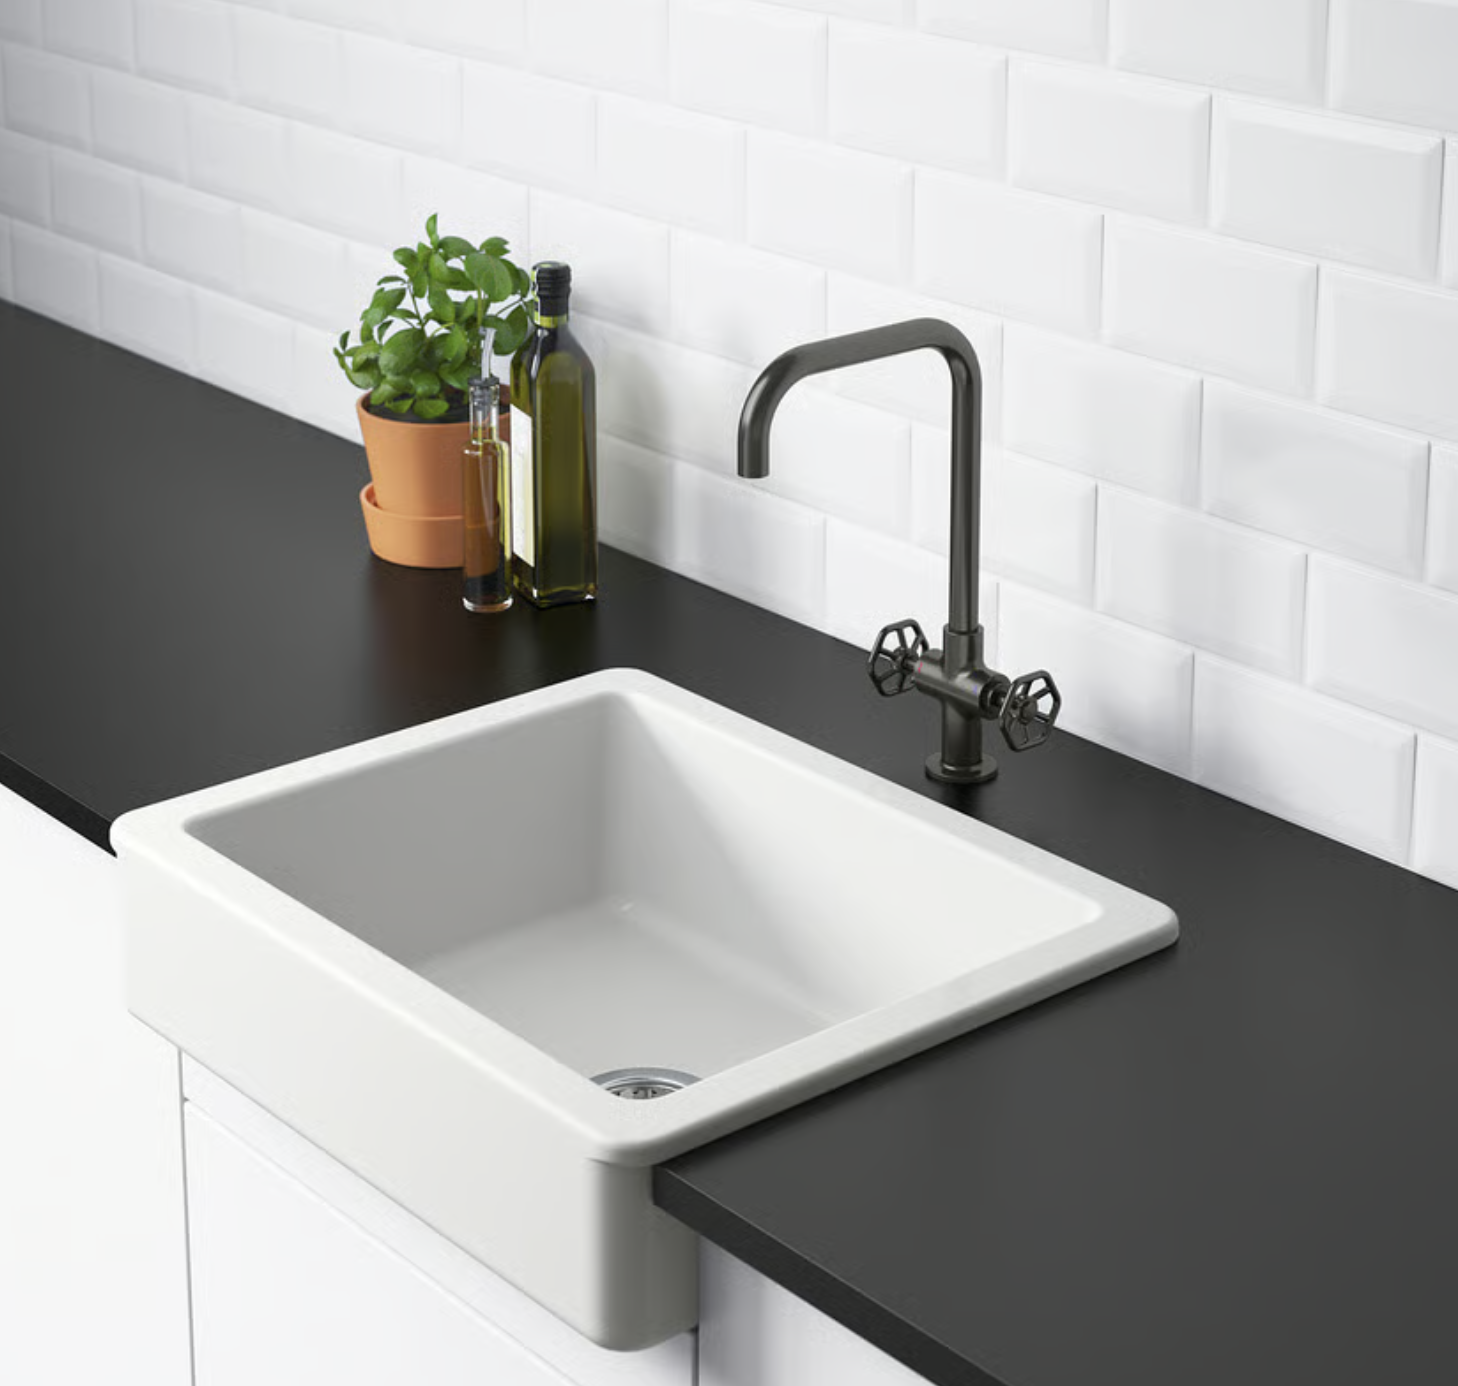
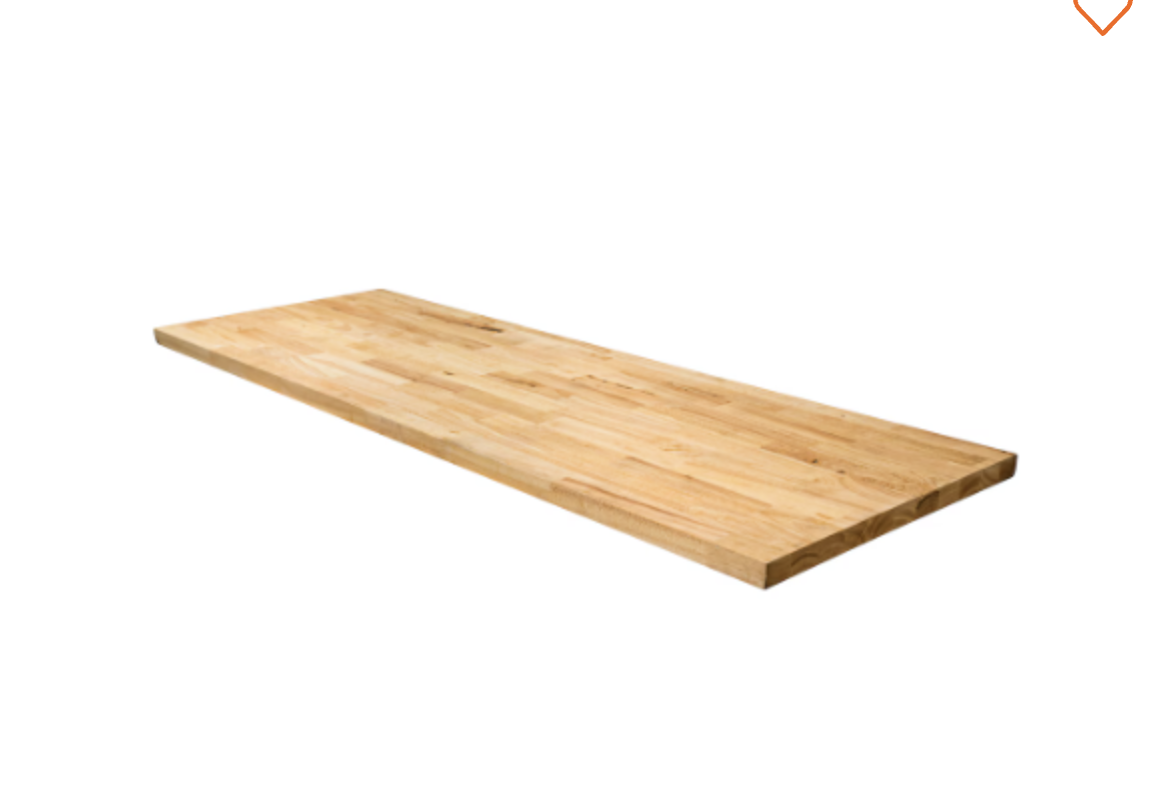
The countertop is what gives this vanity warmth and that cottage-core softness. I decided to go with Home Depot’s Hampton Bay 98 in. L x 25 in. W x 1.5 in. T Unfinished Hevea Finger Jointed Butcher Block With Eased Edge
My steps:
Cut countertop to size
Place it on the cabinet boxes to confirm fit
Mark the sink position
Follow the IKEA HAVSEN cut lines closely
Drill starter holes and cut the sink opening
Test fit sink and adjust before proceeding


Rubio Monocoat - COLOUR: Castle Brown
Once satisfied, I sanded and finished the top using an oil-based wood treatment with added accelerator for faster drying time - (Rubio was my pick). Choosing a finish with water resistance is key when you're building around a sink.
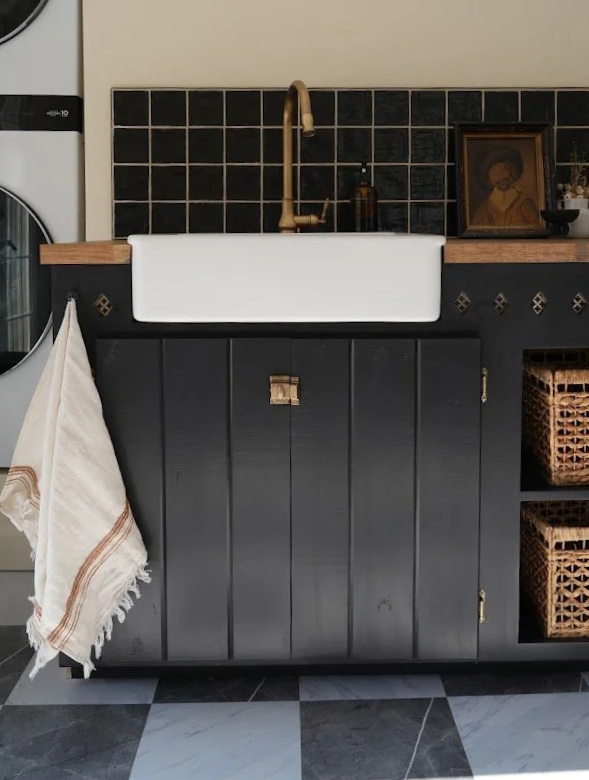
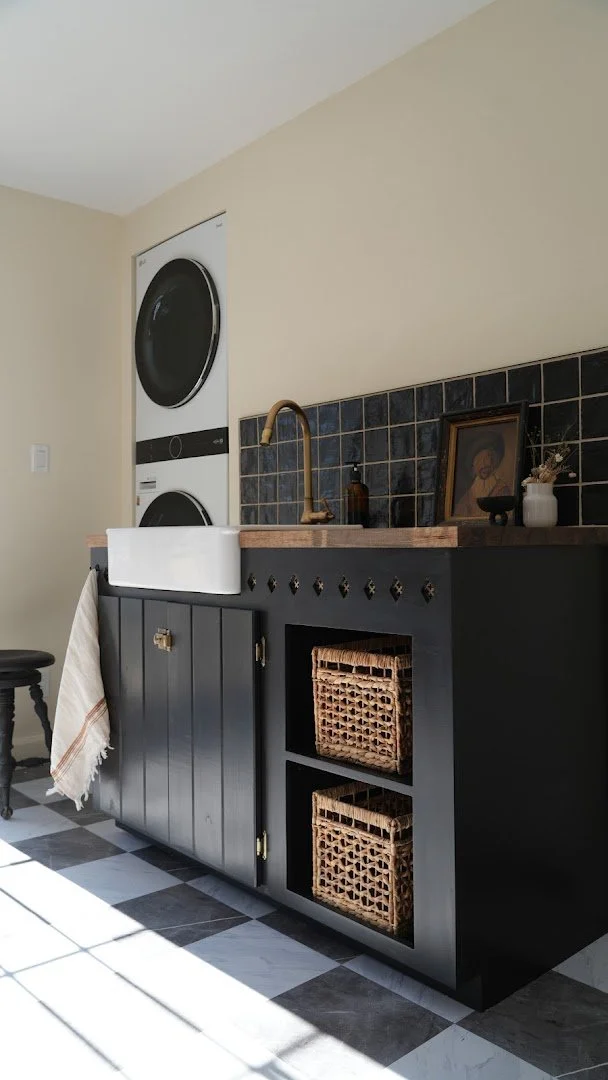
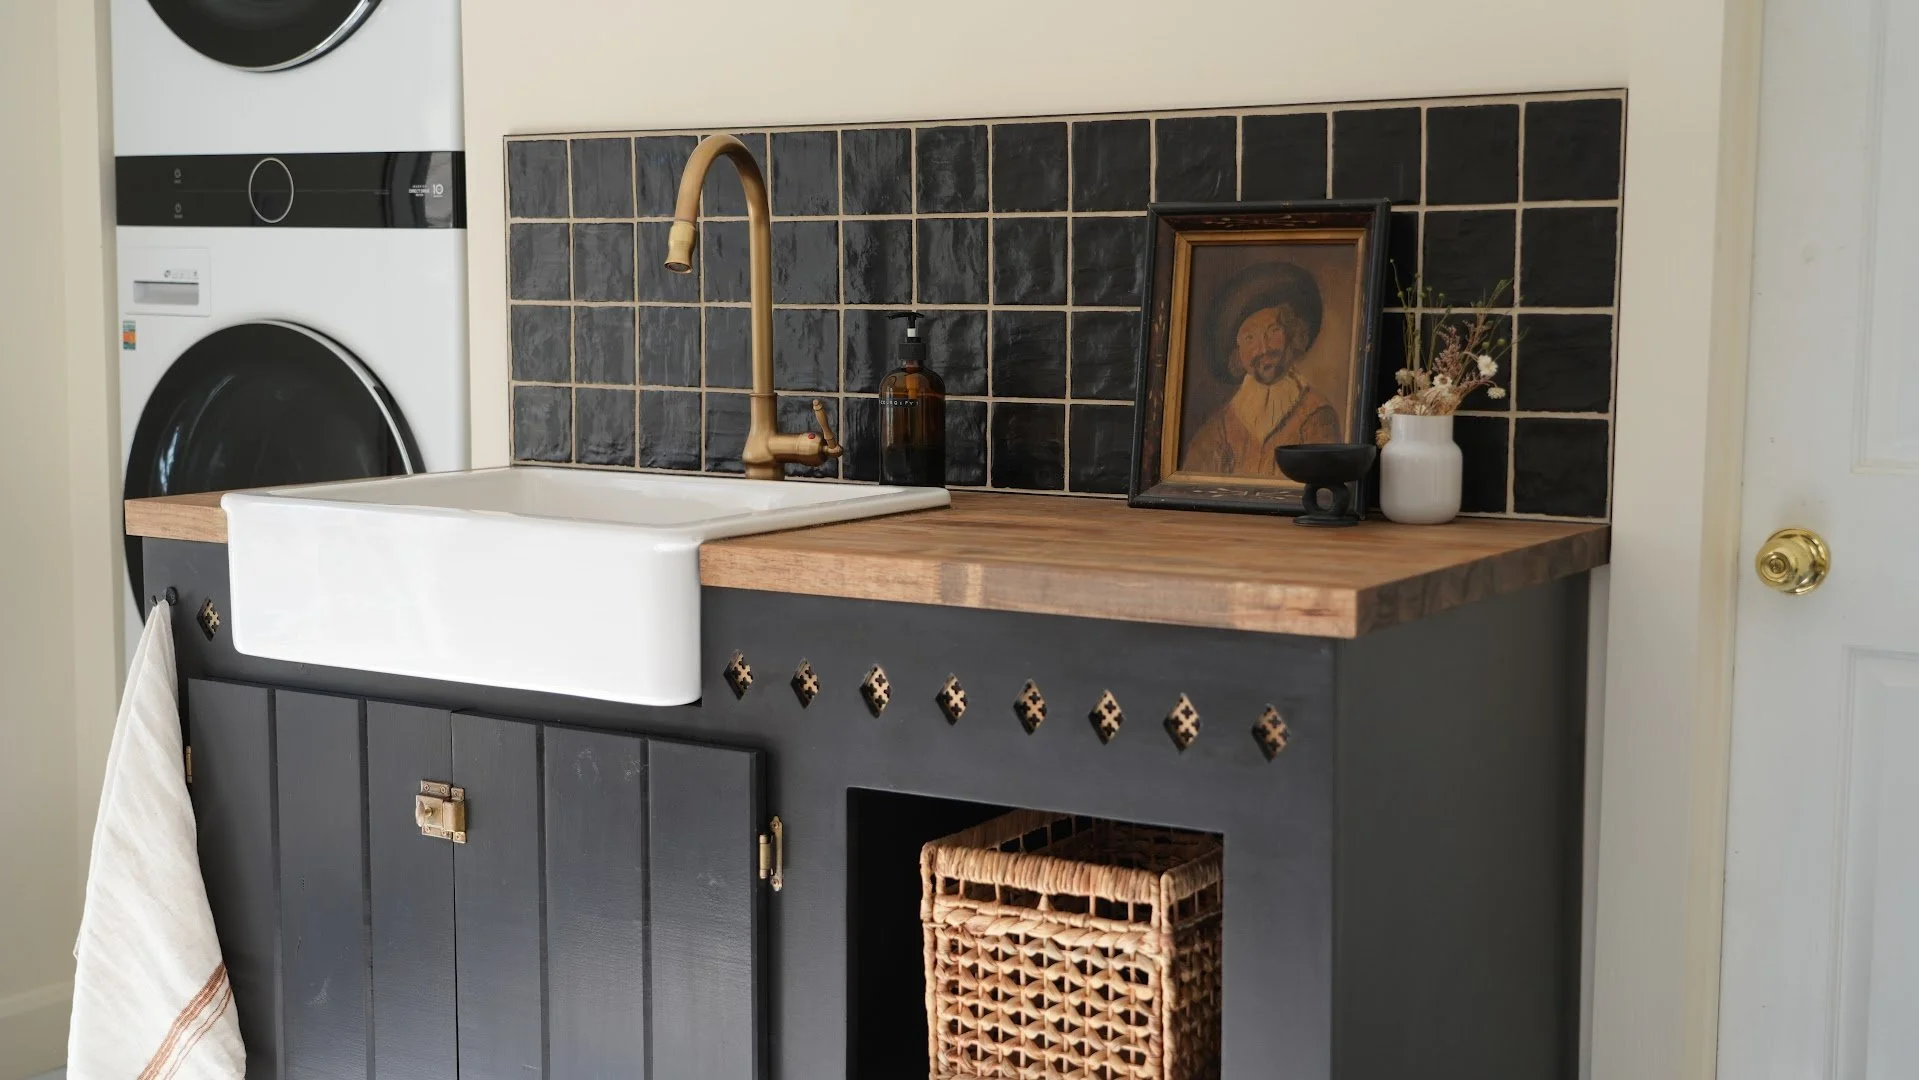
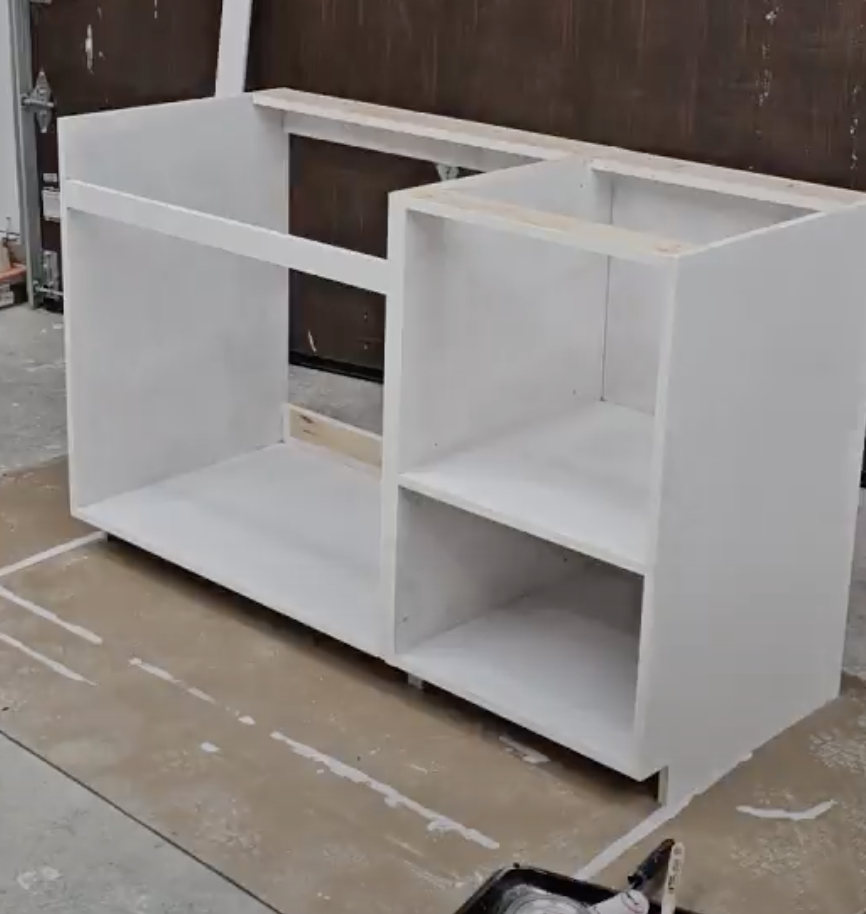
Step 6: Paint the Cabinet
I primed and painted the cabinet in a deep, dramatic black called “Blackout” by BEHR. I always use a cabinet paint but satin or semi-gloss paints also work well for durability and wipe ability in high traffic places like a laundry room.
At this stage, you can:
Sand between coats
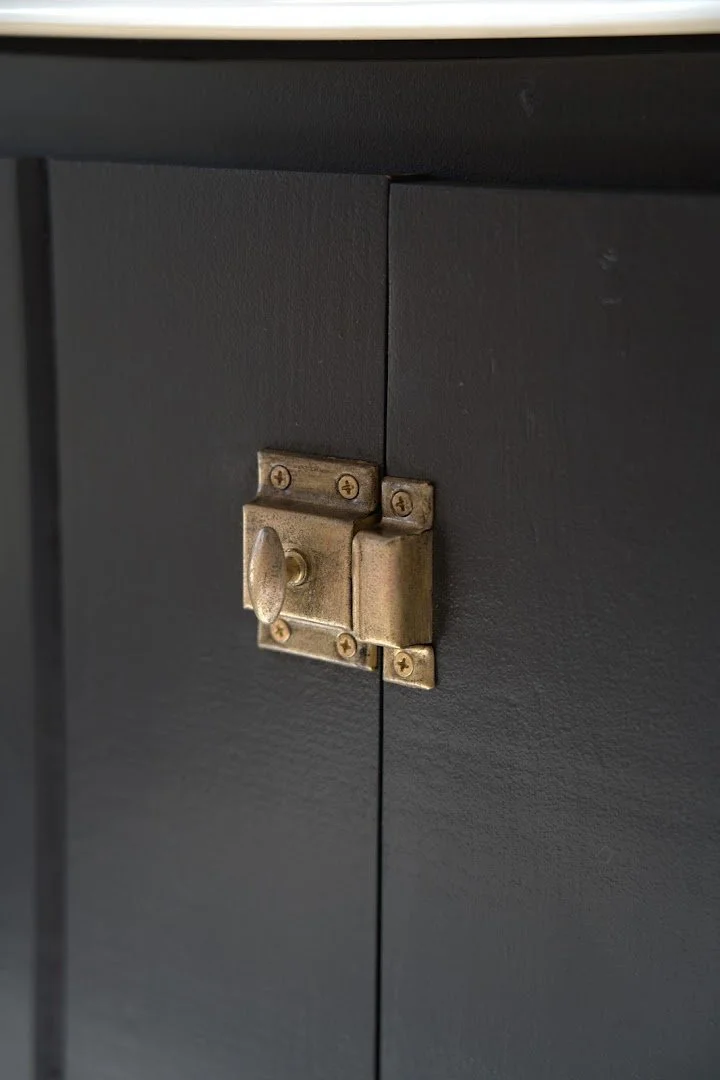
Add a touch of metallic rub n buff to hardware
Prep the doors and front panel for installation
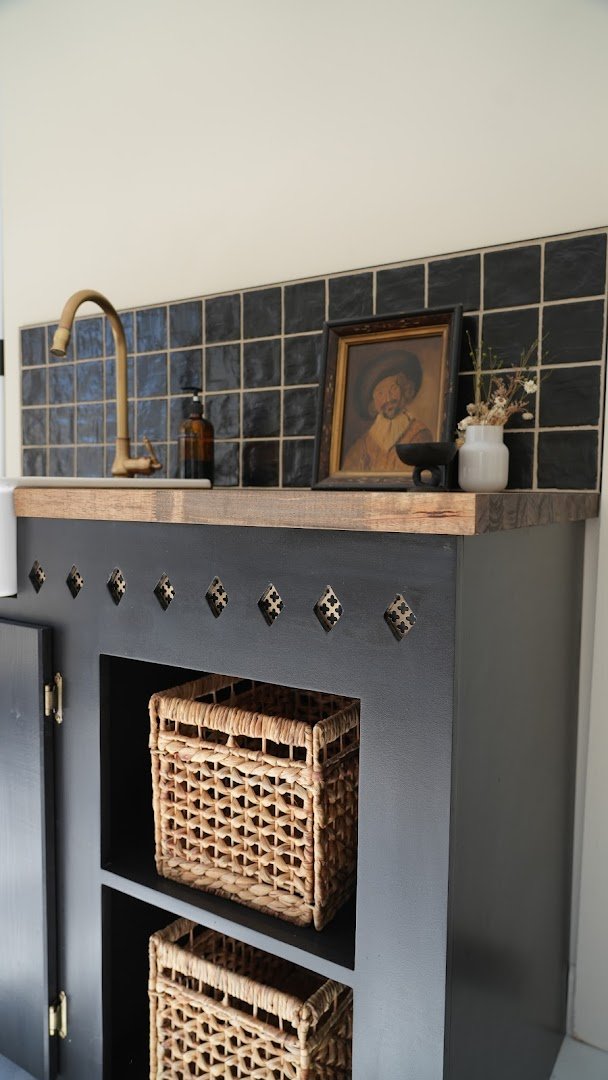
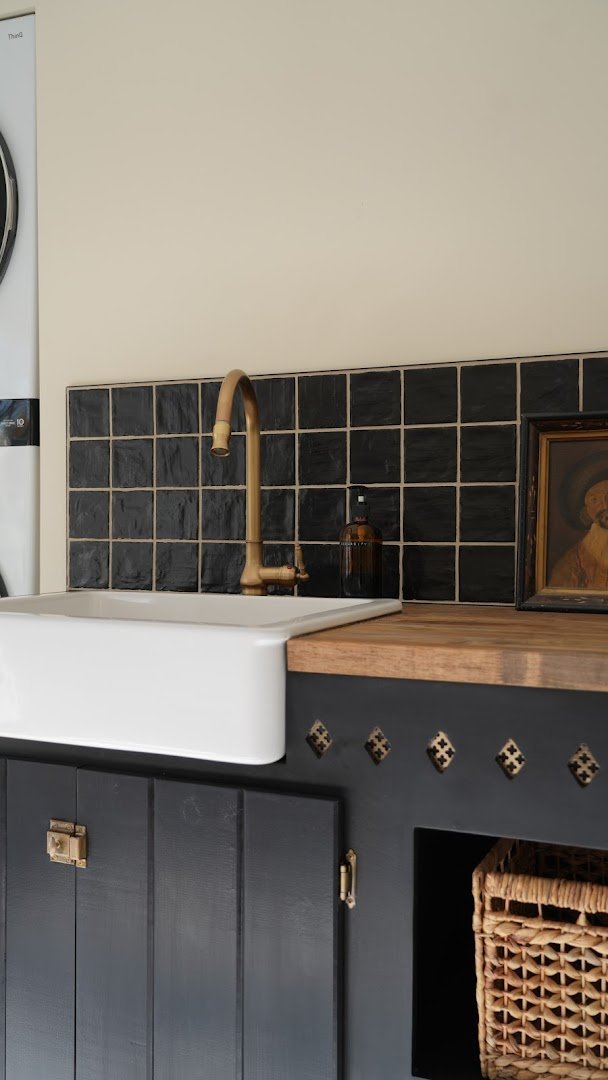
Step 7: Install the Metal Diamond Inserts
This is the finishing touch that makes the cabinet feel intentionally crafted.
I cut thin metal sheets into shapes that sit behind the diamond shapes I cut earlier. This gave the playful touch of whimsy that I love!
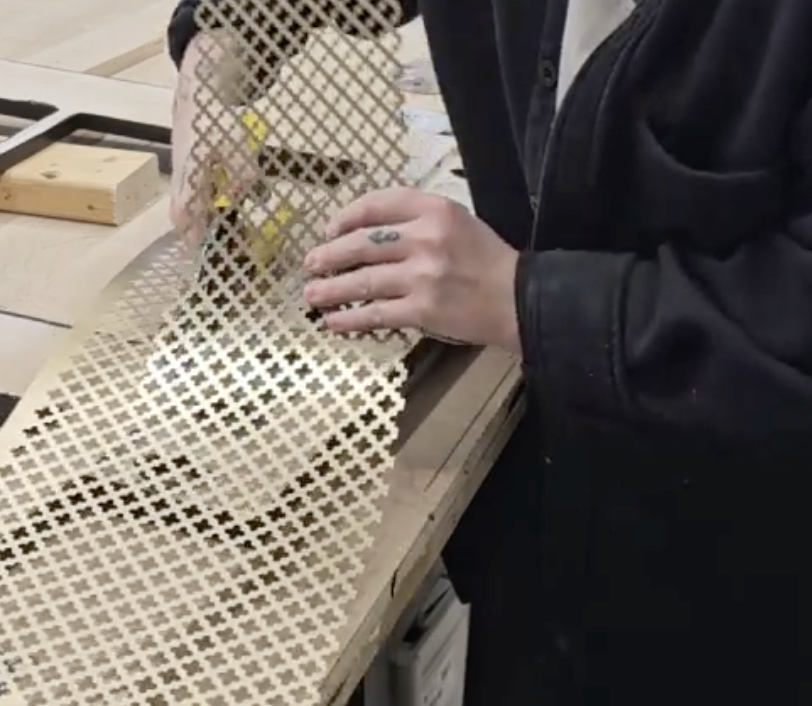
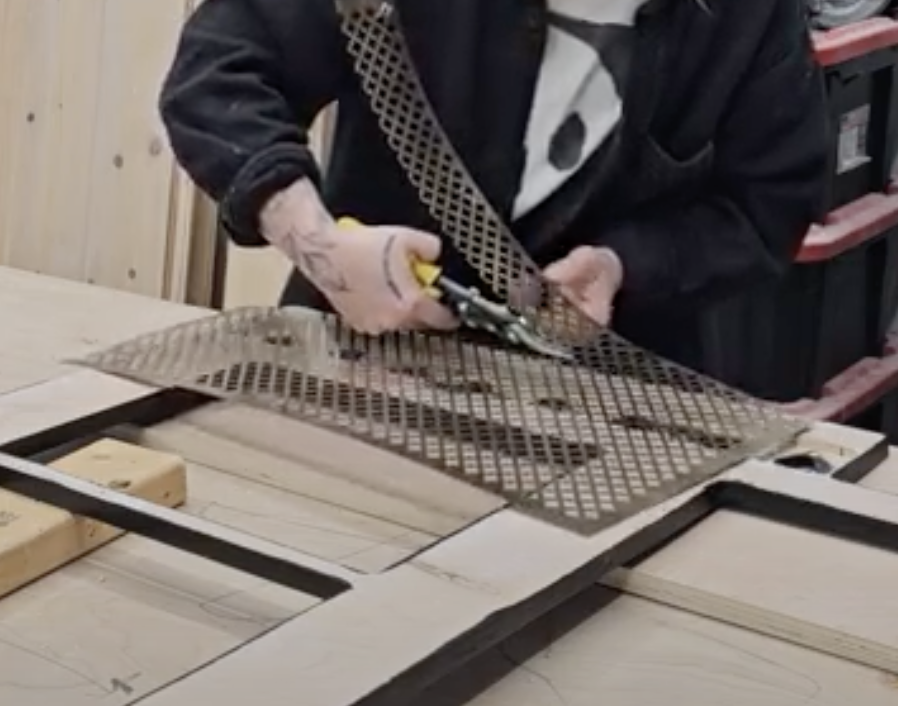
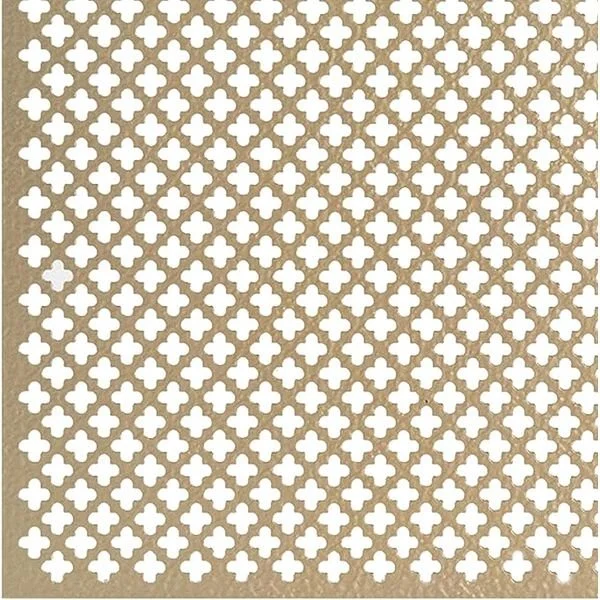
Attach from the back using construction adhesive.
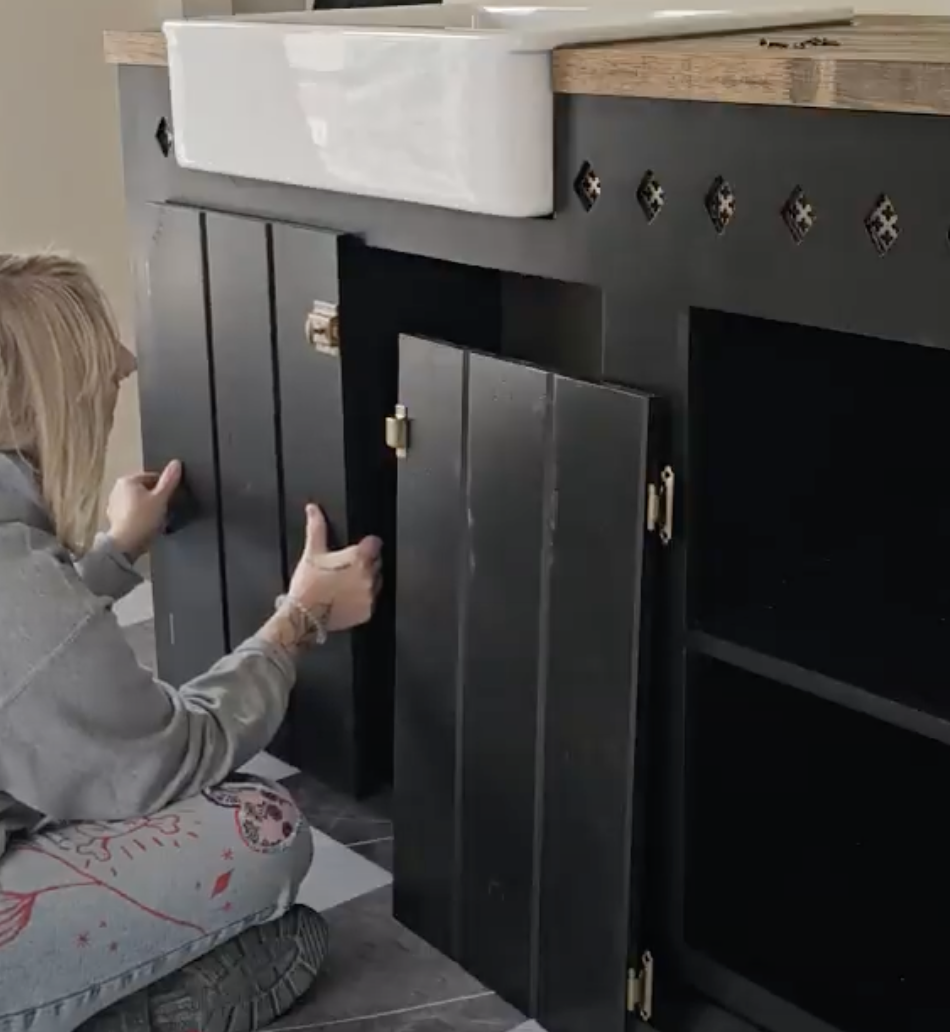
Step 8: Assemble All Cabinet Components
We’re in the home stretch!
Attach the front panel to the cabinet frame
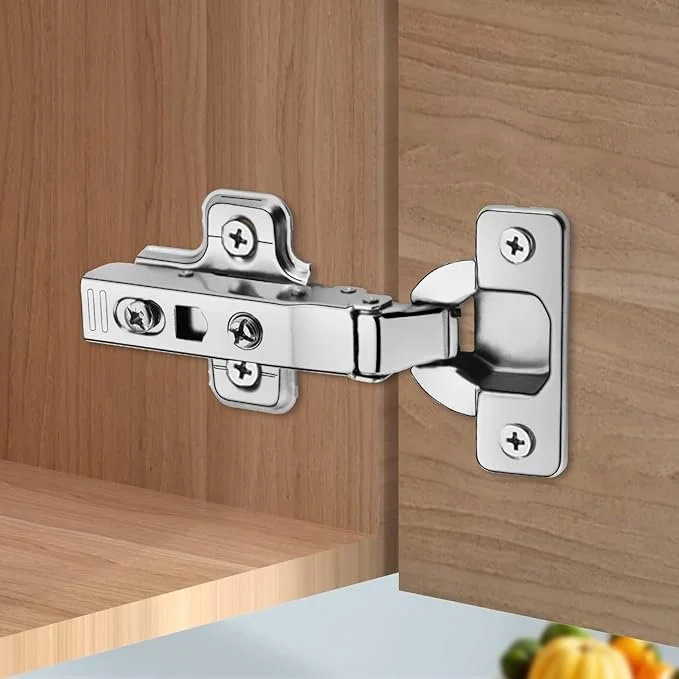
Install the doors with your chosen hinges
Install hardware
Slide the cabinet into its final position in the room
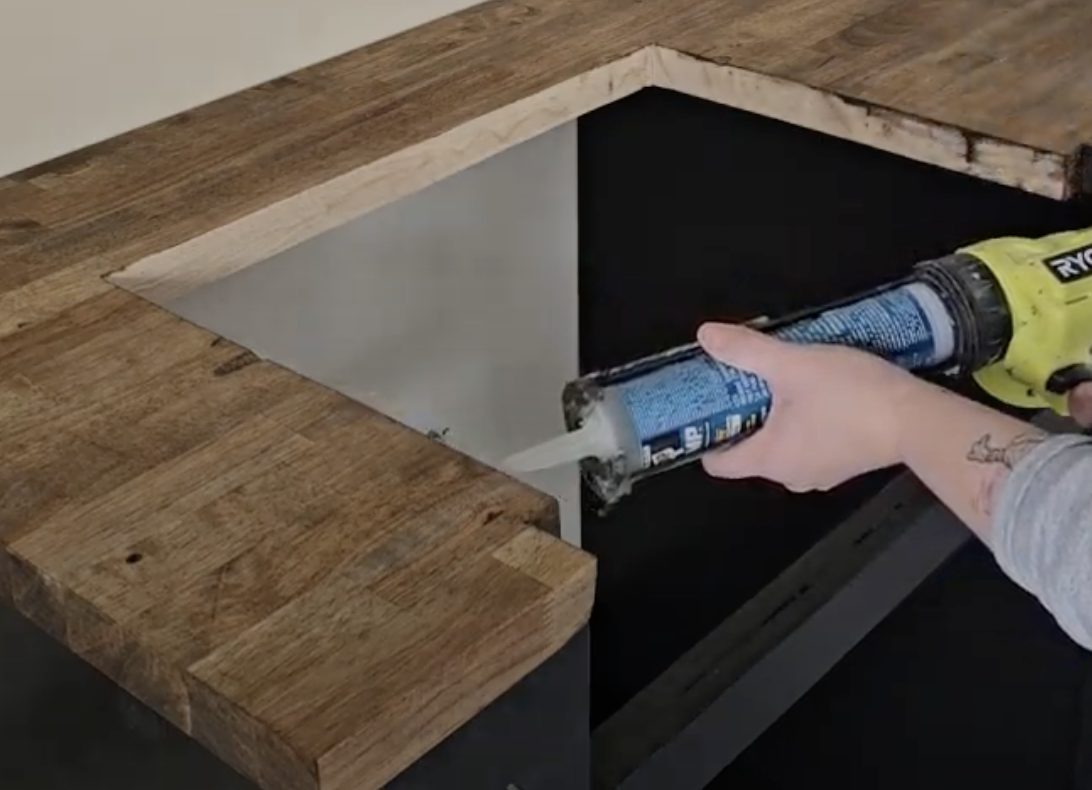
Secure the wood countertop to the base
Silicone around the sink opening
Drop in the HAVSEN sink and seal the edges

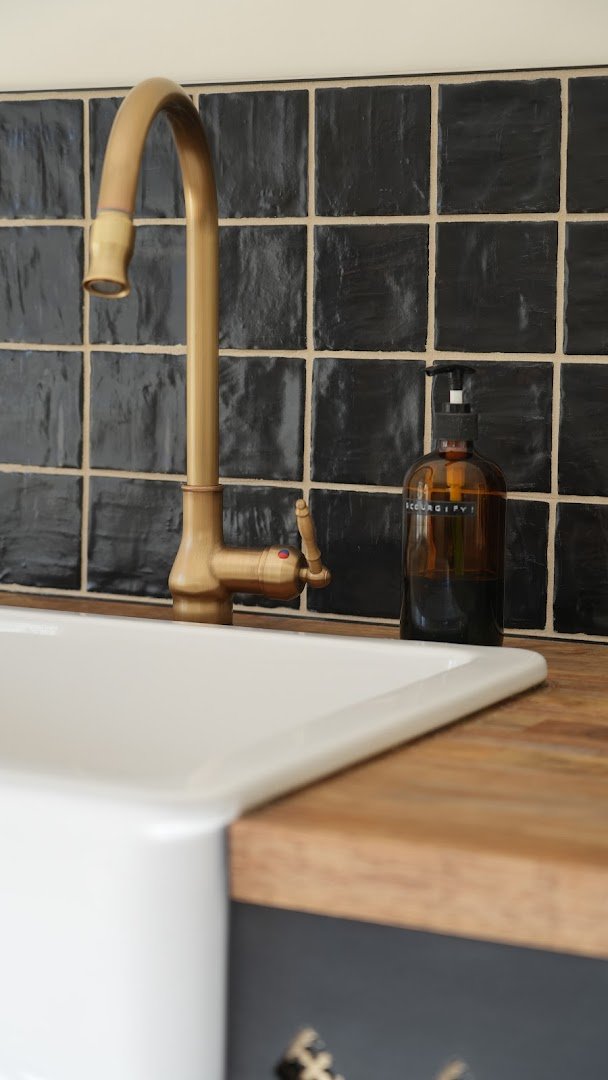
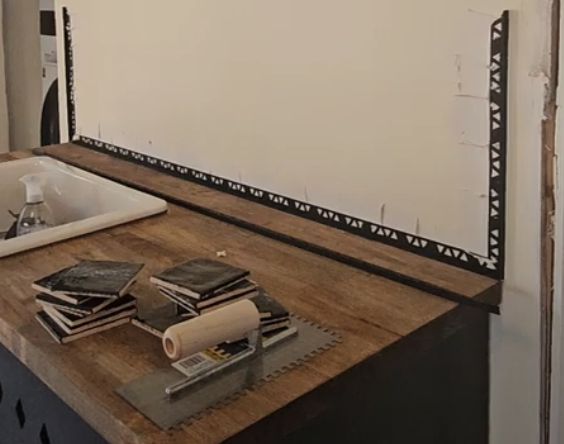
Step 9: Adding Tiles and Faucet
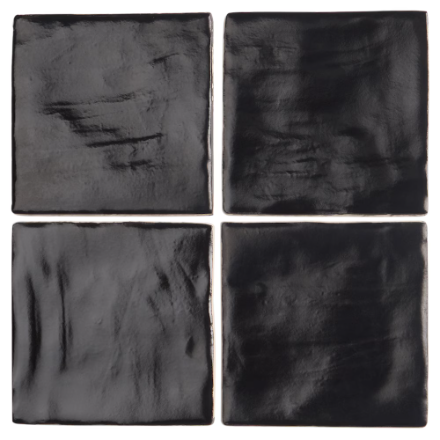
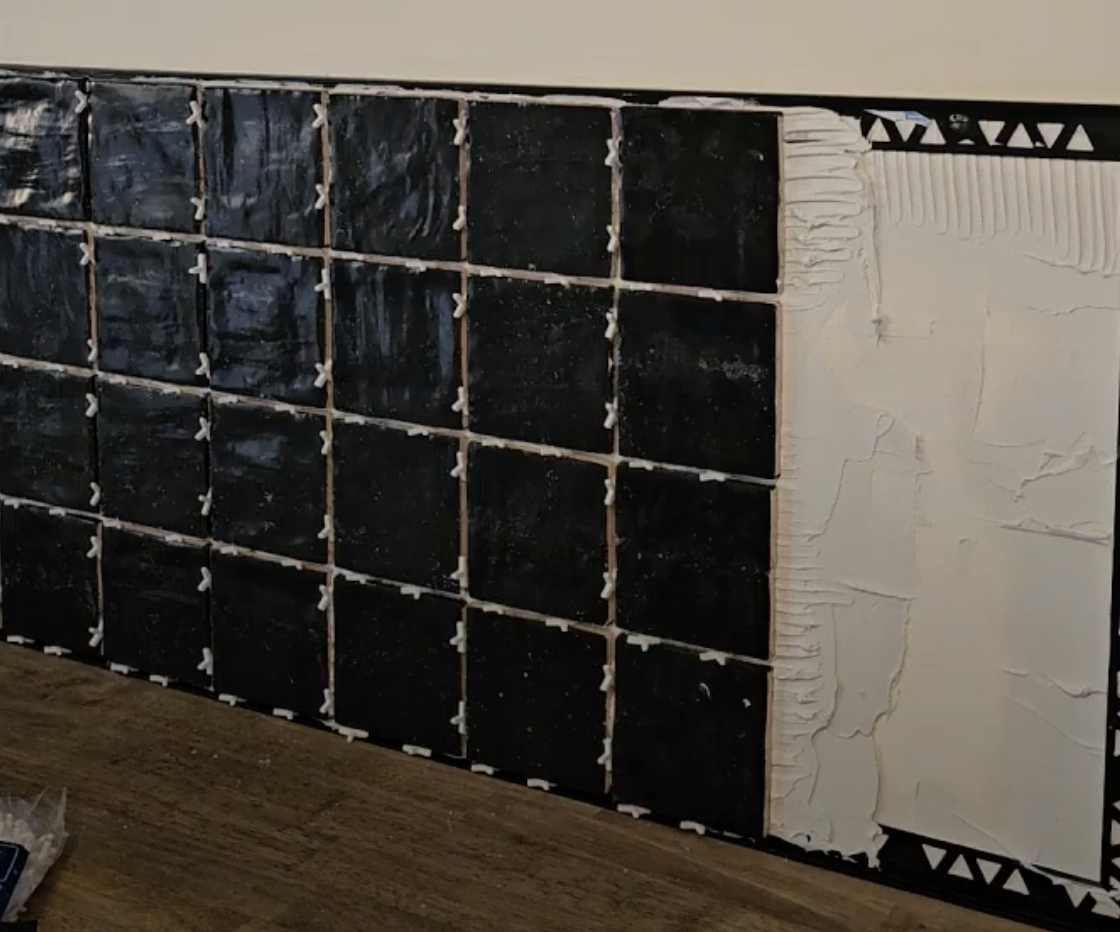
As a final step, I tiled the wall behind the sink using a glossy organic-style black tile.
Tiling steps:
Clean the wall
Measure, cut and apply tile edge to the wall using tile adhesive. Tile edge is used around tiled areas that will be exposed. This will give your tile edges a clean, professional look.
Spread tile adhesive inside the frame.
Use a laser level or straightedge trim to keep lines straight
Set tiles row by row and use tile spacers in between to ensure spacing remains consistent.
Let cure, then grout. I opted for a beige grout.
Wipe haze and polish

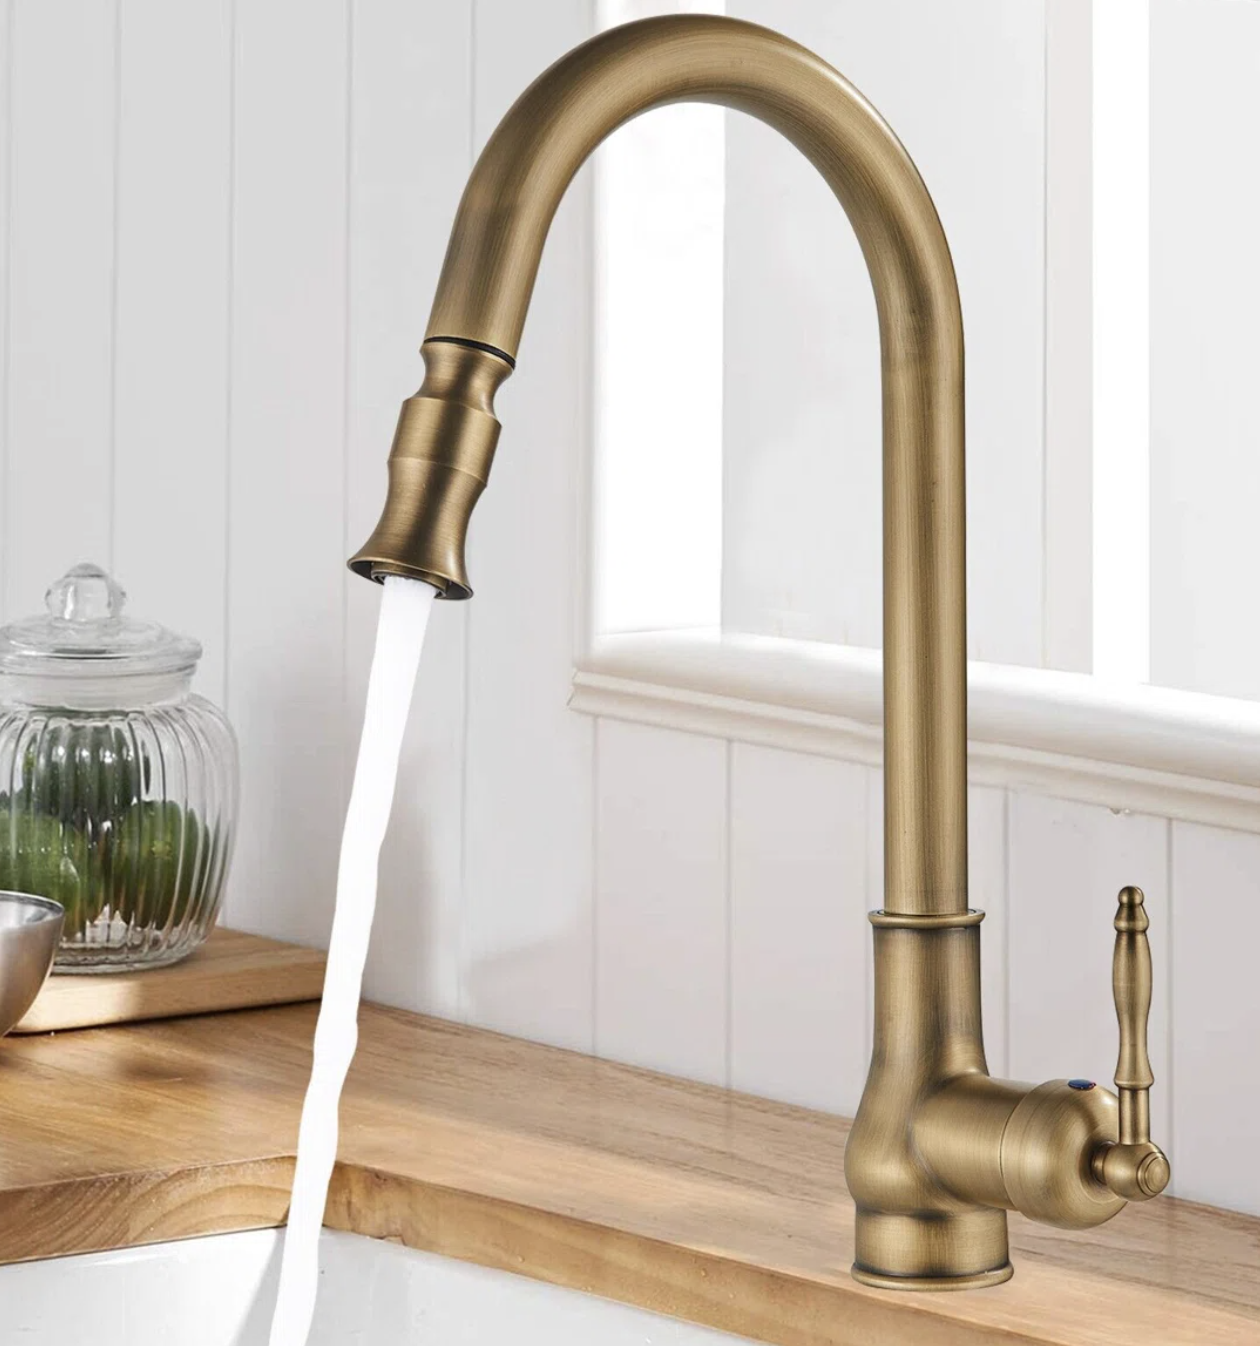
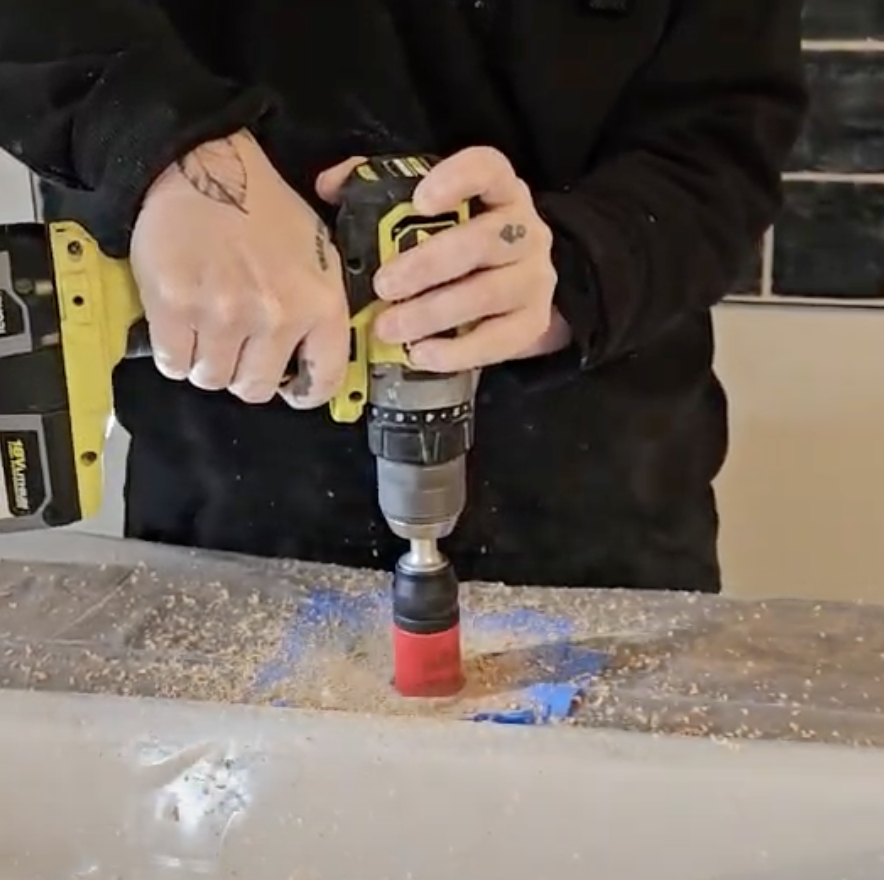
Last step was installing my new brass faucet! I used a hole saw to create the a hole then added the necessary plumbing underneath.

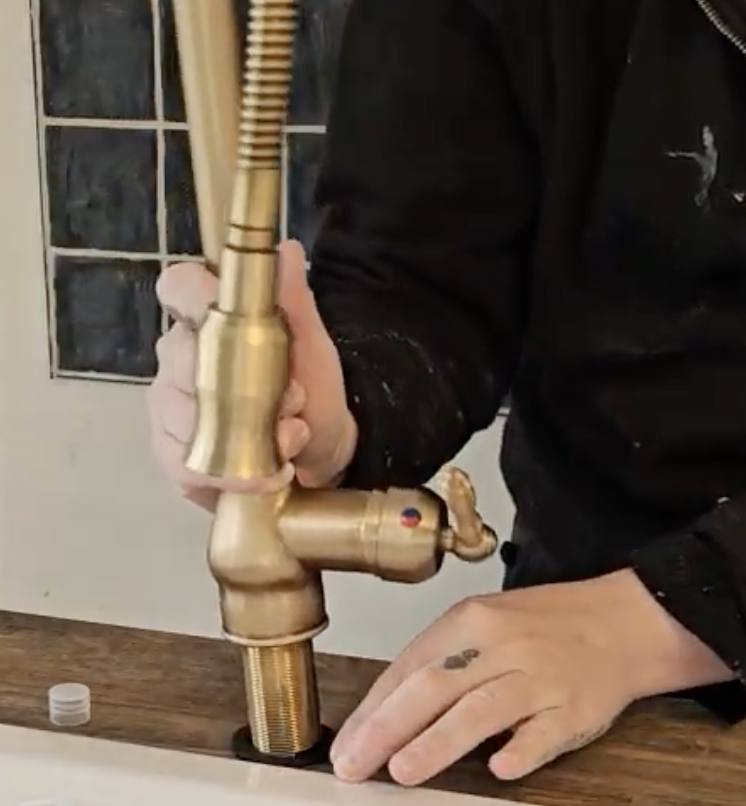

WAFAIR Antique Brass Senlesen Pull Out Kitchen Faucet
Final Thoughts
Building a vanity around an IKEA sink is totally doable—even if you’re working in a tiny space, a messy garage, or a room undergoing a full glow-up.
This project taught me:
Take your time with measurements
Don’t fear re-cuts (they happen!)
A little whimsy—like diamond cutouts can make a functional space feel magical
The HAVSEN sink looks shockingly high-end when built into custom cabinetry
If you attempt this build, send me your photos—I'd love to see your take on it.