*Built-In* Custom Floor-to-Ceiling Utility Cabinets
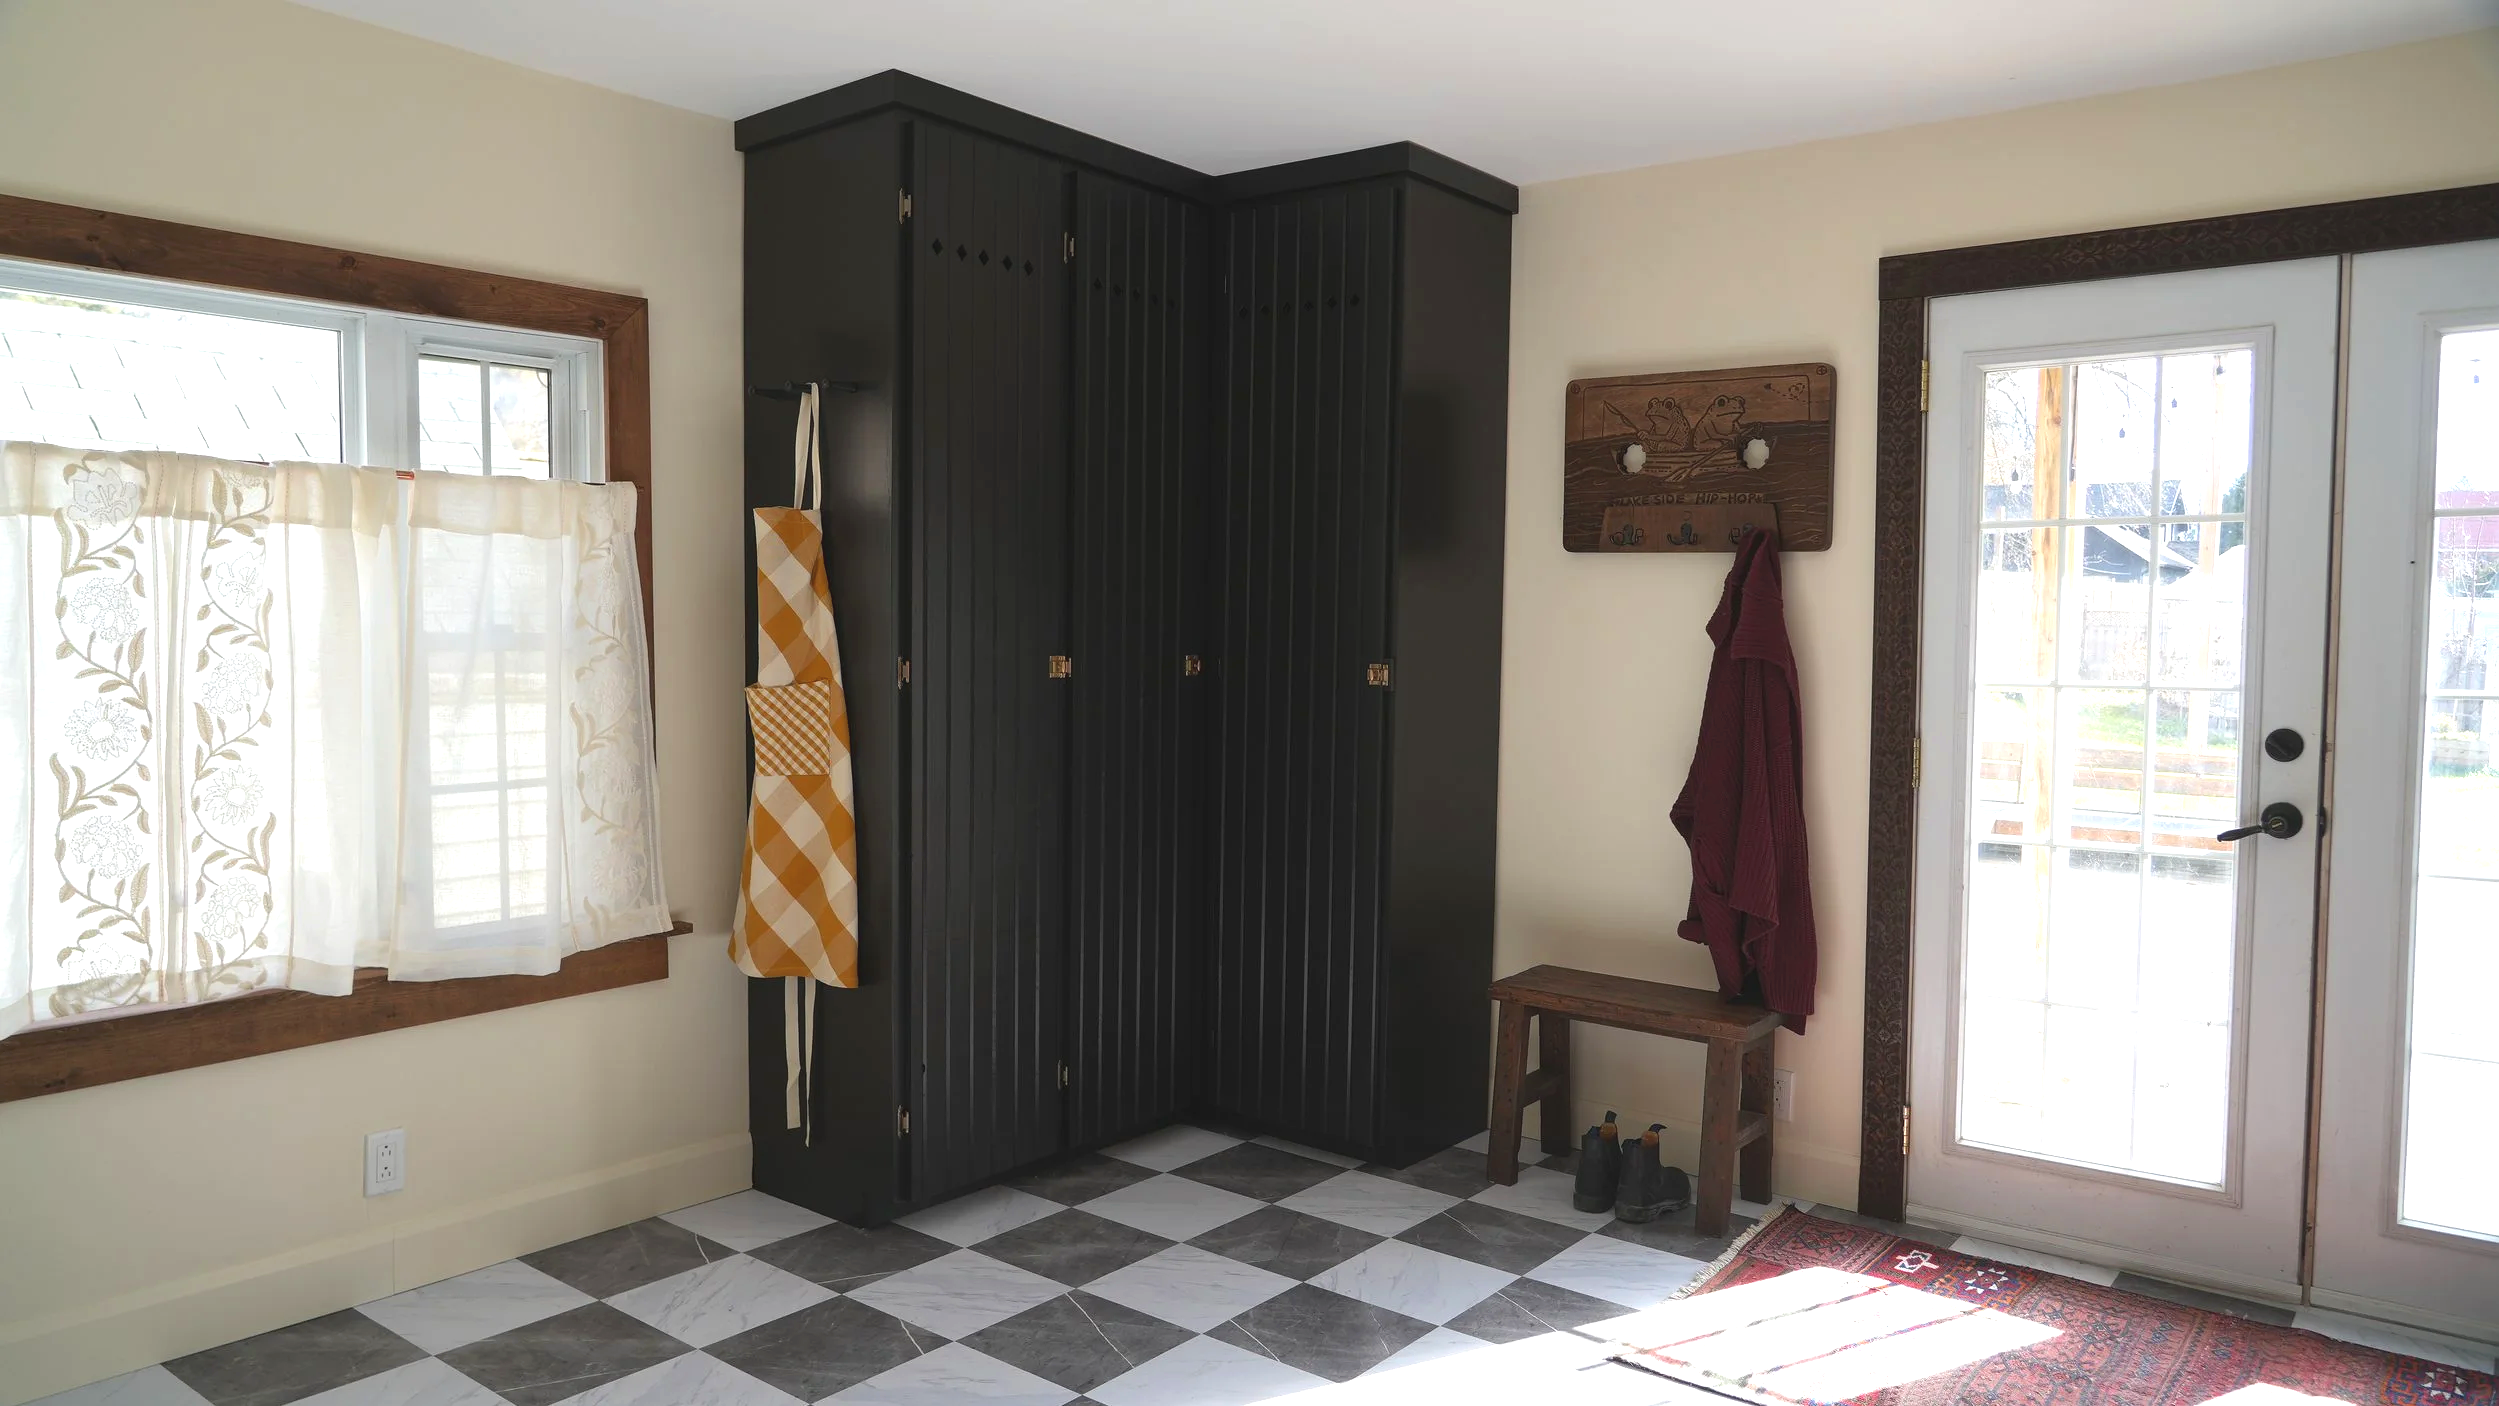
I’ve been working on my laundry/pantry combo (aka the Scullery) and it’s so close to being fully finished! This week, I added a fully custom, floor-to-ceiling built-in cabinet system designed to corral everything from toilet paper, paper towels, cleaning supplies, vacuums, and even some canning gear!
If you’re looking for a smart way to add storage, hide away household essentials, or carve out a dedicated spot for utility items - this project is the perfect blueprint.
Below, I’ll walk you through how I built these cabinets from scratch - from cutting lumber to installing hinges and organizing the final setup!
Shop this Episode:


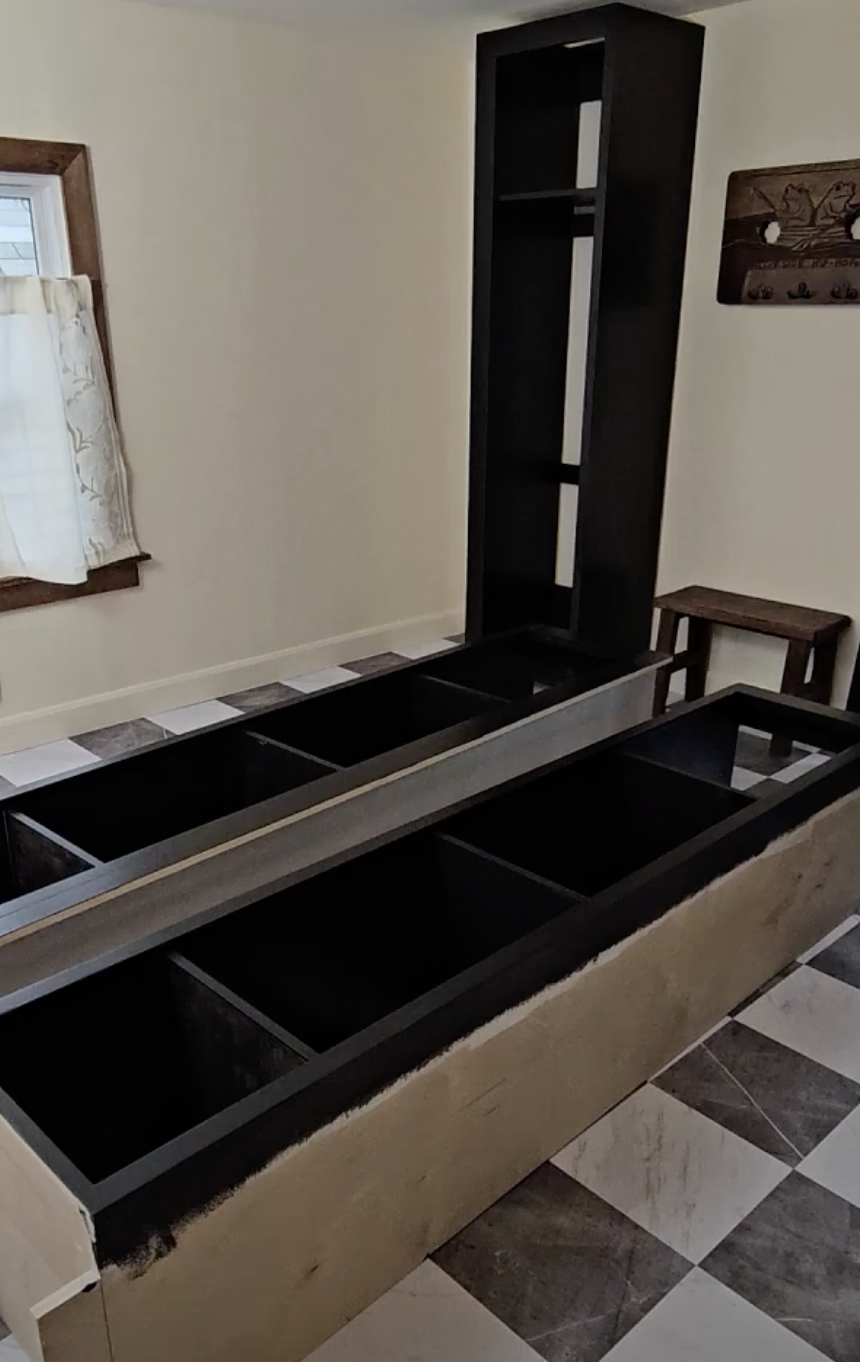
The Plan: L-Shaped Cabinet System
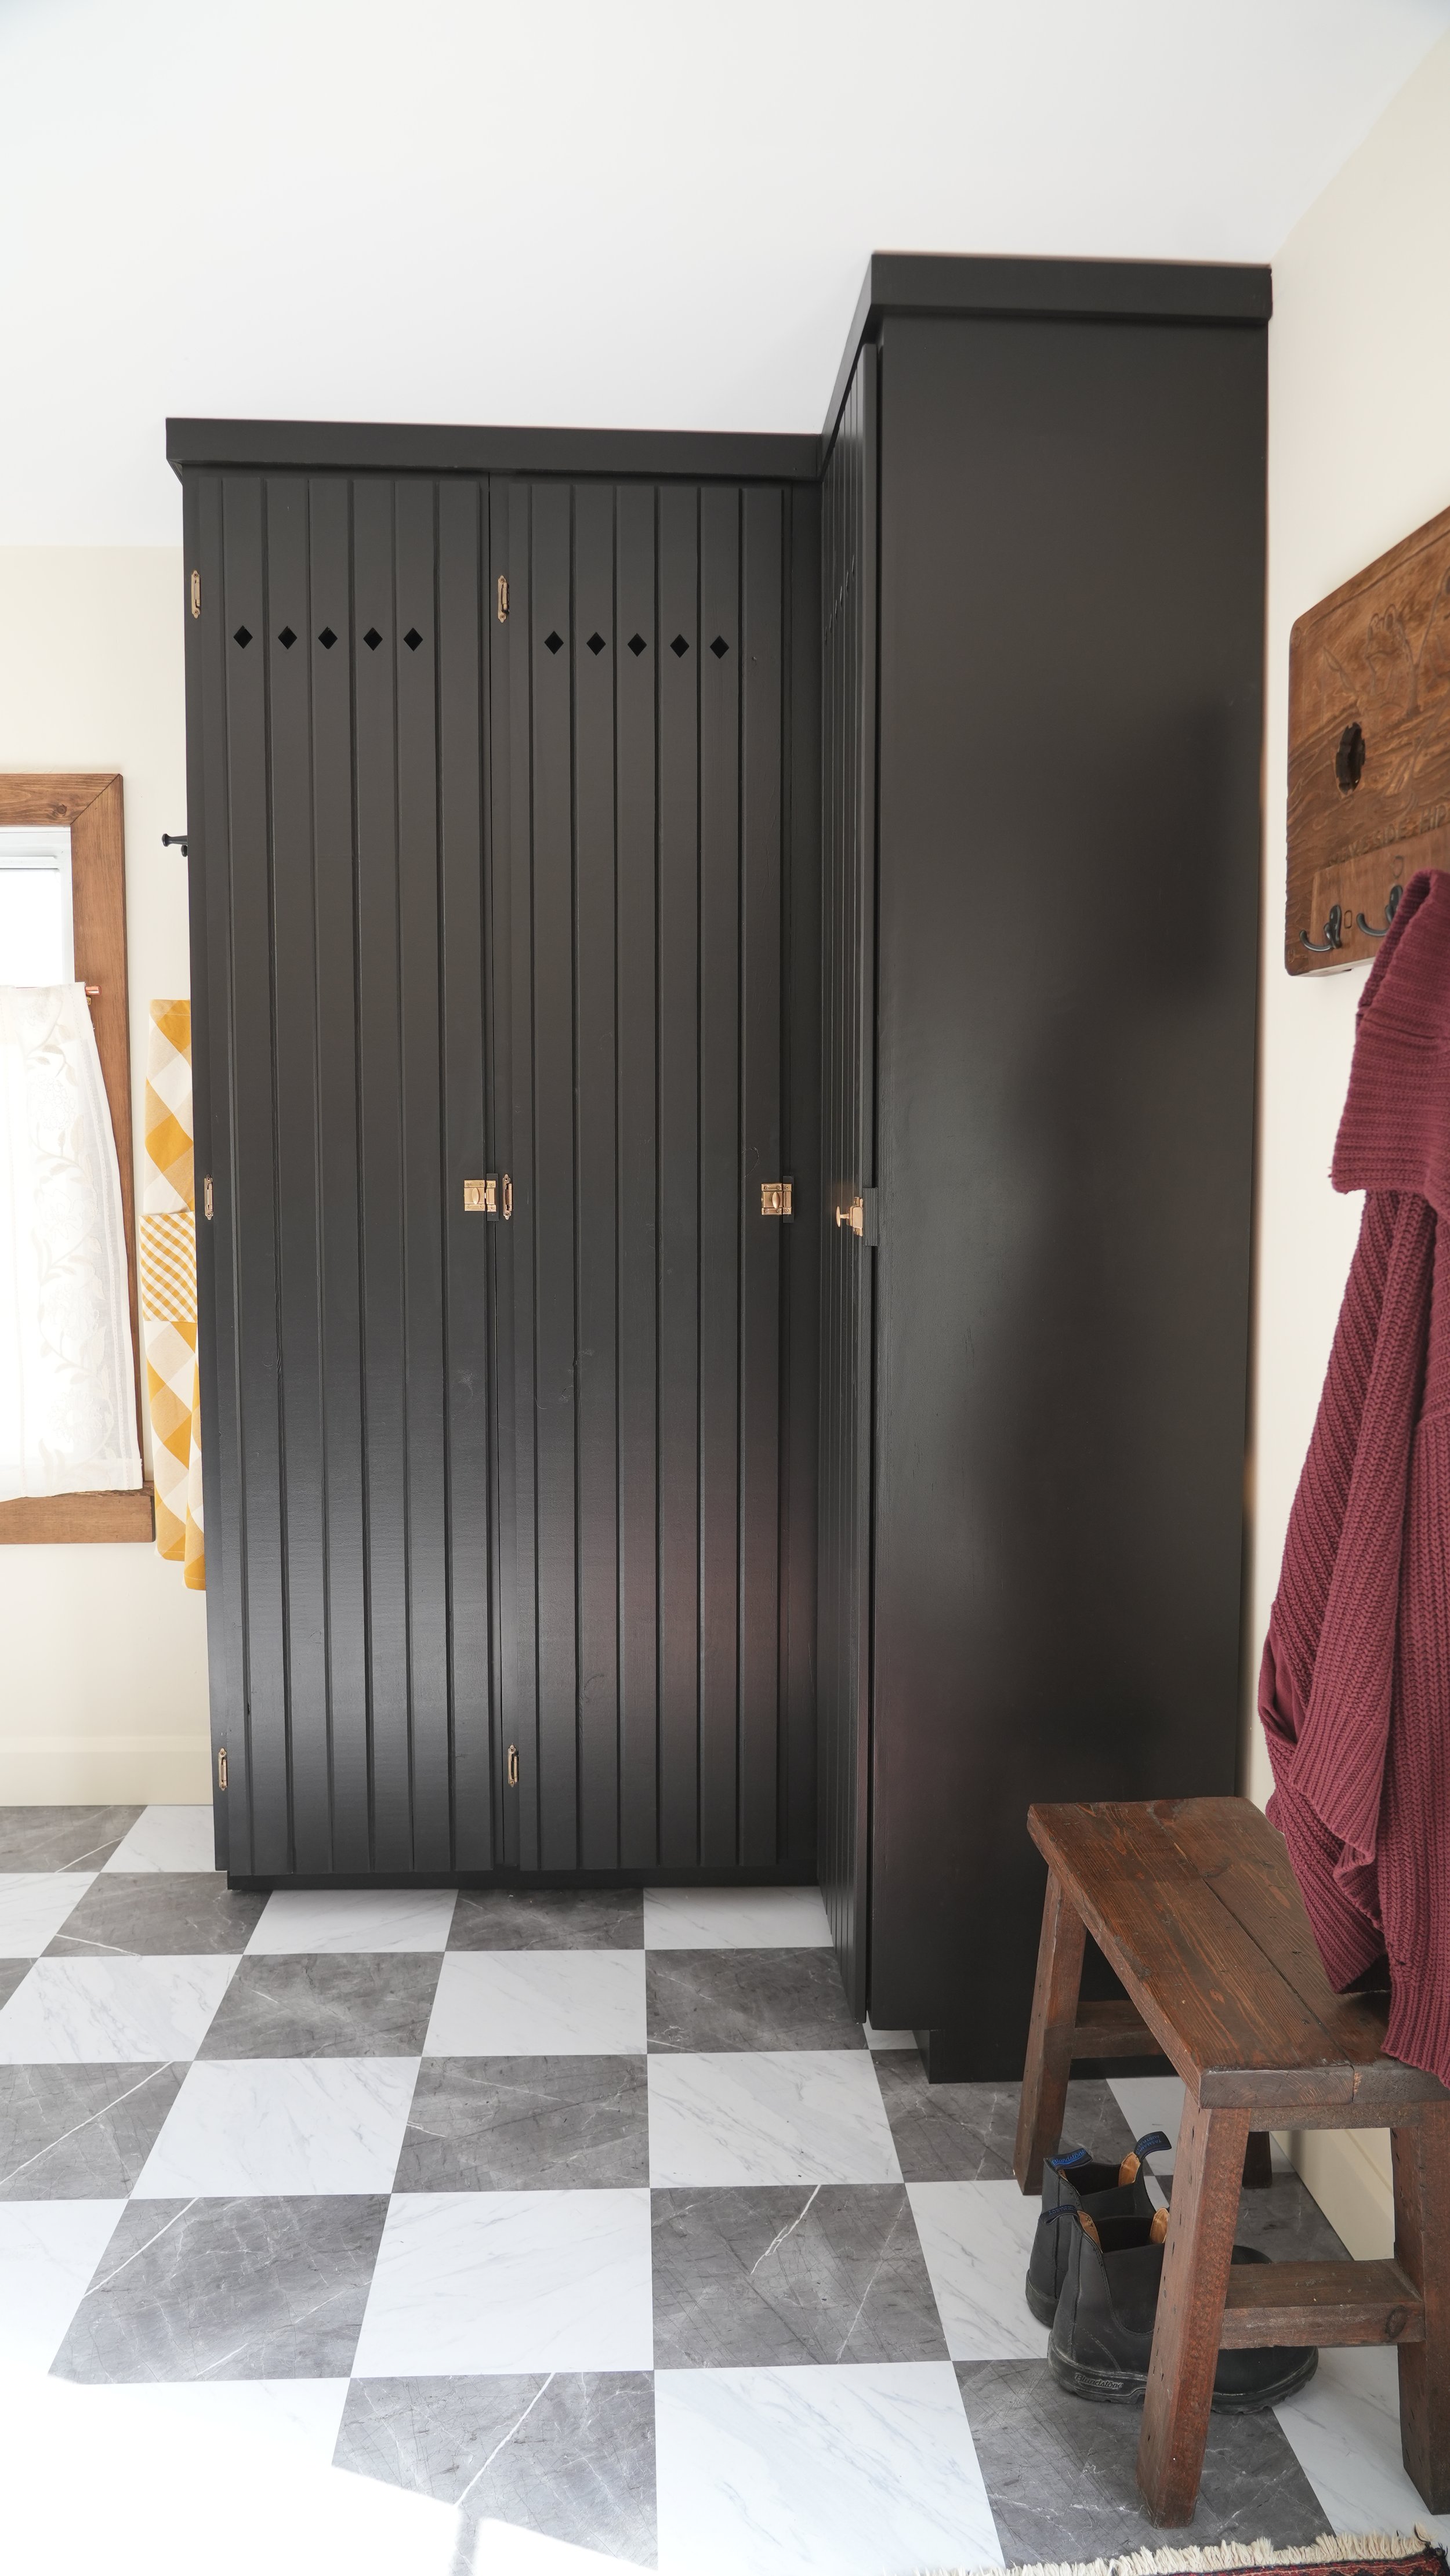
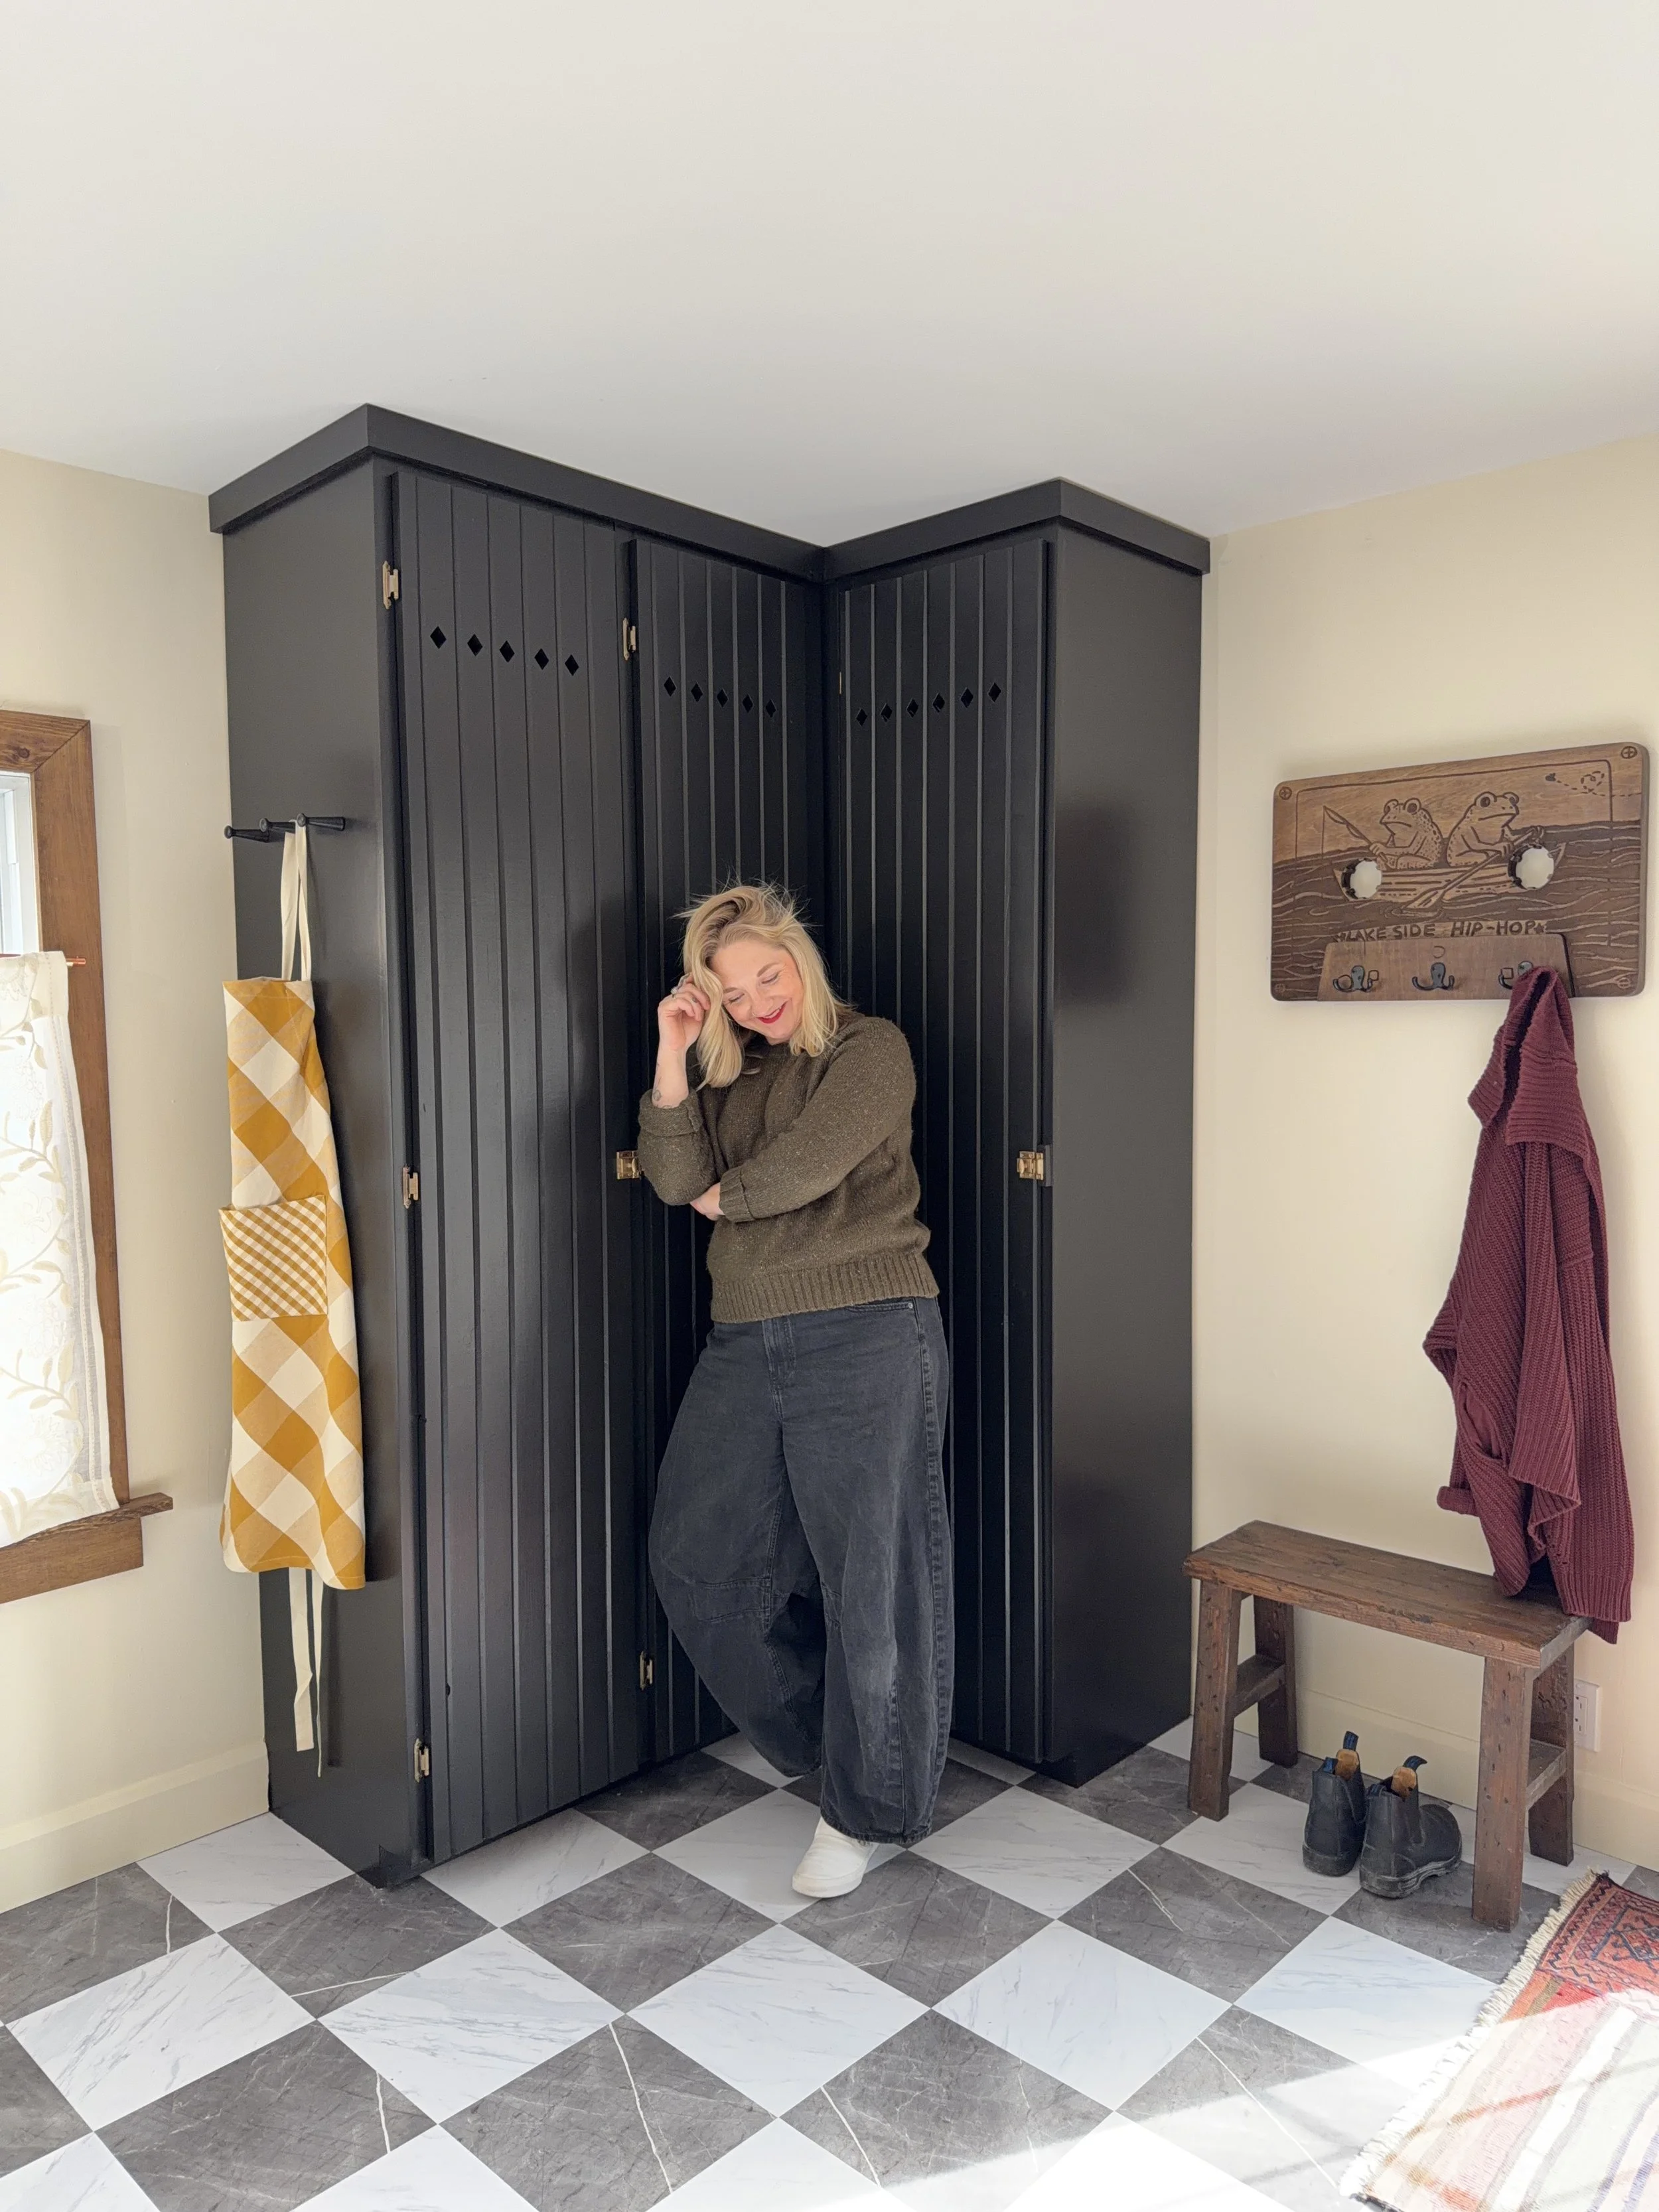
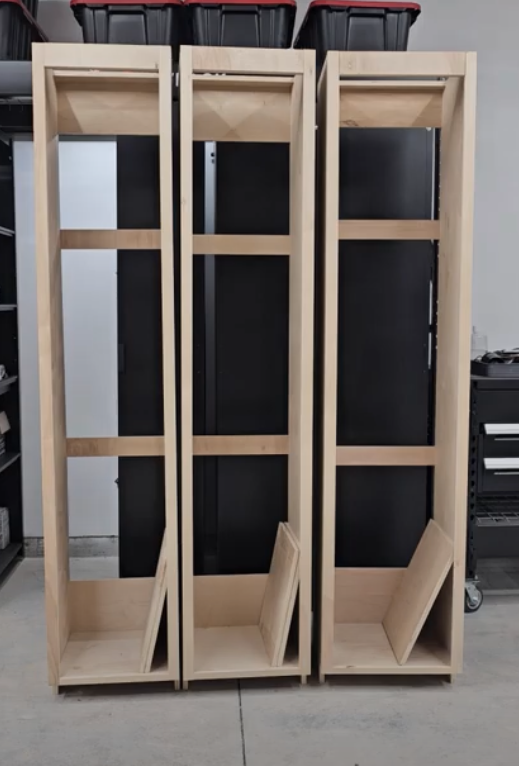
The goal for this corner was simple: create three tall plywood cabinets that come together to form a seamless L-shape. Two units sit along one wall, and the third wraps the corner for a built-in corner look.
Key features of the build:
Constructed entirely from ¾” plywood
Designed to store bulk household items
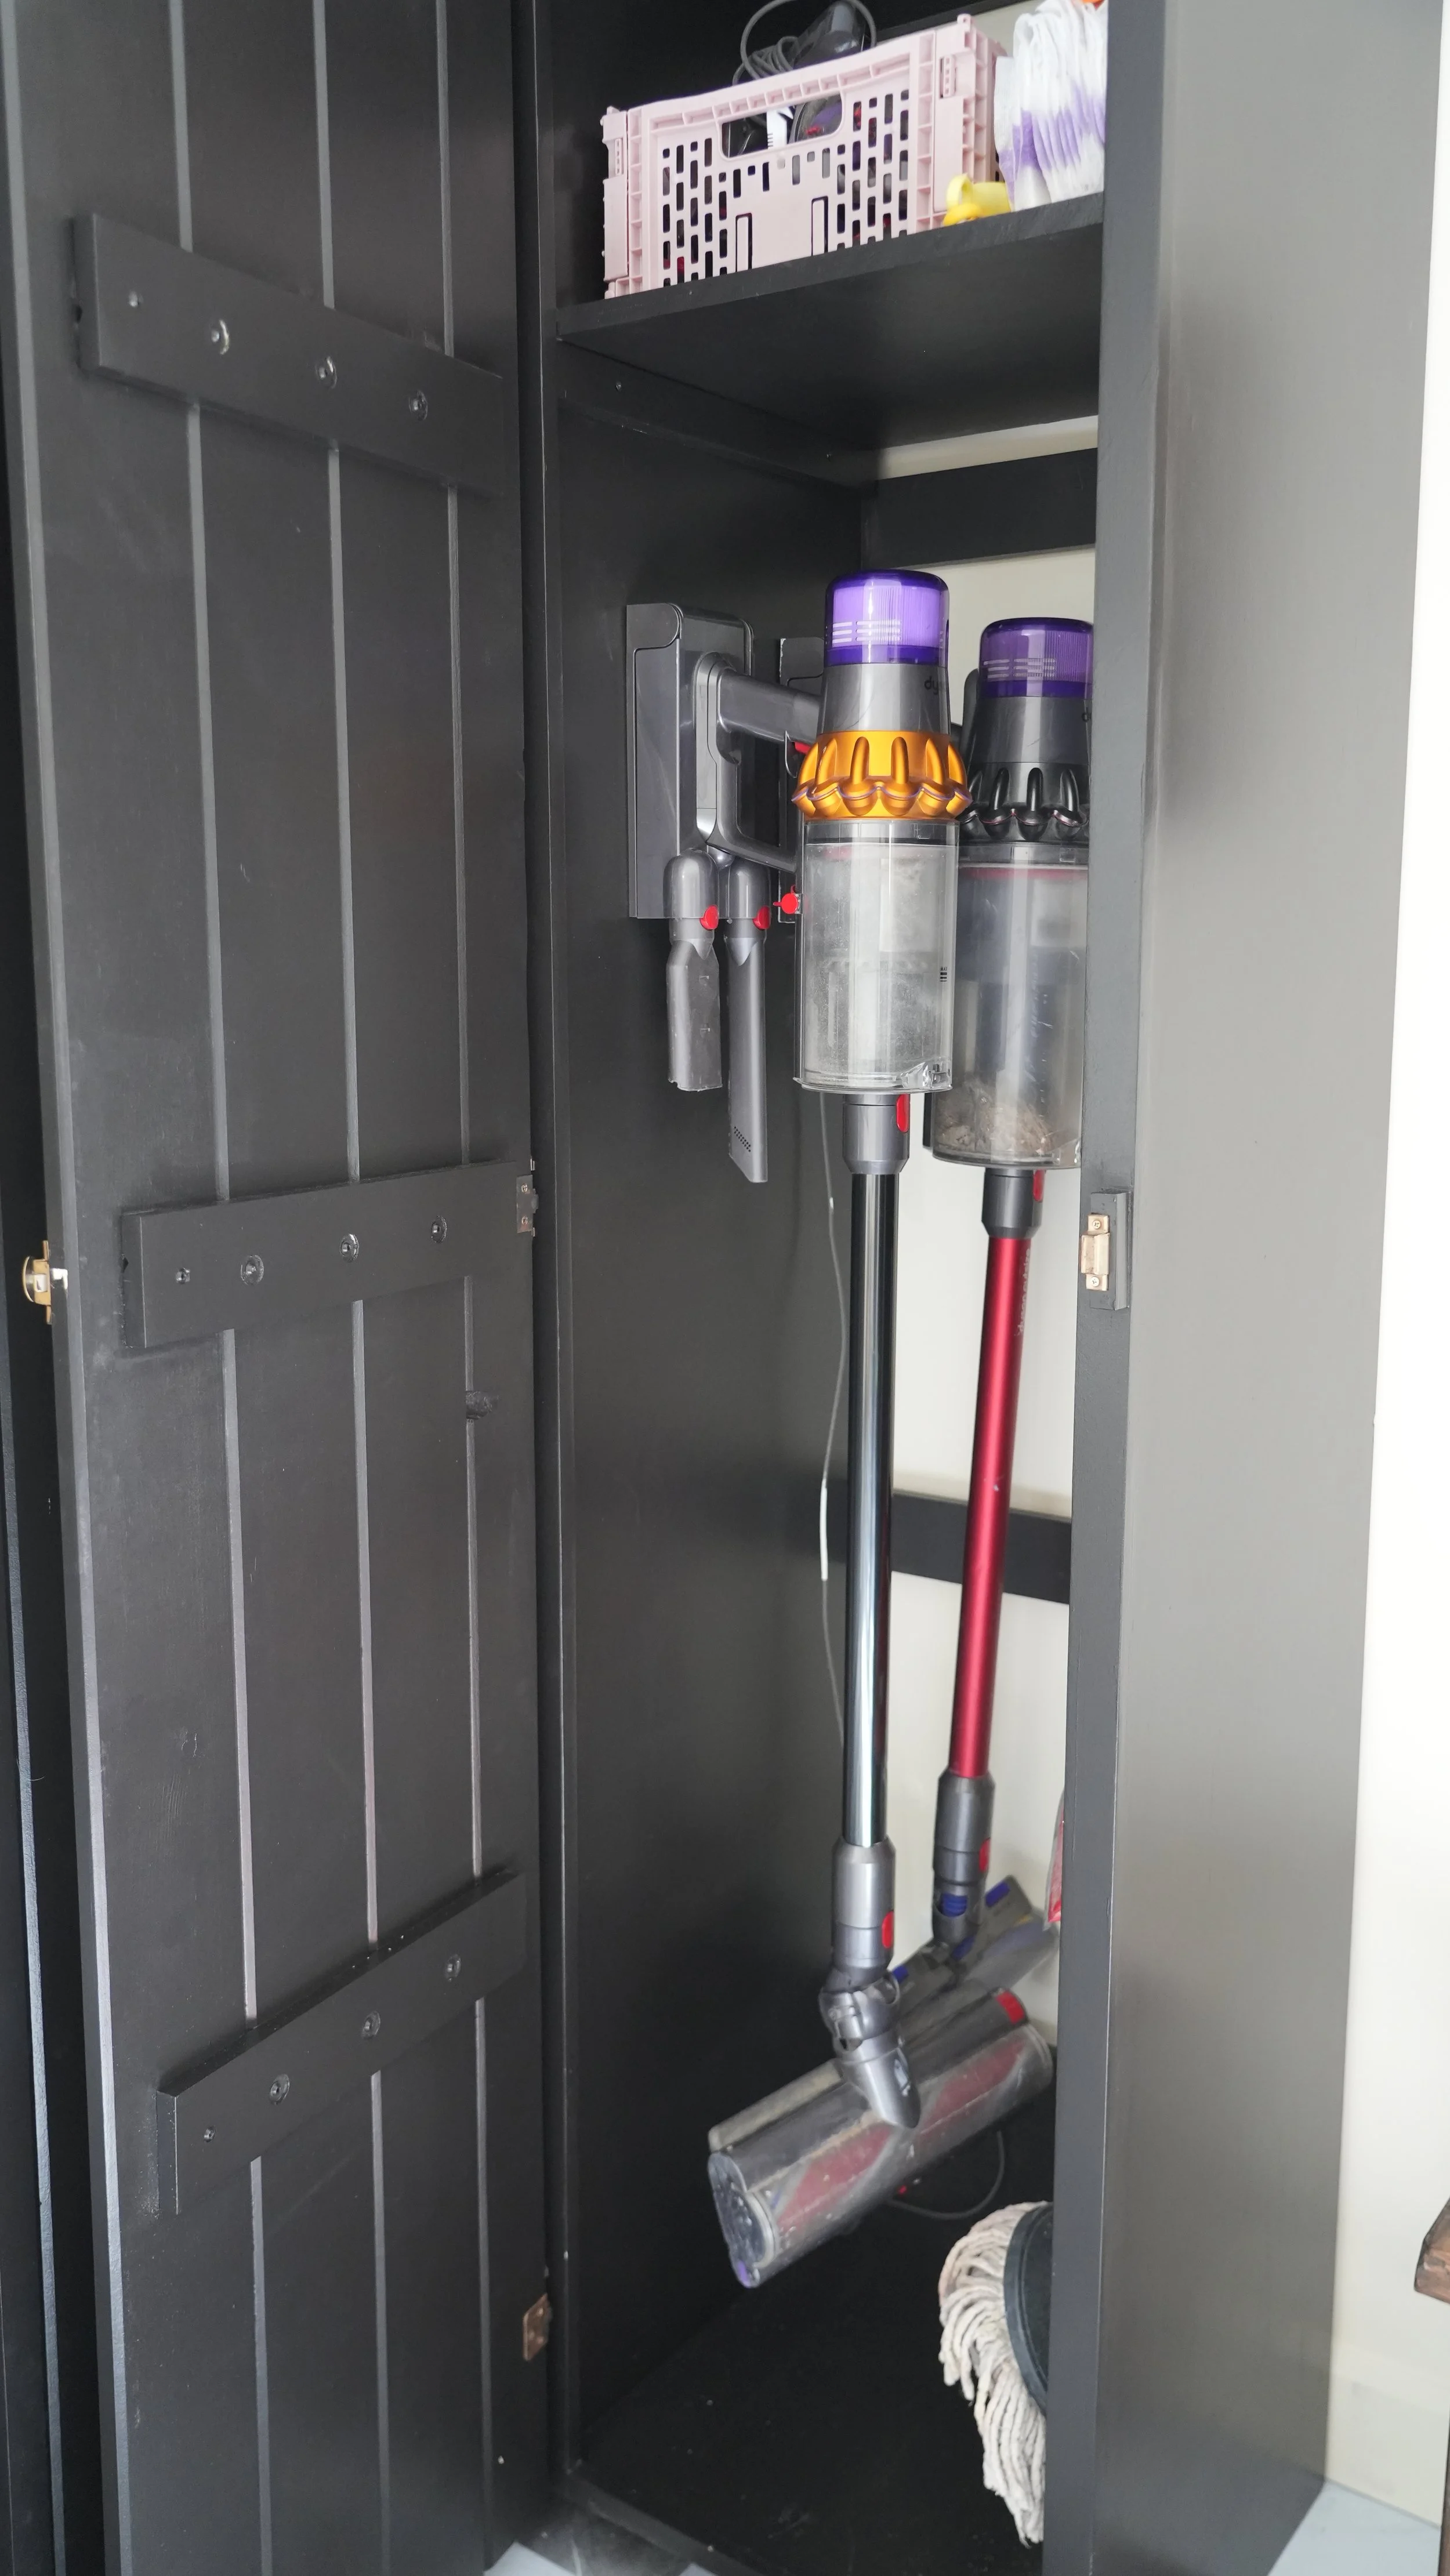
Hidden charging station for vacuums using an existing wall outlet
Adjustable shelving for maximum flexibility
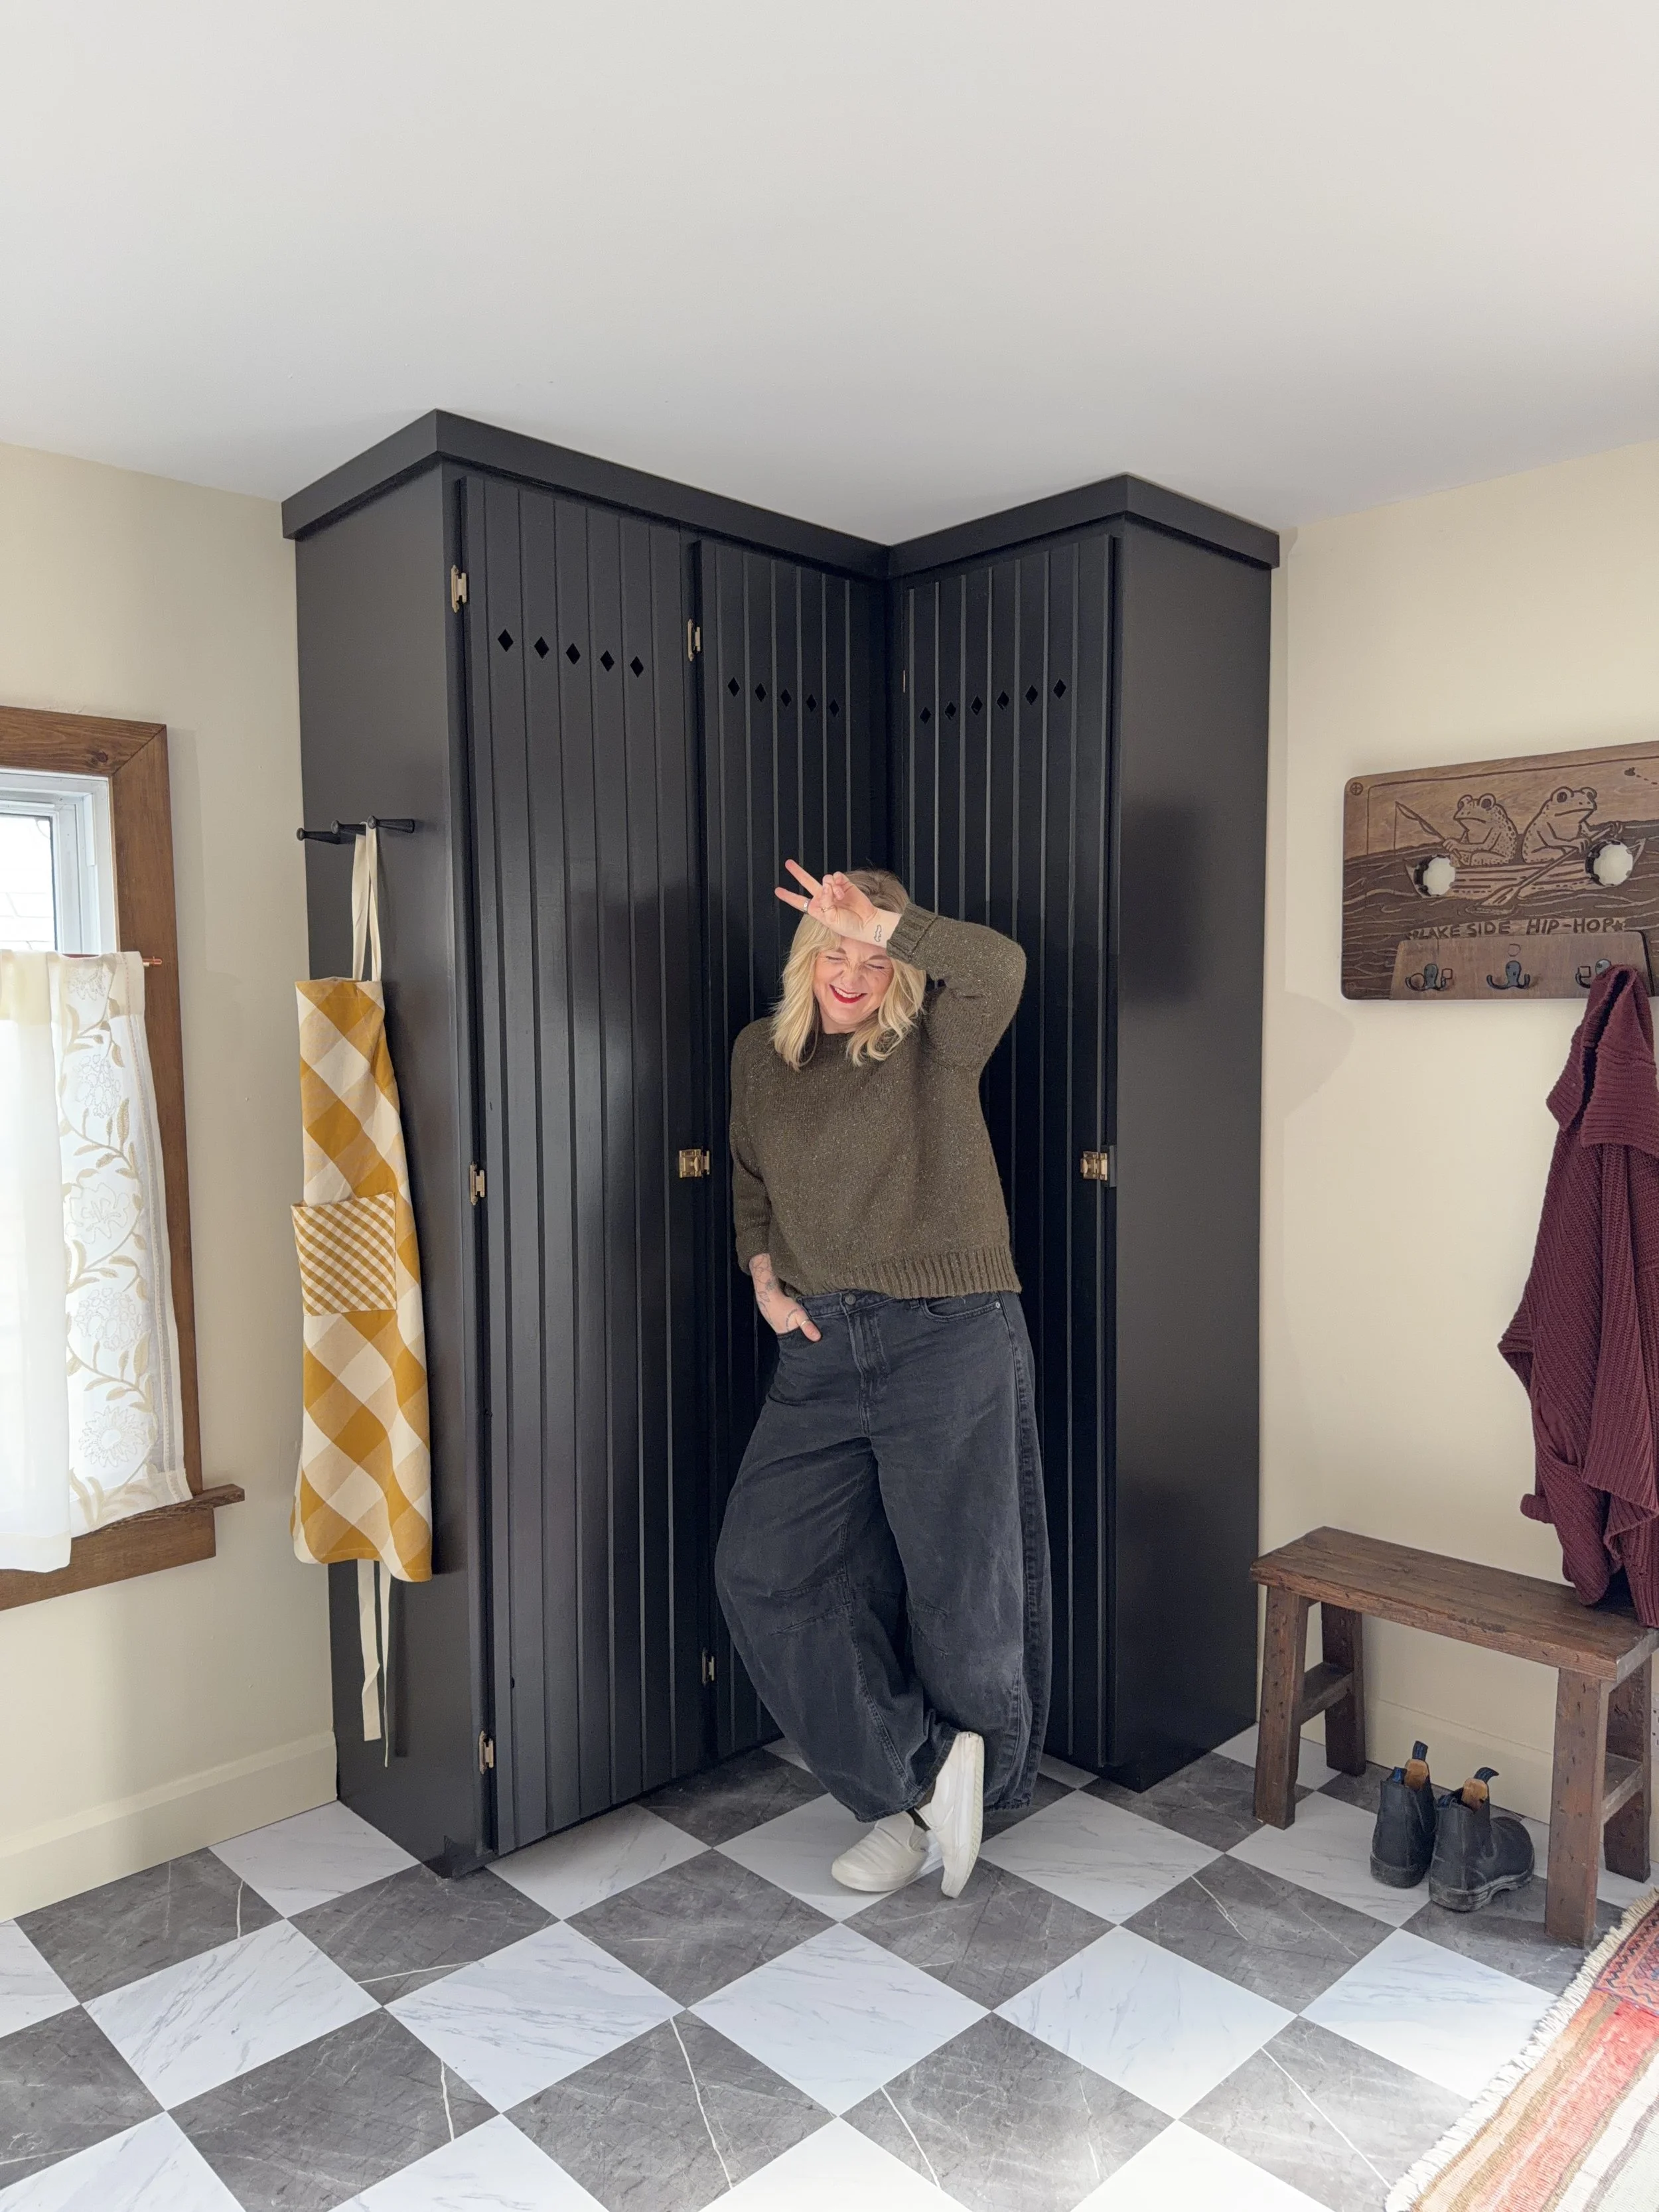
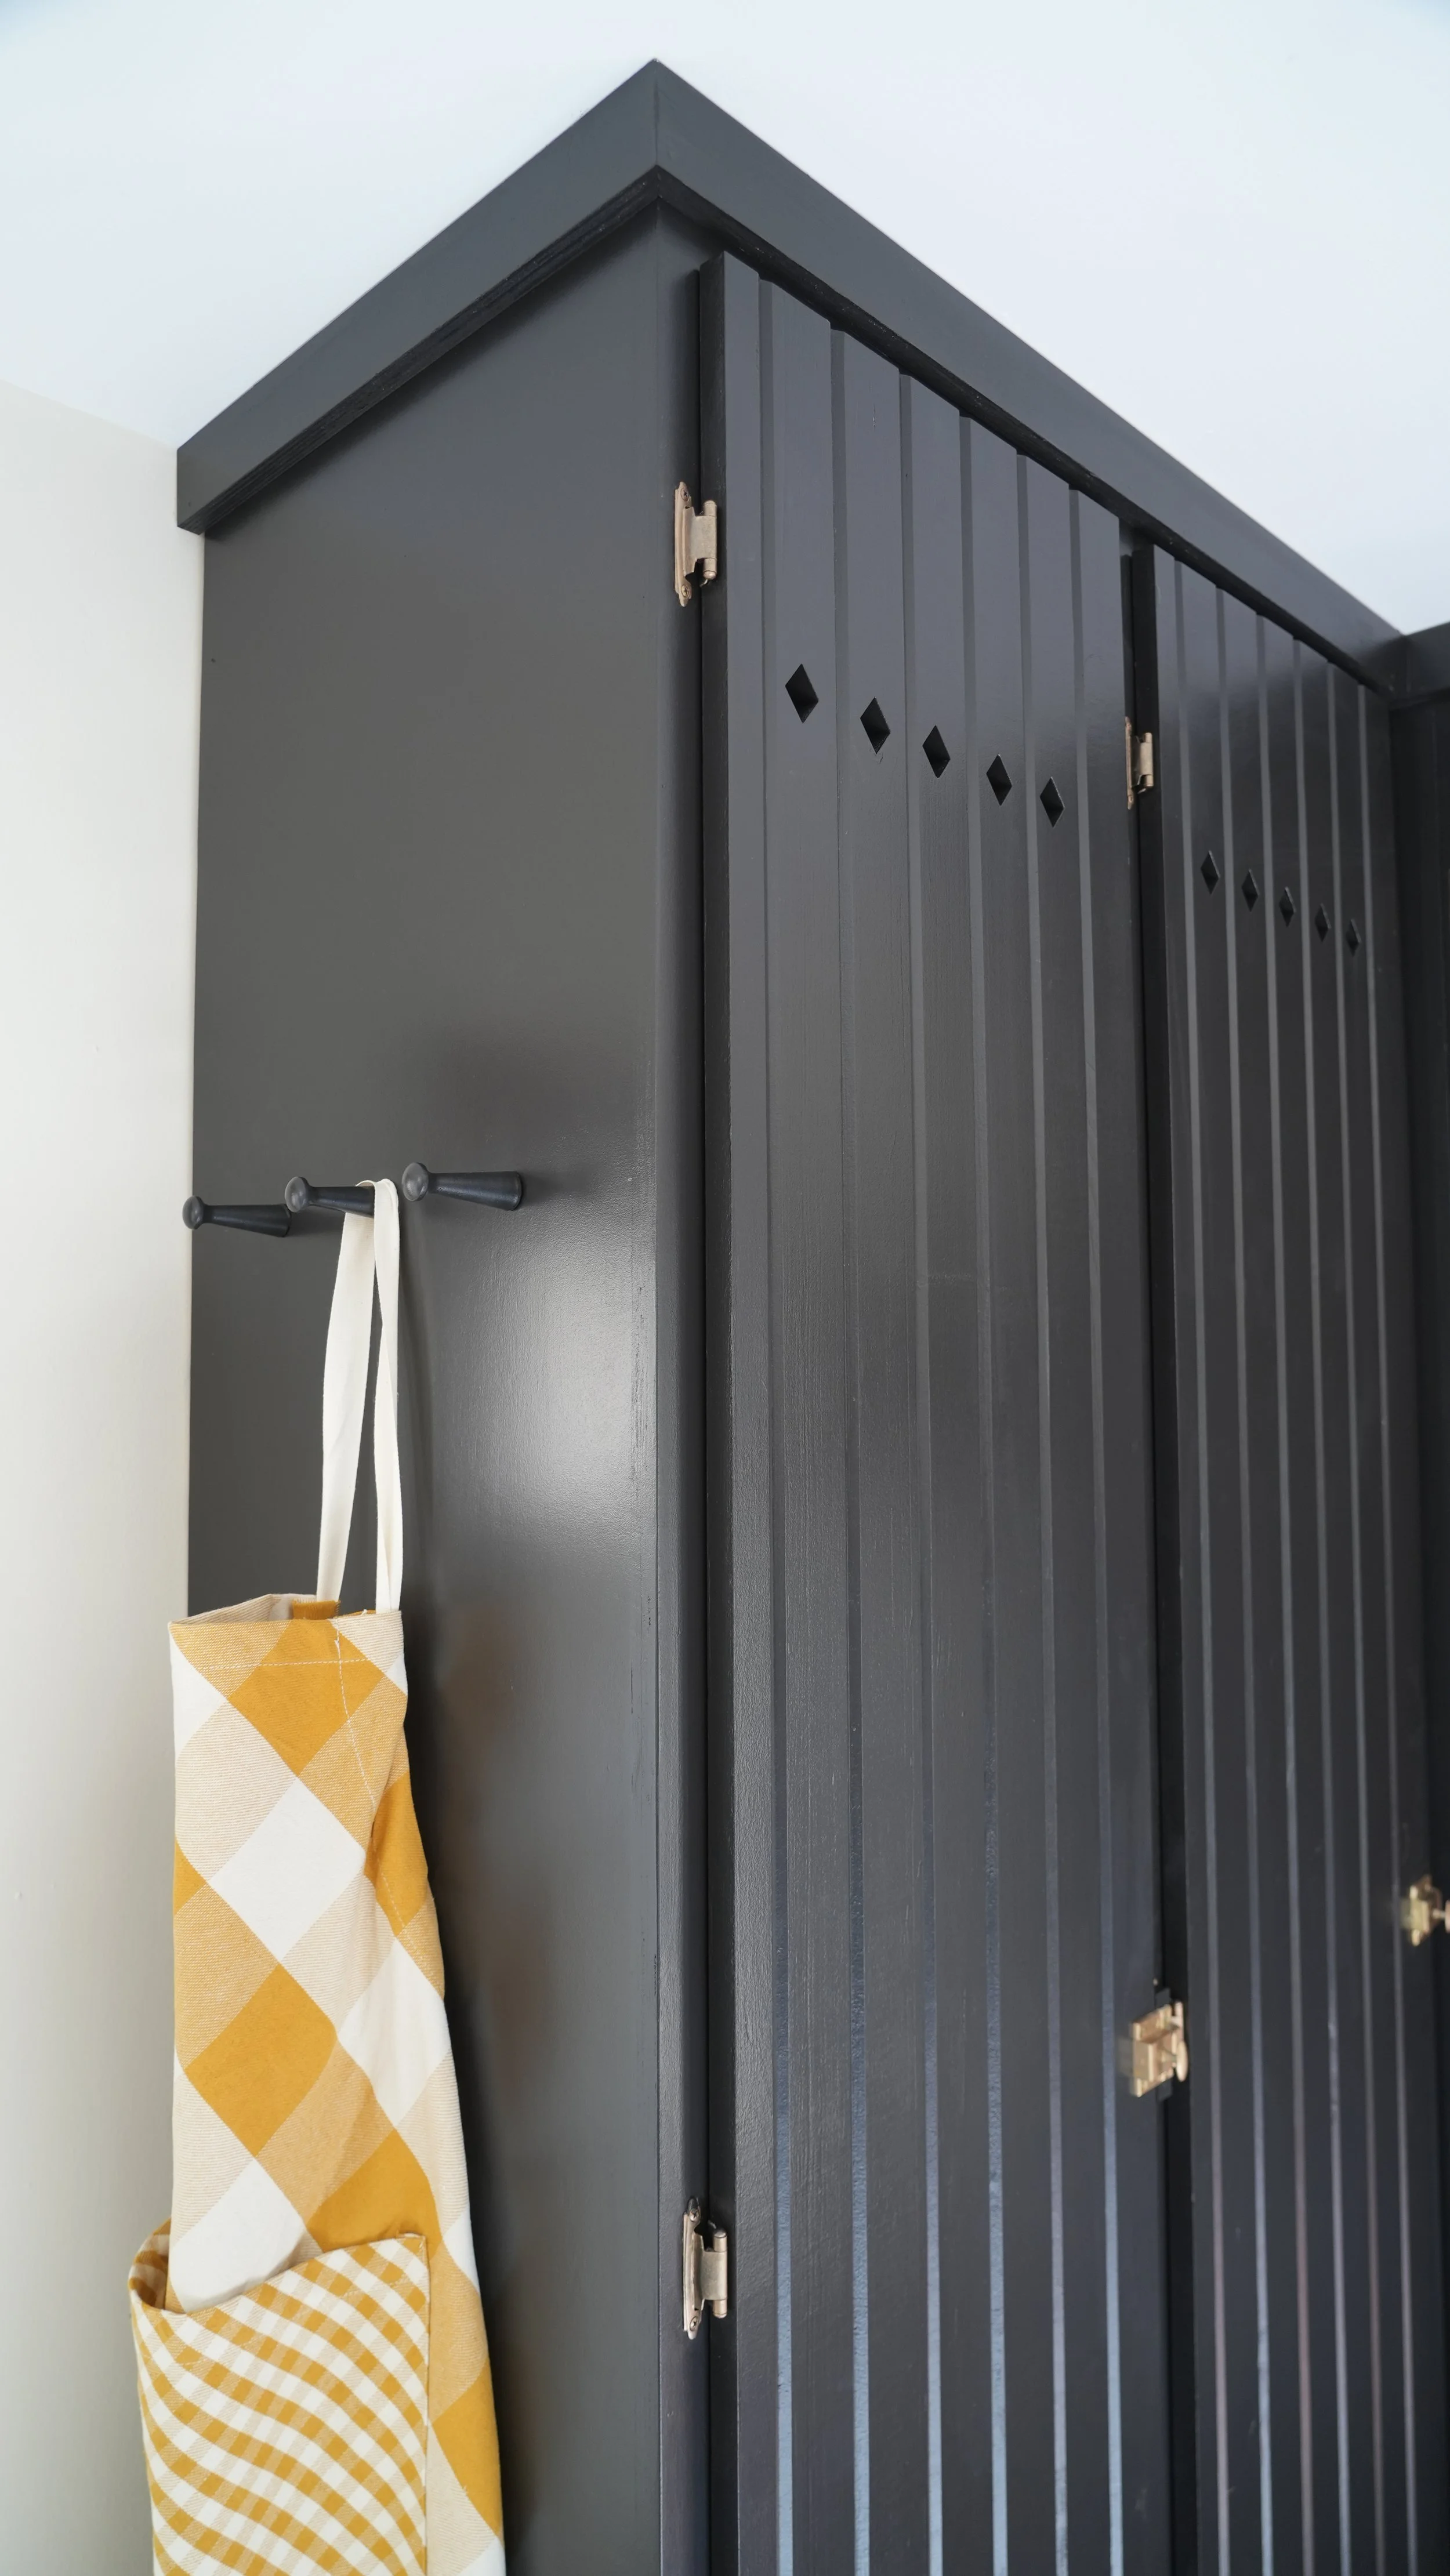
Custom doors featuring a decorative diamond cutout detail
Once the plan was sketched out, it was time to head into the workshop and make it real.
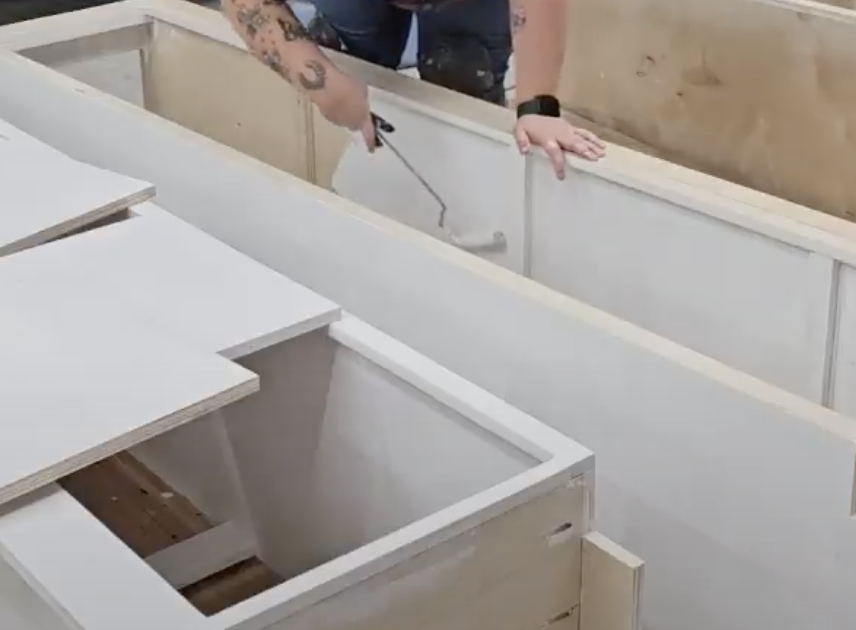
Cutting + Building the Cabinet Boxes
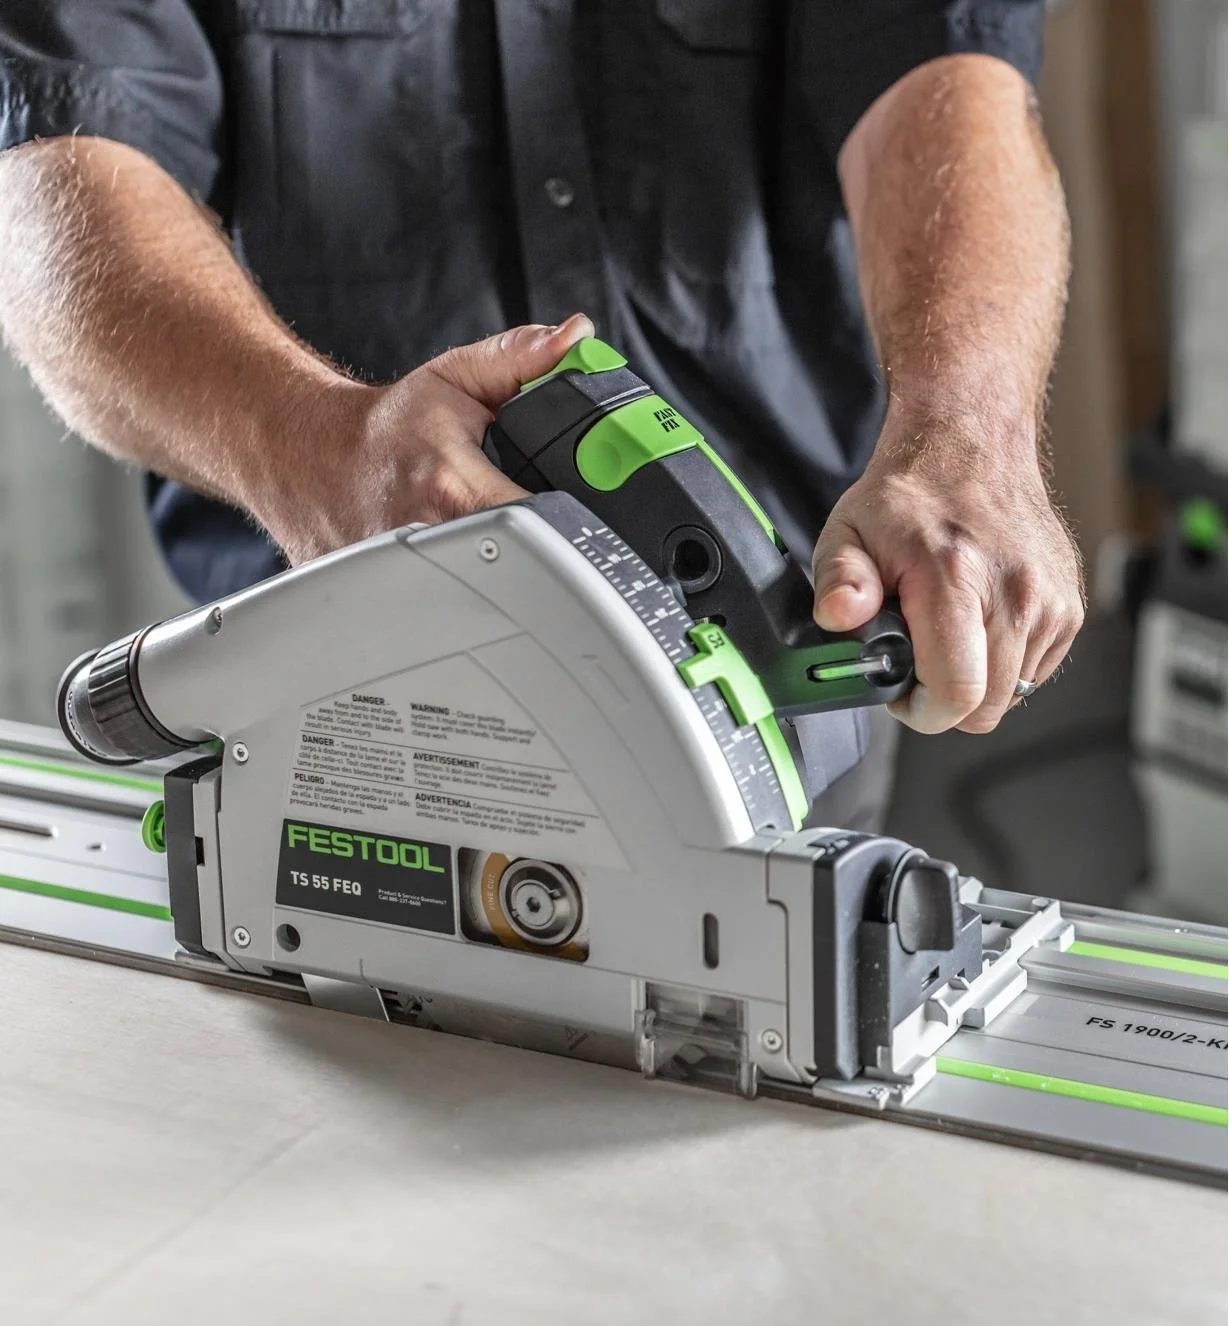
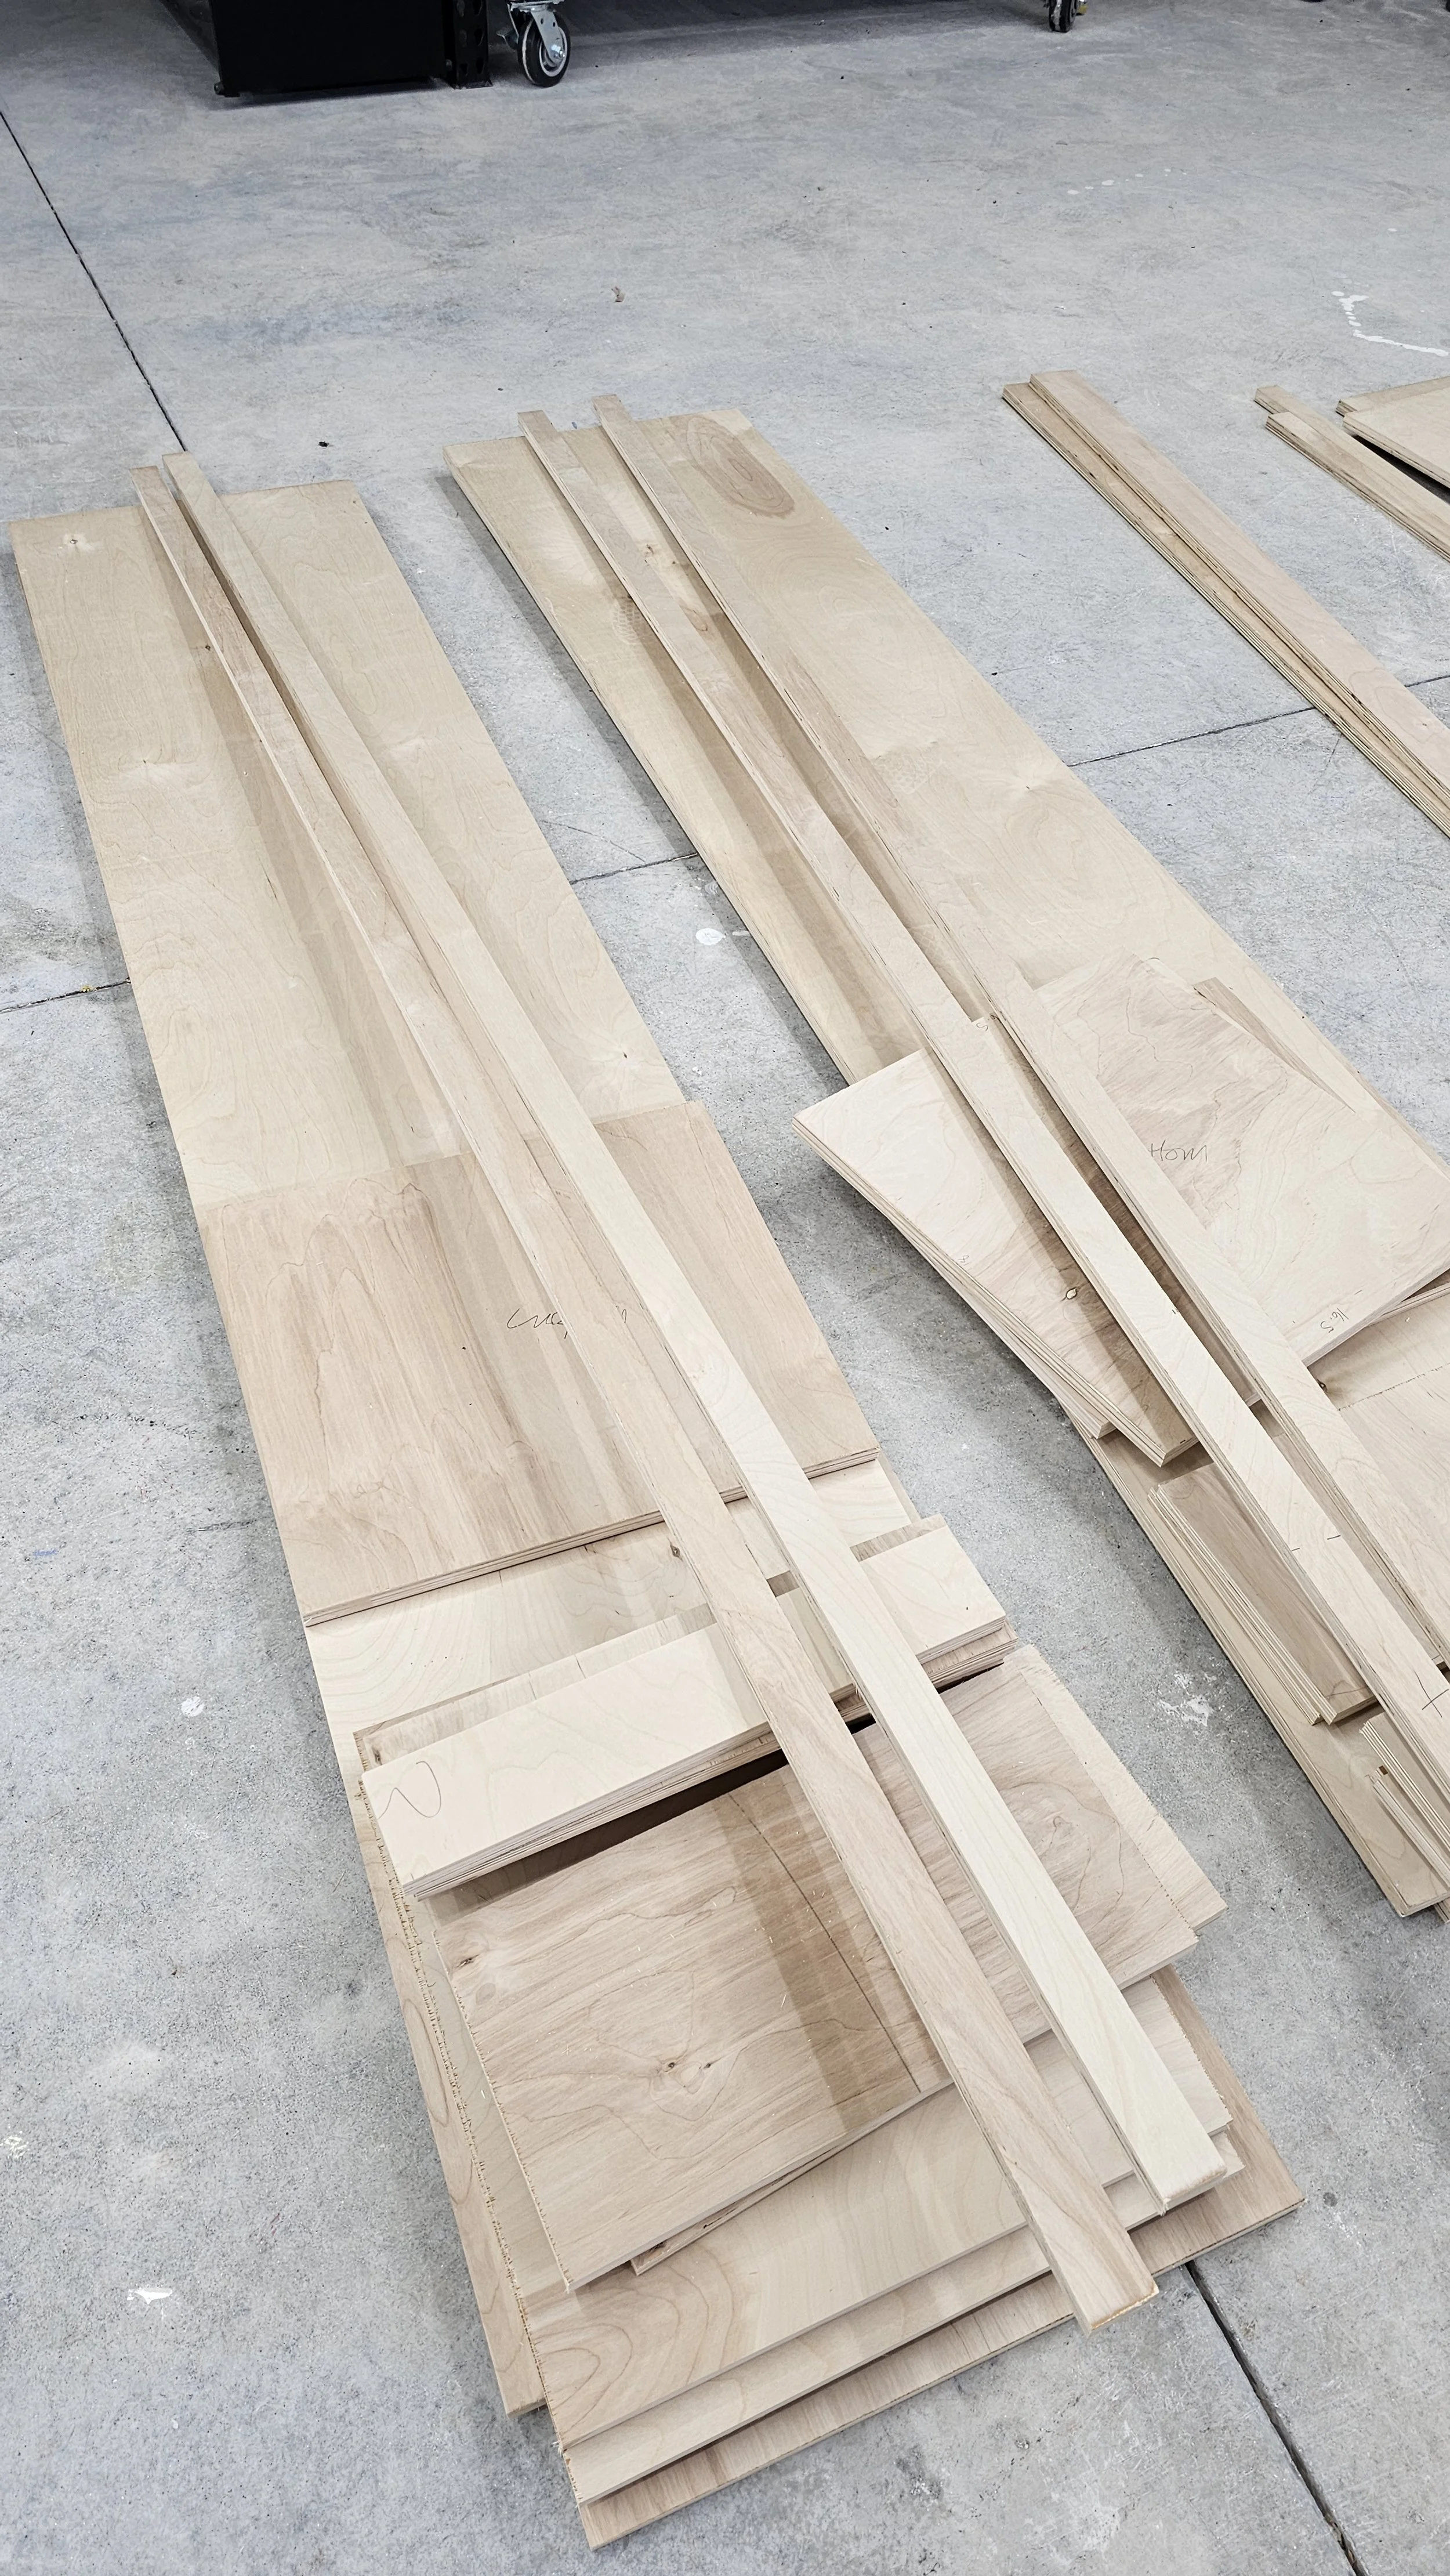
Using my plunge saw with track, I cut down five full sheets of ¾” plywood, separating the pieces into piles for each cabinet box. I cut two sides with 3” toe kick clearance cut into the bottom, a base, 5 cross braces for back and top and 3 shelves. I also cut two 2” strips the height of the cabinets that hide the plywood edges on the front, along with two cross pieces that sit inside.
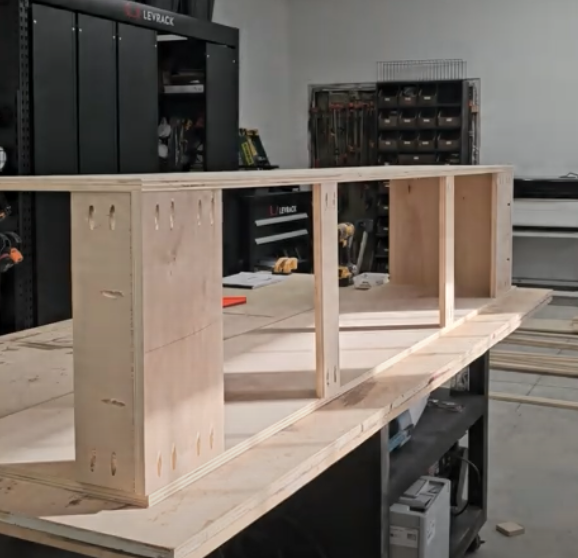
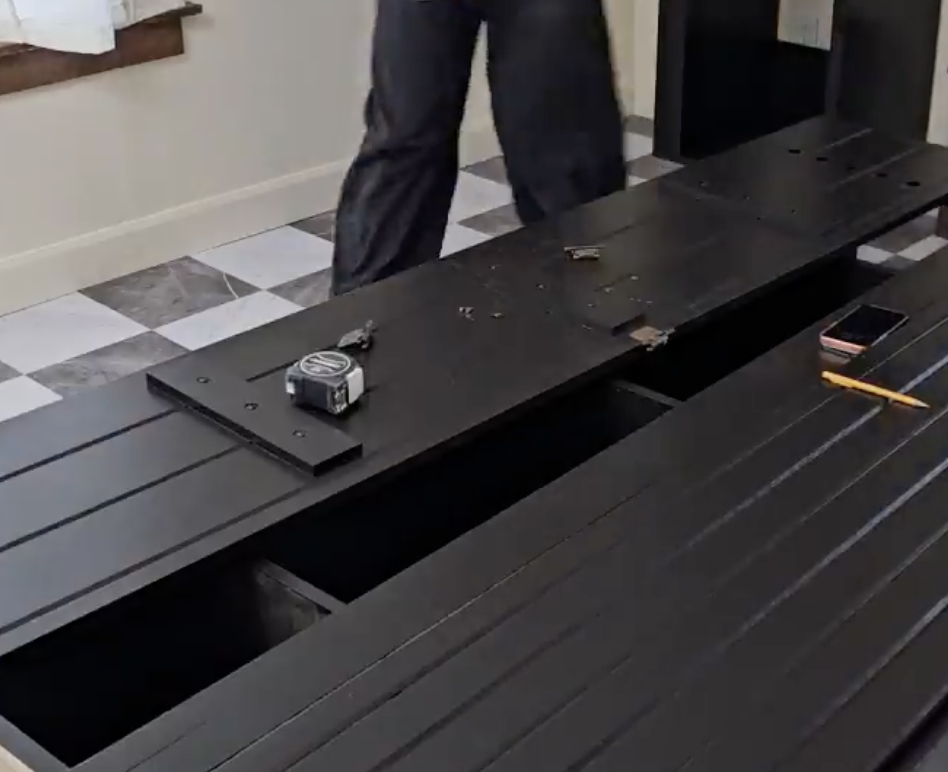
Assembly Highlights:
Used Pocket holes and screws to join the cabinet frames
Toe kicks cut to 3” size on sides
Front facers added for a clean, finished edge
Bracing and internal supports installed before standing the boxes upright
Cabinet Doors, Decorative Details & Prep
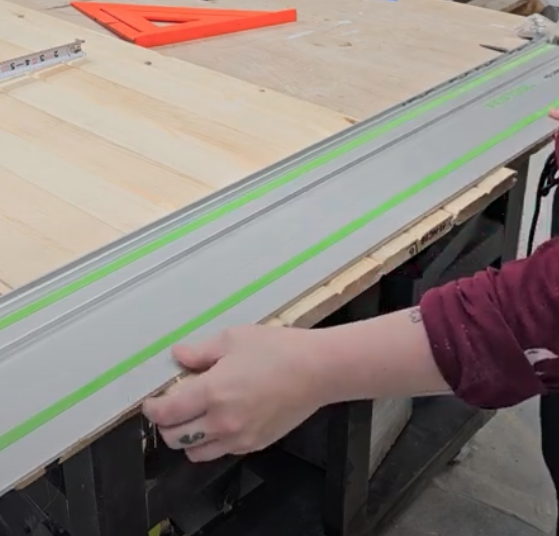
Sizing + Cutting the Doors
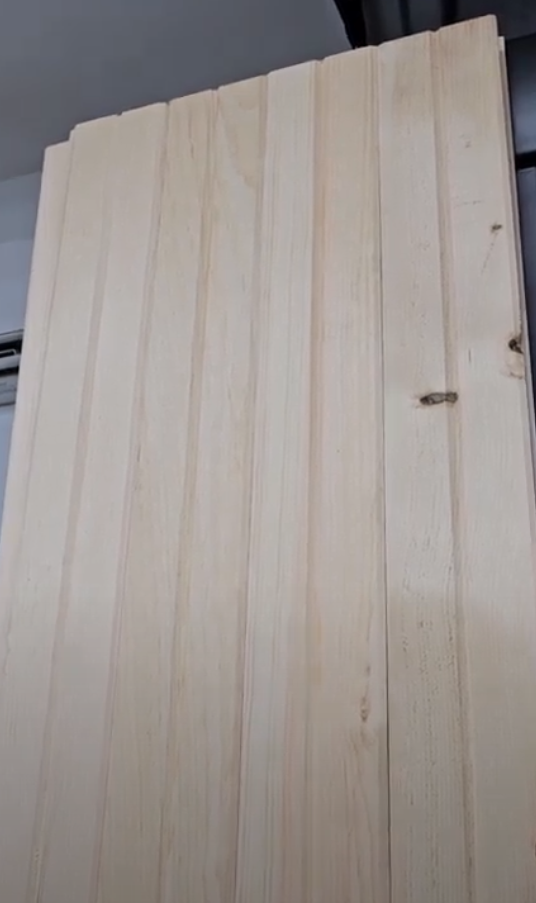
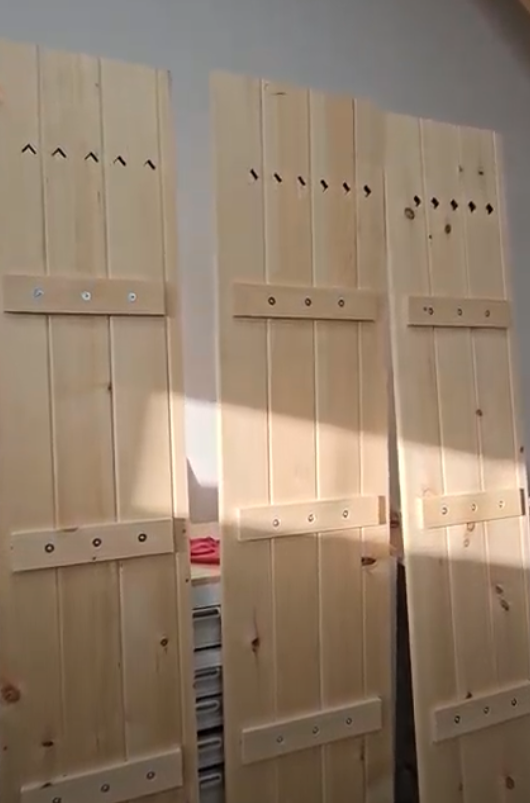
The doors were made using V-jointed pine T&G flooring. I loved the way this looked on my custom laundry vanity so I decided to use the look again. The boards are glued ahead of time then cut to size.
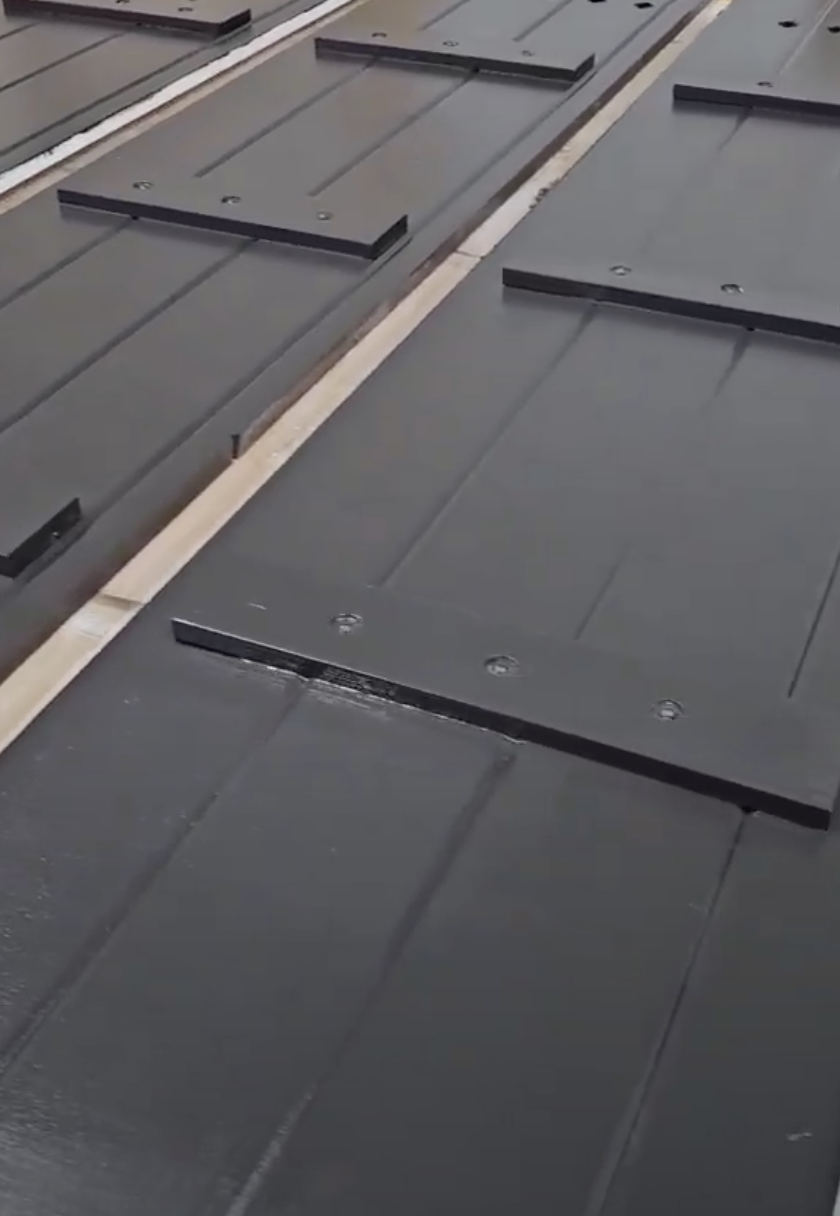
How Do I Keep My Doors From Warping Over time?
It’s a good question because It CAN happen!
To avoid this, I added 3 1/2” cross braces that were secured across the back of each door using a forstner bit to add a small hole, then secured to the door with washers and screws inside the hole.
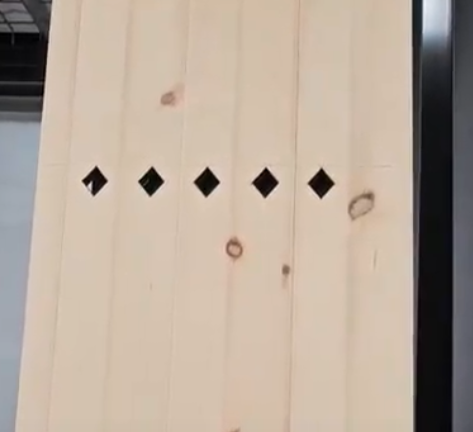
How I Added Whimsy To My Cabinets!
Before I added the back braces, I used a laser cutter to add a diamond pattern across each door. This gave the cabinets a signature look, added texture, and broke up the large surface area in a really striking way.


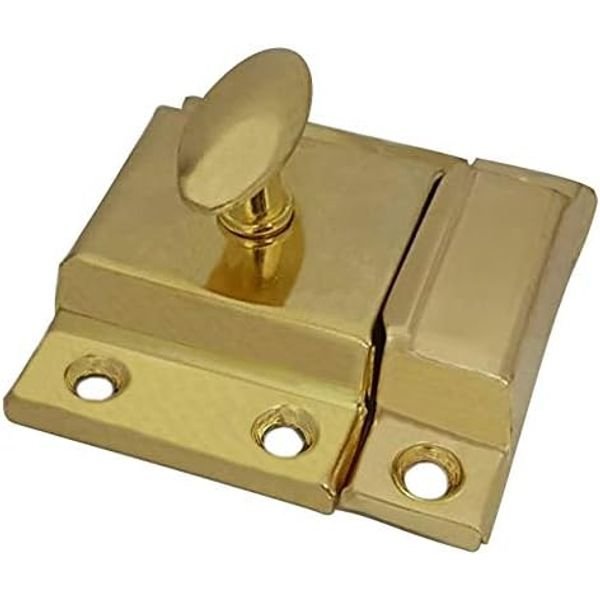
Hardware Prep: HOW TO MAKE YOUR MODERN HARDWARE LOOK ANTIQUE
If you want any modern Hardware to look old and antiqued - use rub n’ buff in combination with black spray paint. Cover the hardware with black spray paint to give it a dark base. Once dry, apply the wax rub n buff on top as needed. Layer different colours - my favourite is European gold!
Rub n Buff
Rub n’ Buff is a wax-based metallic finish that you can apply to almost any surface to give it the look of metal - think antique gold, brass, bronze, silver, etc. We used it to make the hardware an antique look!
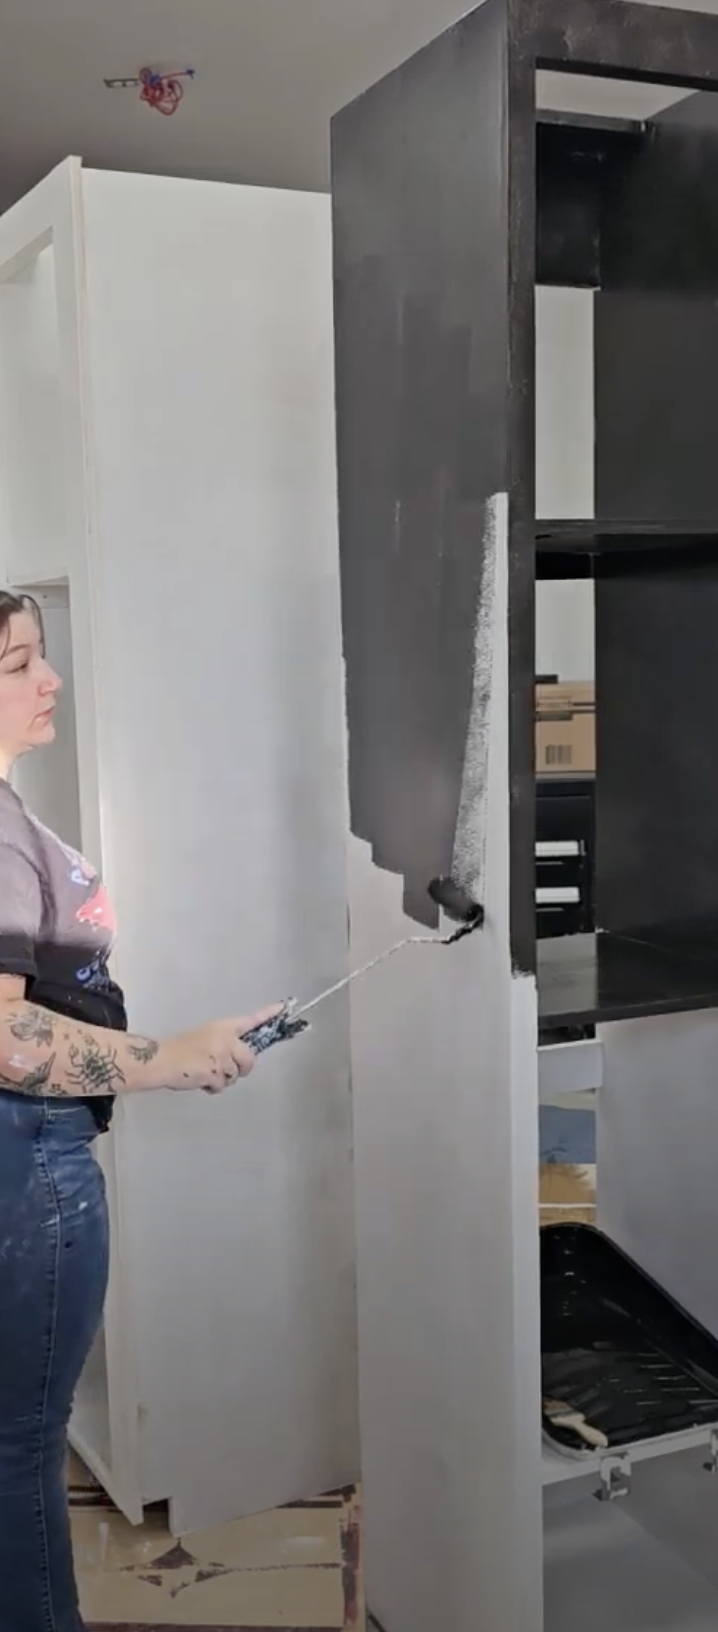
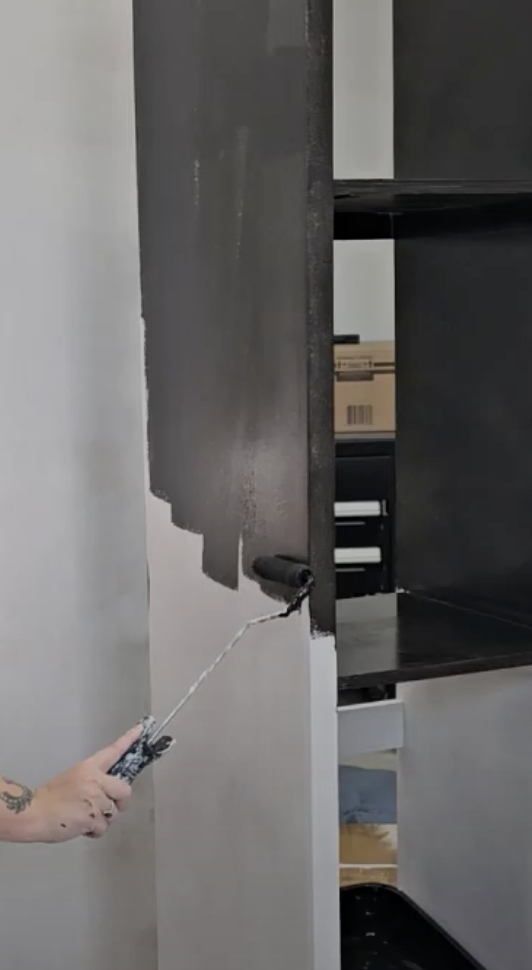
Priming & Painting the Cabinets
Painting day! Primer went onto both the cabinet boxes and the doors. Once primed, everything was painted in a deep black called: BLACKOUT by Behr. We used a cabinet paint for a durable, easy to clean finish.
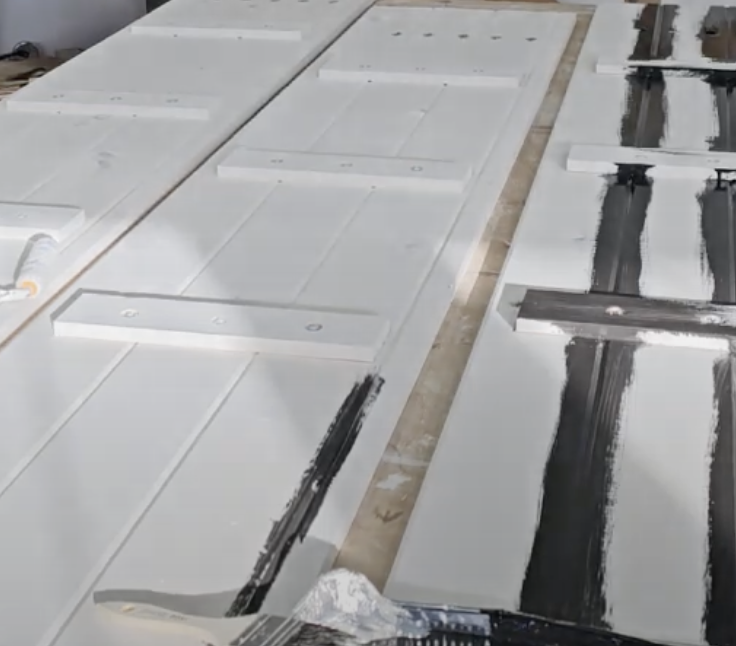
Painting Breakdown:
Prime cabinet boxes
Prime doors (fronts + backs)
Sand lightly between coats
Apply multiple coats of dark topcoat until fully saturated
Installation
Installing Hinges
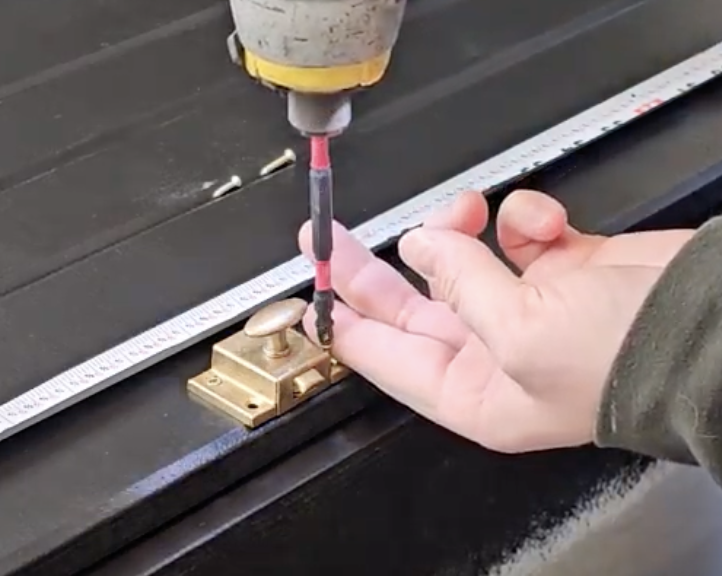
With the doors face-down on the floor, I marked hinge locations, pre-drilled tiny pilot holes, and attached the hardware. Then the doors were mounted to the boxes and adjusted until the gaps were perfect. For a door handle, I used an cabinet latch to add an old cottage-core feel.
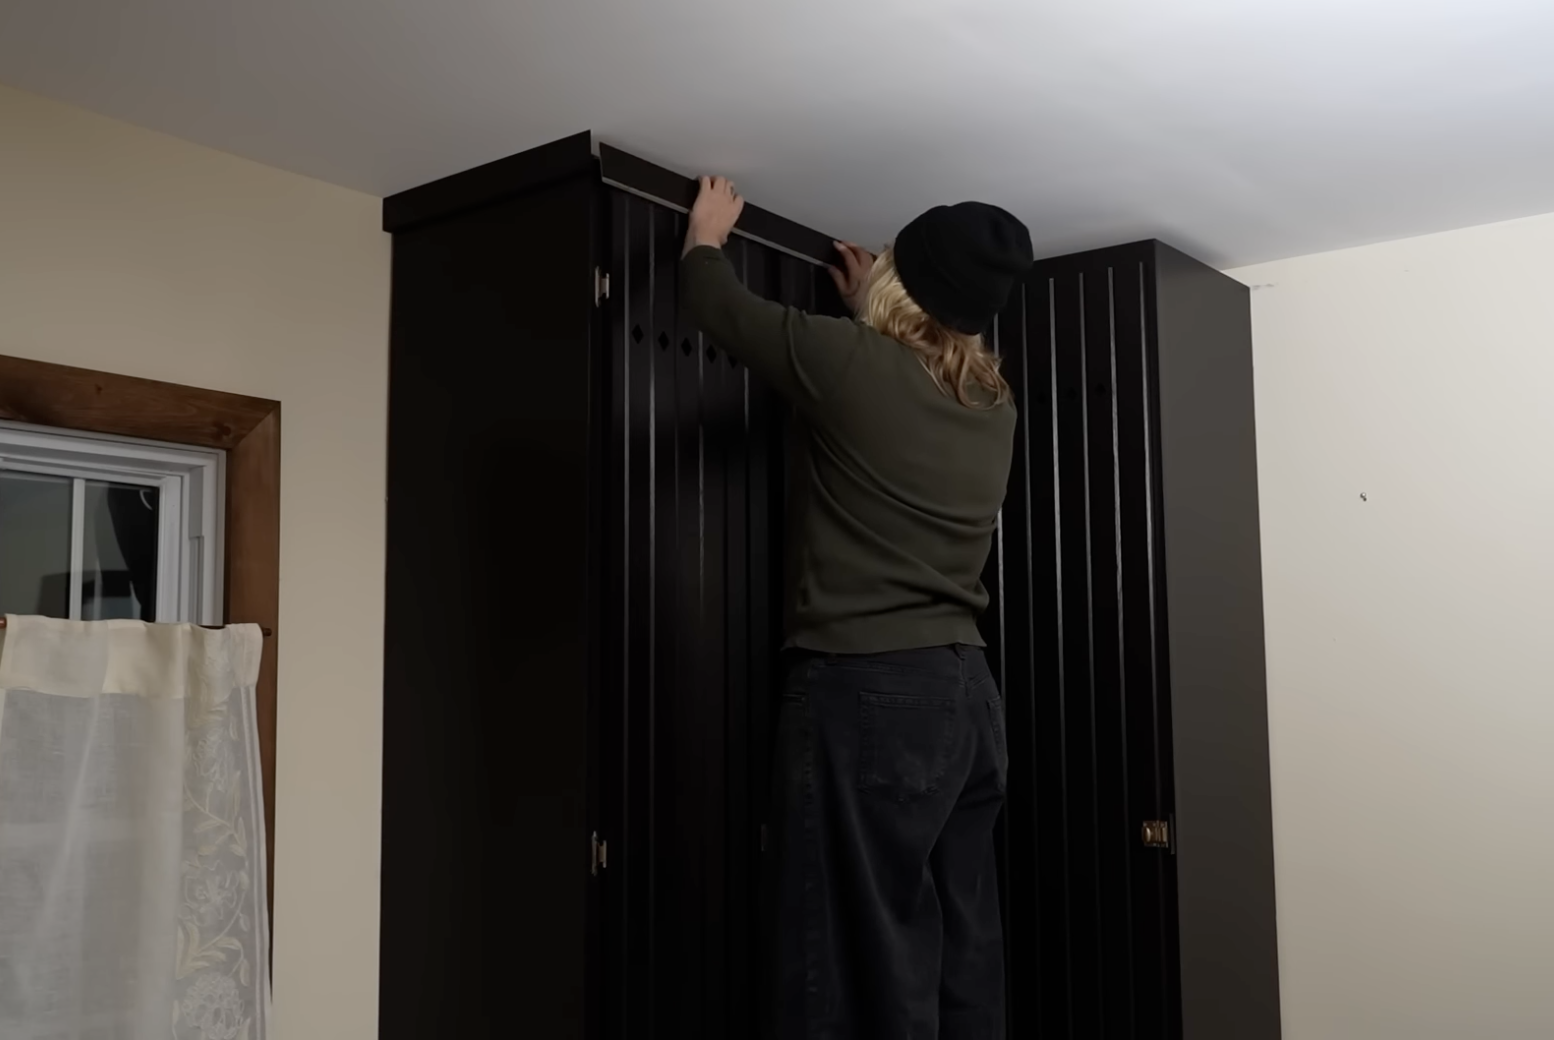
Securing Cabinets to the Wall
Once the three cabinets were aligned and leveled, I anchored them to the wall (in studs) so they operate like one continuous system. This step is crucial for safety, especially with tall cabinetry.
Top Apron Trim
An apron was added along the top to hide gaps and give the built-ins that finished, intentional look!
Final Details
A few additional touches really made this scullery corner shine:
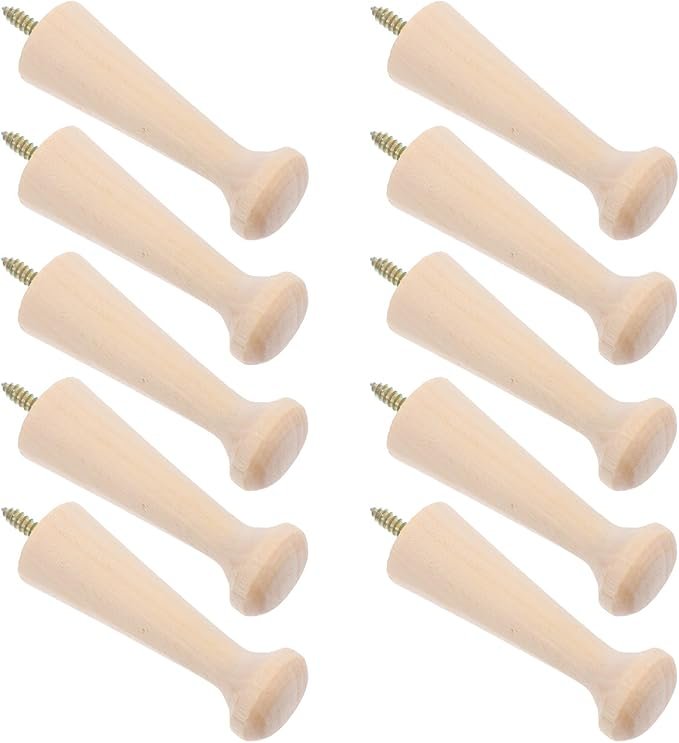
A simple wooden peg rack was installed for quick-grab items — sweaters, aprons, reusable bags, you name it.

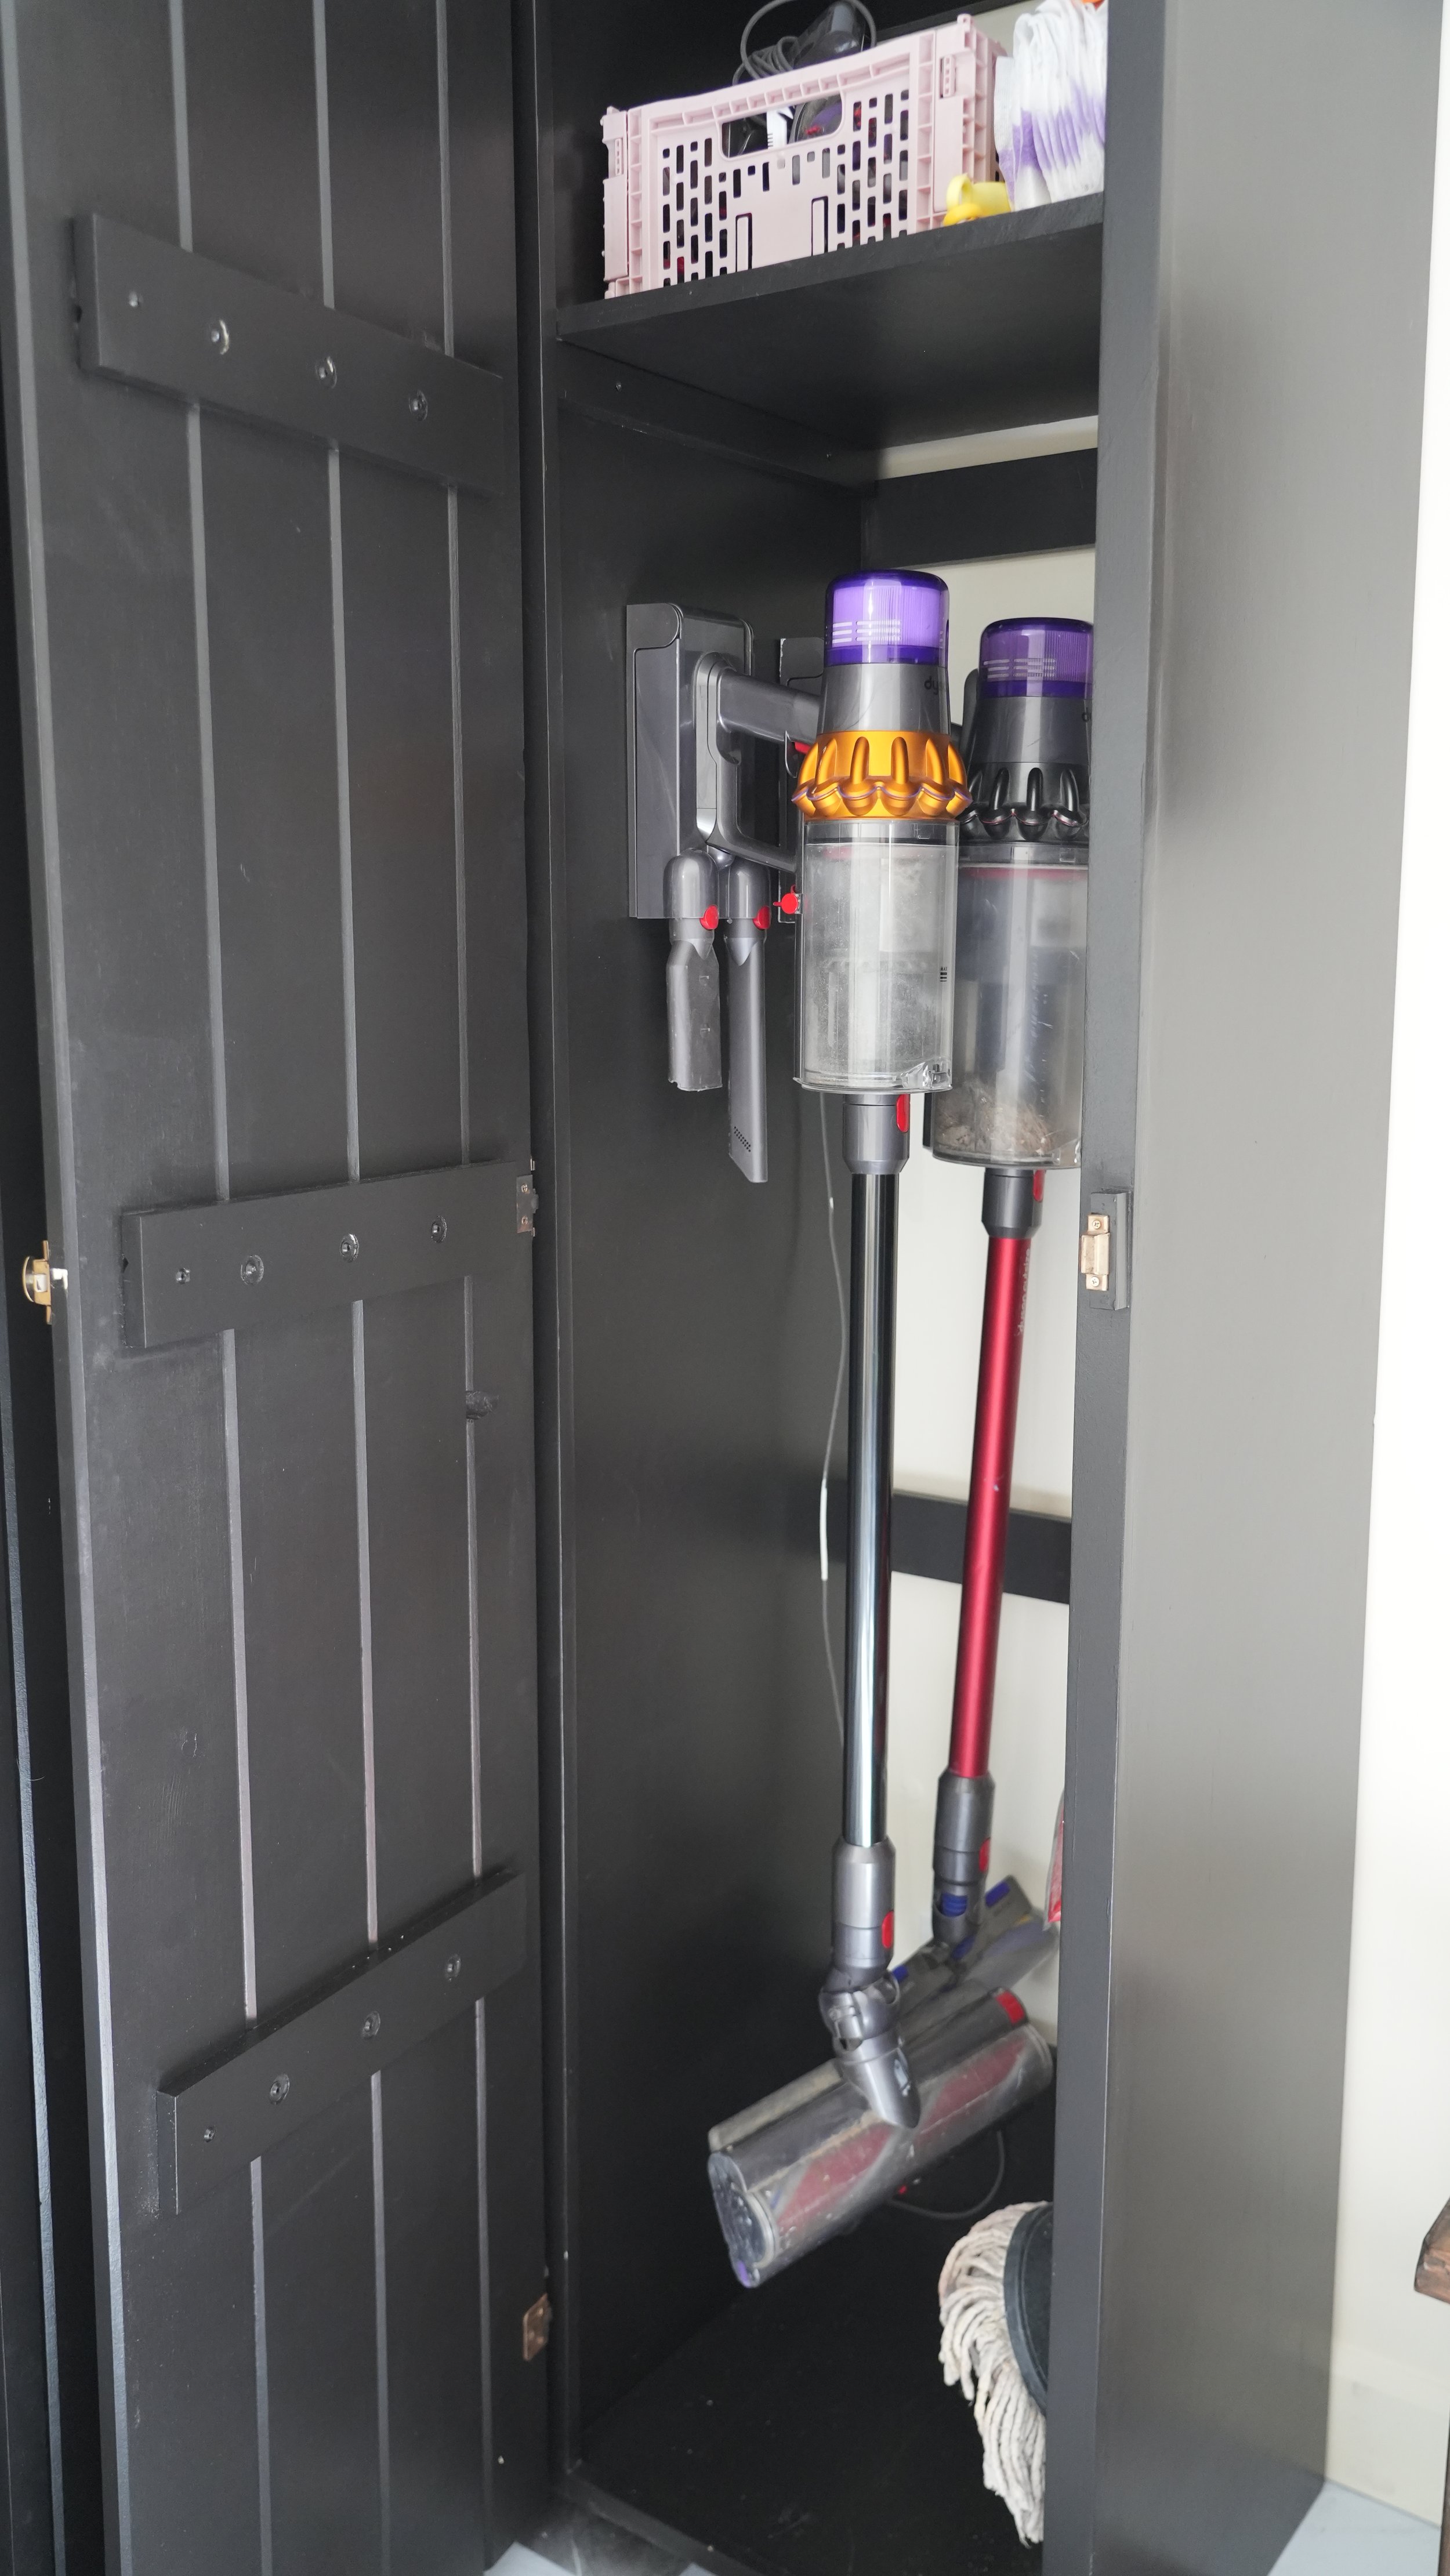
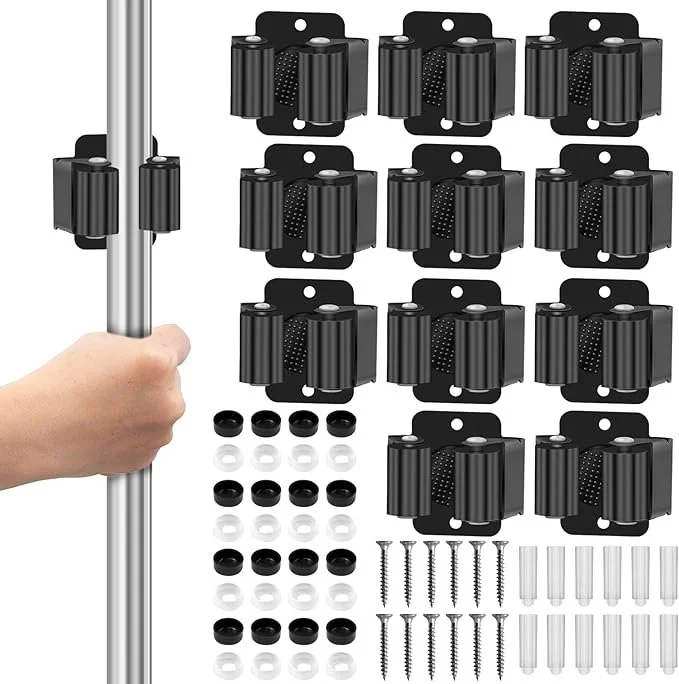
Inside one cabinet, I installed specialized hangers to store mops, brooms, and cleaning tools neatly out of sight.
Thanks to the existing wall outlet in this corner, I mounted the vacuum chargers inside one cabinet so the machines can stay hidden and charged at the same time.
Final Organization
Cabinet 1 was filled with home and utility items.
Cabinet 2 became the fermenting + canning zone (a rapidly expanding hobby).
Cabinet 3 was filled with vacuum and vacuum accessories.
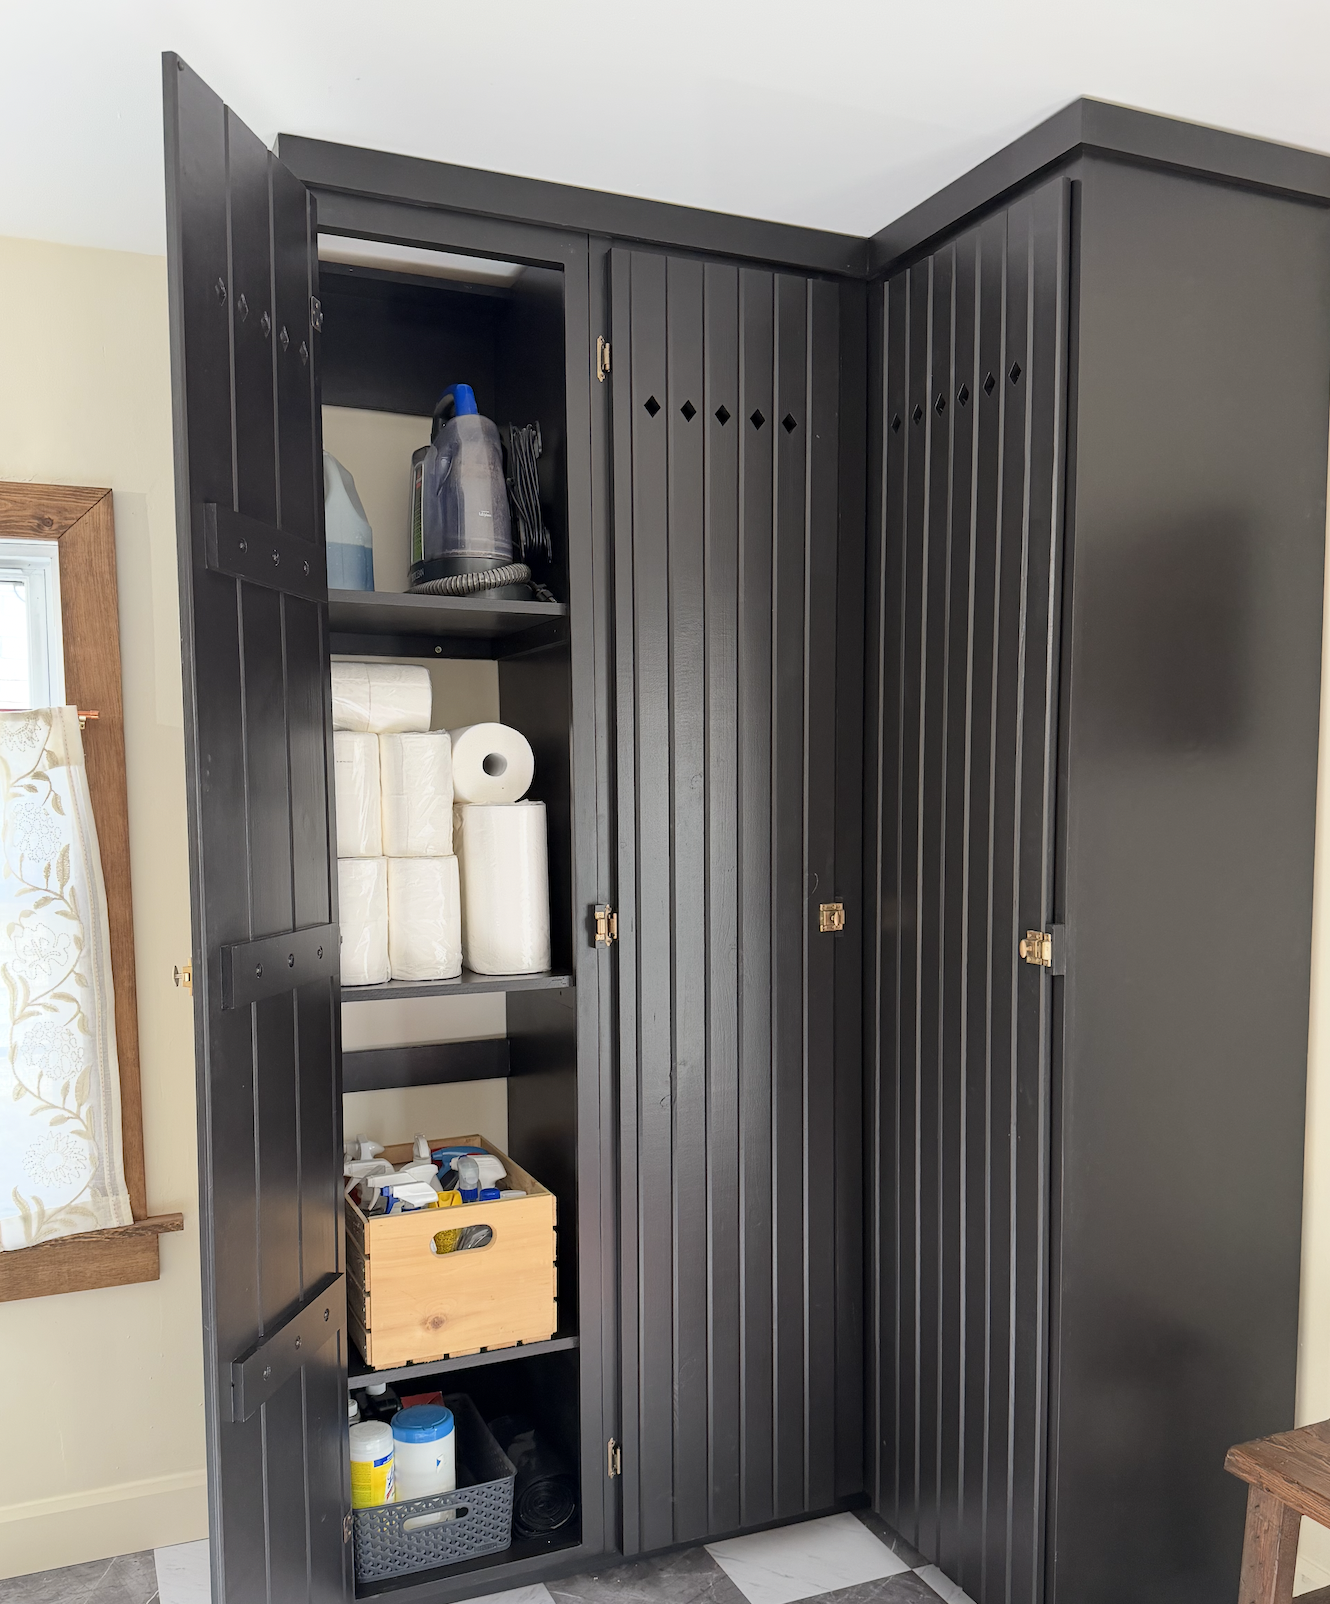
Before & After: A Fully Customized, Fully Functional Storage Zone!
This project took multiple days, dozens of cuts, plenty of plywood, and more hinges than expected - but seeing the before and after makes every step worth it. The scullery finally has a built-in storage solution that fits the space and actually works the way our household needs it to.