Vintage Oak Desk Becomes DREAM Kitchen Island
Today we’re diving into one of my favourite upcycles to ever come out of my workshop: transforming an antique second-hand table into a fully custom kitchen island. If you’ve been dreaming of adding more prep space, storage, or a piece of furniture that looks high-end without the price tag, this project is for you.
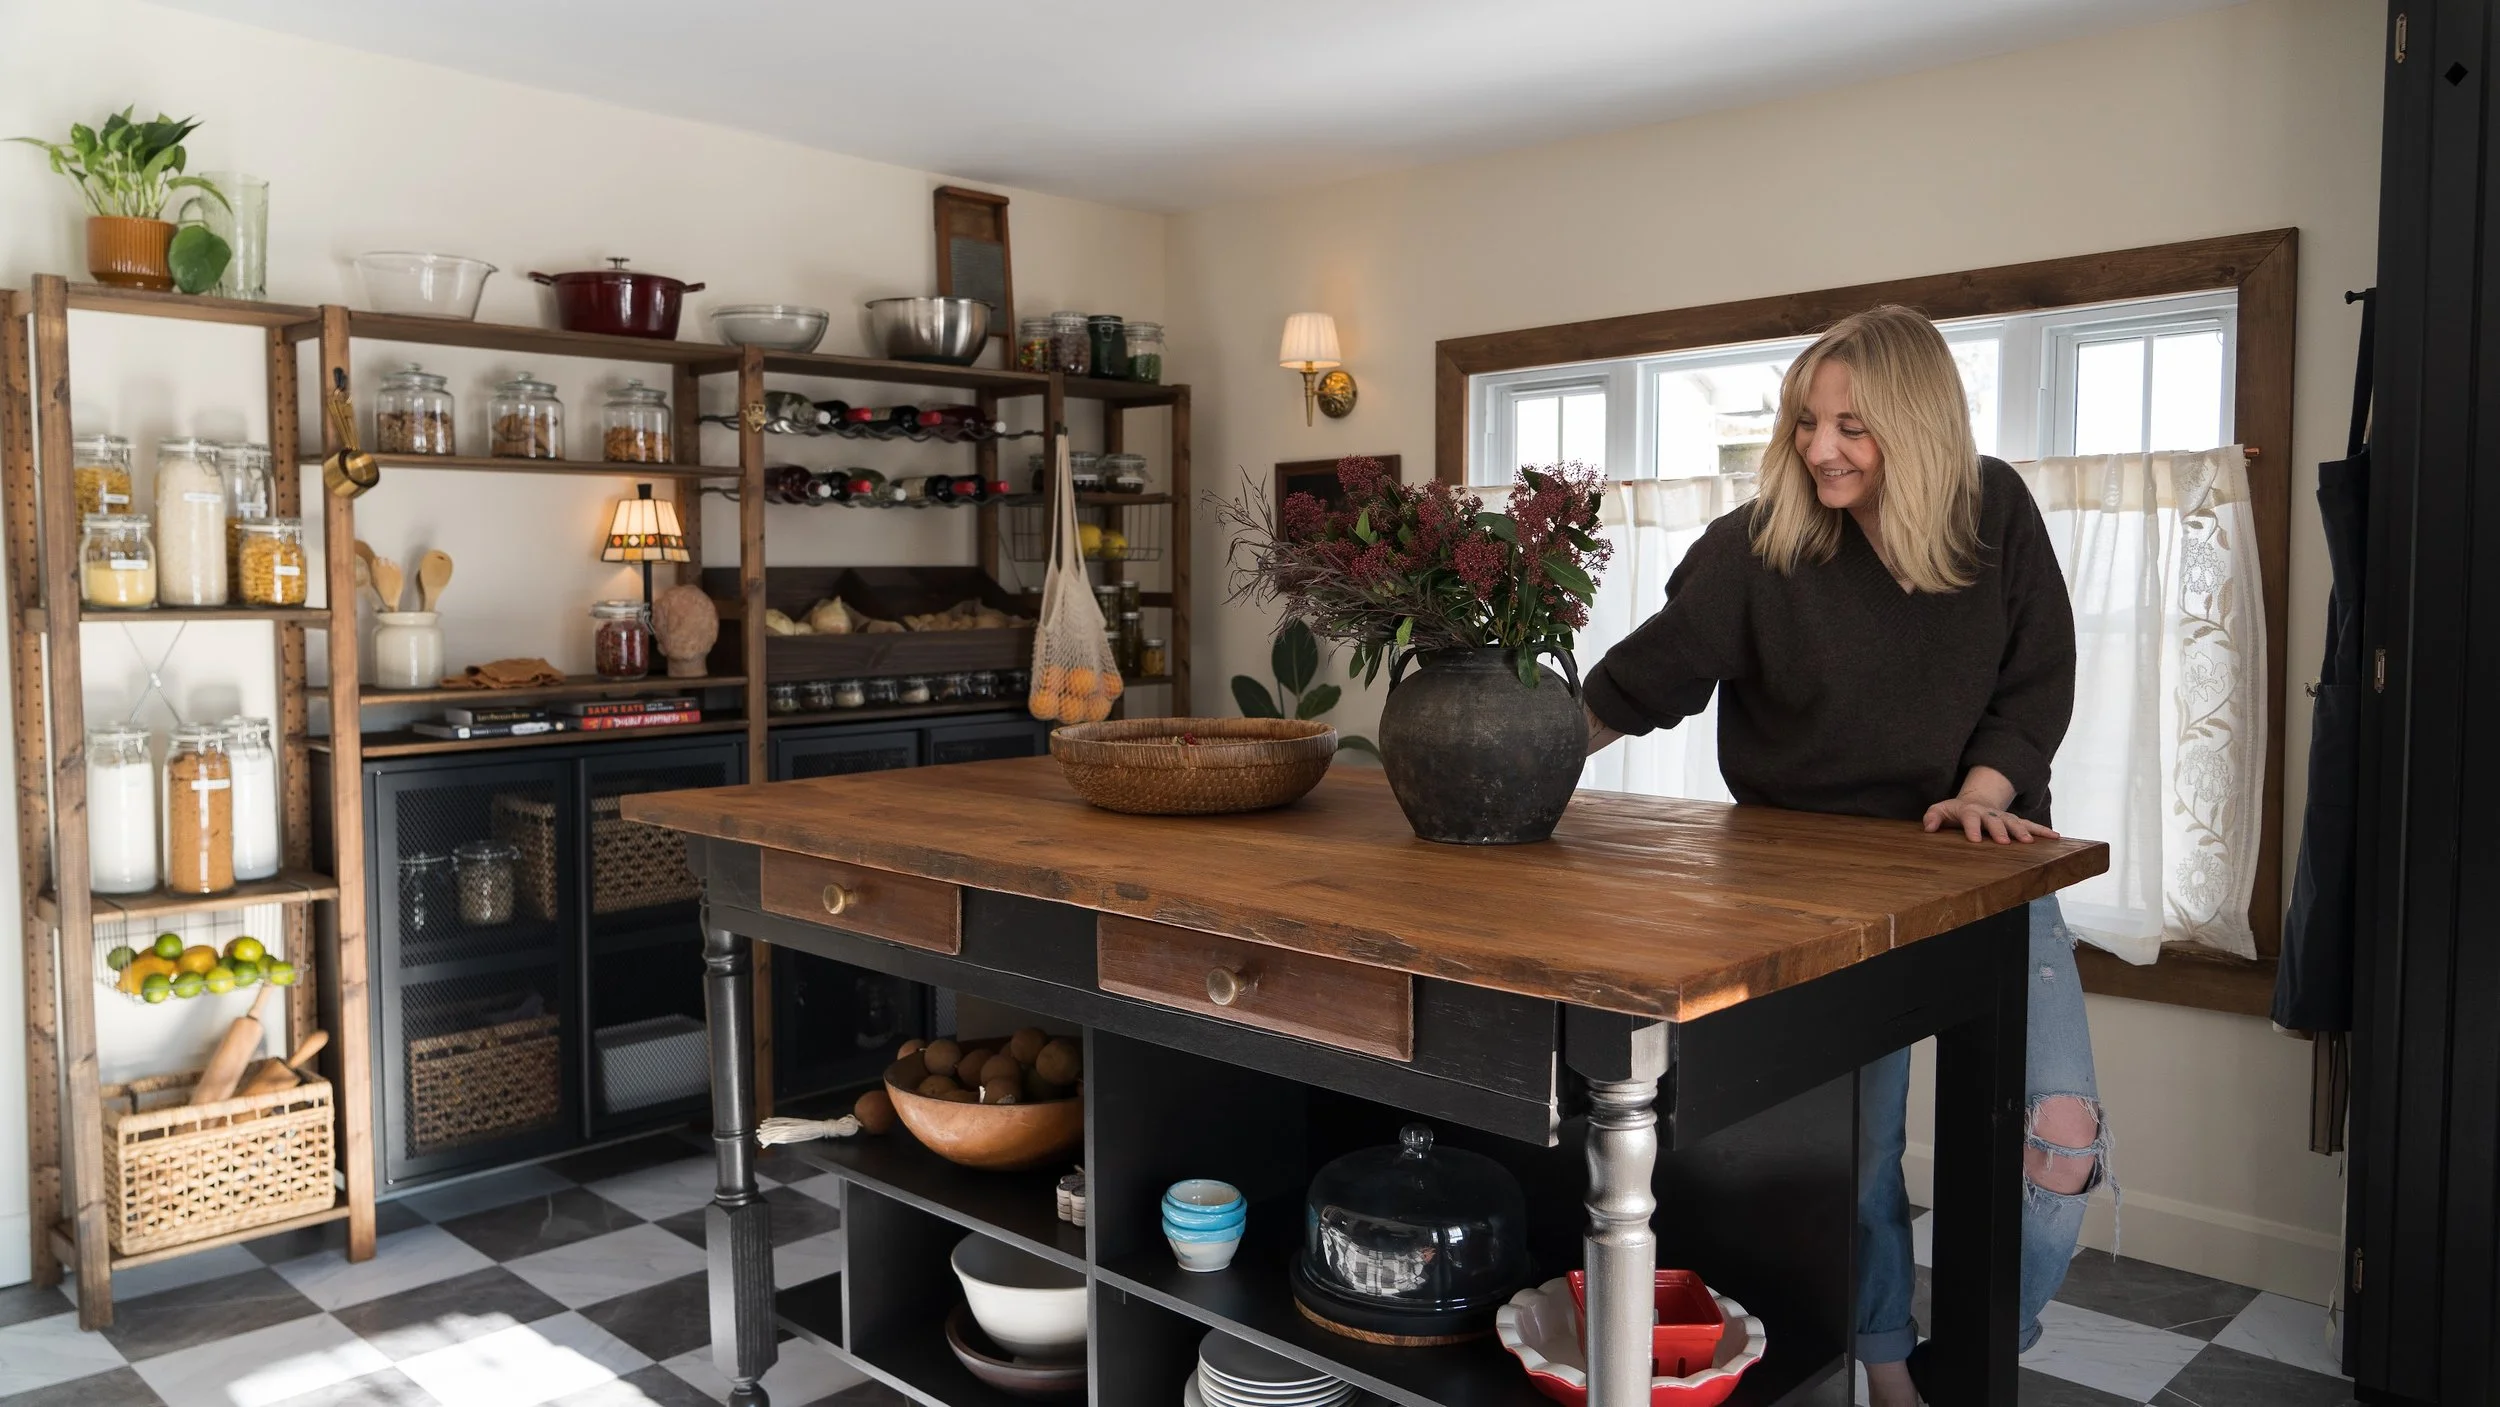
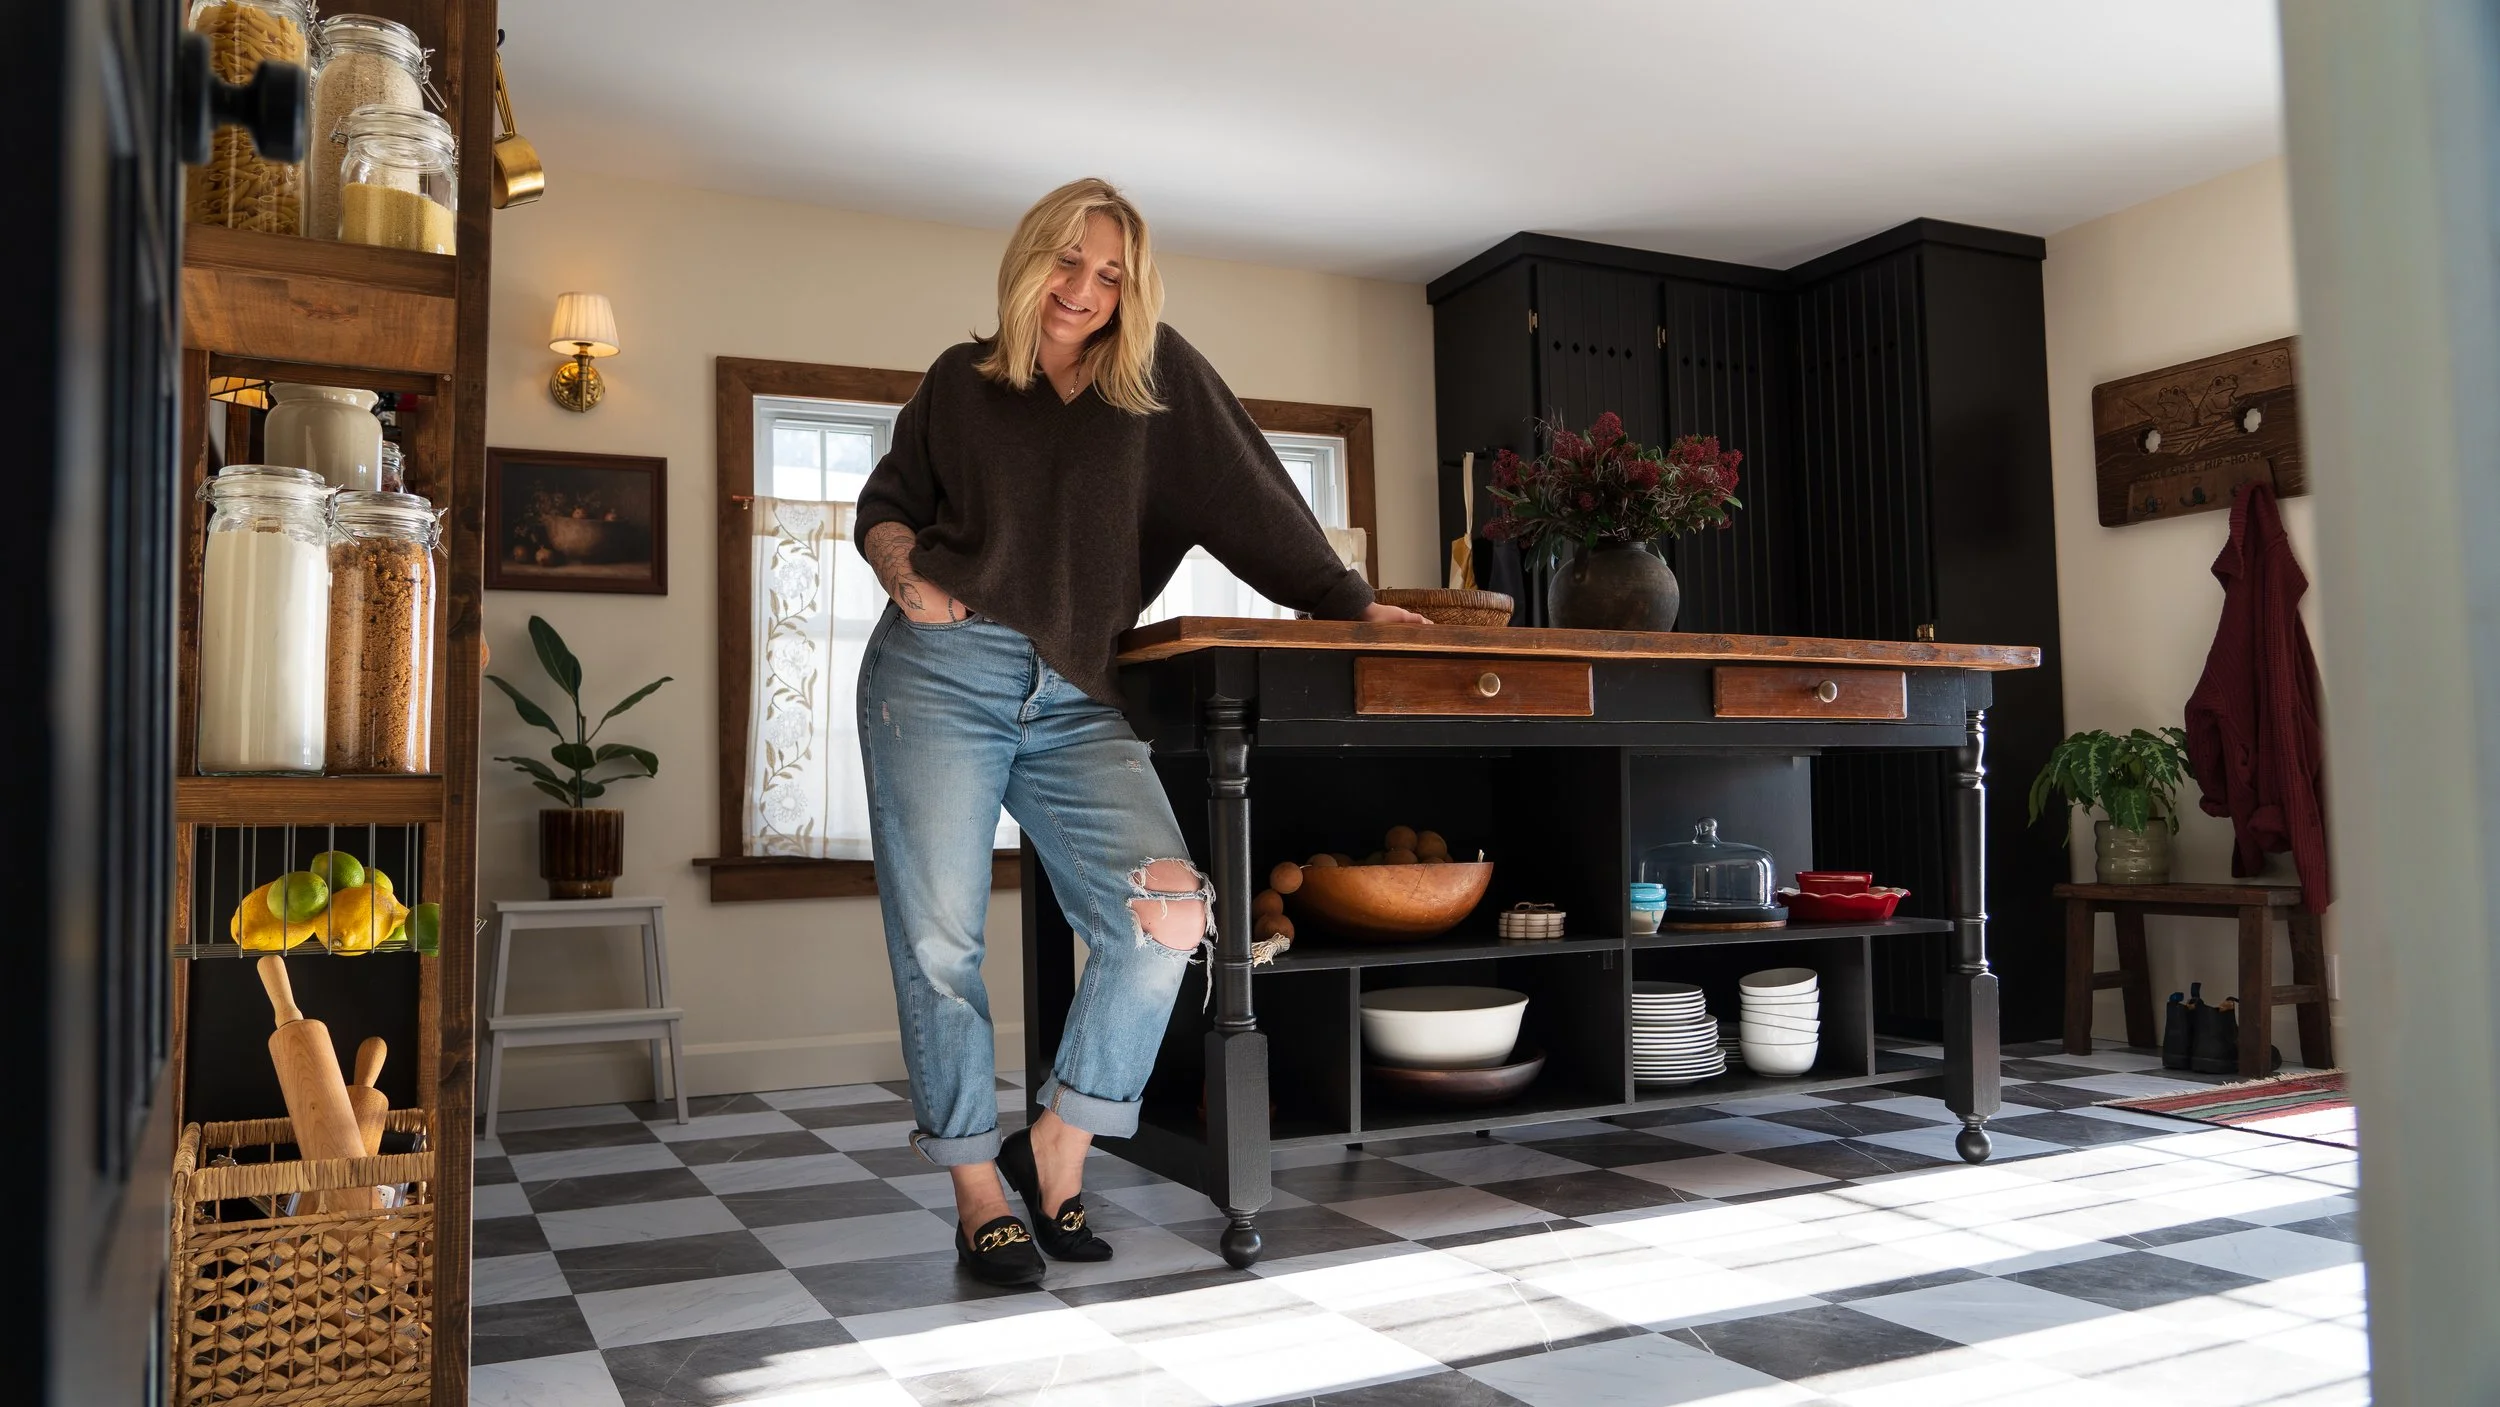
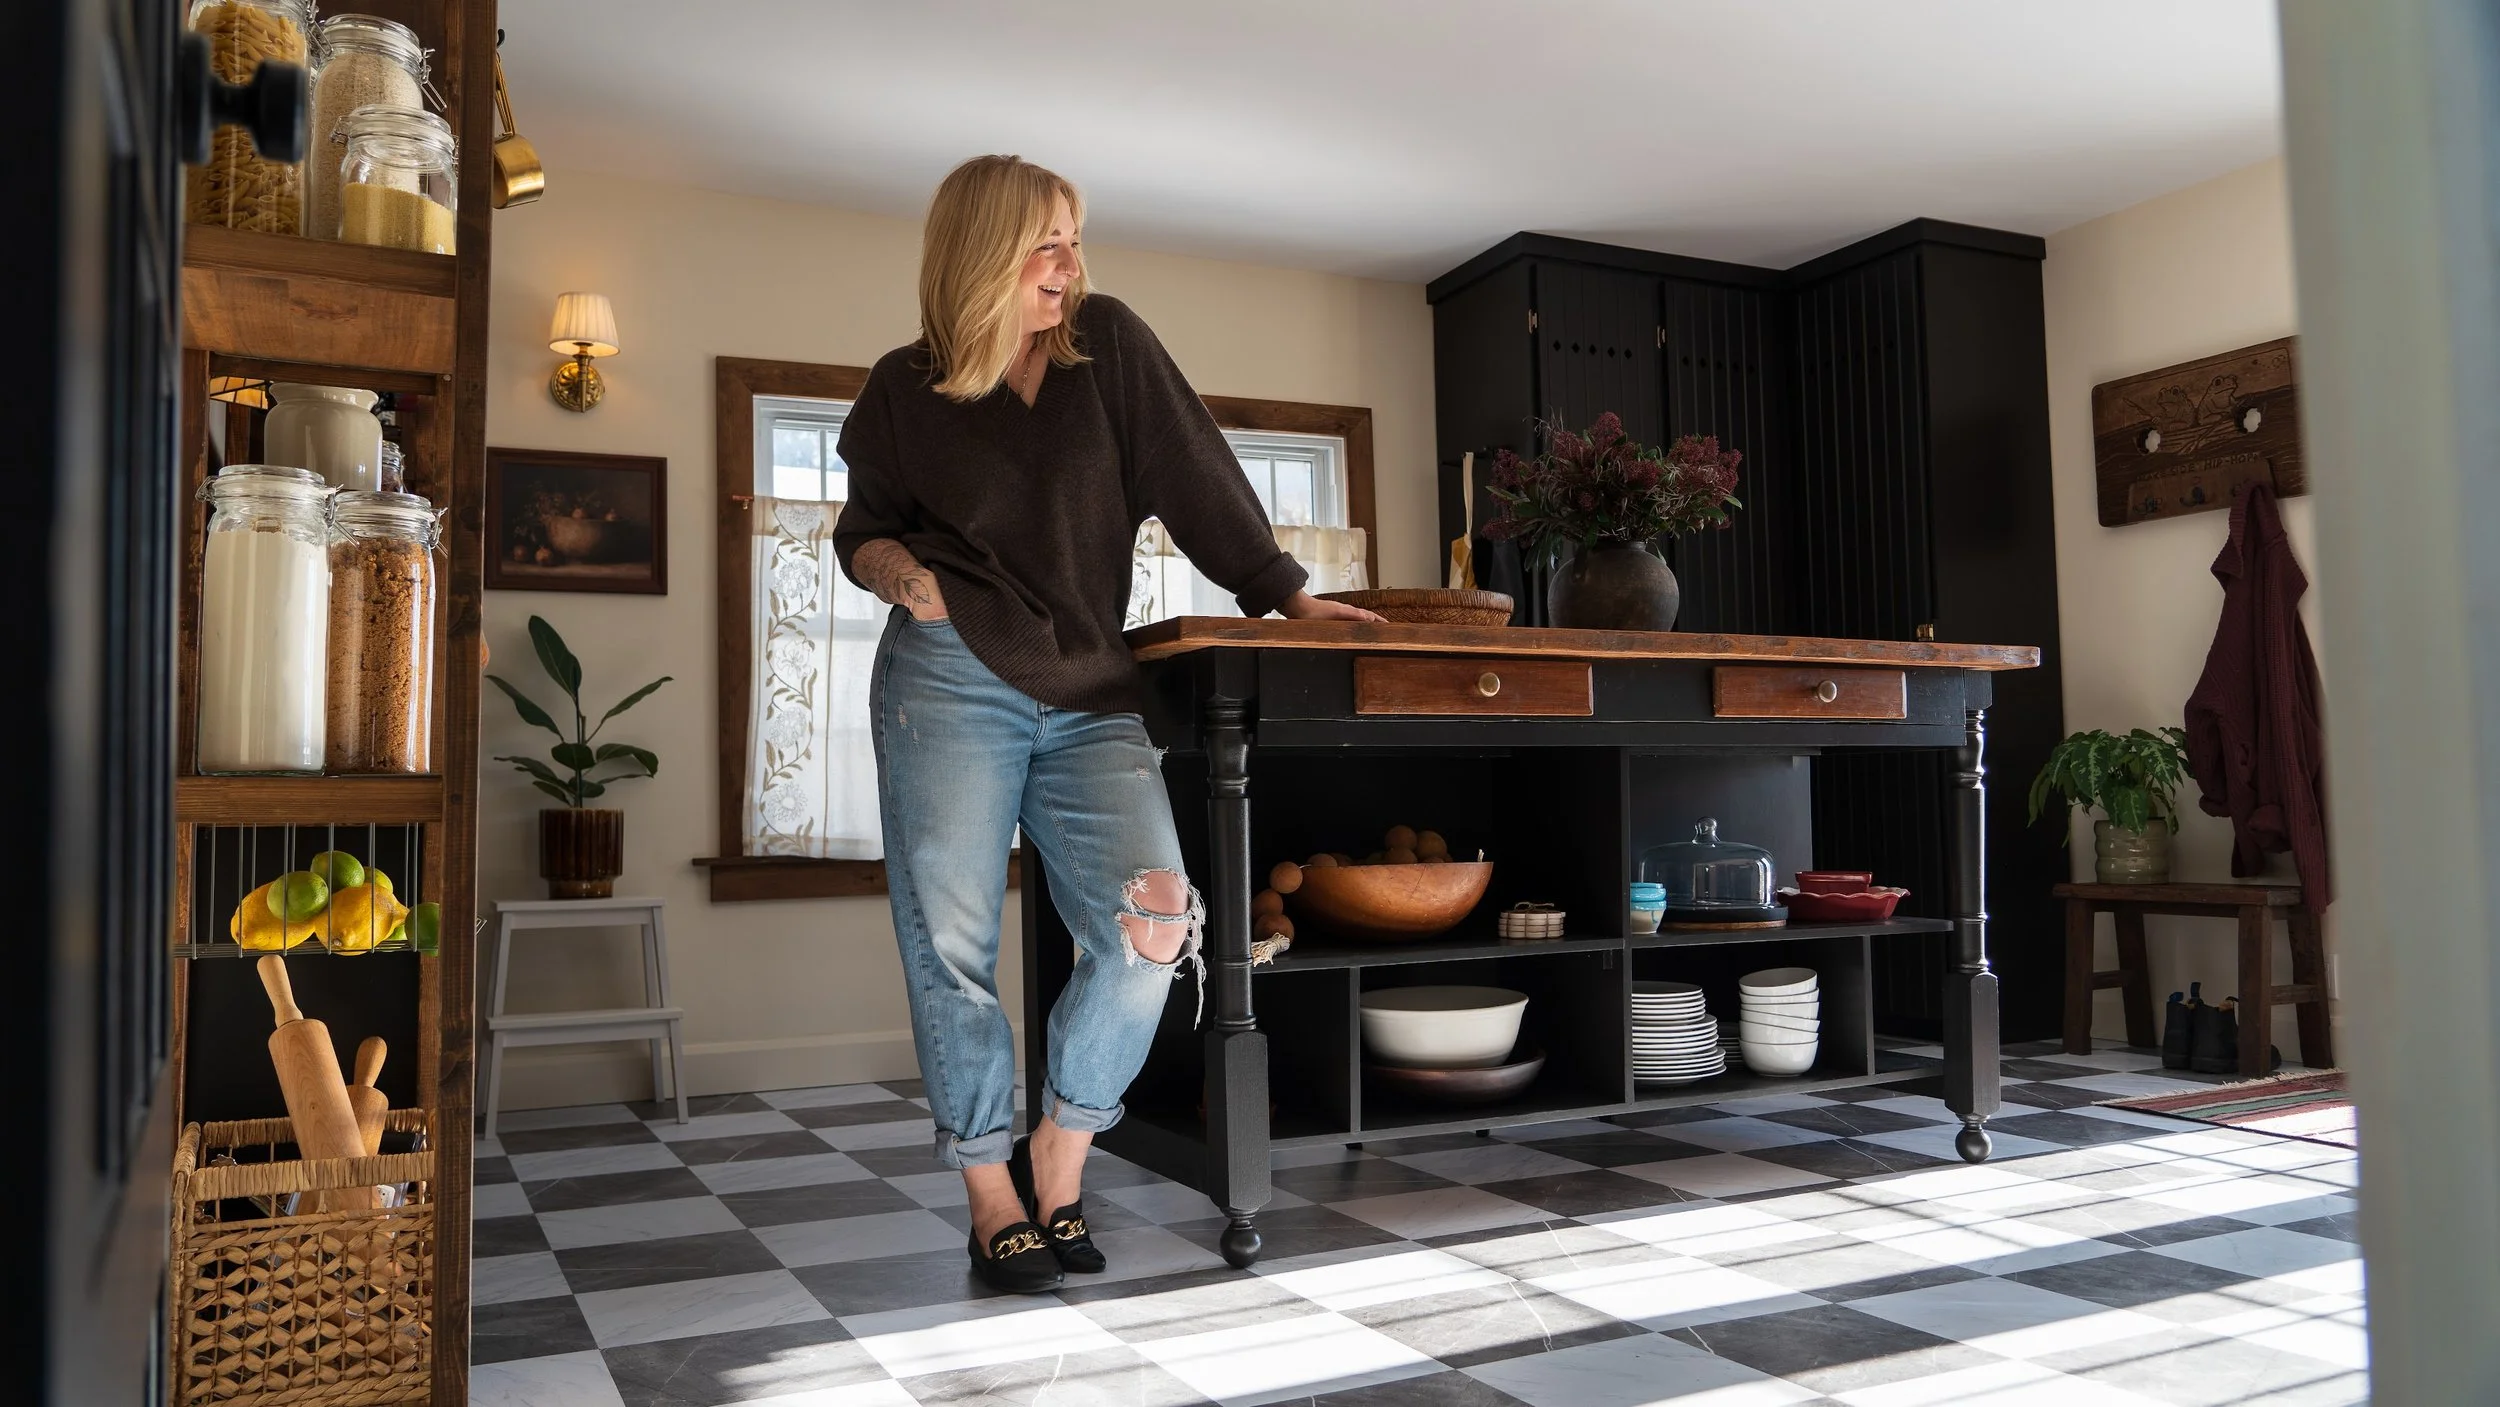
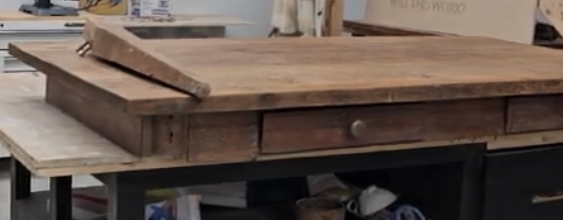
I found an old desk on Facebook Marketplace and knew it had so much DIY potential. I NEEDED to put it in my scullery (laundry/pantry room combo). But this thrift flip would be perfect in almost any room, especially in a kitchen!
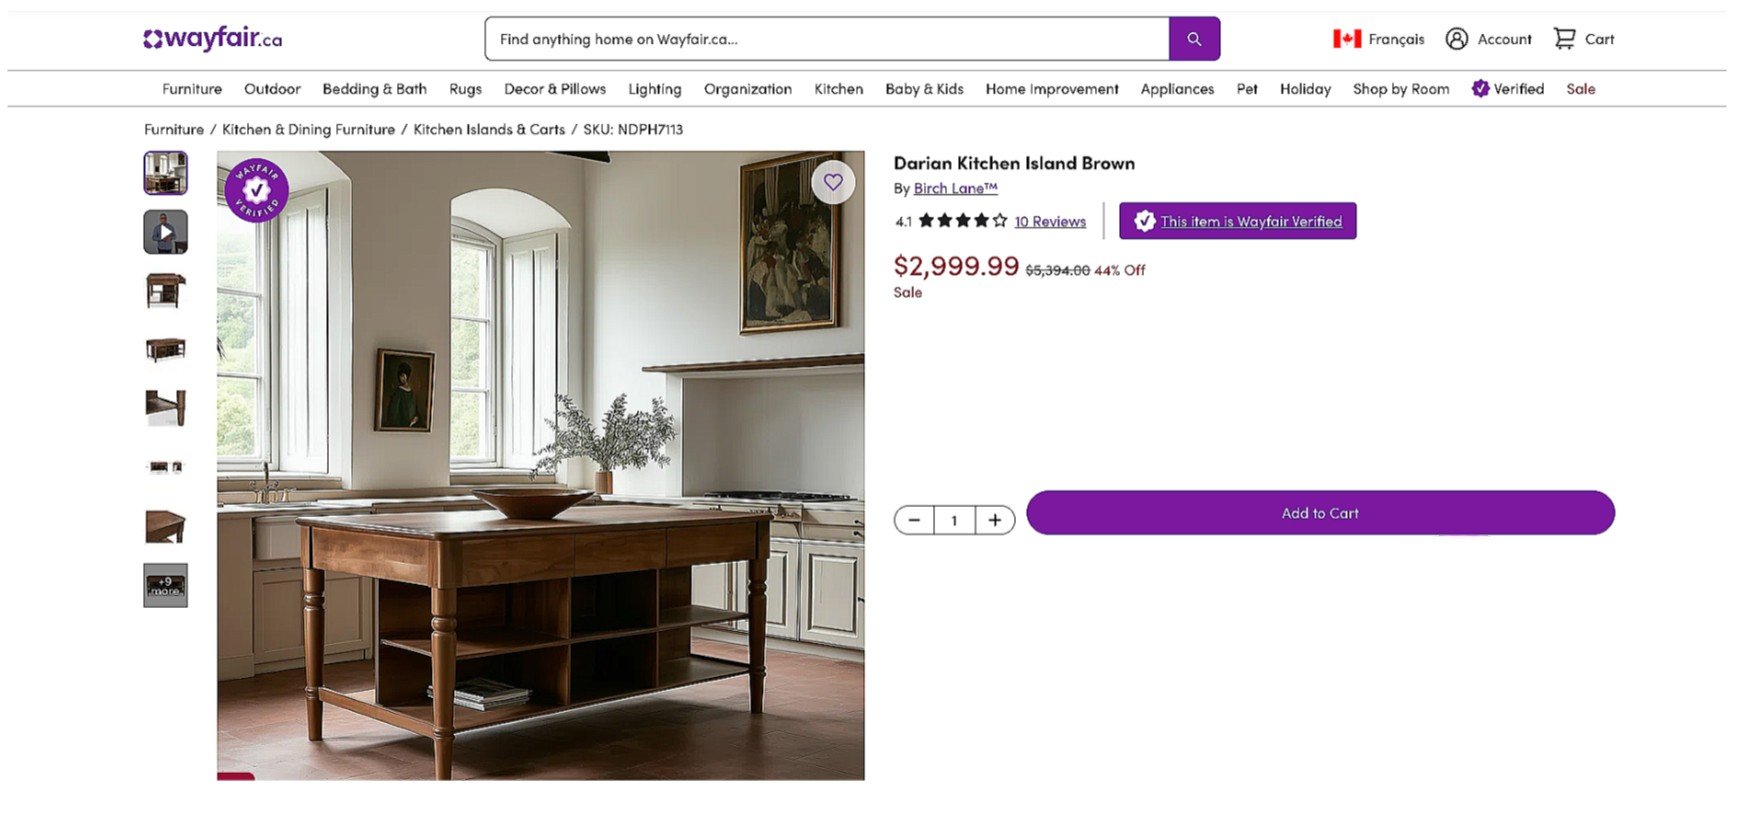
Thrifted tables are usually solid wood, budget-friendly, and filled with potential. I found mine on Facebook Marketplace for a steal and immediately knew it could rival the $2,600 inspiration island from Wayfair. Instead of spending thousands, I built my own version with character, storage, and custom detailing.
WATCH THE EPISODE 👇
THE INSPO 👇
Materials I Used:
A solid wood table (FB Marketplace)
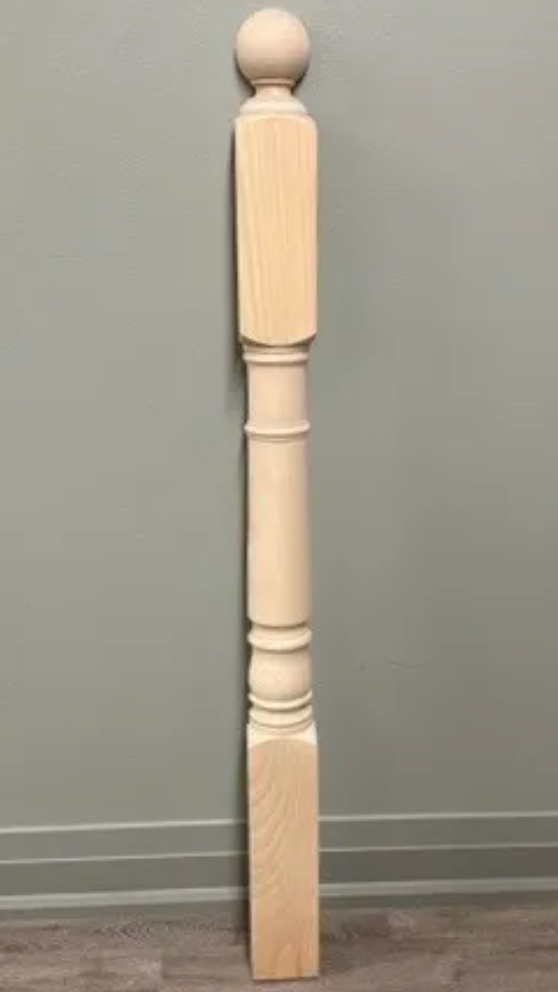
Two newel posts (banisters) + one 4×4 to create four matched legs (i used original table leg hardware)
Screws
Pocket hole jig + Pocket Hole Screws
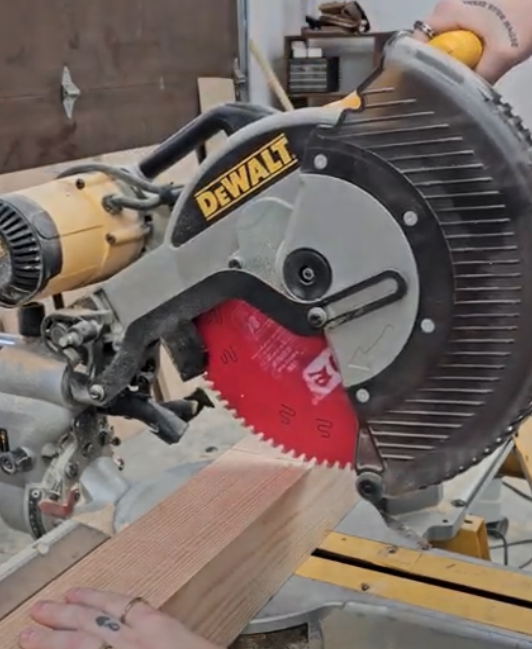
Chop Saw
Chisels
3/4” Plywood for the base shelf
Drill
Brad Nailer + Nails
Hole Saw
Jigsaw
Primer + Cabinet Paint
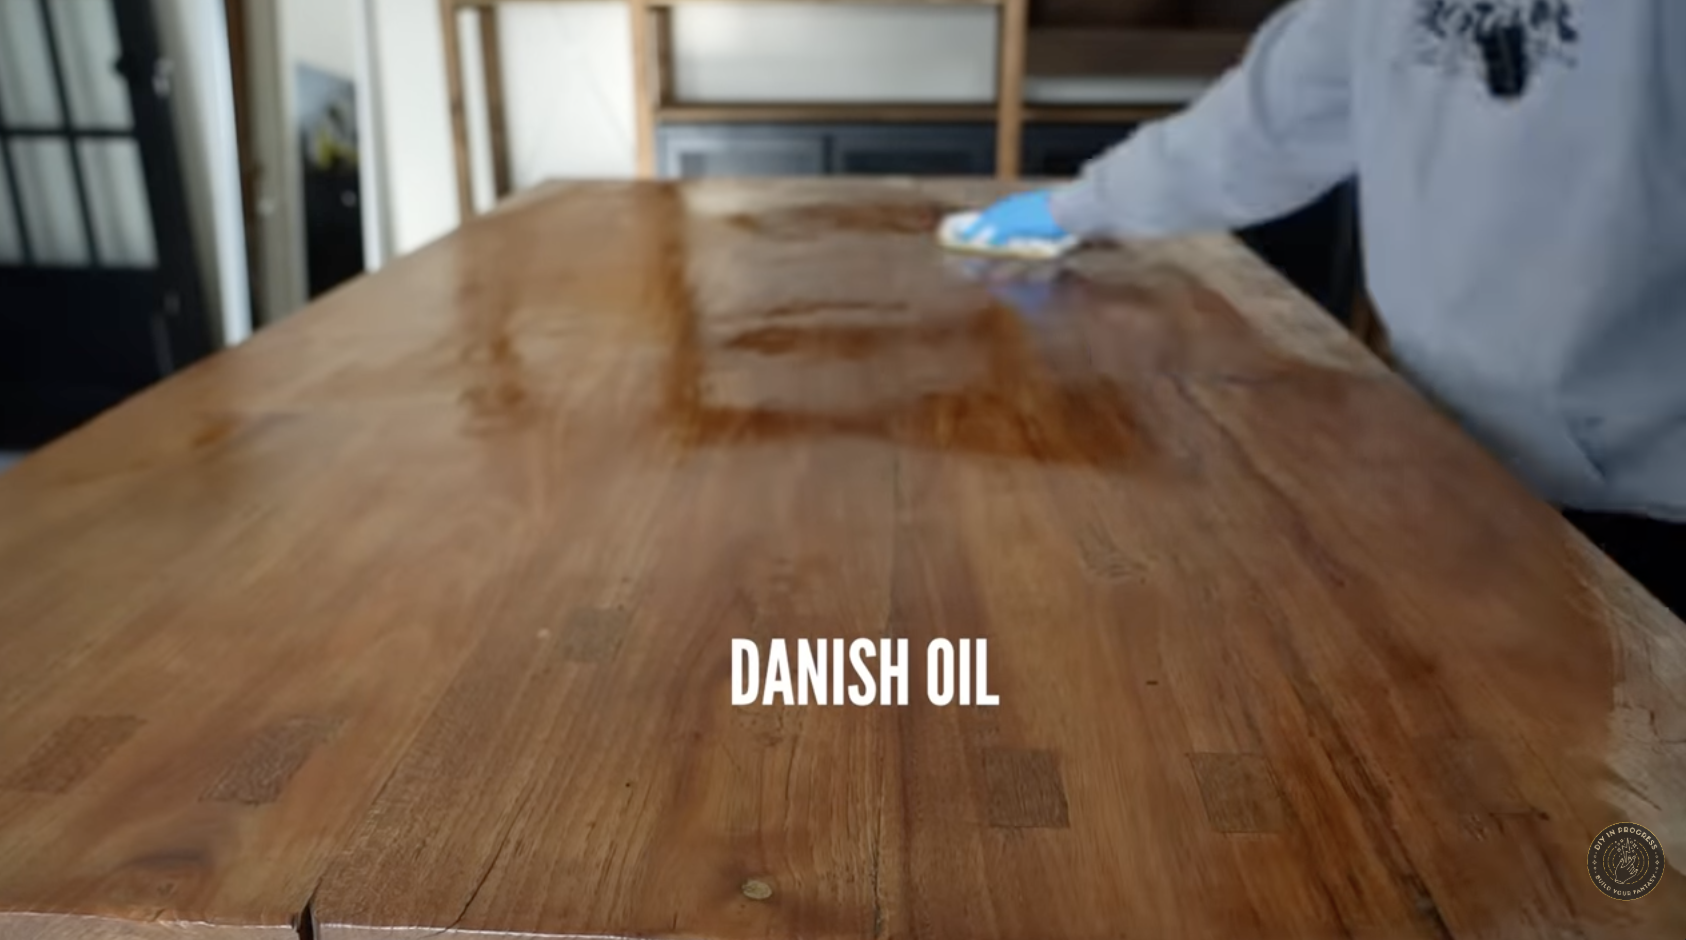
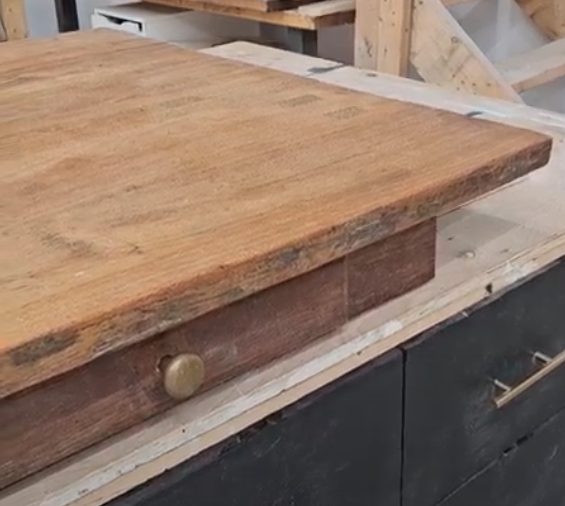
Danish oil (for refinishing the oak tabletop)
Step 1: My new table legs were a step in the right direction (+ Budget)!
When I first purchased the desk, the table legs were too short and tapered (not a good fit for a kitchen island). I loved the ornate legs on my inspiration photo, but the price to buy new ornate table legs was WAYYY out of my DIY budget. I decided to get crafty and hacked two ornate oak newels (aka stair banisters) that were only $50 dollars each, that had a similiar look.
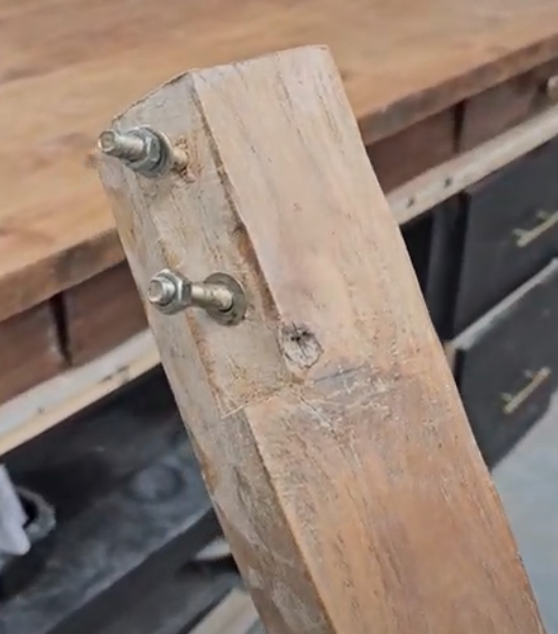
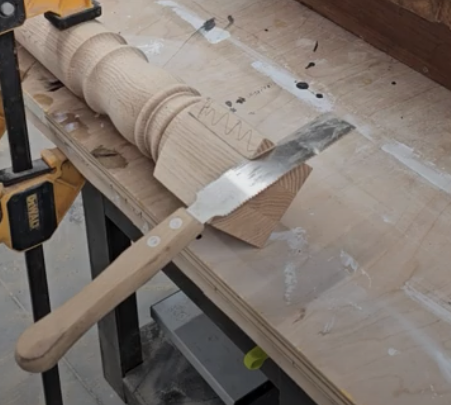
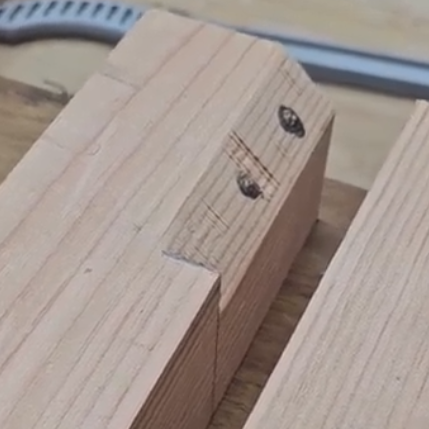
Of course, my local mill only had three posts (not four), so I opted to go with two decorative legs in the front and use two 4x4 square posts as the legs in the back. I cut and planed the 4x4 legs down to 3x3 (to match the newels) and chiseled/sawed out spots for the original hardware to fit into (mirroring the look of the original table legs).

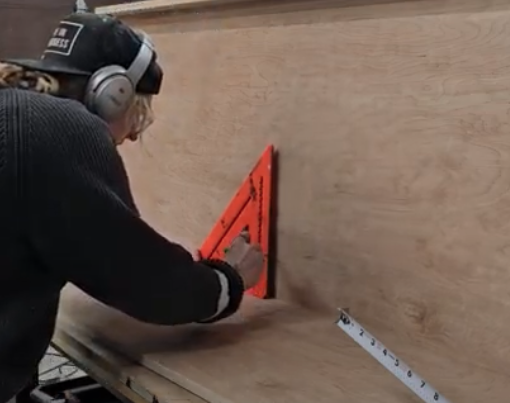
Step 2: Install Cross Braces
To make sure the island was square and didn’t wobble:
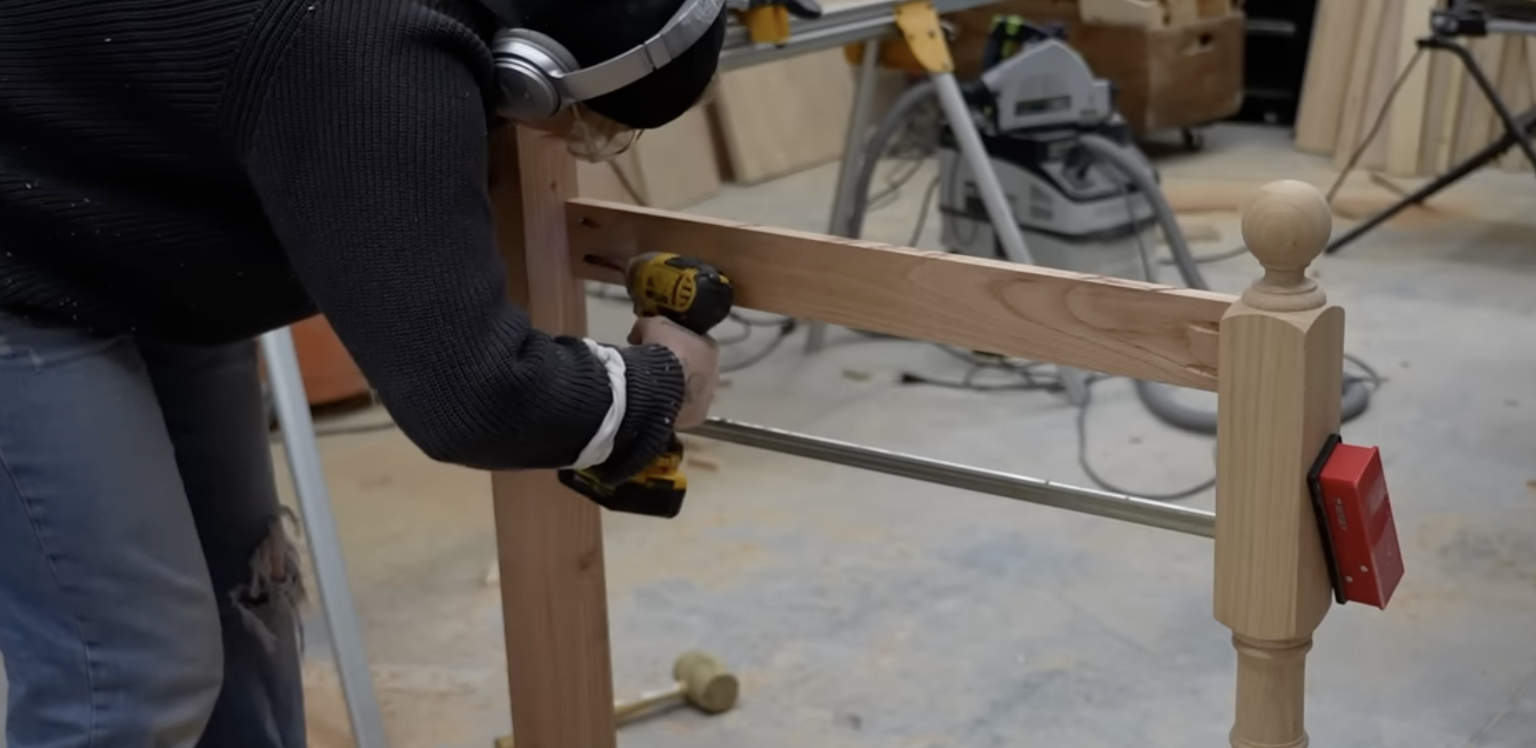
I cut two wood pieces (aka stretchers) that fit between each leg on both sides
Drilled pocket holes on both ends of the stretchers
Attached everything square with pocket hole screws
Checked level repeatedly
Added a cross brace in the back for stability until the main structure could be attached
This is the part where you want to take your time, getting the frame right ensures your table is square and makes the island feel like quality furniture.
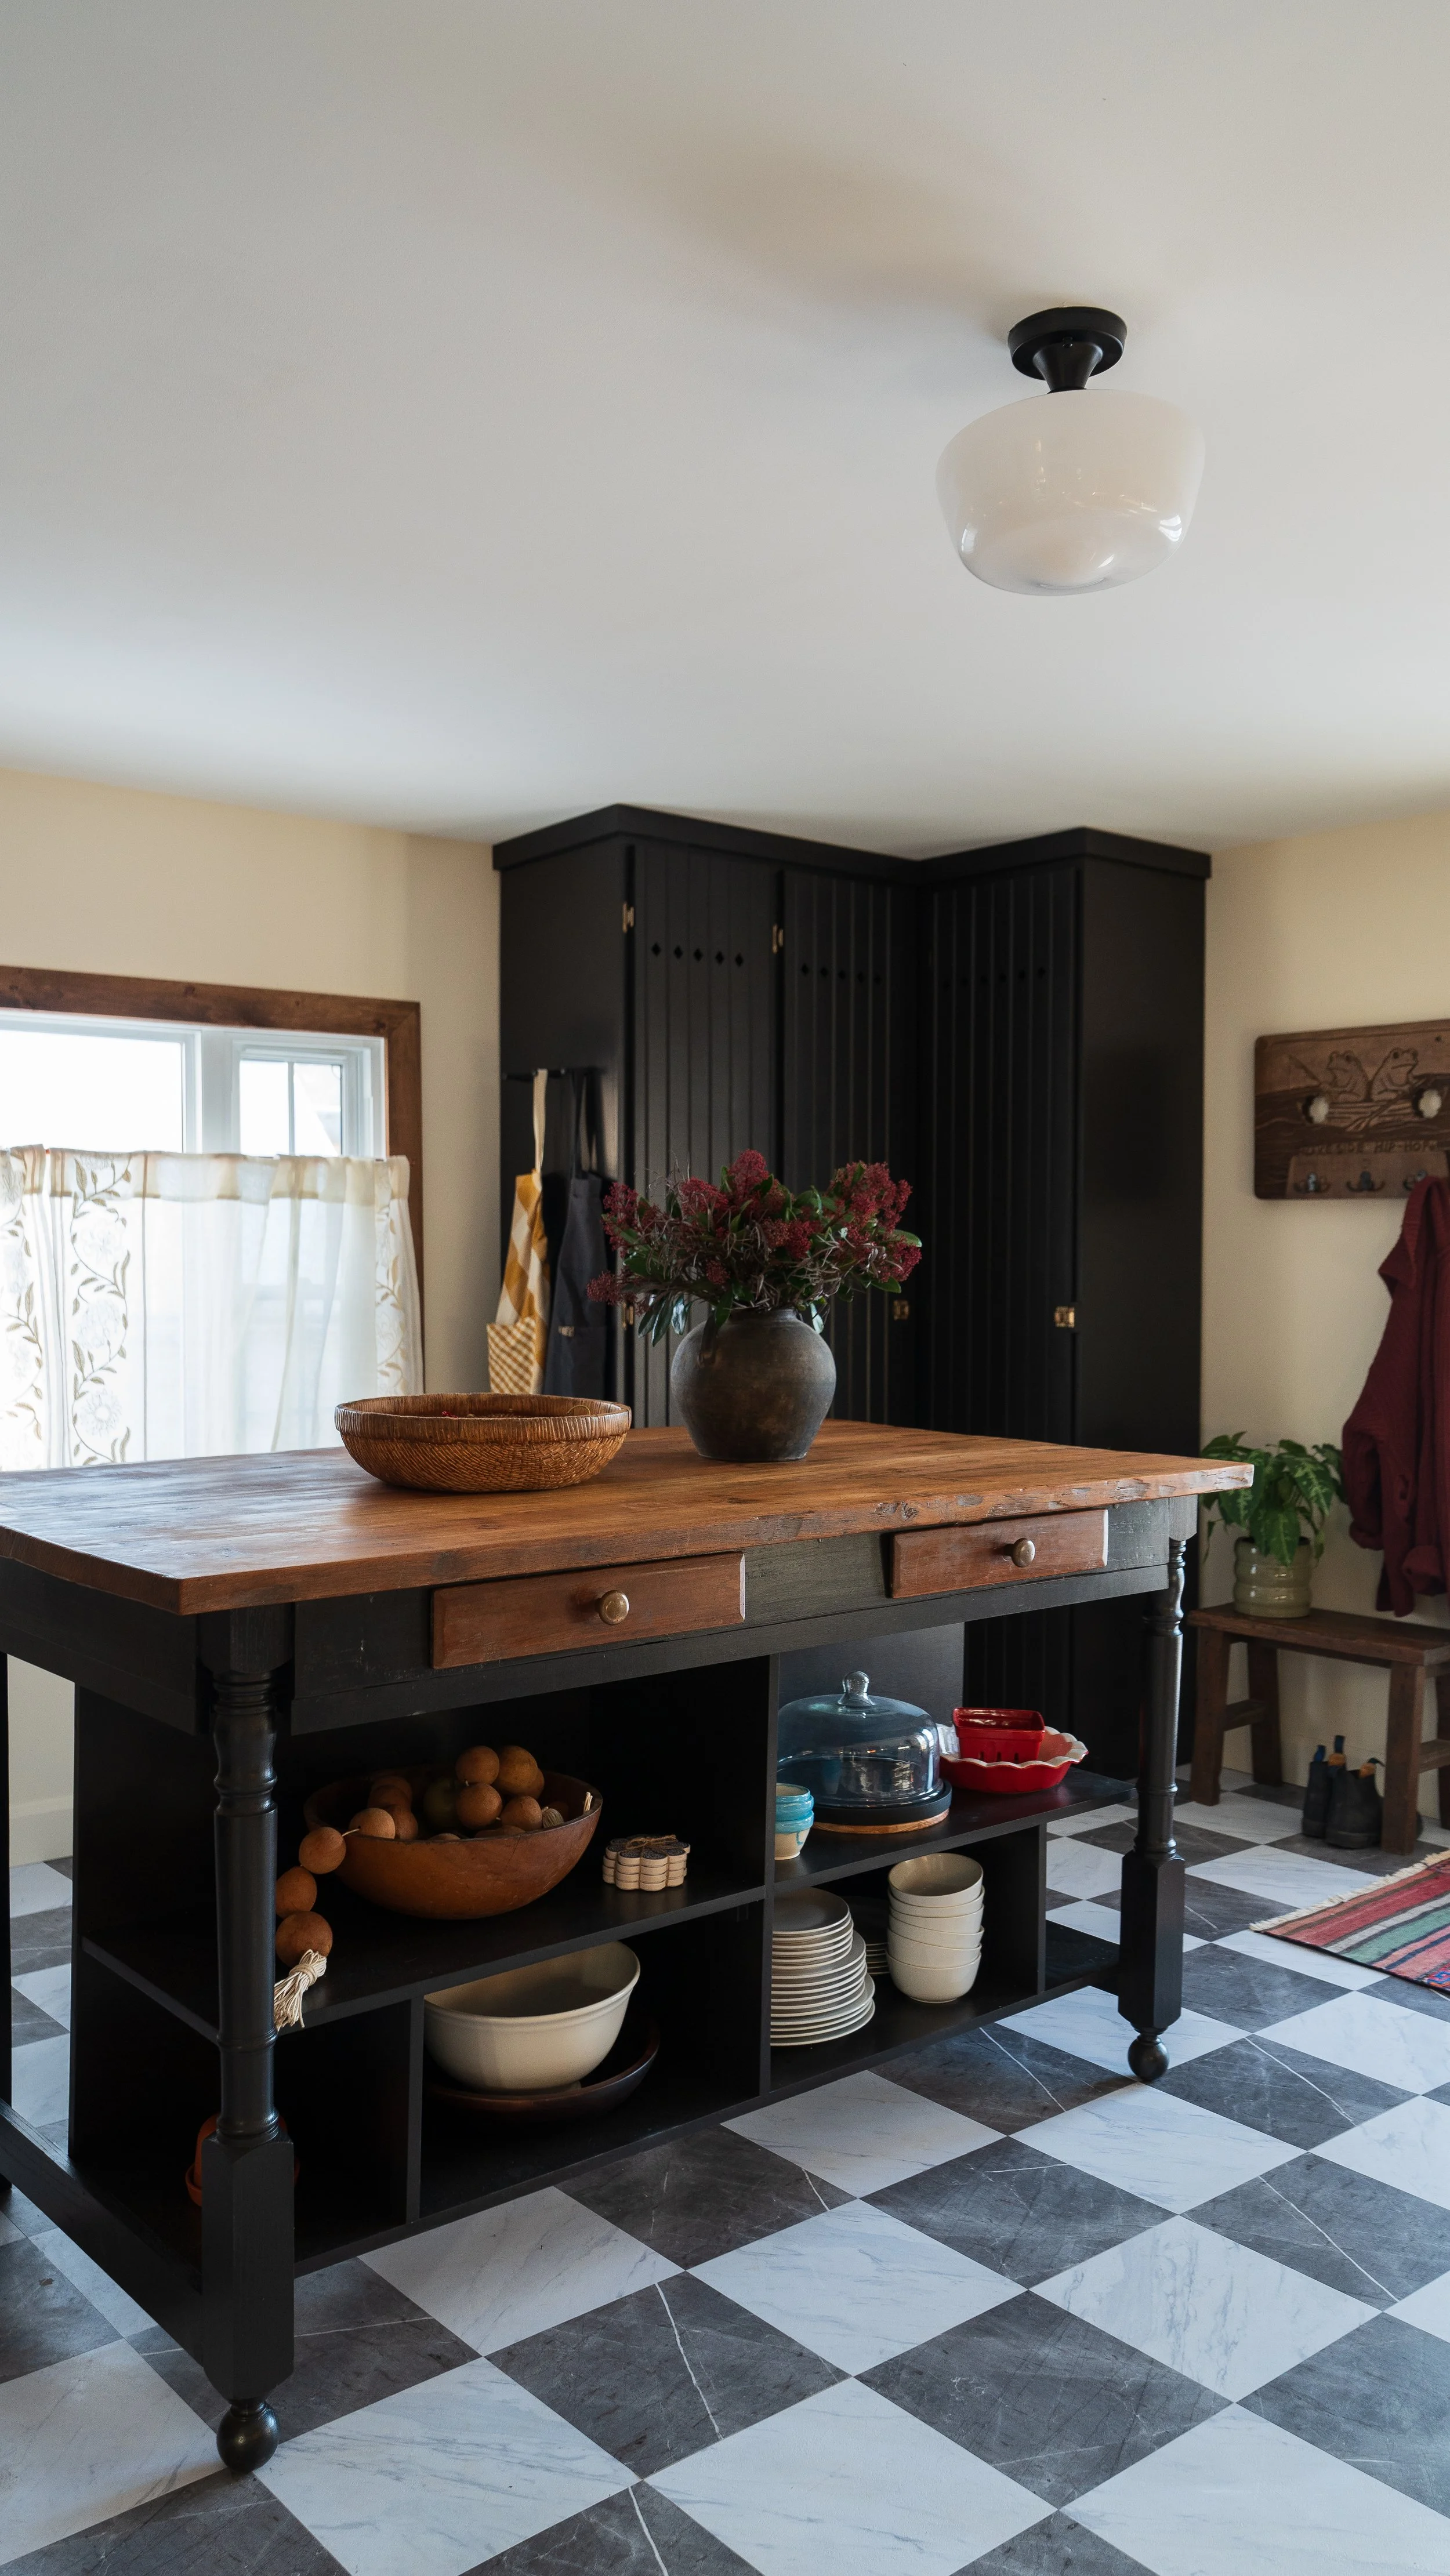
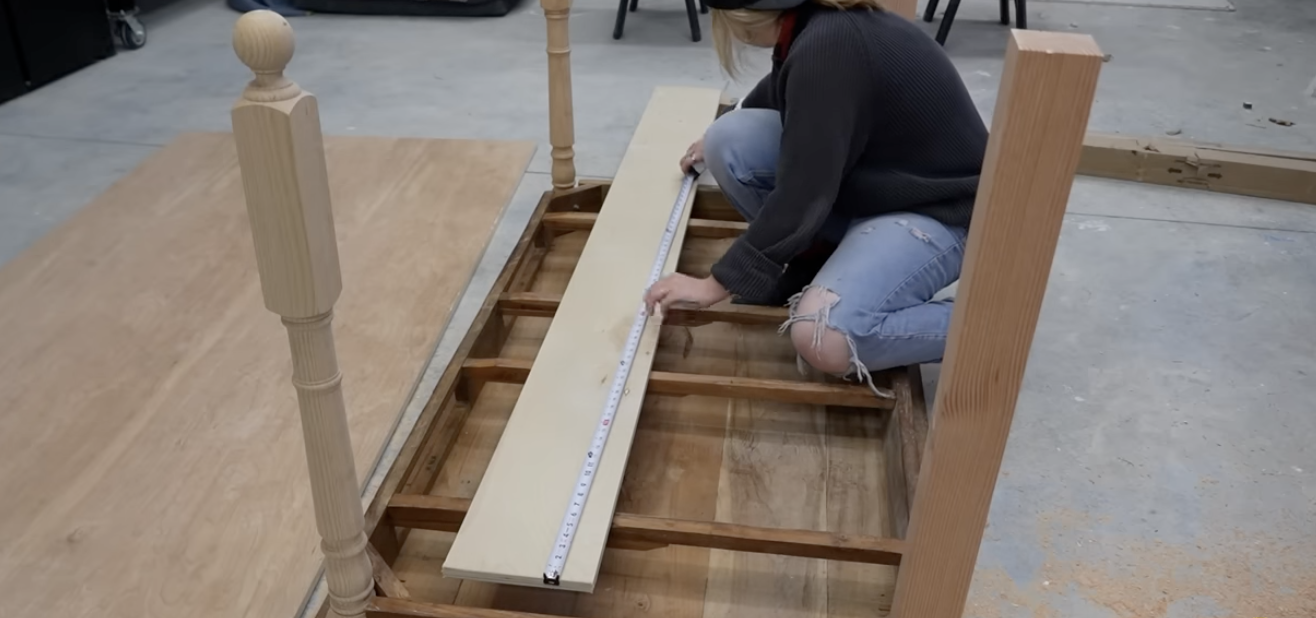
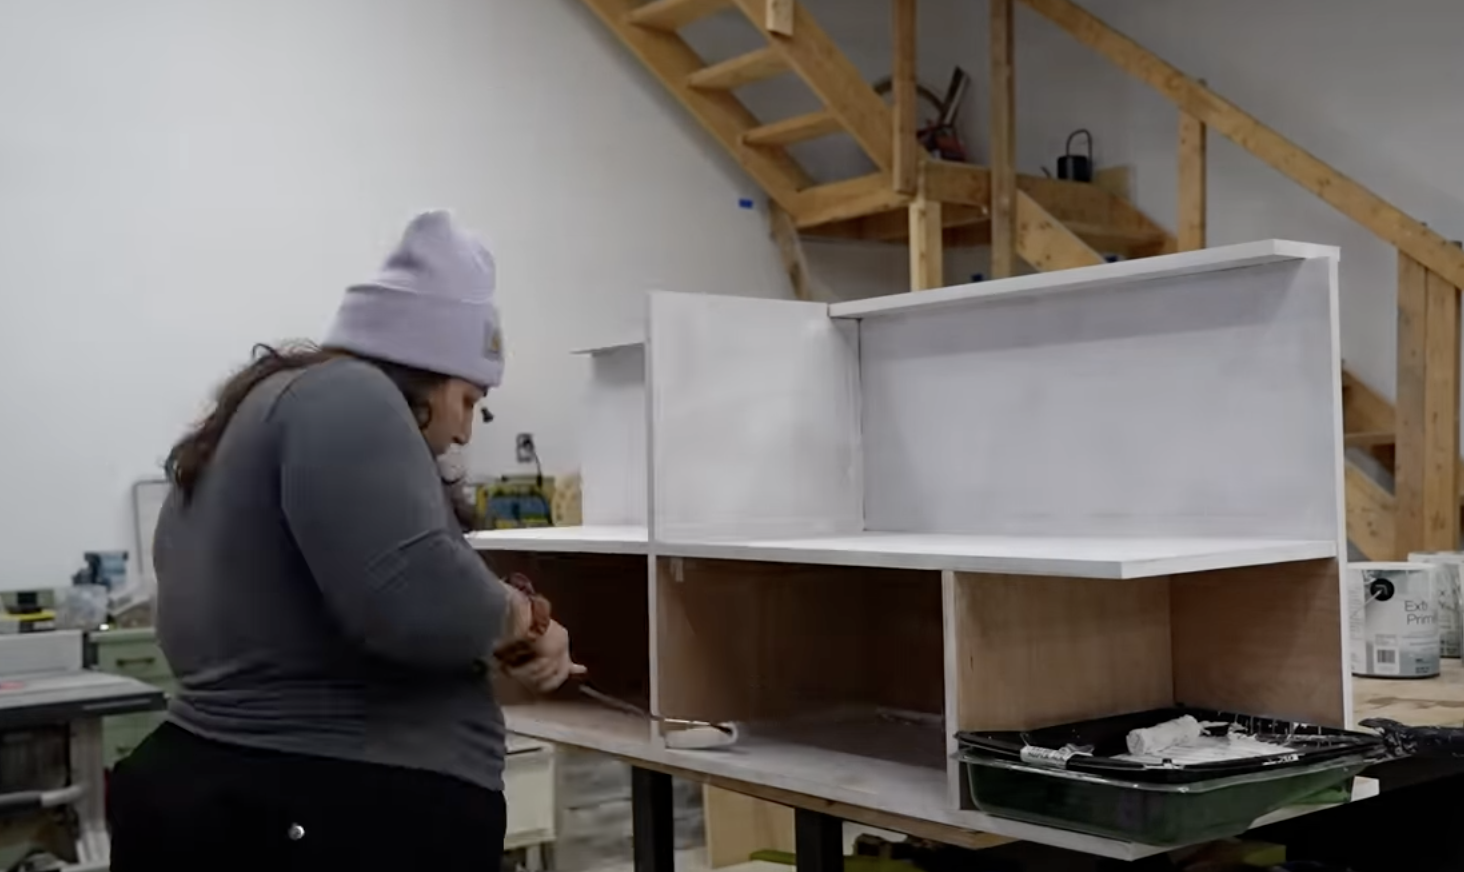
Step 3: Lower Shelving Unit
The Support:
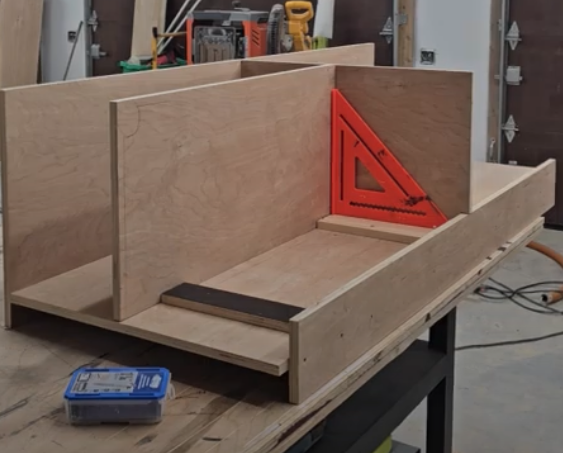
The thrifted oak table had two drawers that were supported by four cross supports underneath the table. I didn’t want to remove these, but I did need a place to secure my base to, so I had to find a solution that allowed me to build around them. My solution? A wood sandwich! I secure a board to the underside of the table, add vertical supports from the base that fit up in-between the drawer cross supports, then added a full top to the vertical uppers. Delicious Wood Sandwich!
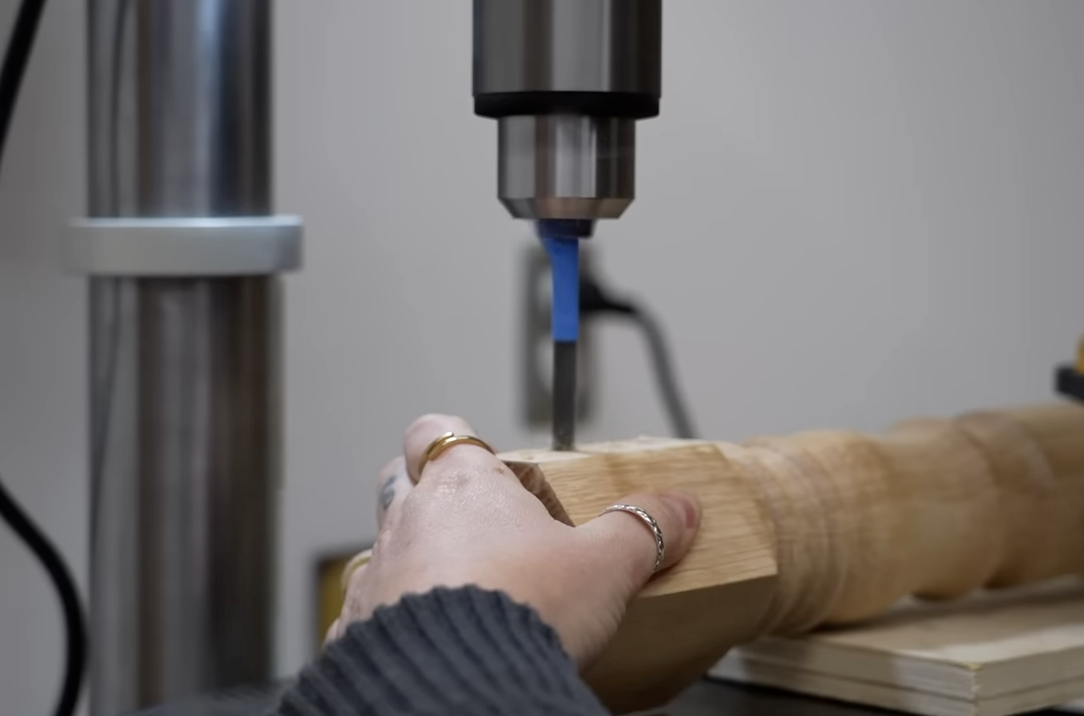
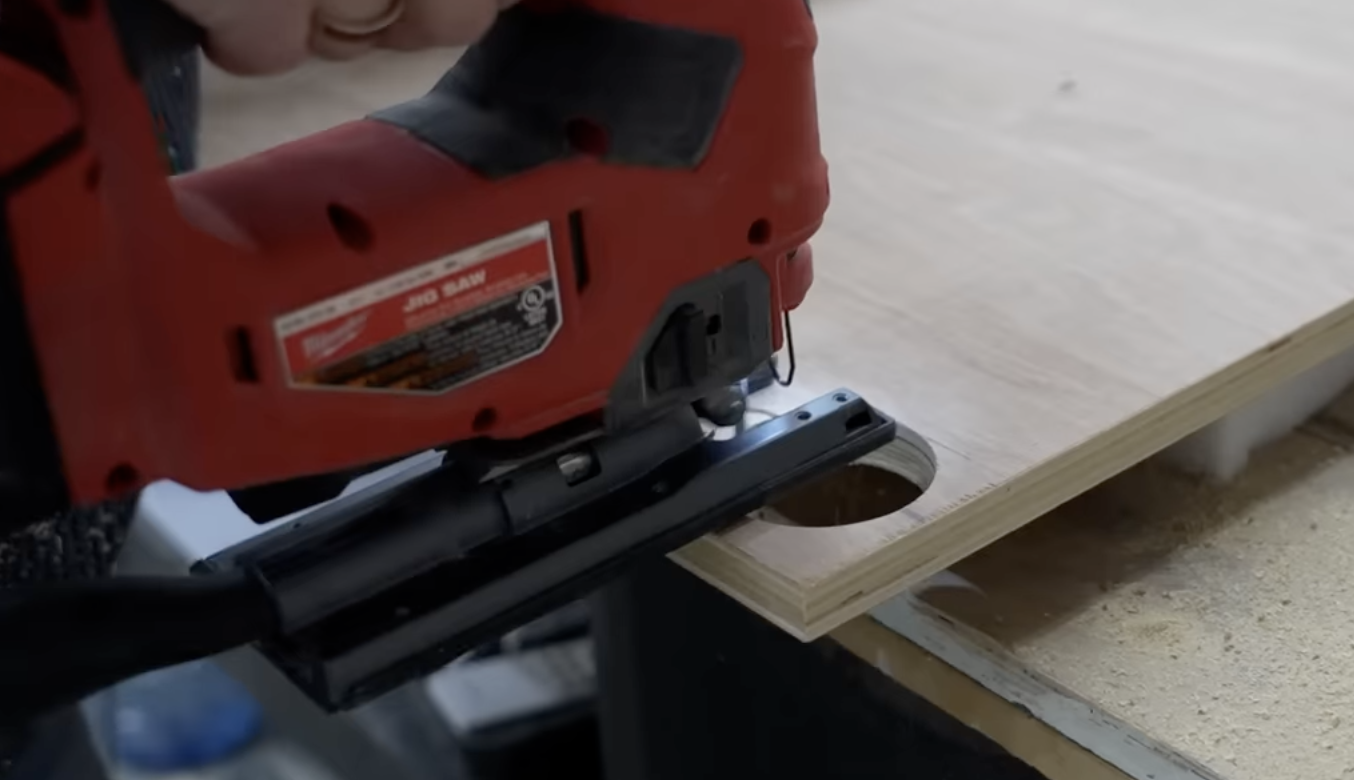
The corners of the top board was drilled with a hole saw to fit snug around the front legs.
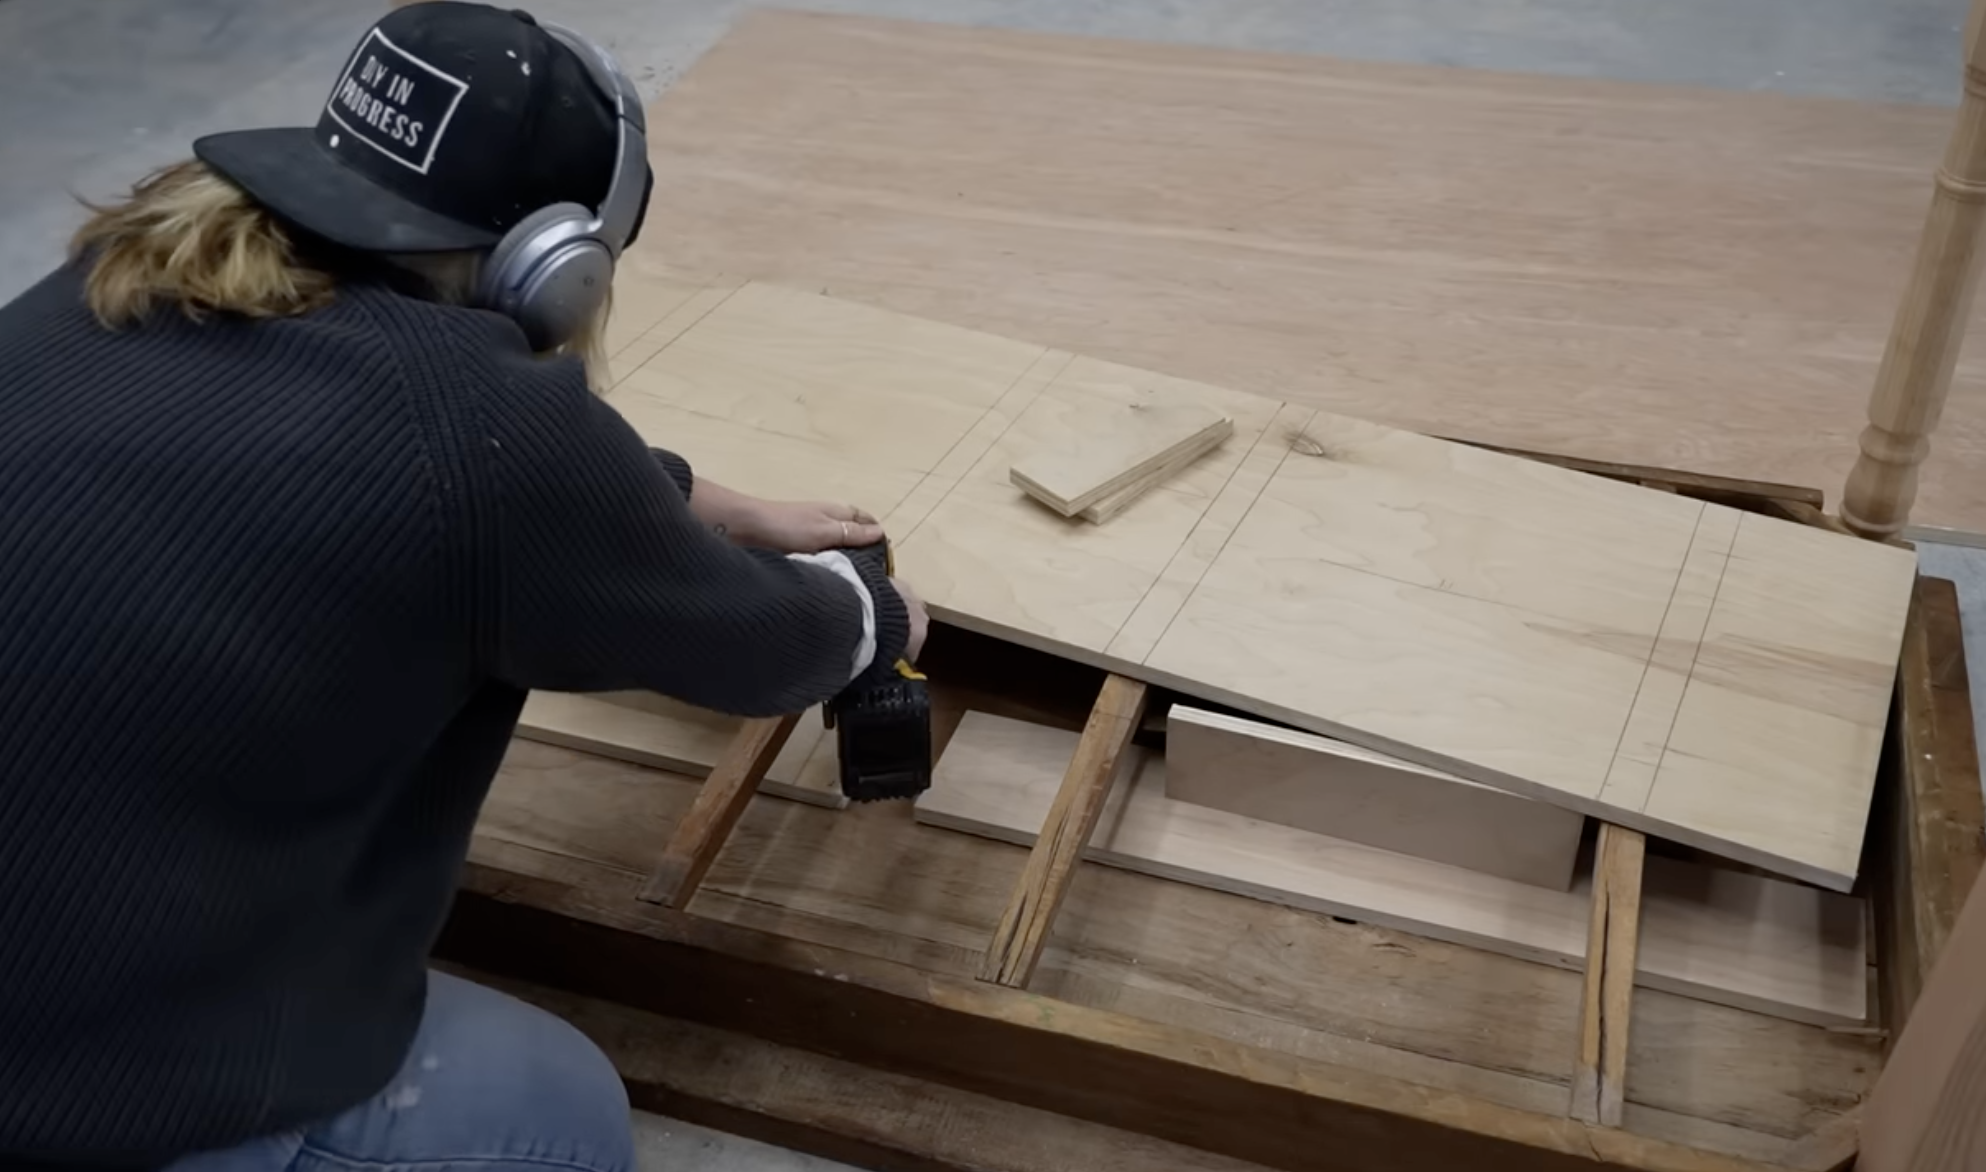

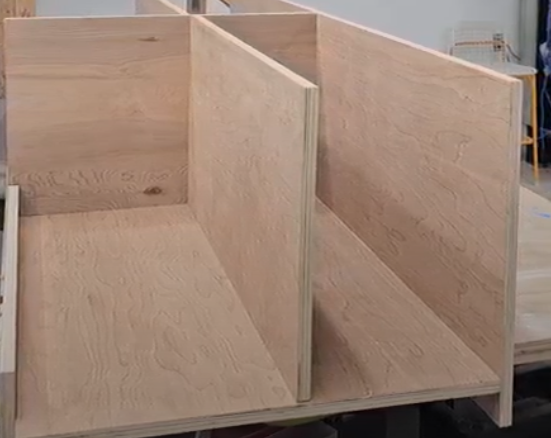
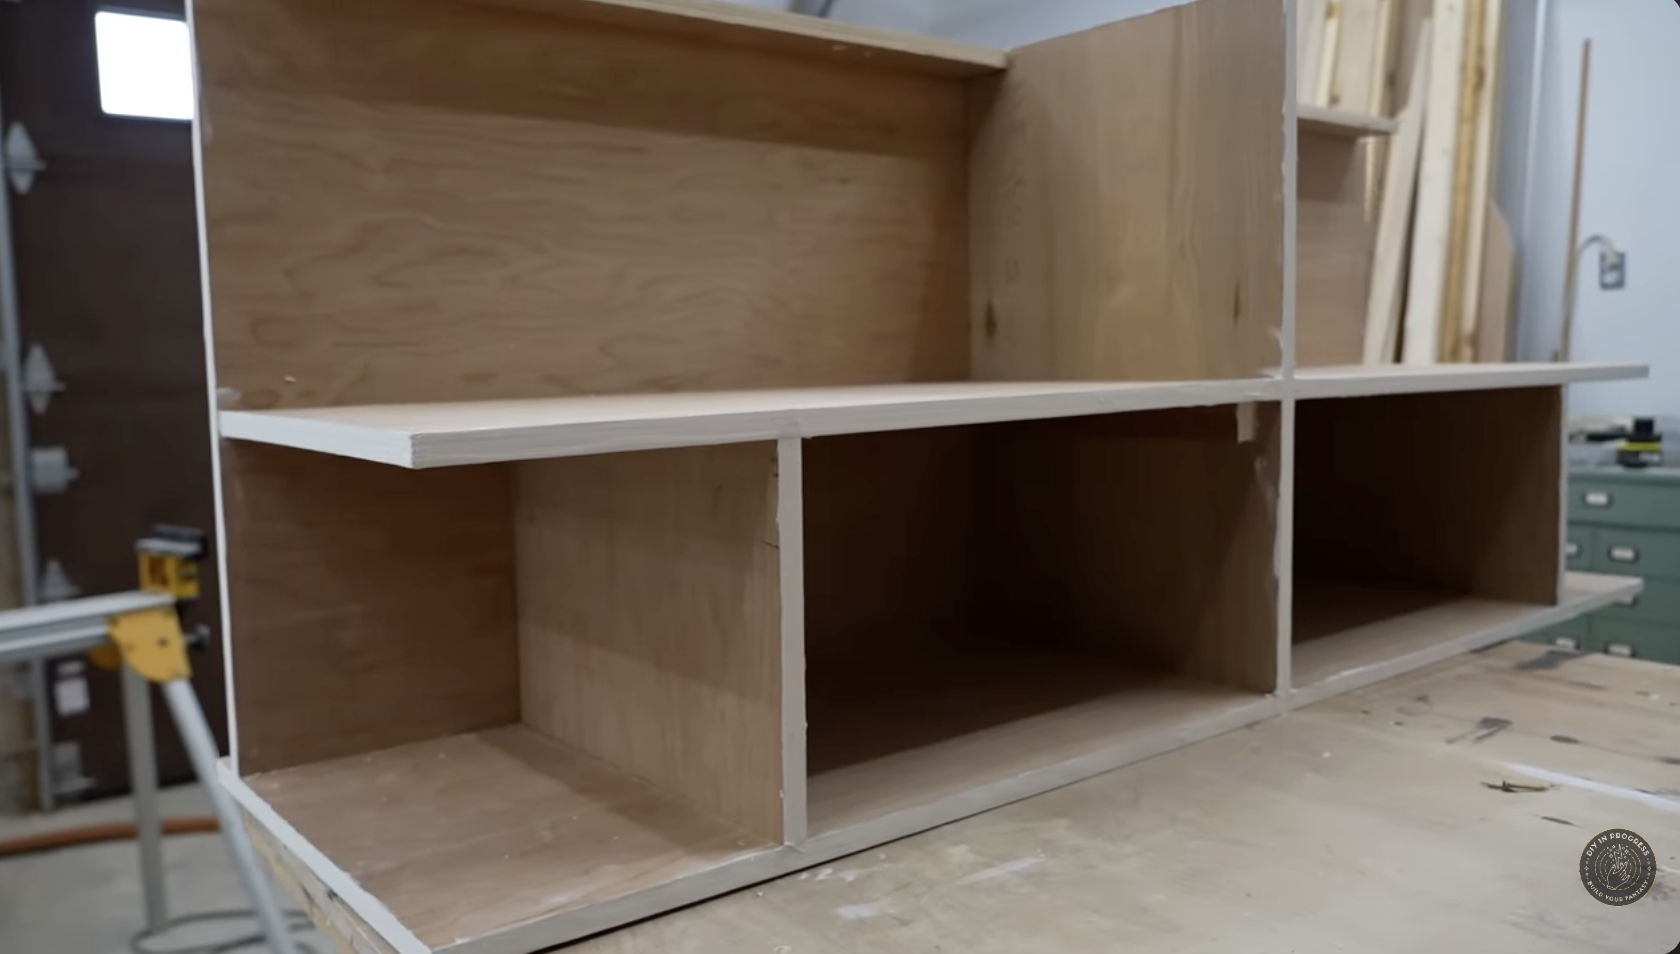
The shelves:
To create the open storage shelving, I used 3/4” plywood to build:
A horizontal brace that ran across the top, which gave me a place to secure the base to when I’m ready to secure to my top.
A large back board
The base, which would also act as my lower shelf (this piece would be secured to my cross stretchers later)
A vertical middle support + Two lower vertical shelf supports
Two Shelves
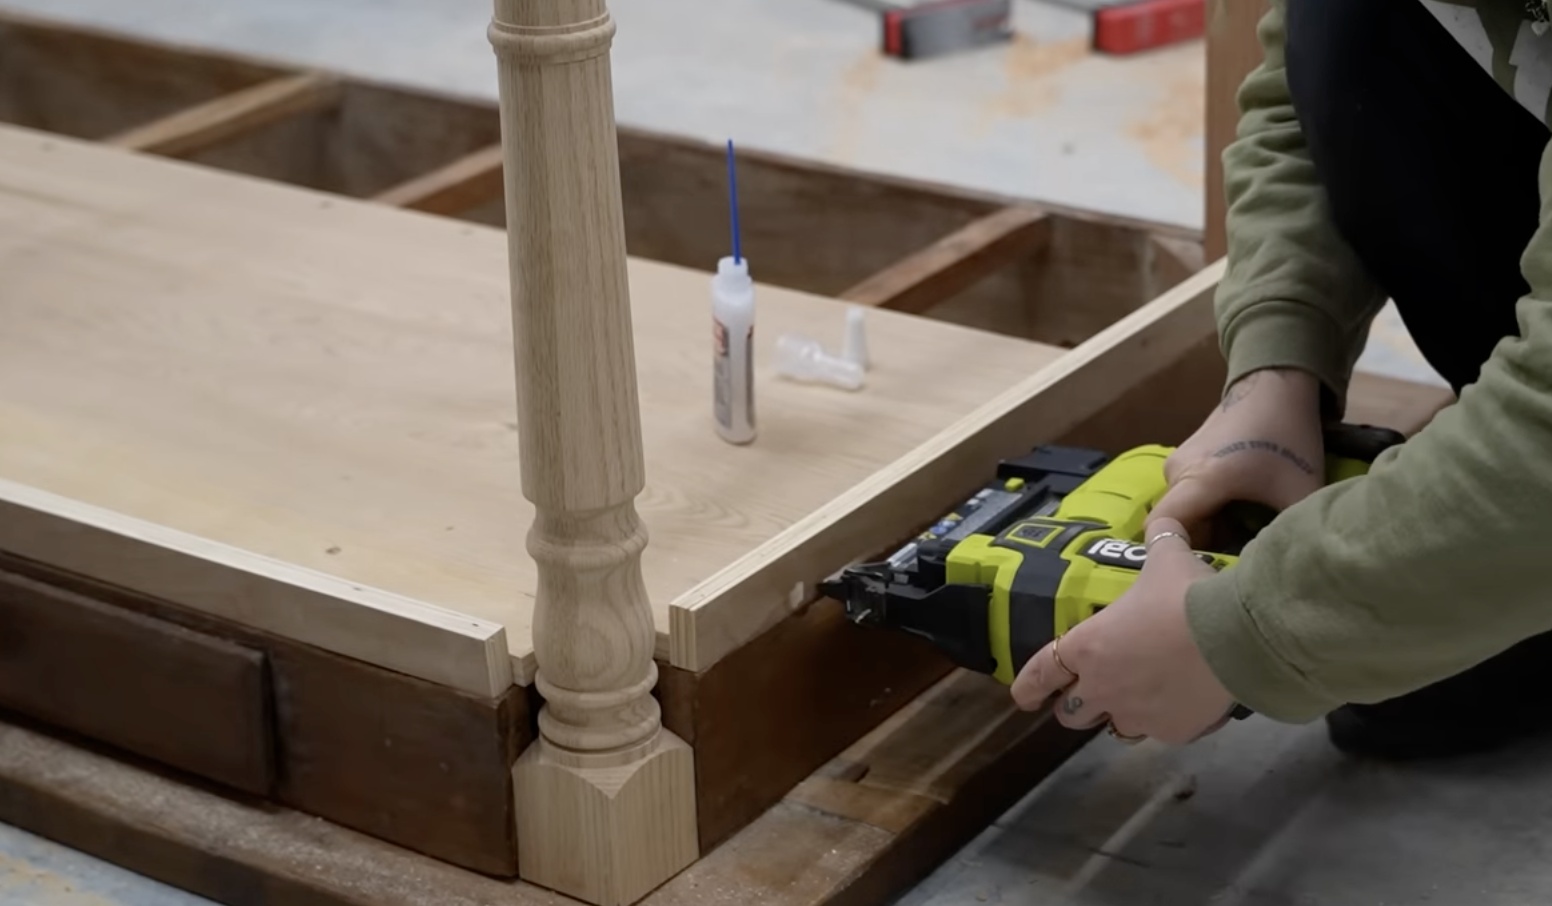
Step 4: Apron Extensions
I added a small 2” apron extension around the base to hide the lower shelf addition. These small additions make the whole piece look more intentional.
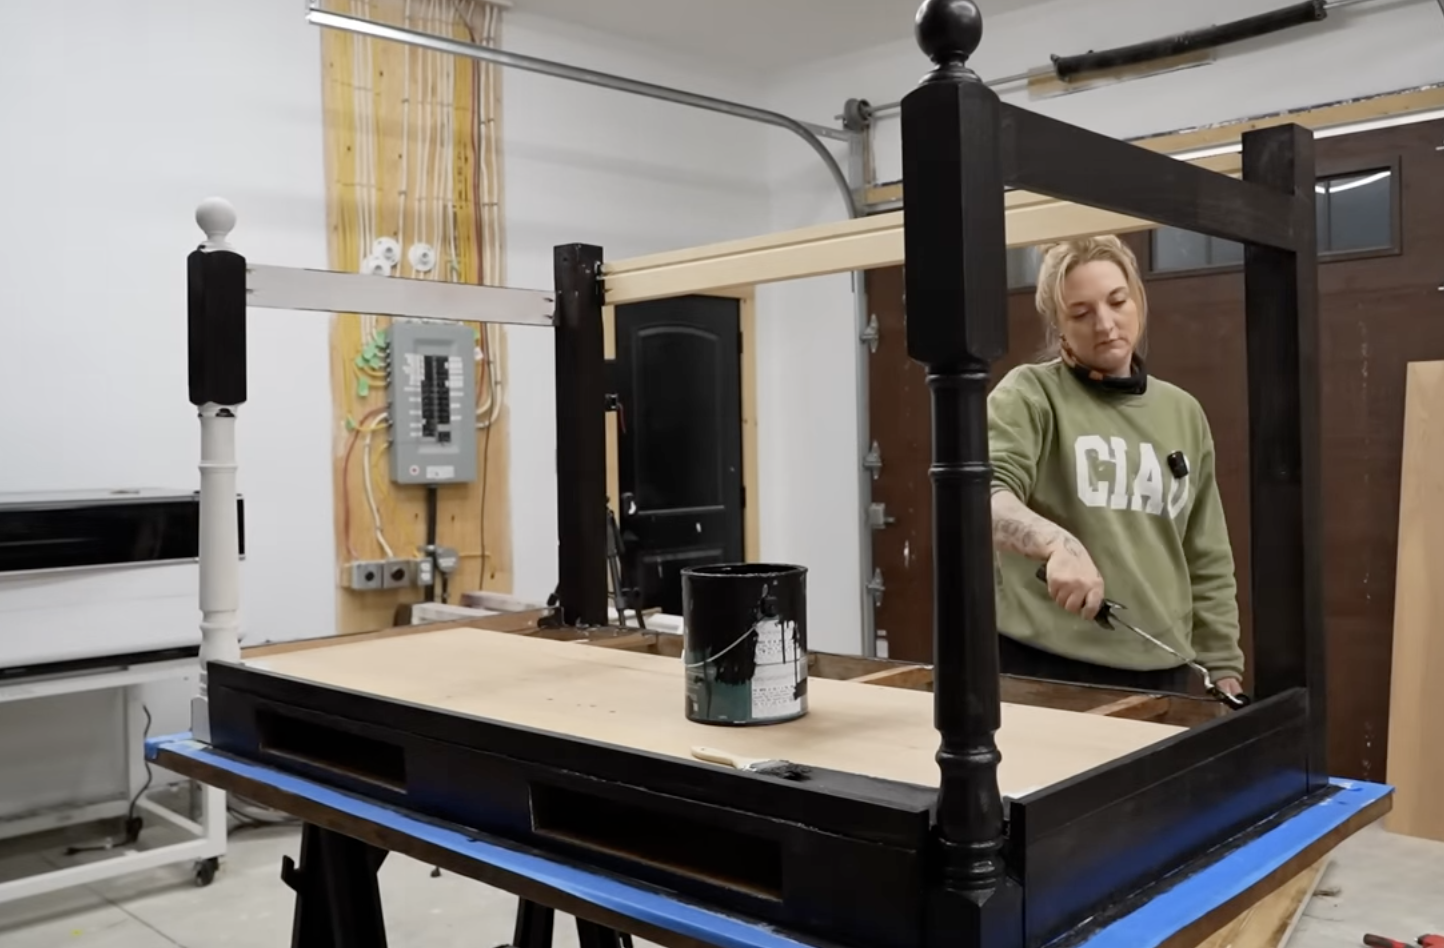
Step 5: Prime, Paint, and Refinish
Time to make it pretty! To prep the piece for painting:
I used wood fill to remove nail holes and plywood edges.
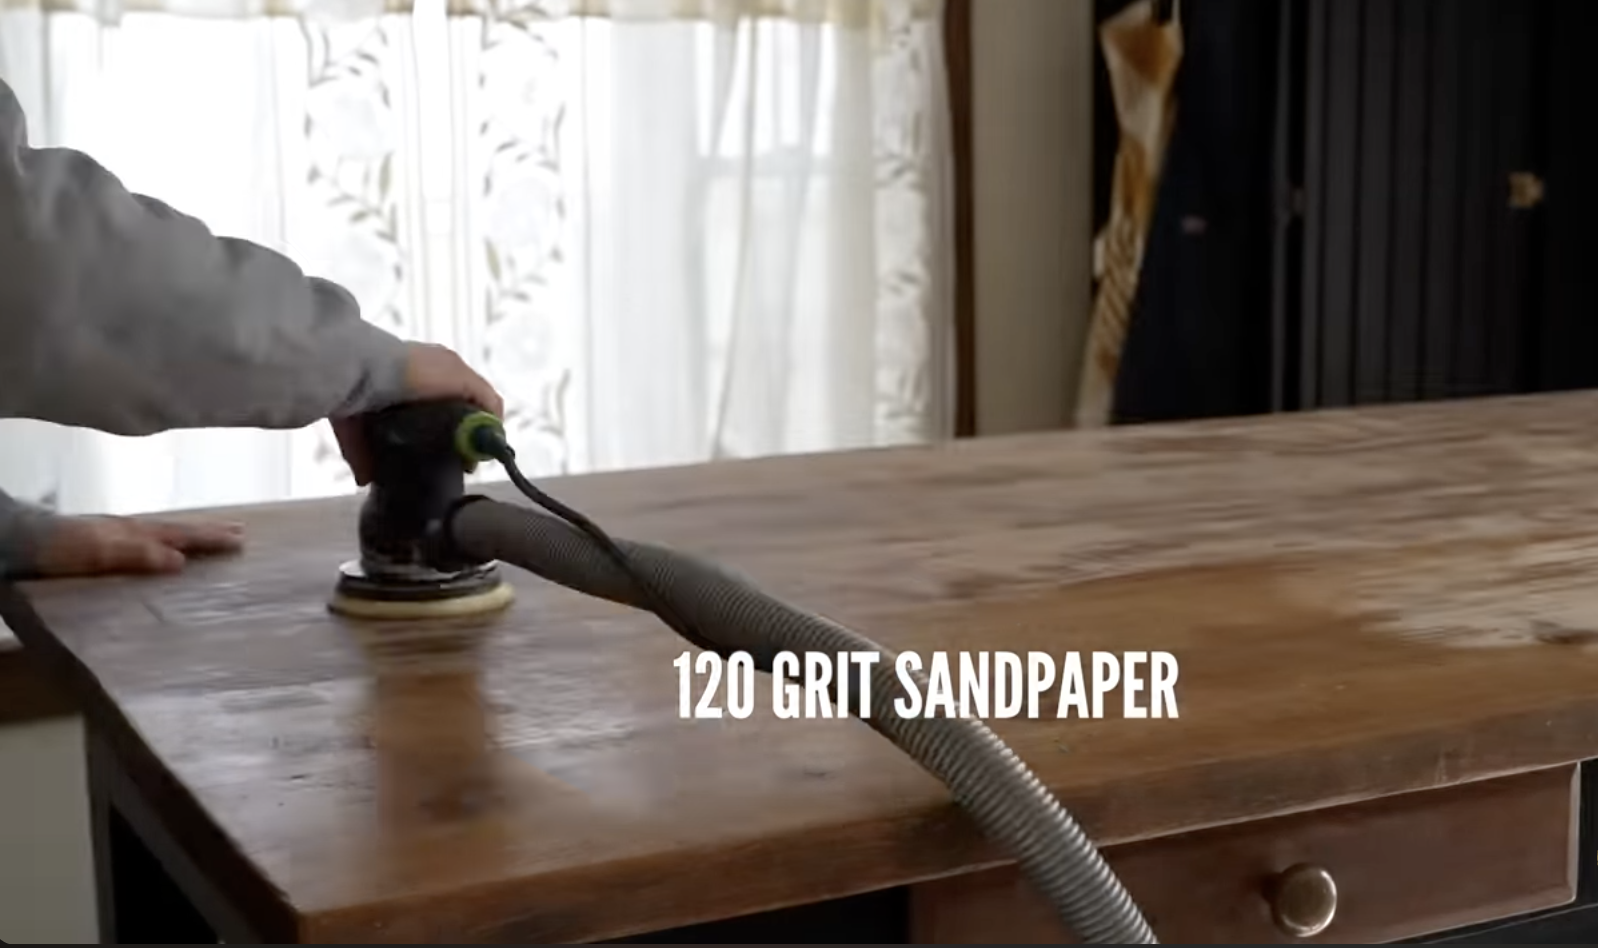
Sanded the entire base
Primed the entire base and legs

PAINT
I painted the base with a cabinet paint in the colour BLACKOUT by behr.
REFINISH
Once the paint was dry, the table was moved into it’s final location and the base was attached! The final diy step was to give the table top a fresh start, so I lightly sanded the top and rehydrated the wood with a food safe Danish Oil.