
Nursery Makeover: Tips for tackling a wall mural!🌸
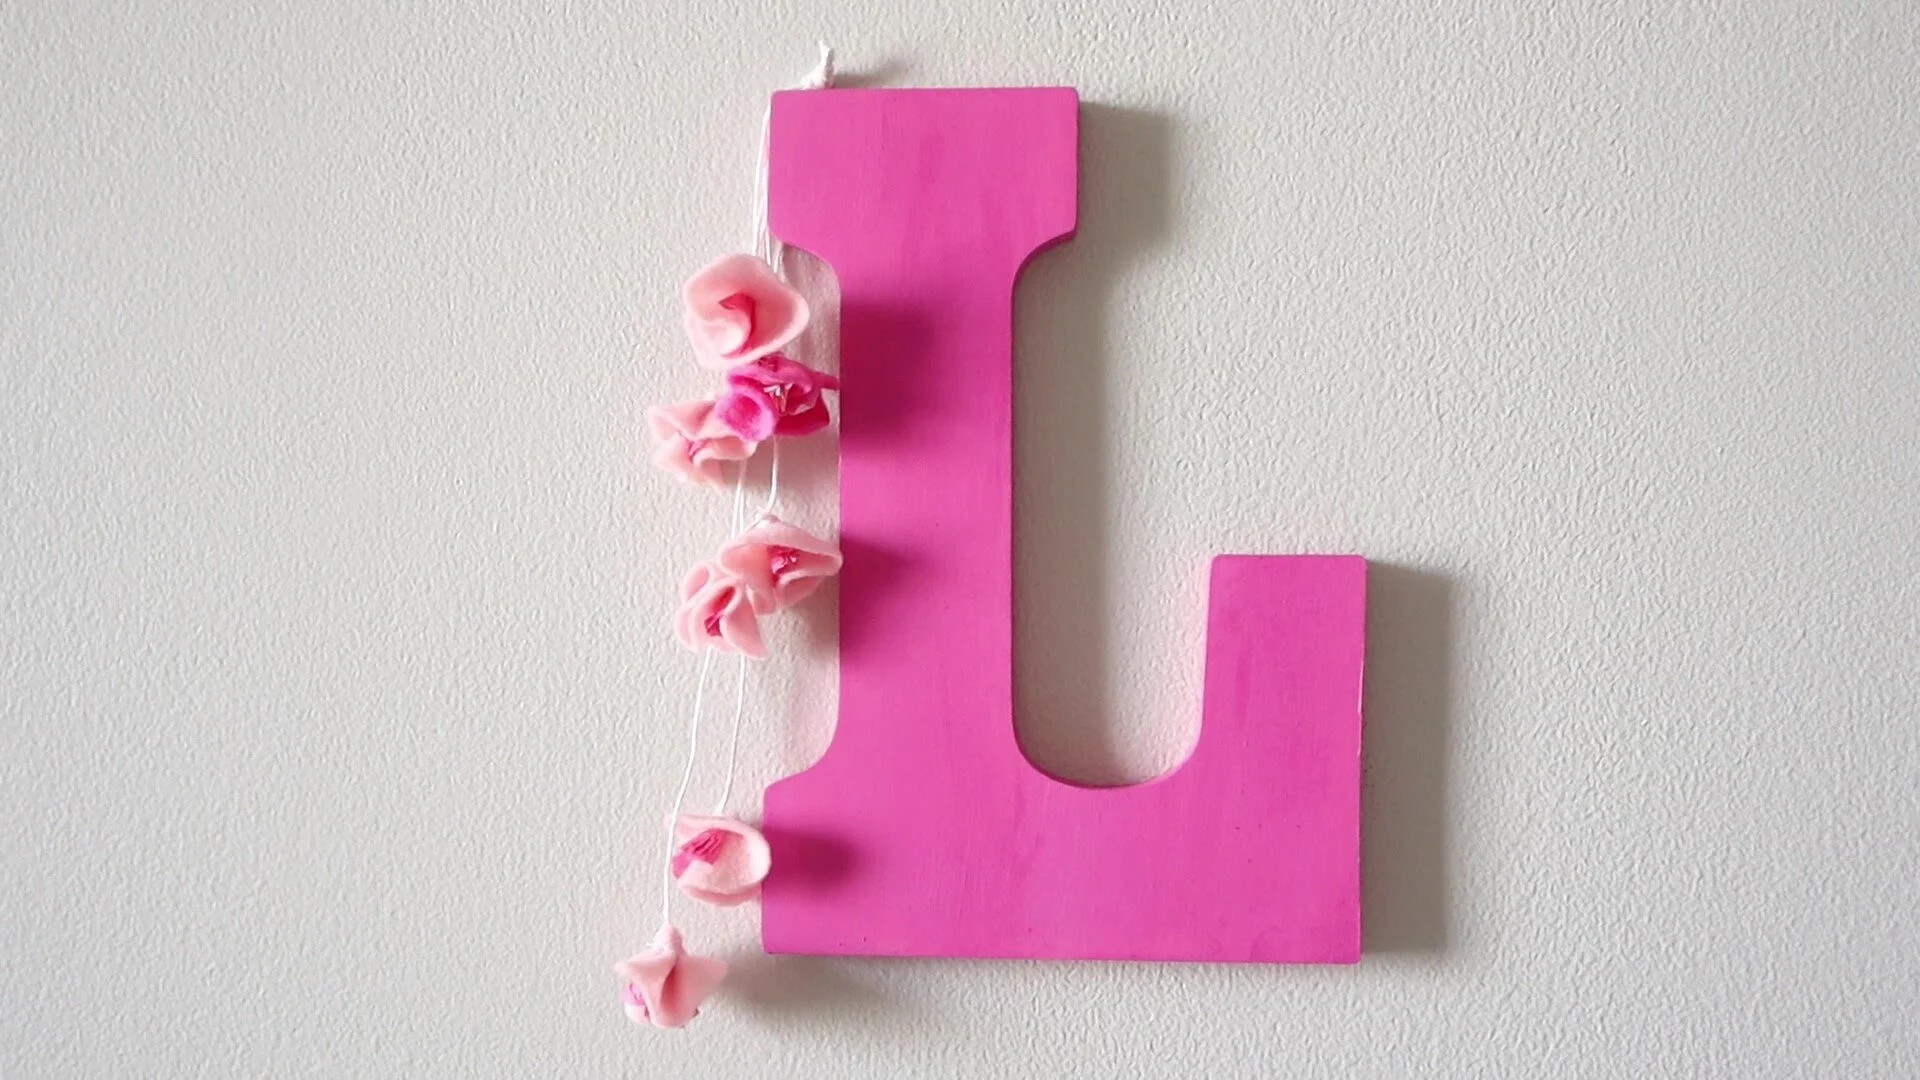
I’ve been so excited to share this project! I felt there was no better way to start 2020 than celebrating new life (and adorable nurseries!). In this diy diary, I help my wonderful friends Steve and Rose, who are newlyweds, new home owners and now new parents to a sweet baby girl named Lily! They asked me to help transform their nursery into a room full of floral diy love. 💕

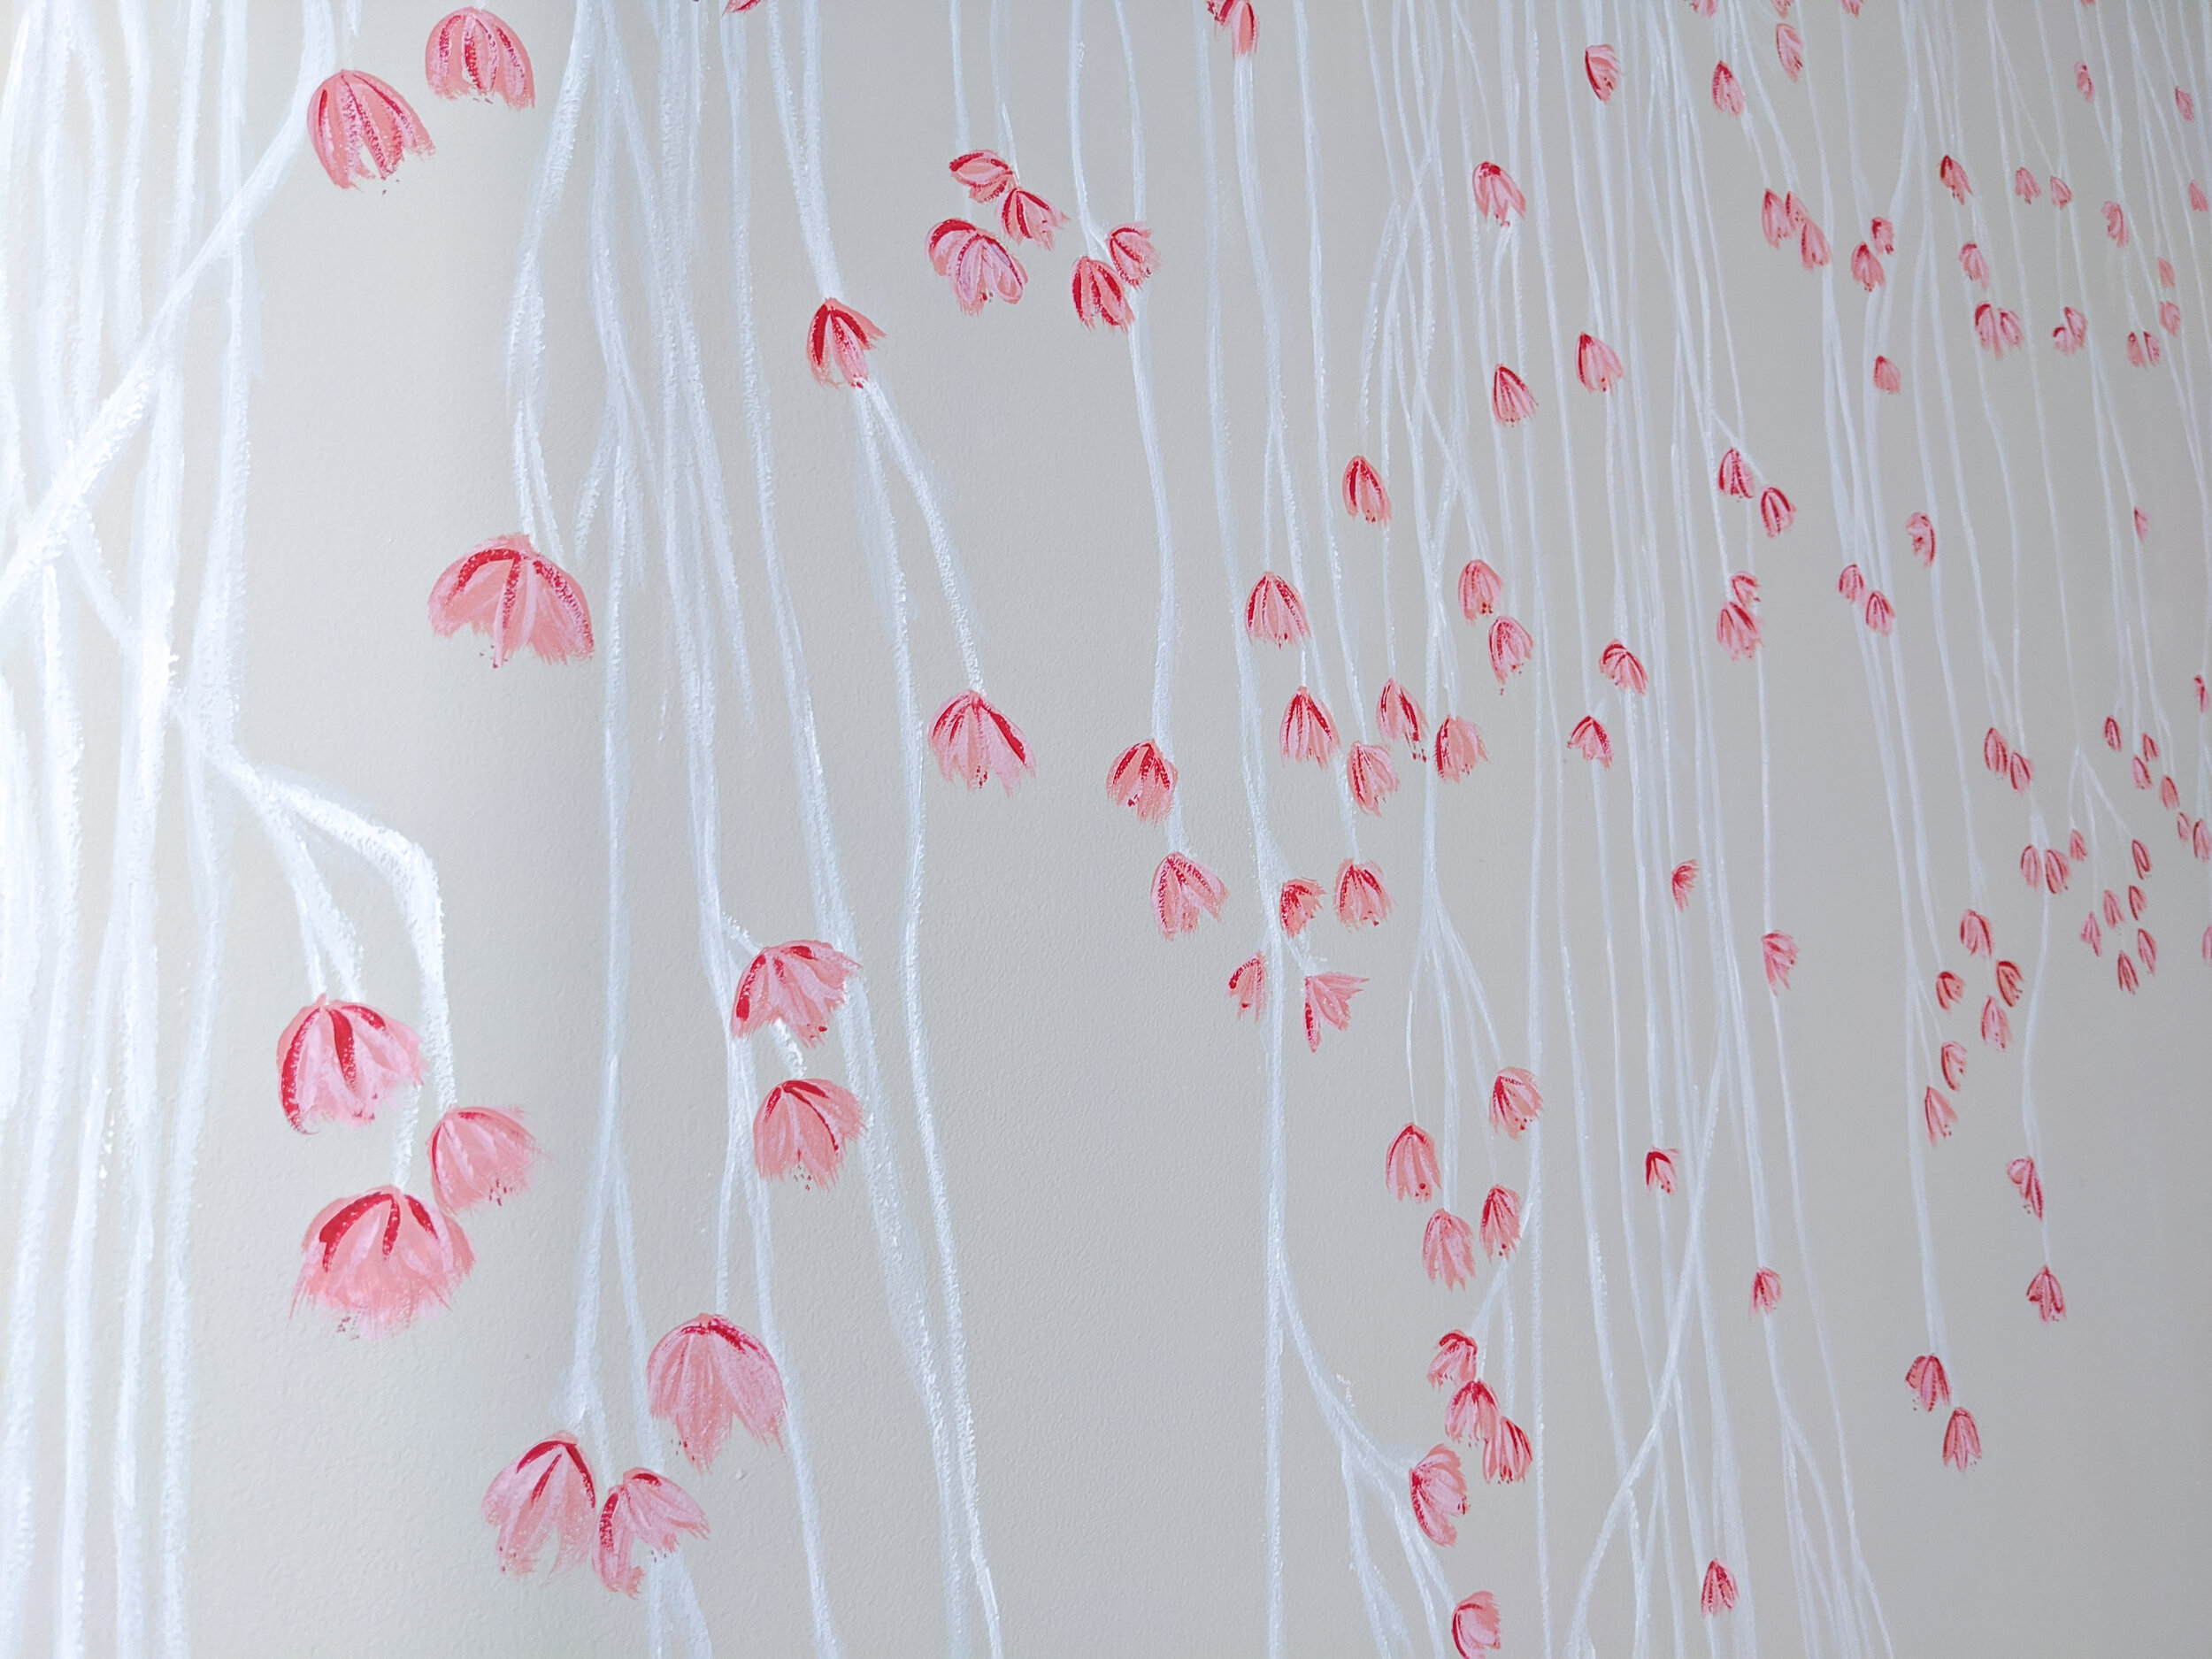
CHERRY BLOSSOM MURAL
Tips to tackling a wall mural:
1. Always make a plan!
Before tackling anything large like a mural, I always suggest sketching out the idea first.
Not an artist? Don't worry, the sketch is more about understanding your proportions and angles to the wall.
Another technique is to take a photo of the wall you want to make over, print it out and draw right on top of the photo!

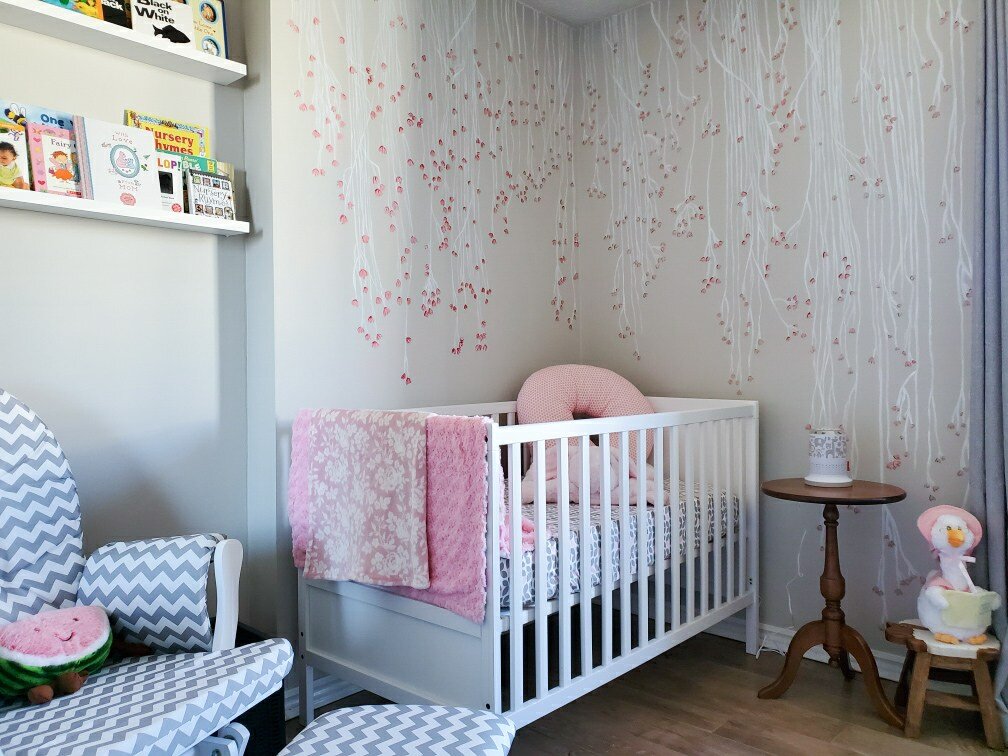
2. Map out the height of objects around the mural.
This will provide you an idea of where large decor items might cover up your painting. That way you don't end up painting a critical part to your art piece that becomes hidden. Yikes!

3. Rough sketch your mural with chalk.
I love using chalk to create a rough sketch on a wall. It wipes away easily with a damp rag, and it's truly a non-invasive way to try different ideas, shapes and patterns. Go nuts!

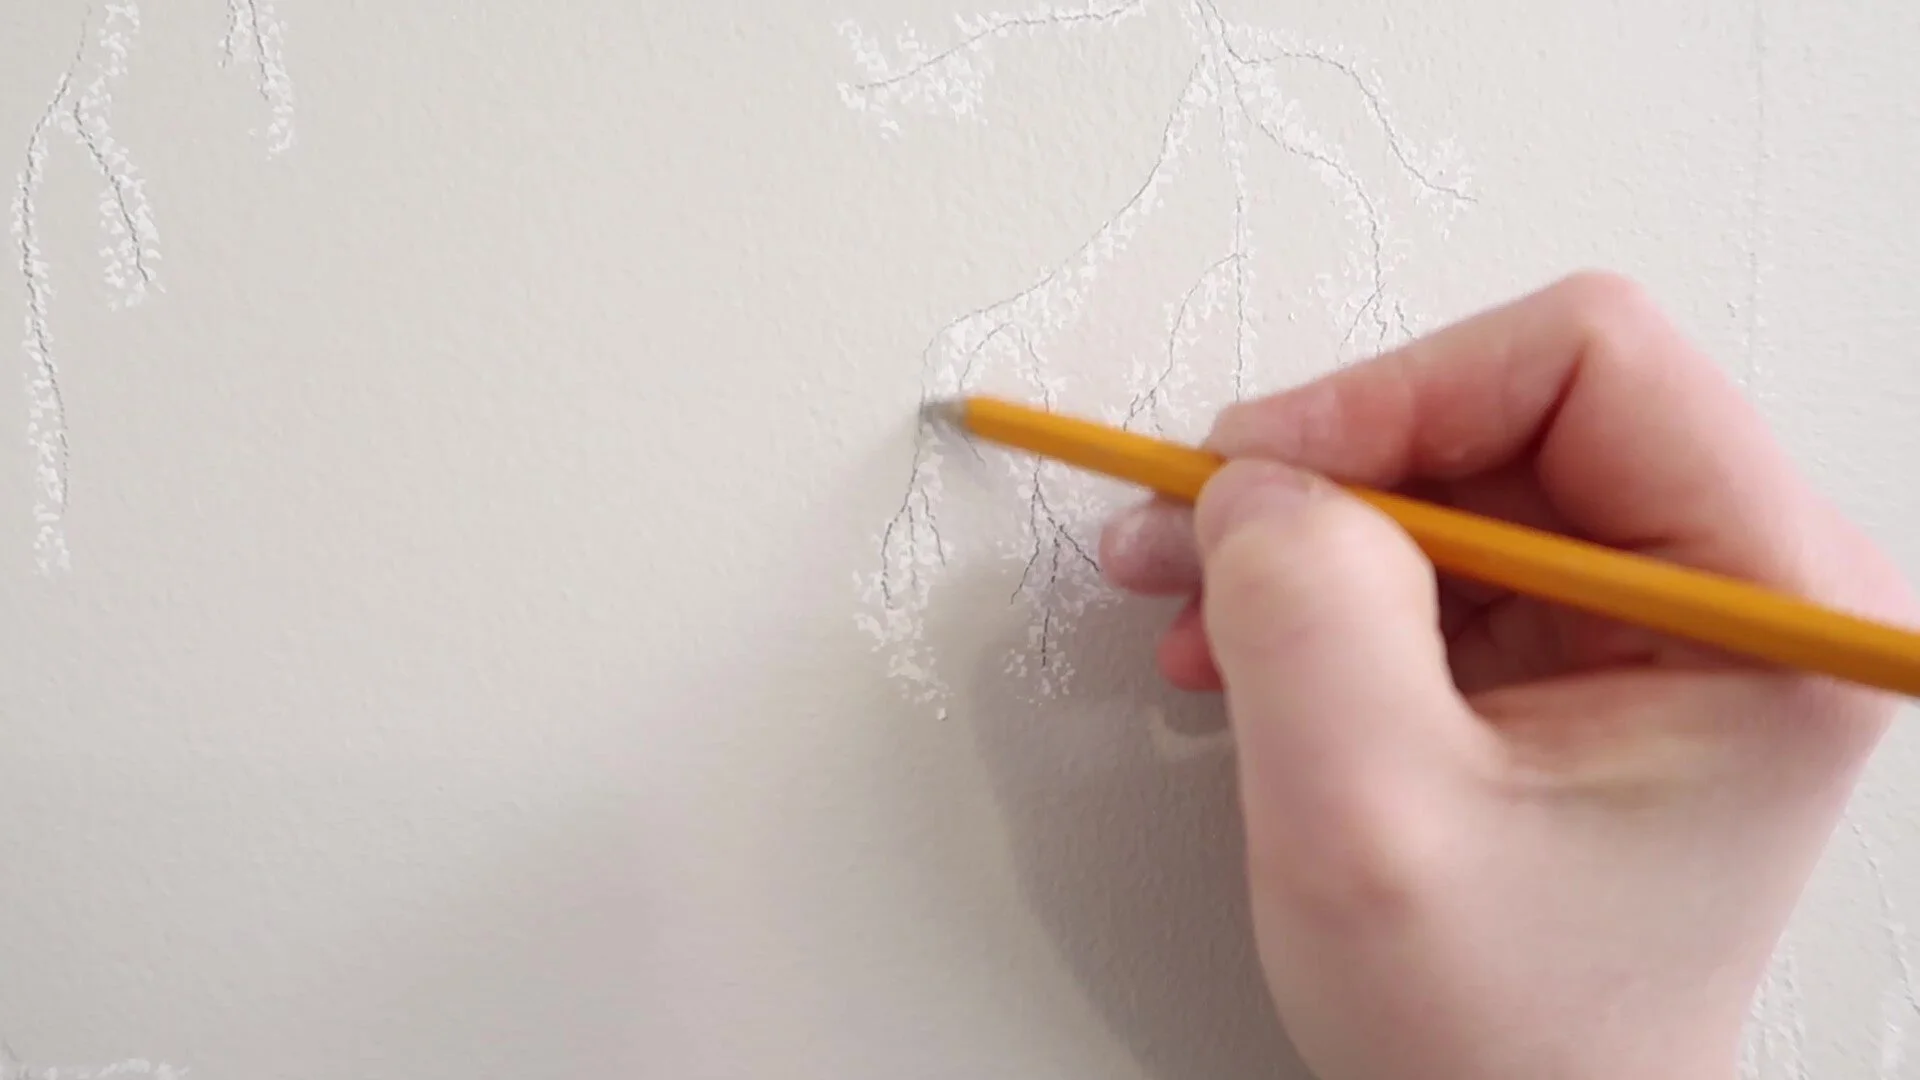
4. Depending on the color of your wall, use a colored pencil to lightly sketch your chalk lines. That way if they wipe away, your design is still there.
There is a bit of controversy about using graphite on walls. Some artists like it, some artists don't as it can smudge or be hard to cover. If you use pencil, do not press hard. It's a light line!
On some occasions, you can simply paint overtop of the chalk lines. If your paint is thin or liquidy enough, the chalk will simply make the paint feel a bit thicker on application. You will need to clean your brush more often, as I find this route often makes the paint more viscous, creating a lot of build up of paint on the brush.
I would not suggest this tactique if using regular artist-quality acrylics.
Alternative hack, If you're able to sketch the drawing ahead of time, use a projector to project the image onto the wall and trace the outline!
5. Paint away!
Just remember, it's only paint. If you don't like it, you can always paint over top. 😬
What kind of paint should you use?
If you're not painting large amounts of surface space, using artist-quality acrylics is fine, but if you’re ever planning on tackling larger surface area’s, I suggest using a latex paint aka. an interior household paint, then doing any detailed work with your acrylics afterwards.
Soft Body Acrylics adhere well to walls made of concrete, plaster or cement, due to the chemical alkalinity of the paints!
DIY FLOWER MOBILE
As a quick disclaimer - Always make sure the mobile is well-secured in order to avoid accidents. In addition, keep in mind that some mobiles should not be displayed directly above the crib or in the close proximity of the baby for safety reasons. You are the parent. Mobiles can also be placed above a baby changing table so whatever you want to make, do it - Use your own discretion as a parent and be safe.
Keeping in the theme, my idea was to create a mobile that would almost bring what was painted on the wall to life. Almost making it feel like an extension of design. So I decided to create small cherry blossom flowers!

MATERIALS:

14" Embroidery hoop: https://amzn.to/2usg9Hl
3mm Macrame Cotton Cord: https://amzn.to/39UVo7A
30 mm Wood Beads: https://amzn.to/2FGQMnr
Super Glue: https://amzn.to/2NbRo8W
20 lb Hemp Cord: https://amzn.to/35GMaZ6
Pink Felt: https://amzn.to/37OwjcD
Pink Tissue Paper: https://amzn.to/2tGXiIr
360 Mobile with Remote: https://amzn.to/35Iwepb
STEP 1:
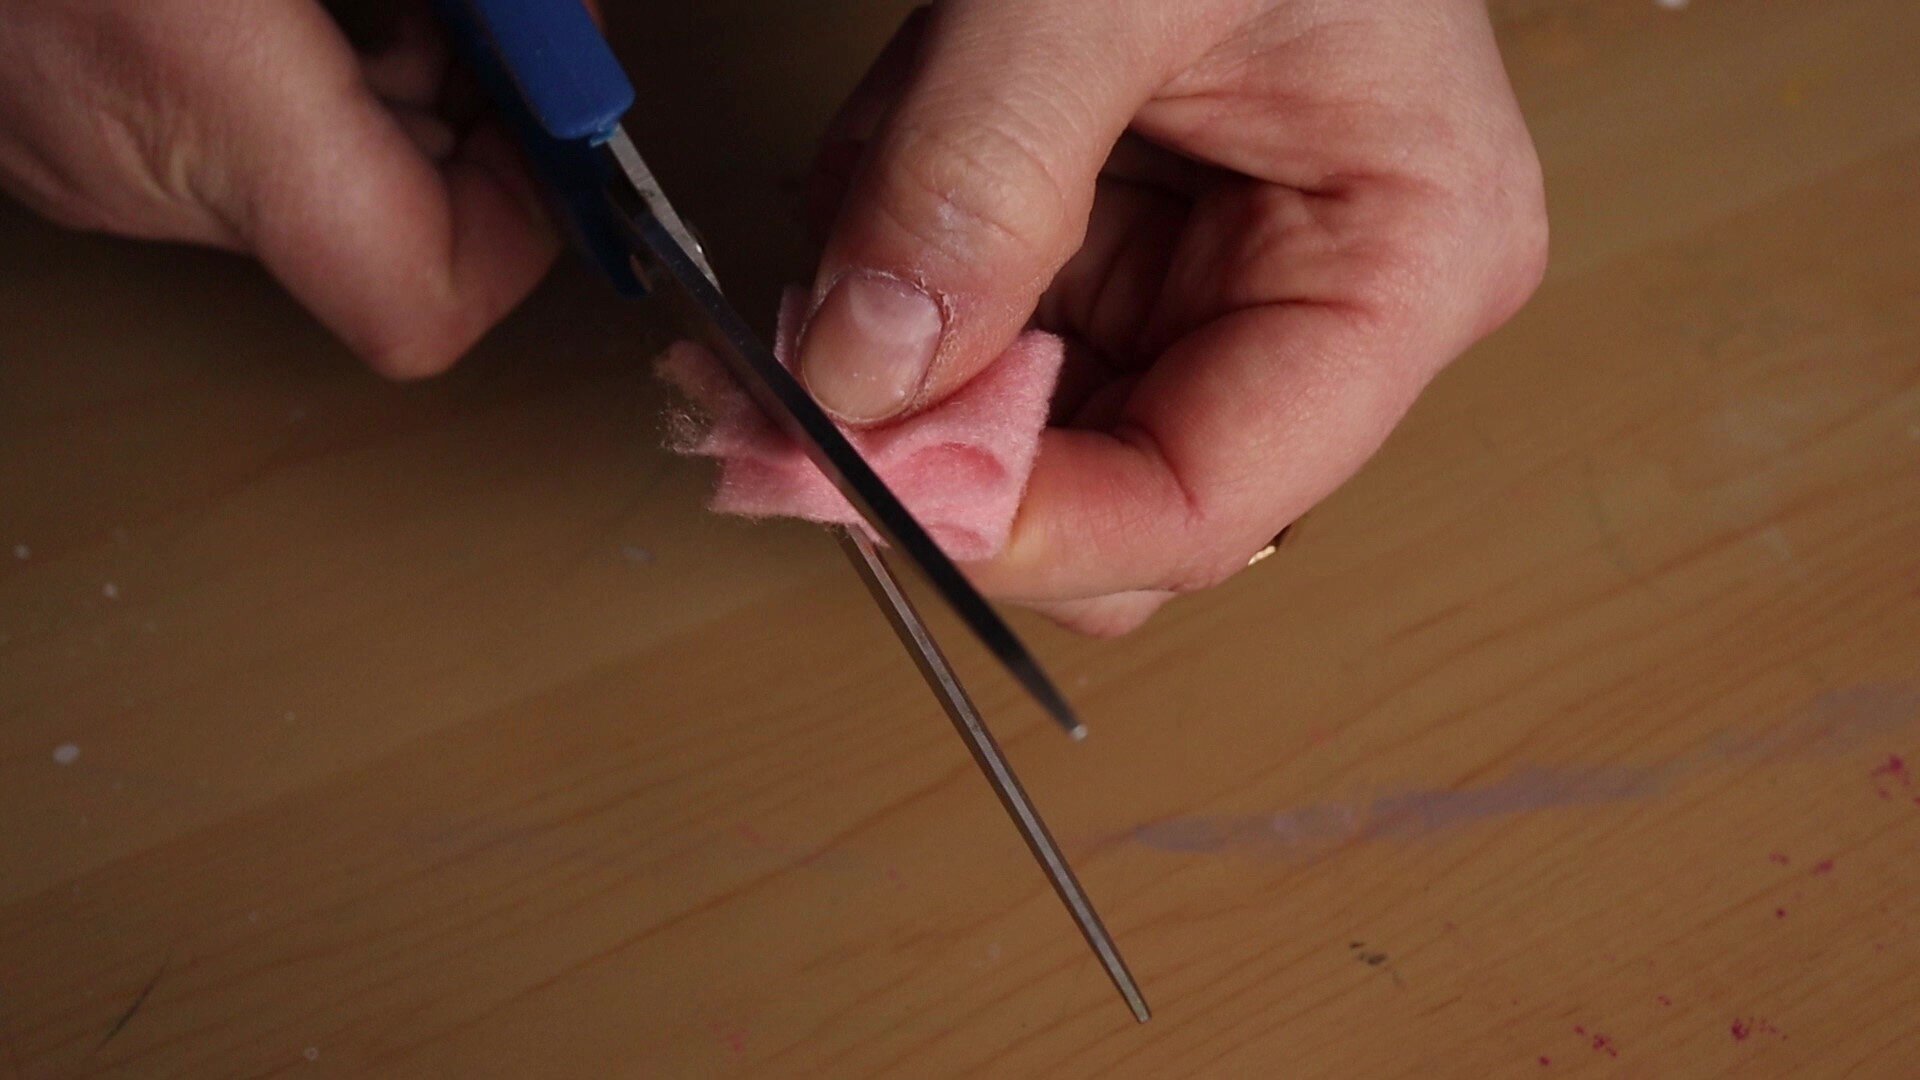
To make the felt flowers, I started with two colours of pink felt. You can pick these squares up at any craft or dollar store and they are very inexpensive.

Cut the felt sheets into small squares.

Fold them up two times and using fabric scissors (or you can use regular scissors) curved the edges. Using one sheet, you can create around 20 squares in total.
STEP 2:
Next, I took dark pink tissue paper and cut out small circles, that were smaller than the felt pieces.


Last, using a sewing needle and white thread (you can also feel free to use light pink), simply sew the tissue paper onto the middle of the felt patch.

Pinched the middle, folding it over and stitched it together. I worked in a circular direction. Once It was done, I was left with a cute little flower. I liked the tissue on the inside. It added a little extra texture and mimicked the red accents on the mural. Make sure to leave extra thread hanging off the flower for later.
Pinched the middle, folding it over and stitched it together. I worked in a circular direction. Once It was done, I was left with a cute little flower. I liked the tissue on the inside. It added a little extra texture and mimicked the red accents on the mural. Make sure to leave extra thread hanging off the flower for later.
STEP 3:
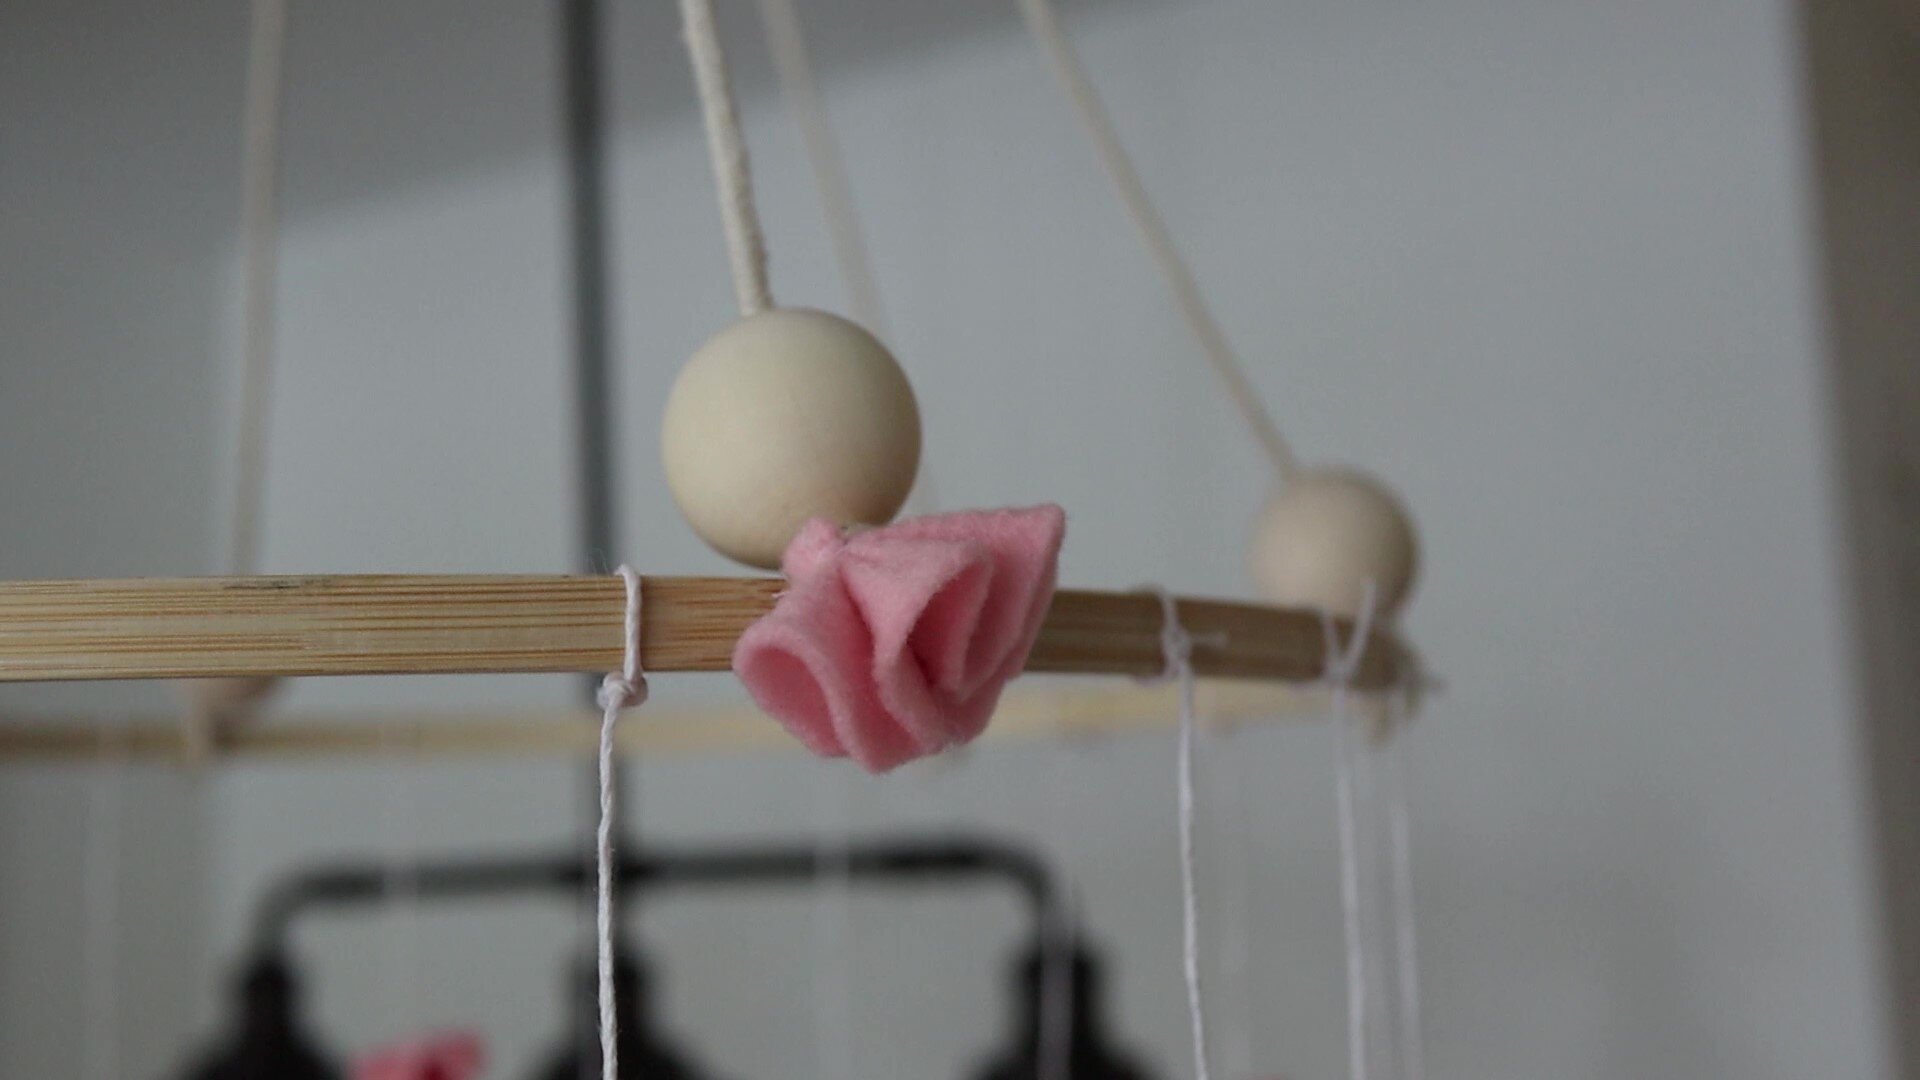
To start, I cut 4 feet of macrame cord and folded it in half. Taking the folded half, I secured the cord to a small wood hoop. This knot is called a cow-hitch knot. Repeat this 2 more times.
STEP 4:
To give this mobile a little extra flare, I added on large wood beads around each loose end of 3mm macrame cord. To avoid fraying my cord ends, I used taped off the ends with painters tape and slid the rope through the bead hole. You will create 6 in total.


STEP 5:
When properly attaching the macrame cord to the hoop, I find it easier to do this from the air. I like to attach a wall-safe 3m hook to my ceiling and hang the piece from there. Simply keep adjusting the knots and sliding the string around the loop until your hoop looks straight and evenly spaced out.


To make the knots secure and unable to slide around on the hoop, I used super glue to hold in place.

Cut any excess string hanging off.
STEP 6:
Take your 20lb hemp cord and tie one end to the base of your hoop. Create 3-4 knots at various heights down the cord. This will act as your guide for where to place your flowers. I find it easier to work one cord at a time.


STEP 7:
To attach the flowers, take the leftover thread you left on the flower and use this to tie a small knot about the knot on the hemp cord.


Keep working around your mobile playing with different heights on your hemp cord.
STEP 8:
I used the super glue to attach small flowers over the knots of the mobile ring.
STEP 9:
Source a 360 spinning mobile sound box (with a remote - this is important) and attach the box to the wood hoop.
VOILA!

All in all, I loved creating both of these DIY Projects. I adore how much warmth both pieces added to the room and made the space feel so unique and one of a kind. The mobile and the mural really complimented each other but still added their own personality. The part I love most? The mobile can grow with Lily. It’s something that would look good in a nursery but also look so cute in a toddlers room, teenage room...adult room. I’m just in awe of the way it came together.
I did end up having to trim a few flower ends on my mobile to ensure nothing was in reach of Lily, however i used the trimmed pieces to add a little decor above the changing table :)
GO CREATIVITY!

WATCH THE FULL VIDEO DIARY HERE