
DIY Shaker Peg Racks

I’ve made these plenty of times before, but what made my bedroom shaker peg racks more tricky was…. you guessed it - THE SLANTED CEILINGS!
Check out my step-by-step guide below to making your own Shaker Peg Racks.

Step 1: Make your Measurements
This multi-angle ruler SAVED ME and it’s so easy to use. You just line it up against the slant, and then make sure your other ruler section is at a 90°.

Step 2: Make your Cuts

Step 3: Drill holes for your Shaker Pegs
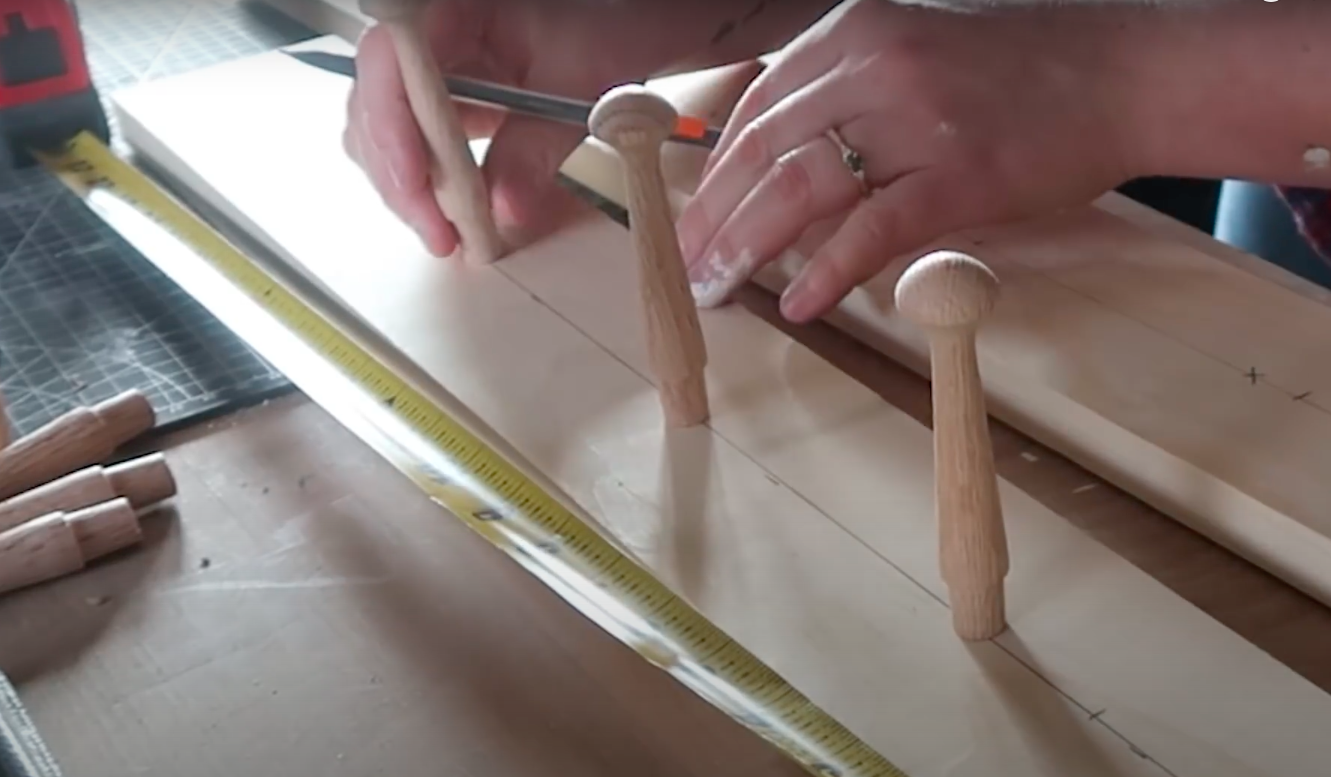
I usually eyeball where I want the shaker pegs to go, as I trust my eyes more than math sometimes! From there, I use a measuring tape to make it more symmetrical.
Using a drill bit the same size as the pegs, I then create my holes using a drill press. I use painters tape to mark my depth on the bit.
NOTE: If you don’t have a drill press, you can easily do this with a drill, just make sure you drill down at a 90 degree angle!


Step 4: Assemble and Paint!
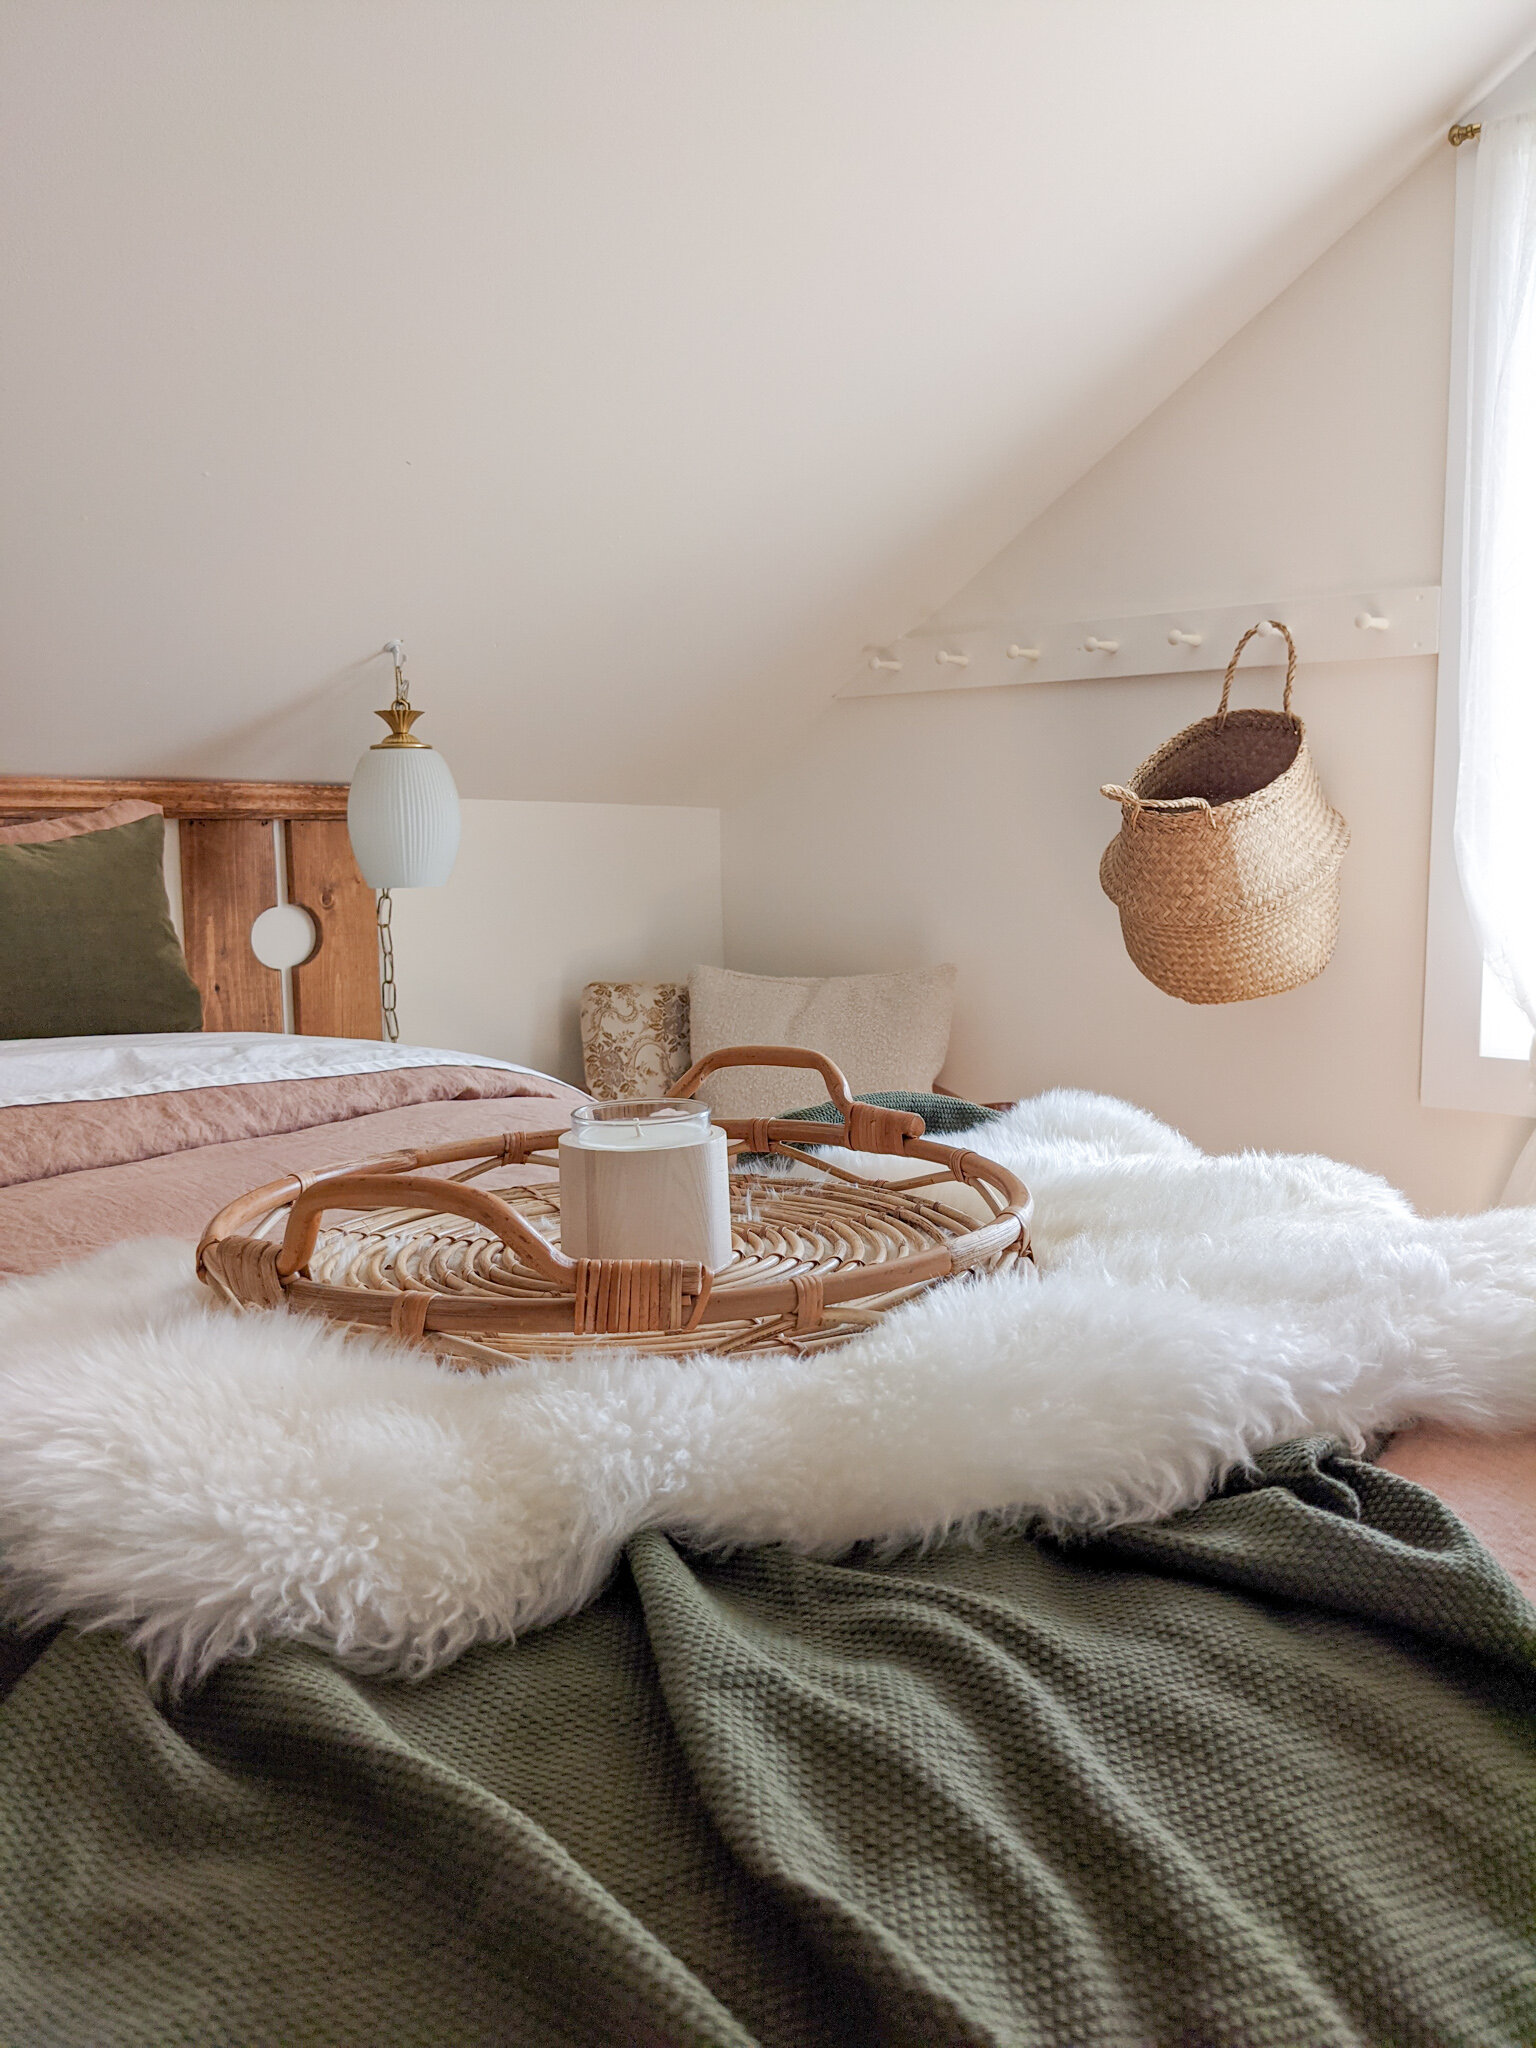
All that was left to do was put some glue in those holes, hammer the shaker pegs in, and paint! I ended up painting them the same colour as my walls for consistency. I think they turned out great!

Photo Cred: Joanne Schwindt

To watch me put together this DIY watch the video below around 3:44. I HIGHLY suggest you stick around for the big reveal and at end because it was stunning! Oh and don’t forget to SUBSCRIBE!