Affordable Custom "Renter Friendly" Book Shelf for Slanted Wall Space
Learn how I created a custom book shelf for a slanted ceiling for under $200 - What a DIY Deal!

Hi Everyone!
Welcome back to The Diaries of DIY Dani ✨ Creating a custom bookshelf for a slanted wall was a labor of love but the outcome was 100% worth it. This entire bookcase was completely custom made and renter friendly ie: zero holes in the wall! My goal was to keep the cost of this entire project under $500 dollars, but once I began sourcing materials, I stumbled upon a cheap solution that made this final project cost a total of $195.89 CDN!!! 🙌✌
Do you have a slanted wall and need a custom build solution? Whether you prefer natural wood or crisp white melamine, the steps to build this DIY Bookshelf is all the same. #GetInspired, #GetCreative and #DIY!

MATERIALS:
PURCHASES
(13) WHITE 5/8" MELAMINE BOARDS @ 12x96: $156.89 (Home Depot)
LUMBER CUT AT HARDWARE STORE: $10.00
1” POCKET HOLE SCREWS: $16.00
(2) LATEX CAULKING TUBES: $13.00
TOOLS
DRILL
POCKET HOLE JIG
MICRO POCKET HOLE JIG
MITER SAW
CIRCULAR SAW
TABLE SAW
MEASURING TAPE
MEASUREMENTS YOU NEED TO KNOW
Spacing between verticals = 25"
Vertical board height = 12 3/8"
Height between each shelf = 12 1/4"
Vertical board height on top shelf = 16"
MEASURE IT OUT + MAKE A PLAN
To build this custom DIY Shelf, the first step was to measure the space. The goal was to take as many measurements as I can before coming up with my plan. Old homes like this one tend to have slated floors and ceilings, so I had to make sure I was accounting for all these small details before drawing out my final plan.
I measured the ceiling heights from 7 different points. The far left side, middle, right side before the ceiling slant, three points down the slanted wall and the smallest ceiling in the bottom right corner. Once I had those measurements, I measured across from four points. Ceiling, top middle, middle and bottom. If your wall has a base board, make sure to measure the height and width of this, as this will impact your bottom shelf measurements later on.
THE SKETCHES:

WALL MEASUREMENTS:

I also had to determine the degree of the angled ceiling, which was calculated to be 38 degrees (trigonometry folks, super fun!).
Due to the length of the wall and general board lengths you can purchase in store, I knew the first 5 tiers were going to need to be two separate boards that were screwed together.
BUYING THE MATERIALS
The original plan was to use 96” 1x12 x8 ¾" knotty pine boards, but after a trip to Home Depot, I found a much cheaper alternative: Melamine. I had seen this materials around before, but I had never worked with it. I knew I wanted the shelves to look "store bought", so melamine was a great option and it was half the cost. I saved over $244.00 CDN AND I didn't have to sand or paint #WIN.
To save time, I had all my long boards cut at Home Depot, which was a great time saver and a #DIYtip for those of you who live in condos and/or apartments. Also, it helped me fit all the material into my hatchback. <3 #HomeDepot #melamine
THE BUILD
I started by measuring and cutting all my vertical boards to 12 3/8". To make this process faster, I set up a jig so that I could quickly cut through 23 pieces (it actually ended up being 29, but I'll get into that later) using a few scrap boards and clamps.
I quickly realized the one issue with the melamine material... once you begin cutting it, the high-hide water based primer that covered the board began to chip and tear. I sanded down the edges and it seemed to fine, however it will need to be painted over OR covered by caulking (which was my plan anyways).
POCKET HOLES
If you plan to build your own custom wall shelf with pocket holes, make sure to pay attention to the material thickness. My material had a width of 5/8", which meant I needed to use a micro-drill guide to accomplish the pockets.
I drilled 6 holes on each vertical board, two on the bottom and one in the middle top, I then repeated the opposite pattern on the back to ensure the weight was dispersed. #pocketholes #kregjig


Next, I cut the angled pieces using the miter saw. Here is where the big "oopsie" happened.
The mistake was misunderstanding the angle that was being cut by the miter saw. I assumed that the degree reading on the saw was respective of the horizontal when in fact it was respective of vertical which means I cut it at 52 degrees rather than 38 degrees.
So, if I had just cut the angle upside down on the miter saw, I wouldn’t of had this issue. Live and learn!

Last step was to drill two pocket holes on each horizontal pieces that joined up the first 5 levels.
THE BOTTOM SHELF
The bottom shelf needed a bit more love. The wall had a baseboard that was 2" deep and 5" high. This meant I needed to cut 2" off the ends and back of both my bottom shelf pieces. Then, I needed to remove a small area from the back of my bottom verticals to clear the baseboard. #baseboard
EX:

THE INSTALL

Time for the fun part! The install came together pretty easy. I provided a 25" gap between each vertical. All was going well until I ran into the issue where I realized my angled cuts were wrong. Luckily, the melamine was so cheap, I had some extra board available to me and I was able to fix the problem on the spot.
I learned it is much easier to determine sizes if you are building on site. Alas, I didn't have this option at the time but being there and making quick changes on the day was fast.
A small change was decided on during the install. Alexandra (the homeowner), wanted to put large photo frames on the top shelf, so we customized the piece and made the top vertical pieces 16" vs 12 3/8". This is exactly why I love DIY'ing projects, so much room for change and customization.
The other change I made to the design, was adding more vertical pieces to the left side of the shelf. Once I started to build upward, the board weight wasn't feeling as strong on the left side, the melamine thickness was playing against me, so I secured that issue by placing verticals along the entire left side of the shelf. Once those were in place, the shelf felt rock hard. I highly suggest you do the same if you create your own.
THE FINAL TOUCHES
Once the entire shelf was complete, I used caulking to fill in the butt joints, which was great because it covered any of the icky rips in the melamine edges caused by my blade.
I then painted the pocket holes white, using regular wall paint/primer. The original idea was to use pocket hole plugs but it didn't seem to work as well with the melamine material. Painting was the quick answer, and honestly... the holes completely disappeared once they were painted!
ADD SOME SAFETY
This step is completely up to you, and depending on your wall, this could be a crucial step to the safety of your shelf...and yourself. The wall I built this unit into had trim running around the door frame which helped make the shelf fit in nice and snug.
If your shelf is free-standing in your home, I highly suggest you secure the shelf to the wall use a steel furniture cable or small 3" L brackets that are available in any hardware store or online. The last thing you want is for your shelf to come crashing forward due to weight. BE SAFE!
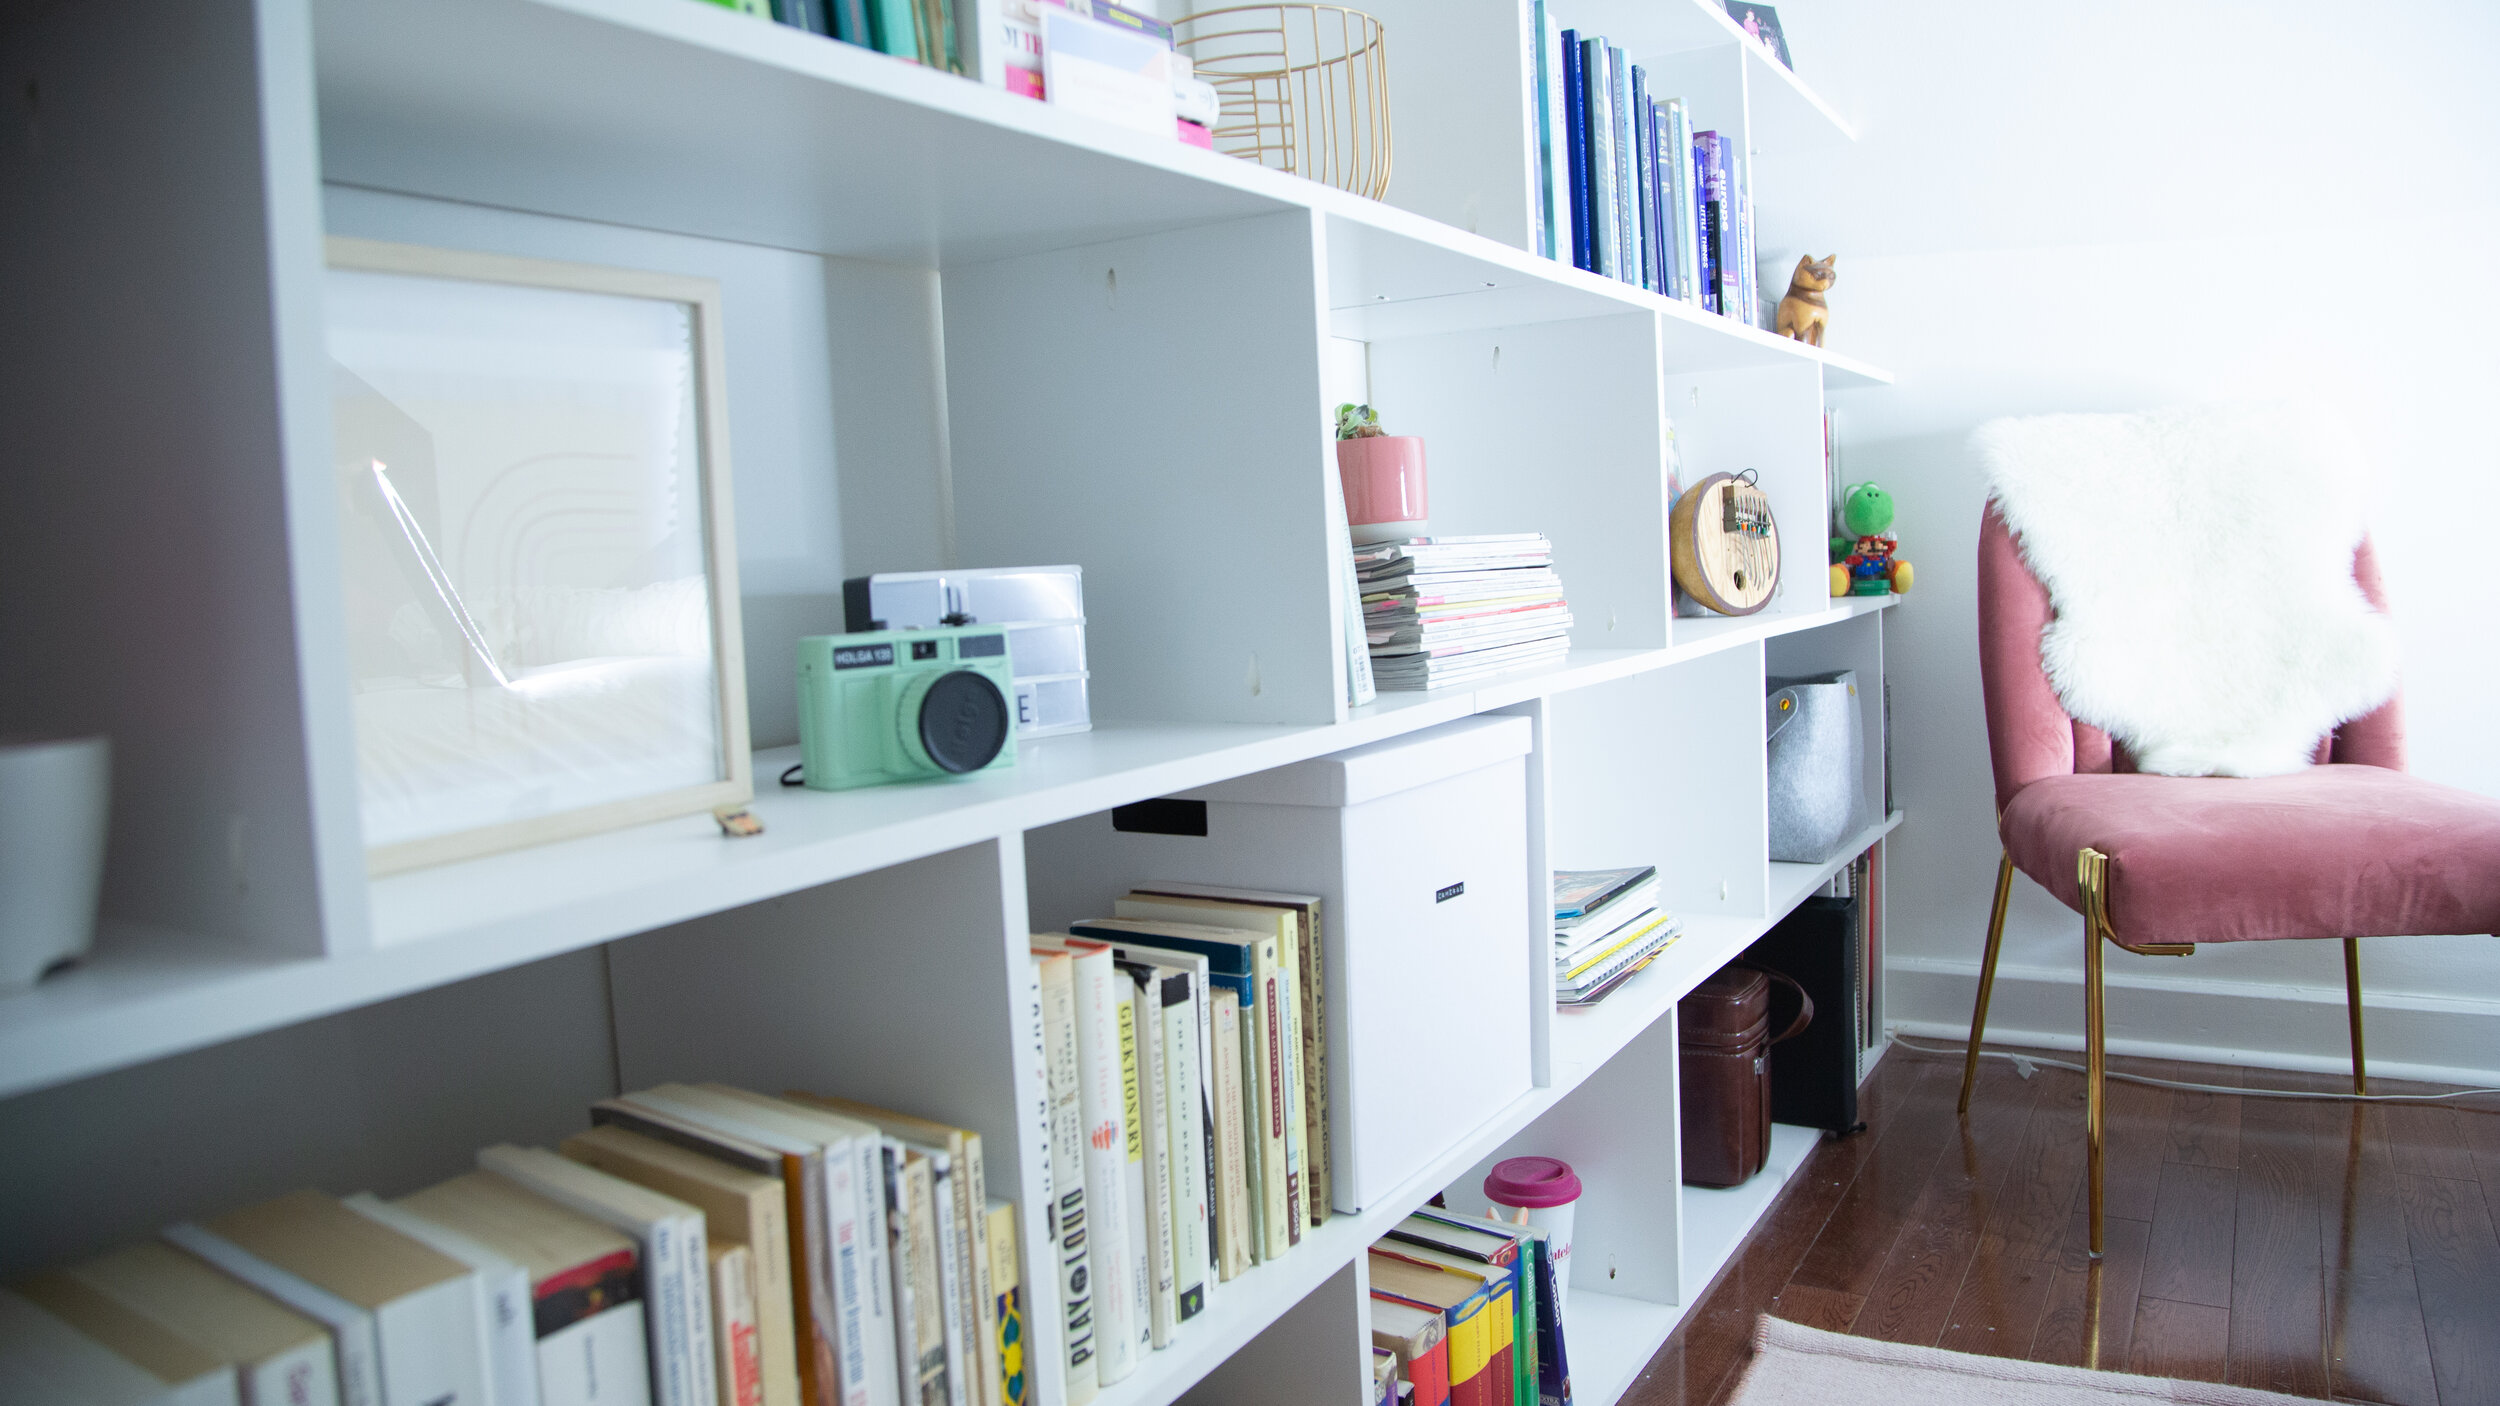
THE FINAL PRODUCT
Let me know if you loved the final product as much as I did! If you have any great solutions to problems I encountered, let me know in the comment section below!
Thanks for reading, I hope this #DIY Project inspired you to create your own custom wall shelf for a slanted ceiling! xx