DIY Modern Farmhouse Bedroom Makeover


Photo Cred: Joanne Schwindt

Photo Cred: Joanne Schwindt
I can’t tell you how much this makeover meant to me. Not only was the room SUPER boring and drab when we moved in, but while renovating I got to spend some quality time with my family and friends and I’m very grateful for the journey. And oh what a journey it was…
Check out what the room looked like before we started tearing it apart:


Ok, so here is how my sad bedroom started - Yes friends, this bedroom is far from special. I moved in and literally did nothing... OK, I put a rug down. Wow.
Basically we have a king size bed, two dressers, a dog bed (yes Kenobi sleeps with a pillow - he’s special), an old chair, a boring ceiling light, vinyl flooring that makes me feel a little sad, slanted ceilings and grey painted walls doing a 180 in the space. My partner Geoff, was literally using a moving box as his side table and my favourite part was the tiny closet in the corner that was so small it could only function as a linen closet…. in the bedroom. Not going to work!
So I decided everything had to go! We’re starting from scratch people! Oh yeah, it’s demo time!


When I pulled up the vinyl floors, a lime green paint was revealed. As soon as I saw that paint - I knew it could potentially be lead based due to the age of the home. I ordered a lead test for the floors and prayed my instincts were wrong.
Regardless, we forged on and were very careful not to disturb the original floors in case it was indeed lead.


And if you want to check out my adorable Father-Bruce, head on over to Part 1 of this makeover and get some Demo Dad Expert advice on drywall tape! haha - I love this guy!
While we waited for the lead test to come in, Dad and I finished getting rid of the evidence there was a pre-existing closet with drywall and mud.

Here I am having a Karate Kid Moment! Up. Down. It’s all in the wrist kids.

Day 2 - the Moment of Truth
The lead test came in and it was time to face my fears!


OH NO! IT WAS INDEED LEAD….

This was me having a complete mental breakdown….
With the floors in-fact being covered in lead paint, the safest thing to do was to re-cover my floors…. Man I really wanted those original floors to shine!
While I figured out what the heck I was going to do, my friend Jes came over to help cheer me up with snacks and help me pickup this beautiful antique Canadian-made solid-walnut vanity I found on Facebook Marketplace! There is not a whole lot that antique shopping, road-trips and some car-dancing can’t fix!


Okay, Day 3 - It’s a new day and I’ve got a plan!
I did some research and discovered LEAD DEFENDER. It’s an affordable treatment and sealant solution to cover your existing lead paint so you don’t have to hire in a whole crew of people to take it out of your home and spend a ton of money.
Yes I was going to cover the floors back up, but I wanted to make sure my partner Geoffrey and I were safe from any future risk of lead exposure/contamination.
You have to watch Part 2 of my Bedroom Makeover and watch around 2:35 for my sick dance moves ;)
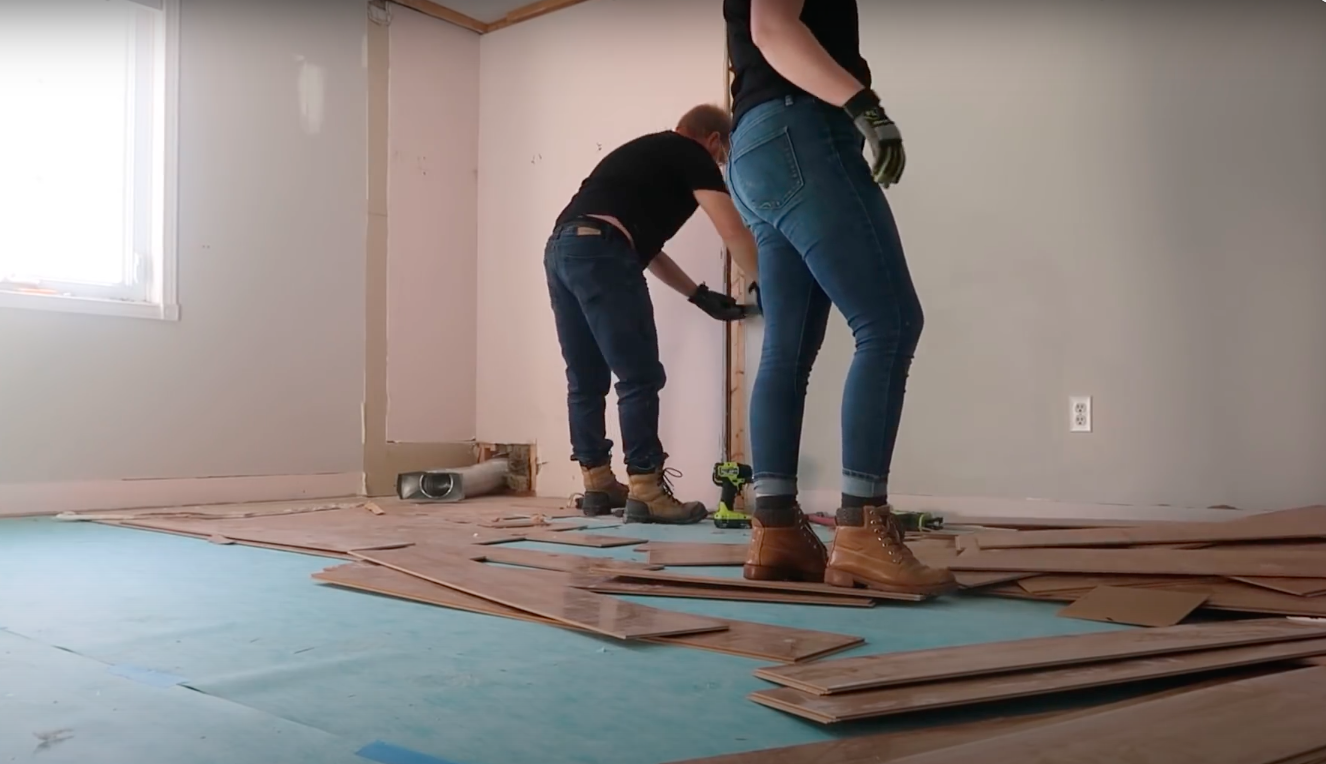
The next step was to lay down the new floors I picked out (Which FYI - were on sale! Love me a bargain!)
Thankfully my Dad came back to help lay the floors down so we were off to the races

Step 1: Lay underlay flooring
I chose a 1/4” plywood thickness because I don’t have tall ceilings and wanted to keep the thickness of our new floors as minimal as possible.
Also - have you ever used a pneumatic staple gun? They are FUN!

Step 2: Lay a foam barrier down to help reduce sound and level the flooring.
This stuff was just like a giant yoga mat. Super spongy and honestly a little stinky.

Step 3: Lay down the new flooring
Genuine Canadian Maple! Isn’t she gorgeous? Did I mention she was on sale?!?

Step 4: REST
Boy, was my body sore after this.
But, there is no rest for the wicked so next day it was time to paint.

I used BEHR ULTRA™ SCUFF DEFENSE™ Interior Extra Durable Flat in Silky White if you liked it!
The next day my friend MARNIE came to help assemble my new PAX wardrobe system from IKEA. (Thanks Ikea!). The best part about this system is that you can make it completely custom to your space, storage needs and style using their online Ikea PAX planner tool. You can pick the size you need, how you want it orientated on your wall, add pull out drawers in different styles, and pick the style door and hardware you want. I’m such a visual person so this whole experience was so fun for me! I literally felt like I was playing a real life Sims game - I would have designed my dream wardrobe just for fun a long time ago if I knew this existed!


This room was really coming together and feeling so much more spacious! I was so excited to organize my new closet.
If you want to check out some DIY’s I put into the space click below, but I say we move on to the final look!
THE BIG REVEAL


Photo Cred: Joanne Schwindt

Photo Cred: Joanne Schwindt
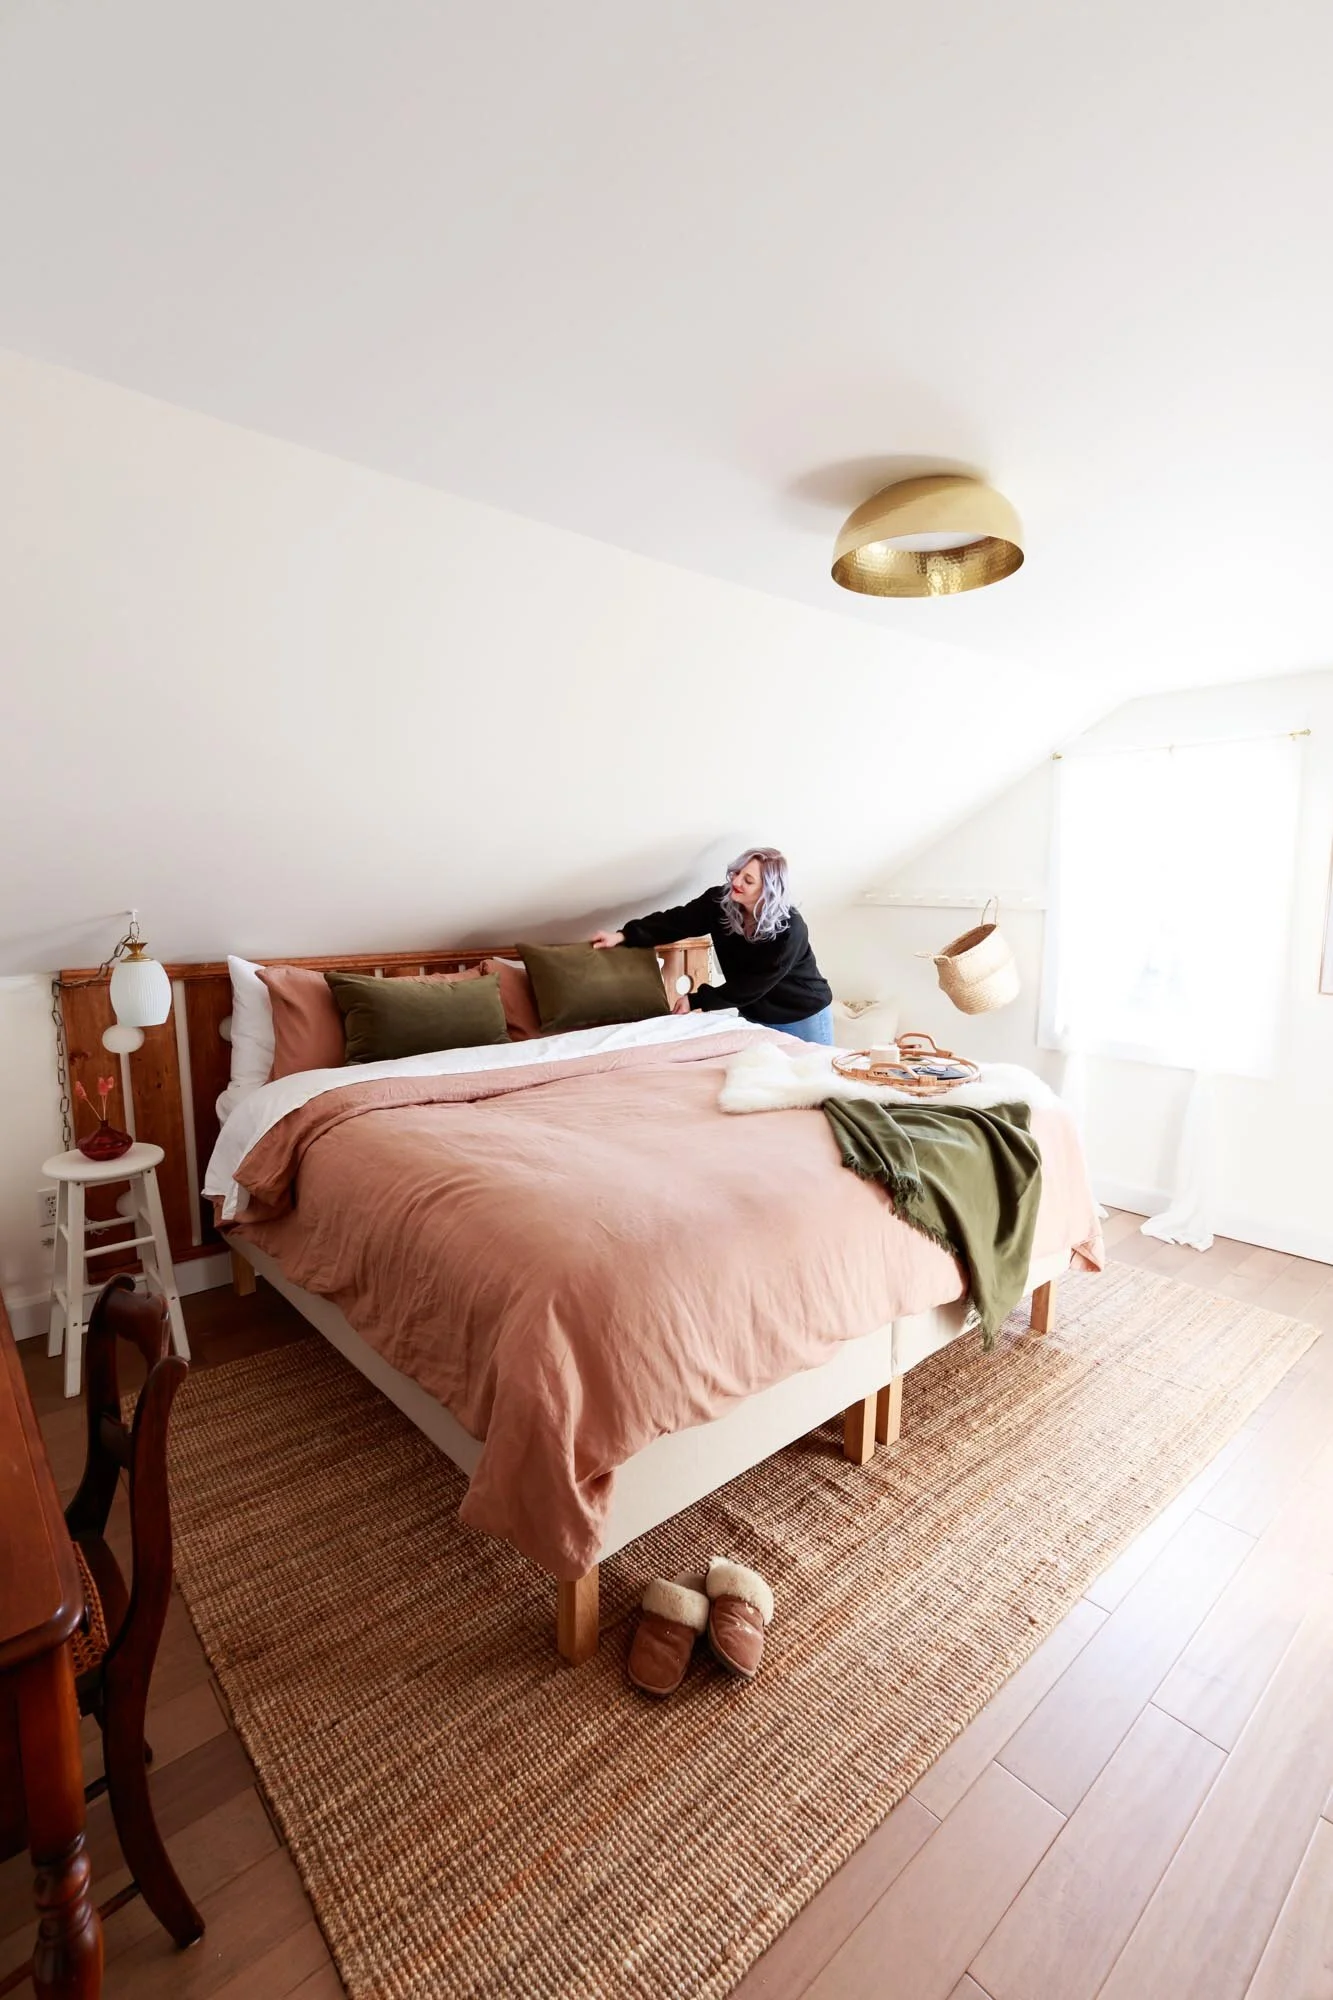
Photo Cred: Joanne Schwindt

Photo Cred: Joanne Schwindt

Photo Cred: Joanne Schwindt